In this guide, we’ll walk you through the steps to create a custom bolster pillow cover, perfect for adding that extra flair to any room. With a few basic sewing supplies and a bit of creativity, you’ll have a beautiful, handmade pillow cover in no time.
One of the final decor elements in Ellie’s Bedroom Makeover was to add decorative pillows. We thought that Bolster pillows would add a perfect touch to her French country daybed. While we both have done quite a bit of sewing through the years we had never made a bolster pillow, but we discovered it’s easier than it looks. Just follow along with our step by step tutorial with video and see how easy it is to get professional results.
This easy DIY project shows you how to measure and make your own custom bolster pillow, as well as install a zipper for a removable cover and a clean look.
Bolster pillows are perfect for a bed, daybed, couch or chair. They’re a great way to freshen up or update any room in your home. There’s no end to the decorative fun you can have with a good set of throw pillows, and adding bolster decorative pillows to the mix opens up yet a whole other world of possibilities.
Sunny Side Design is a participant in the Amazon Services LLC Associates Program, an affiliate advertising program designed to provide a means for sites to earn advertising fees by advertising and linking to Amazon.com. As an Amazon Associate, this blog earns from qualifying purchases with no additional cost to you. Click here to read our full disclosure policy.
More Bedroom DIY Projects
To see more from this bedroom makeover click any link below.
- How To Paint a Room with Pro Results
- Built In Desk | Upcycling At Its Best
- Upcycle Idea | Transforming Twin Bed to Daybed
- How To Refinish Furniture | With a Raw Wood Look
- DIY Canopy for a Bed | Fit for a Princess
- Shelf Decorating Ideas | A Step by Step Guide
- Roman Shade | How to Make Them Yourself
- How To Reupholster a Chair | with French Country & Boho Flair
- French Country Chandelier with Boho Flair
- DIY Mirror Frame | Quick and Easy Idea
- Antique Hardware For Dresser
- Bedroom Ideas for Tweens |Girl Room
- Area Rug For Bedroom | Top Ideas For Tween Girl
- How To Make an Envelope Pillow
Bolster Pillow Cover Supplies
For this project you will need basic sewing supplies as well as a bolster pillow insert. As luck would have it, we were at the Goodwill looking for something else and happened to see 2 bolster pillows. They were only $2 a piece! 🙌🏻
For the fabric for our bolster pillows we had extra fabric from the Roman shade, so there was no expense there. We spent a total of $4 for 2 bolster pillows. Can you believe that?!
- sewing machine
- fabric scissors
- sewing pins
- bolster insert
- fabric (about 1 yard, depending on the size of your insert)
- zipper (we reused the zipper from our bolster pillows.
Custom Measurements
Bolster pillow inserts can range in size from 6″to 9″ in diameter as well as vary in length. We will share the measurements we used, however you will want to measure your pillow for your custom bolster pillow.

Begin by measuring the length of the bolster pillow, then add 1″ to that measurement. This will allow for a 1/2″ seam allowance on both ends. Our pillow length is 35 1/2″ and then we’ll add 1″ to that amount.
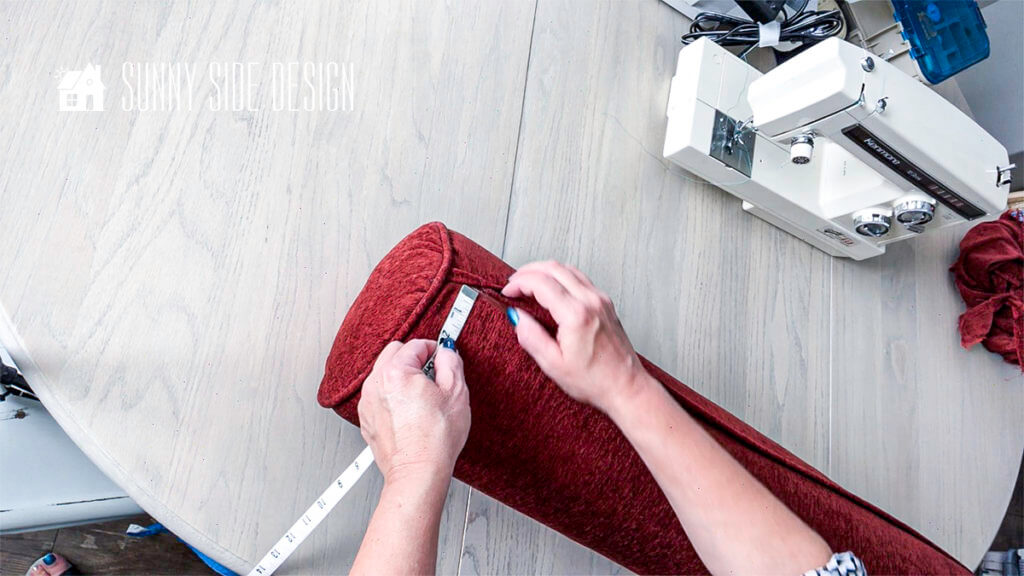
Next, measure the circumferance of the bolster pillow. Our pillow circumference is 25″, then we added 1 1/2″ to that about for a total of 26 1/2″. We allowed 1/2″ on one side for the fold over area for the zipper and 1″ overlap for the other side of the zipper.
For the body of each pillow our fabric is cut to 26 1/2″ x 36 1/2″.
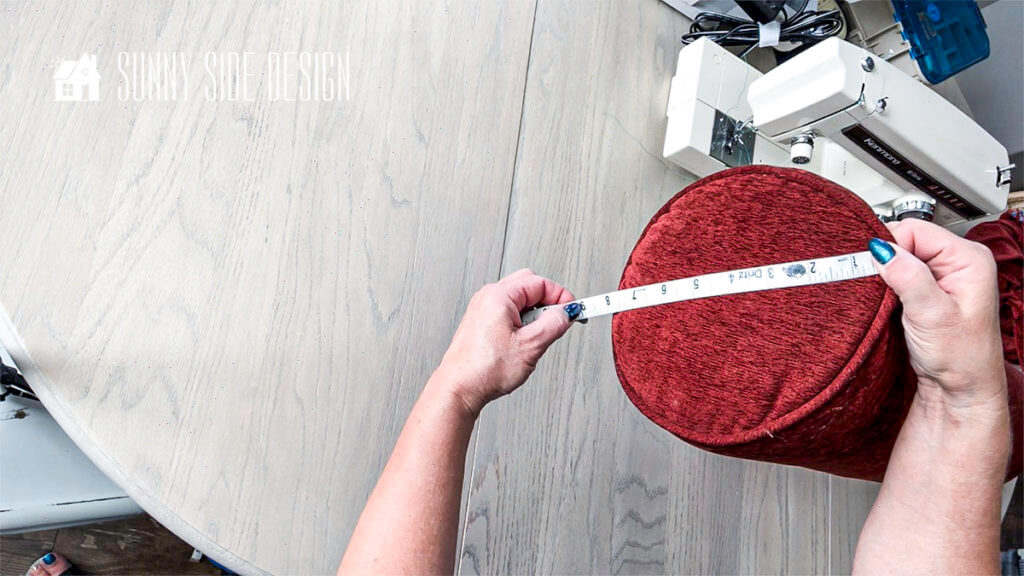
The final measurement for the bolster pillow will be the diameter. Ours is 8″ and with the seam allowance we cut 9″ circles.
For a more finished look we desired to also add a piping edge. While you can purchase ready made piping, we decided to make our own with the same fabric.
Cut out all of the pieces for each bolster pillow as follows:
- Main body – 26 1/2″ x 36 1/2″
- Sides – 2 9″ circles
- Piping – 2 2″ x 26″ (cut on bias)
- Flap – 2″ x 36 1/2″ zipper flap (optional)
Bolster Pillow Piping

Begin by stitching together the 2″ wide piping fabric to form a continuous loop, right sides together.

Cut a 26″ length of cording (determined by the circumference of the bolster pillow).
Place cord in the center of the strip, against the wrong wide of the fabric. Then fold the fabric around the cording with raw edges aligned.
Stitch close to the cording using a zipper foot.

In order to make the cord fit around the circle fabric, make relief cuts about every 1/2″ These cuts will be within 1/8″ of the stitching line.
Stitch Piping to Bolster Sides
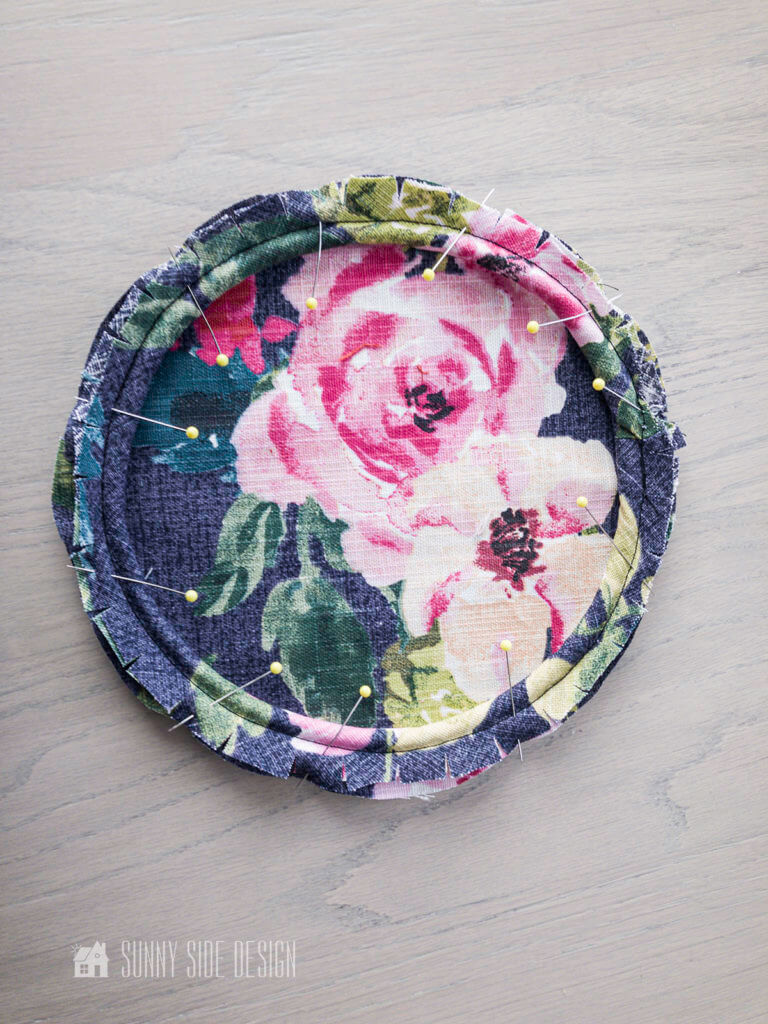
Pin piping to the circle piece of fabric. You can see here how those relief cuts allow it to fit around the circle. Use plenty of pins to keep it in place while stitching.

Stitch the piping to the circle fabric. It’s a good idea to remove the pins as you sew. Stitching over the pins may result in a broken needle. Believe me I know.

Once the piping is stitched on, it will look like this.
Are you enjoying this project? Please Pin It, save it for later and share it with a friend.
Sharing is caring!
install zipper
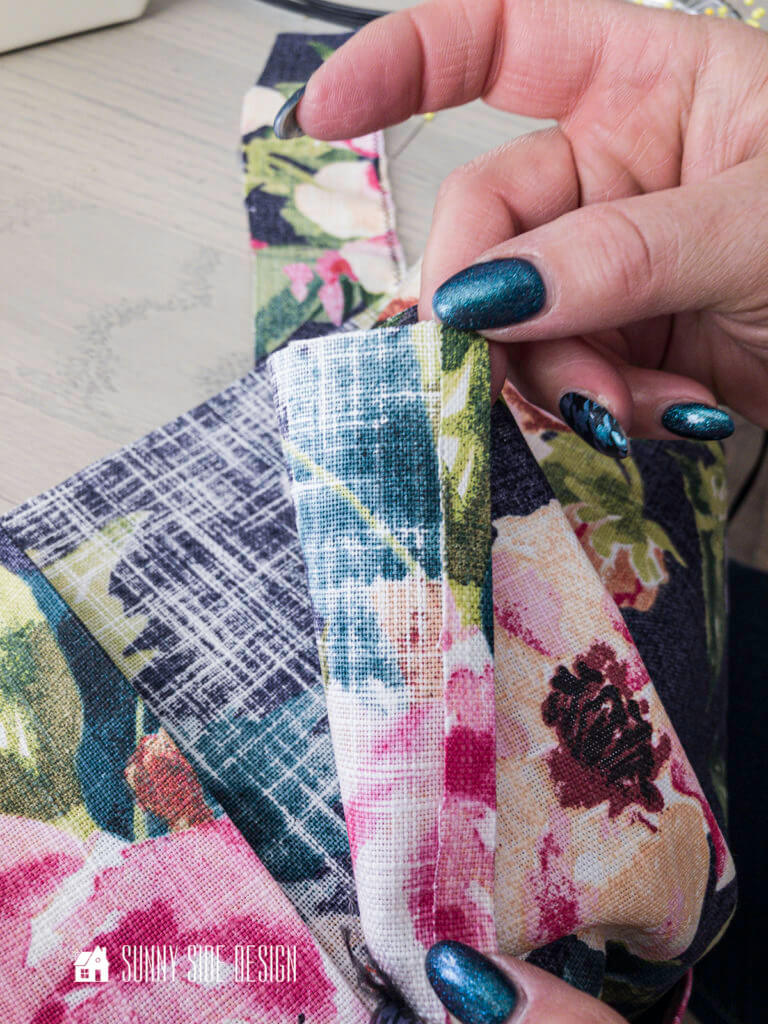
Along the 37″ length of the fabric press over 1/4″ on one side
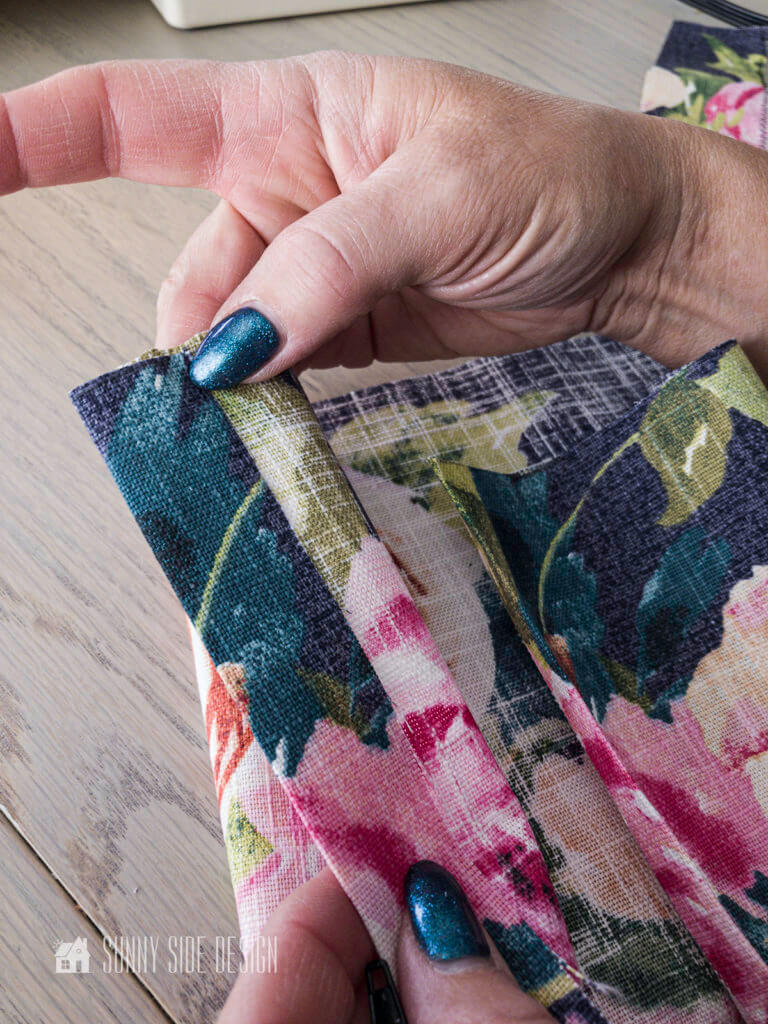
and 1″ along the other side.

Next align the zipper teeth with the 1/4″ fold edge. Pin in place.

Then for the left side of the zipper align the raw edge of the zipper with the raw edge of the fabric, pin in place.

With the zipper closed the left edge of the fabric should overlap the right edge by about 1/8″.
Carefully unzip the zipper and stitch the left edge 1/8″ from the folded edge.
Finally, on the left side of the zipper stitch 3/4″ from the folded edge of the fabric, stitching the zipper in place.

Zip close, the left flap should completely cover the zipper and overlap the right edge by 1/8″.
This should form a tube of fabric when the zipper is closed.

Often when you zip a pillow closed, the batting can get caught in the zipper. So we decided to add an extra piece of fabric that would prevent this from happening.
We cut a 2″ x 37″ piece of fabric and zigzagged one edge. Then we placed it under the zipper on the right side and stitched over our stitching line.
You’ll see that when we stuff the insert and zip the pillow closed, it closes much easier. However this step is totally optional.
Welcome to Our Site
If you’re new here, welcome! We’re so glad you’re here.
Let us introduce ourselves, we’re Michelle and Steph, a mom and daughter team who love to DIY and decorate our homes.
Not only are we passionate about making our homes warm, comfortable and unique, but it’s our mission to help you create that same feeling in your own home.
You’ll find ideas for repurposing, creating, decorating and making your home truly yours, while always mindful of a tight budget.
Undoubtedly we love finding ways to make your home look high-end on a small budget.
Plus you’ll also find a recipe or two as we share our family favorites with you.
We’d love it if you’d join our community of doers so you won’t miss any inspiration for your home.
We love new friends.

[mailerlite_form form_id=2]
Stitch Bolster Pillow Sides to Fabric Tube

Finally turn the fabric tube inside out and pin the circle pieces to each end.

Once again use lots of pins to ensure that there are not puckers in the fabric.
Stitch the circle pieces on each end of the fabric tube. Stitch on top of the previous piping stitch line.
Let’s stay connected! Follow us on social media!
Stuff Pillow Cover & Enjoy
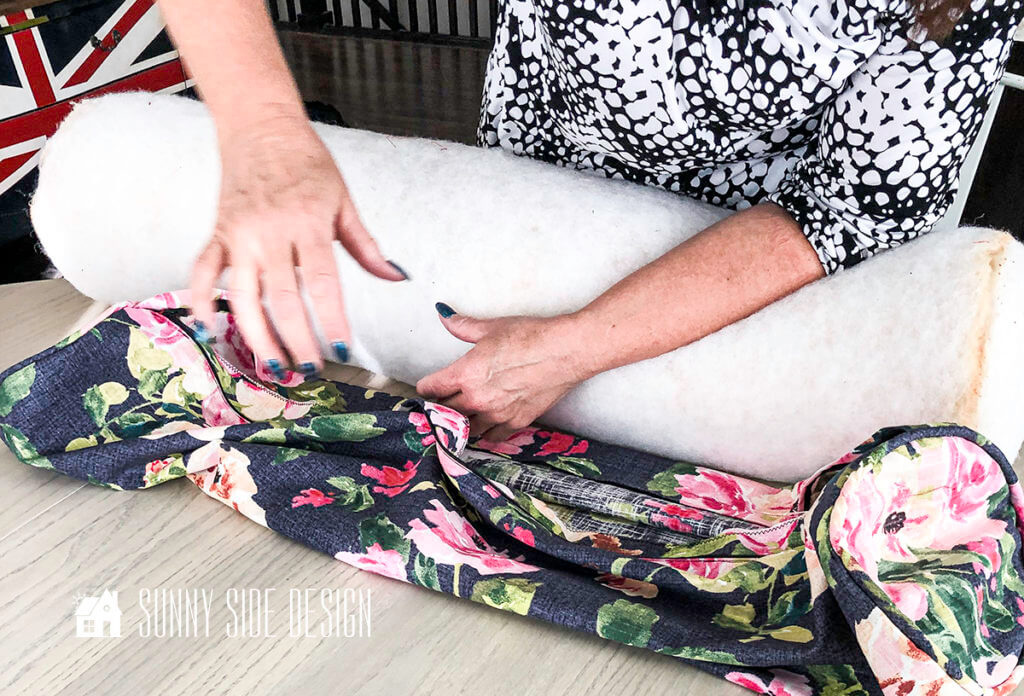
Turn right side out, insert bolster filler and enjoy your one of a kind, designer bolster pillow.
By following these simple steps you will ensure professional result. You’ll have a designer pillow without the designer price tag.

The 36″ length is the perfect size for each end of Ellie’s French country daybed.

These final touches really pull the room together. By incorporating the remaining fabric from the Roman shade, we’ve carried that color and pattern across the room, making it feel more cohesive.

Have you made a bolster pillow? This was our first time and we are thrilled with the results.
Is this a project you would like to try?
We hope you found some inspiration for your home today.
Please share your tips and ideas with us.
We love hearing from you!
If you’re new here, WELCOME! We love having new readers and friends!
You can learn more about us here.
Let’s stay connected! Join our DIY community of doers and you won’t miss the weekly updates and more inspiration for you always on a budget.
Sharing is caring!

Thanks for stopping by Sunnyside Home. Empowering you to create a home you love!
Please do not reproduce other Sunny Side Design content without permission.
Retailers We Love
- Anthropologie
- Birch Lane
- Crate & Barrel
- Joss and Main
- Lampsplus
- Mark & Graham
- One Kings Lane
- Pottery Barn
- Rejuvenation
- Serena & Lily
- Wayfair
- West Elm
- Williams Sonoma
- World Market
Be sure to follow us on Pinterest for even more home decor and DIY ideas.
To see what we are working on before it’s on our blog, follow us on Instagram.
You will also find our video tutorials on our YouTube channel.
- Easy 4th of July Door Decor You Can Make in Minutes

- 35 Easy Decorating Ideas for Summer to Welcome the Season
- Fourth of July Decorating Ideas You’ll Love This Summer
- Simple and Creative Planter Container Ideas from Thrifted Finds