Awe, here we are again with another birthday party. My Little Miss and Mr. A celebrate their birthdays just 8 days apart. Needless to say during the month of April I’m a complete scatterbrain planning multiple parties. But I wouldn’t have it any other way. It’s a blessing and joy to see the excitement on my kiddies faces when they see the house all decorated just for them. I just need a day to rest and relax when the parties are over!
And if you are planning on hosting a baby shower any time soon, check out these fun ideas for throwing a Woodland themed baby shower.
Sunny Side Design is a participant in the Amazon Services LLC Associates Program, an affiliate advertising program designed to provide a means for sites to earn advertising fees by advertising and linking to Amazon.com. As an Amazon Associate, this blog earns from qualifying purchases with no additional cost to you. Click here to read our full disclosure policy.
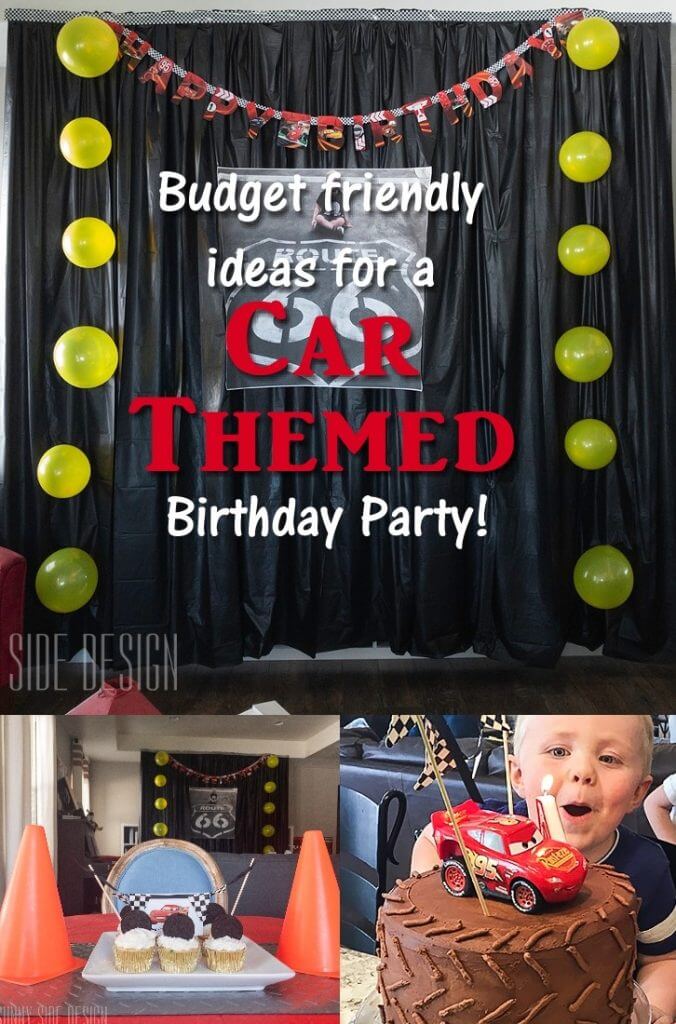
If you’ve been following our blogging journey you know that Mr. A is completely obsessed with all things cars! His bedroom is even decked out! This kid eats, sleeps and breaths all things cars! If I’m counting right, this is only the 5th cars party we’ve thrown It’s fun to get the house all decorated up but I also like to keep things on a budget! Party expenses can sure add up quickly if you’re not paying attention.
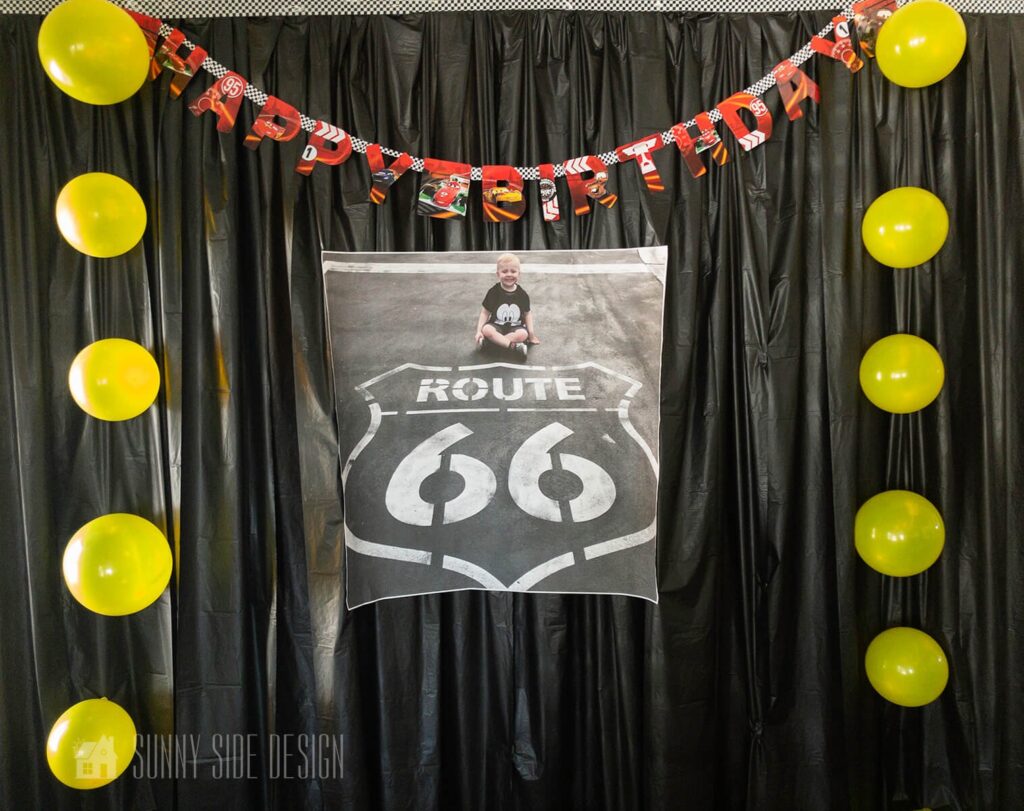
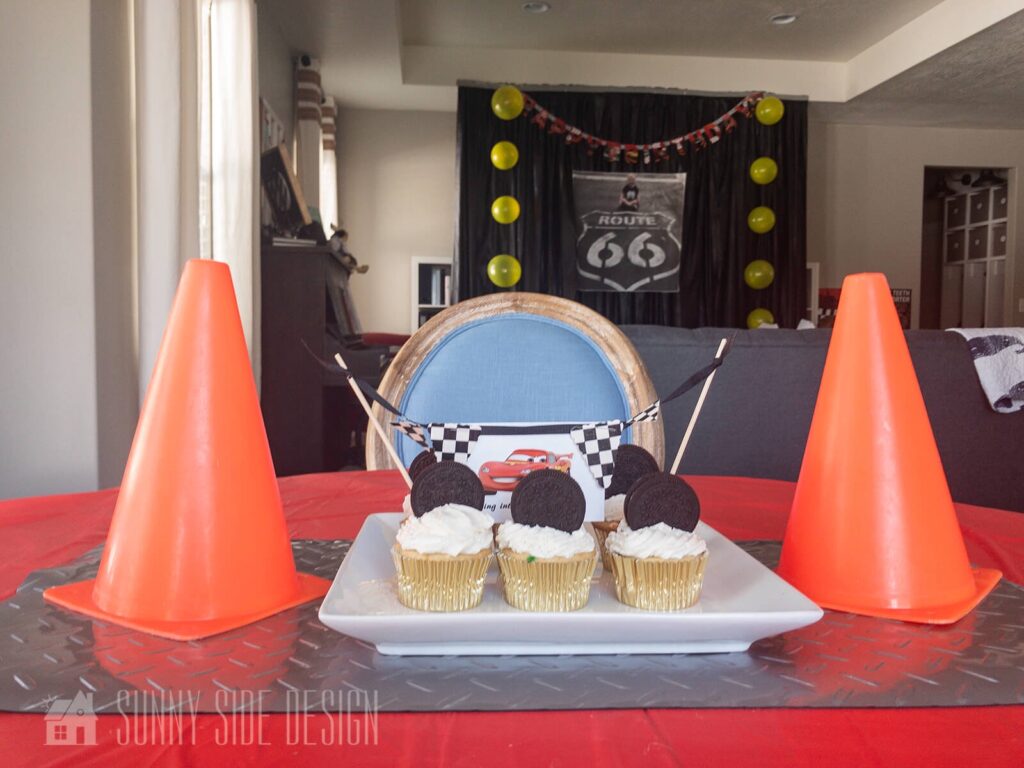
My Mom and I created this photo backdrop as the main piece of decor for this party. The Dollar Tree has become our favorite place to look for the perfect party solutions. This backdrop is made from simple black plastic tablecloths. We laid them on the floor and taped them together with black and white checkered duct tape at the very top edge, making sure to fold the tablecloths as we went along so it would hang like a pleated curtain. When all of the tablecloths had been taped together we used painters tape to adhere it to the wall just behind the strip of duct tape. Once hung, we added an inexpensive engineering print of Mr. A sitting by the Route 66 sign in Cars Land in Disneyland. This is such a simple and inexpensive way to add a personal touch to the decor. These prints are only a couple of dollars from our local print shop. You can have them printed in a variety of sizes in both black and white or color. After we centered the print and taped it onto the tablecloth backdrop we then used tape to stick yellow balloons to the sides of the backdrop to mimic the painted stripes on the road. You can use any medium you’d like, yellow cardstock, crepe paper whatever you have lying around…we opted to use balloons to make it feel a little bit more like a kids party.
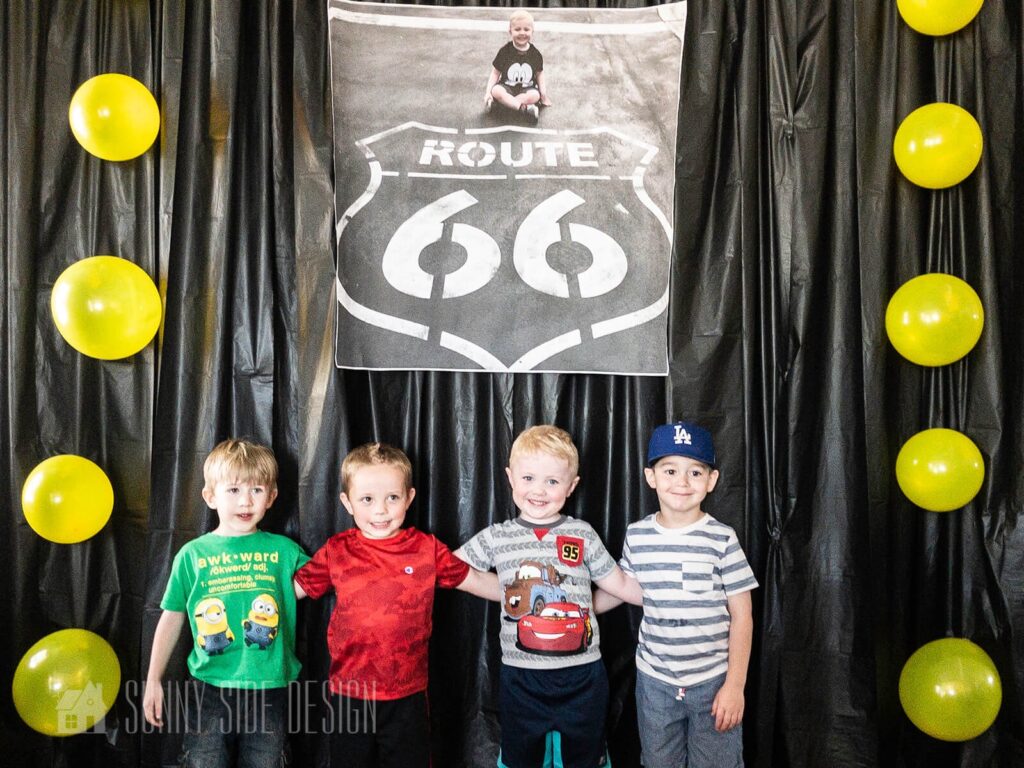
Isn’t this the cutest bunch of little 5 year old boys you’ve ever seen?! This was Mr. A’s very first friend birthday party. This cute picture makes my Momma heart so happy! These cute boys live in our neighborhood and they all get along so well together. I hope these boys can keep these bonds of friendship as they continue to grow up together. This world just keeps getting more and more crazy and it’s comforting knowing that your kids have good friends to help them make good choices.

Opening presents is always a highlight of the party and the boys were all huddled around Mr. A to see what each gift would be.

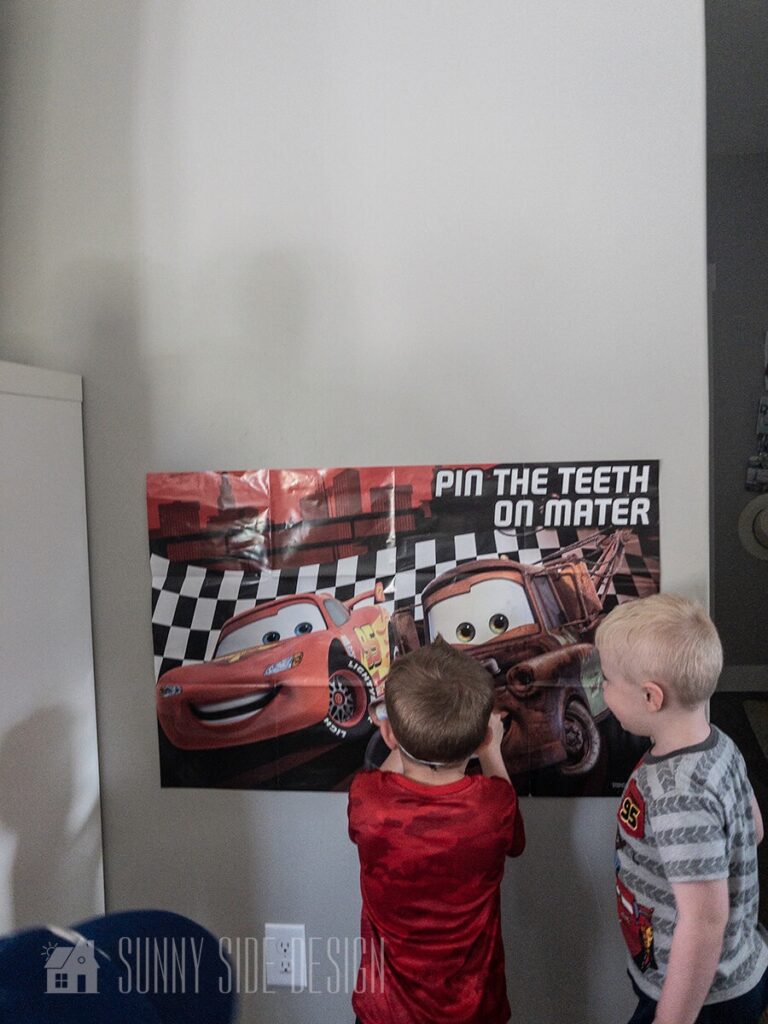
Now you can’t have a successful birthday party without having a few party games right?! The kids all had a fun time taking turns with pin the teeth on Mater. I picked this game up several years ago at a party store. I keep it folded away with my party supplies and cut out the shape of Maters teeth each year and it continues to be a favorite at the parties.
Are you enjoying this project? Please Pin It, save it for later and share it with a friend.
Sharing is caring!
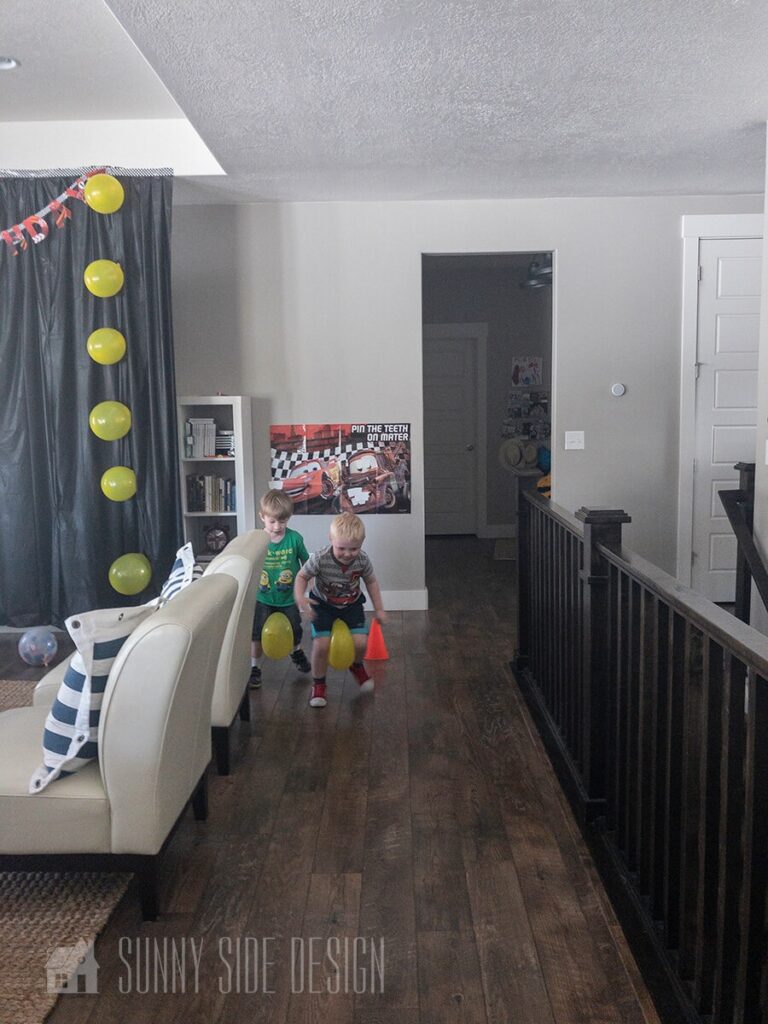
Using some of the extra balloons we had blown up we had a relay race. Each boy had to keep the balloon in between his legs and waddle down and around the road cone and back. The boy who completed this obstacle the fastest won. There were lots of giggles as the boys played this game.
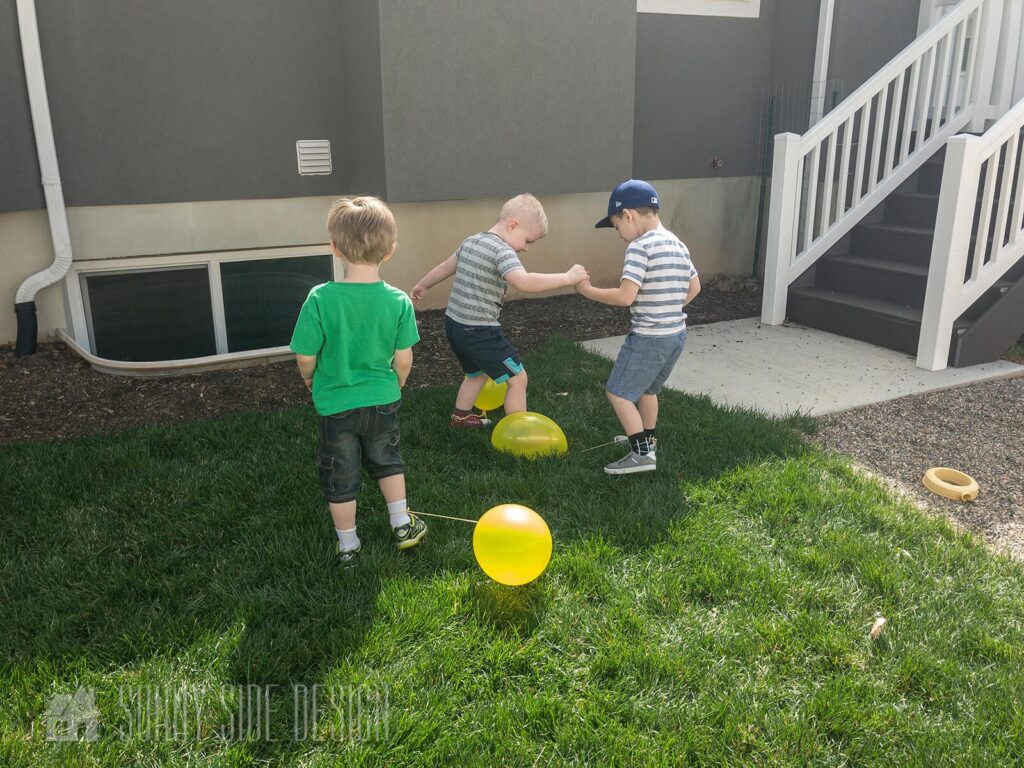
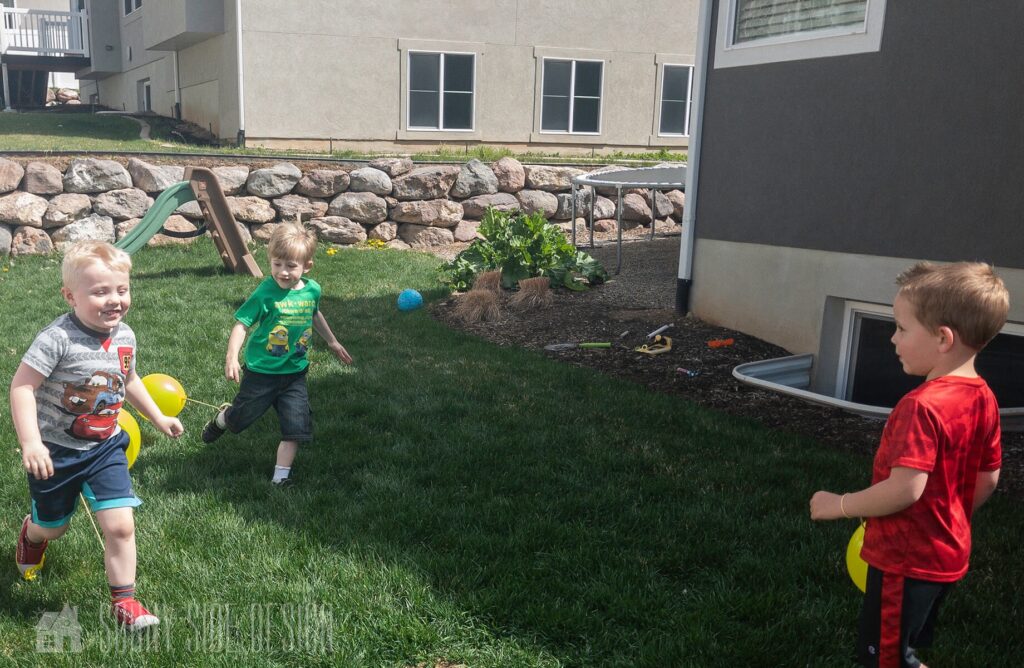
Since the weather was nice we took the next game outdoors. We used yarn to tie a balloon around each of the boys ankles. Then they were to run around and try to pop the balloon of the other boys by stomping on the balloon. This was pretty comical and fun to watch as the boys ran from each other and tried to pop each others balloons.
Once the games were finished we headed back indoors for birthday cake. Remember our cake decorating skills aren’t professional by any means…so I went with the easy go to cupcake. After the birthday party I threw for my Little Miss, I tossed the remaining frosted cupcakes in our deep freezer in an airtight container so I wouldn’t have to make another batch of 24 cupcakes for a party of 4 little boys. I simply took them out of the freezer that morning to defrost and added an Oreo cookie to each cupcake to mimic a tire and voila, the cupcakes were ready to go! I guess you can say I’m a lazy party planner…but it’s better for me to freeze the uneaten cupcakes from one party and use them again otherwise I might very well eat all the remaining cupcakes myself!
To dress up the table a little bit we started with a red plastic tablecloth and added a piece of diamond plated plastic we had leftover from Mr. A’s tool chest dresser and bed makeovers. We placed the plate of cupcakes in the center, added small orange cones we have for soccer practice to represent road cones and to top off the plate of cupcakes we added a small banner with Lightning McQueen and a couple checkered flags. To make the banner we took a small piece of white cardstock and put a sticker of Lightning McQueen in the middle. Then we took the black and white checkered duct tape and stuck a few strips on white cardstock. Then using a triangle punch we cut a couple checkered flag shapes. We stapled each flag shape and piece of cardstock with McQueen onto a piece of black ribbon, then tied a knot onto a skewer on each end of the banner. Then we stuck each end into a cupcake
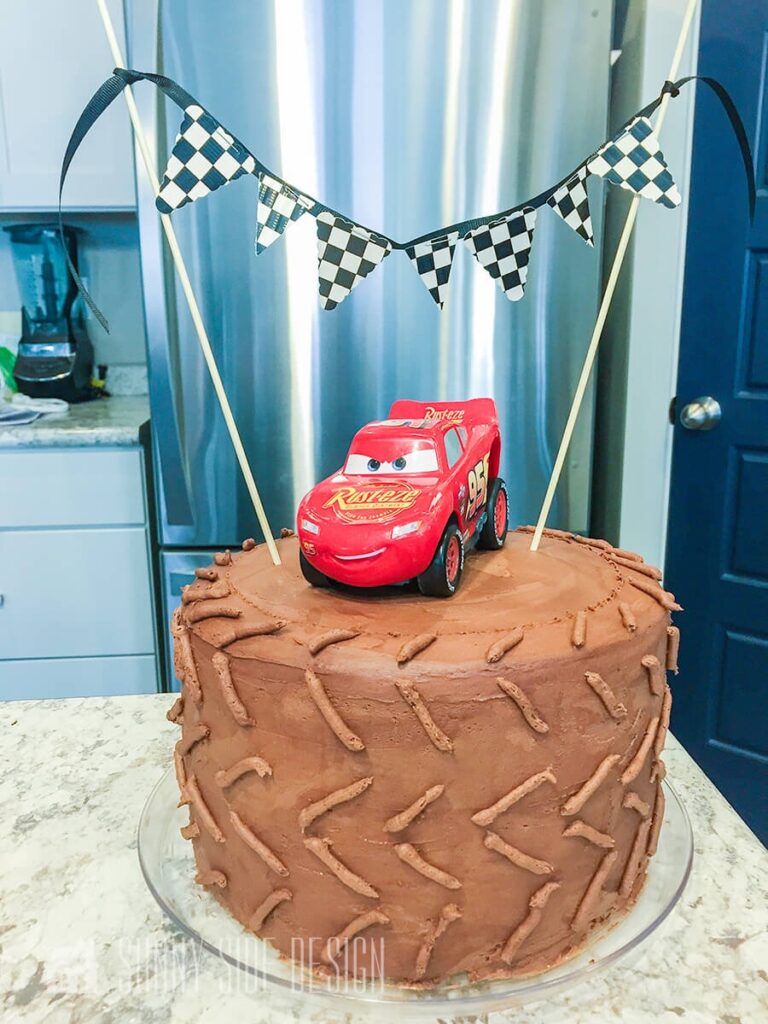
Now I’m gonna throw it back to some of the other Car parties we’ve had to share some additional ideas with you. Every now and again I have the idea to try my hand at making a presentable birthday cake. These are far from perfect but it keeps costs down if you have the time to make it yourself. I have a Pampered Chef tool to make a checkered cake. I’ve never successfully been able to make a cake and have it turn out perfectly. But with the car theme and checkered flags symbolizing racing I thought it was fitting. I then frosted the cake with chocolate frosting and piped lines around the cake to give it the appearance of being a tire.
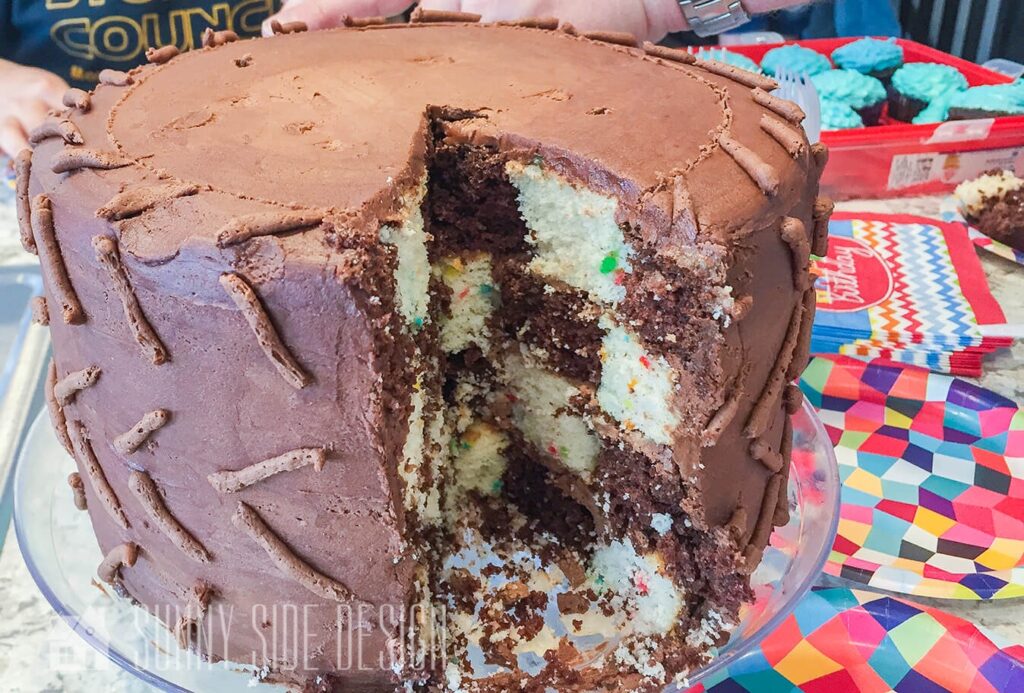
Like I said, the checkered pattern didn’t turn out perfectly but Mr. A thought it was cool and we ate it up pretty quickly so I guess that’s all that matters right?
If you’re new here, welcome! We’re so glad you’re here.
Let us introduce ourselves, we’re Michelle and Steph, a mom and daughter team who love to DIY and decorate our homes.
Not only are we passionate about making our homes warm, comfortable and unique, but it’s our mission to help you create that same feeling in your own home.
You’ll find ideas for repurposing, creating, decorating and making your home truly yours, while always mindful of a tight budget.
Undoubtedly we love finding ways to make your home look high-end on a small budget.
Plus you’ll also find a recipe or two as we share our family favorites with you.
We’d love it if you’d join our community of doers so you won’t miss any inspiration for your home.
We love new friends.

[mailerlite_form form_id=2]


Pinterest is always my go to when planning parties! There are a ton of different ideas out there for planning a Car Birthday Party! We had a small luncheon with family at Mr. A’s car party the prior year. These are some of the ideas we implemented into the party. We displayed cut up carrots and celery sticks in a clear cup with ranch dressingin the bottom, and labeled the tray “dip sticks”. Then on another plate we took some mini black donuts and stacked them using skewers cut to different heights and labeled this tray “Luigi’s Casa Dela Tires”. We also had a bowl of bugels and labeled this “Sally’s Cozy Cones”. Each of these labels were created with stickers, white cardstock and the checkered duct tape like the banner above. We also had a clear drink dispenserwith colored juice that was labeled “antifreeze” but since this was before our blogging days we don’t have a picture.


Sometimes I just give in and buy a cake from the Bakery. This wasn’t a fancy cake by any means, just a chocolate bundt cake with frosting drizzled on top. To jazz it up a bit we added a toy Lightning McQueen and the checkered flag banner with skewers. Super simple and easy to do and it made a darling cake.
Now we’re gonna throw it way back to Mr. G’s 2nd birthday party! 8 years before Mr. A came along we had a couple car parties for Mr. G. I consider myself to be pretty smart with this cake! I placed an order for this cake at our local bakery and picked it up when ready. Easy peasy and it looked great!
Let’s stay connected! Follow us on social media!

He was young enough that he wouldn’t realize that the cake wasn’t homemade. All he cared about was blowing out the candles and the toy car on top! Why is it as a Mother that I stress myself out thinking I need to do every little thing of every party, including baking a cake from scratch? Sometimes we make it so hard on ourselves as Moms! But it was a great party, and a darling cake and there’s no shame in buying a cake from a bakery! I ought to do it more often!


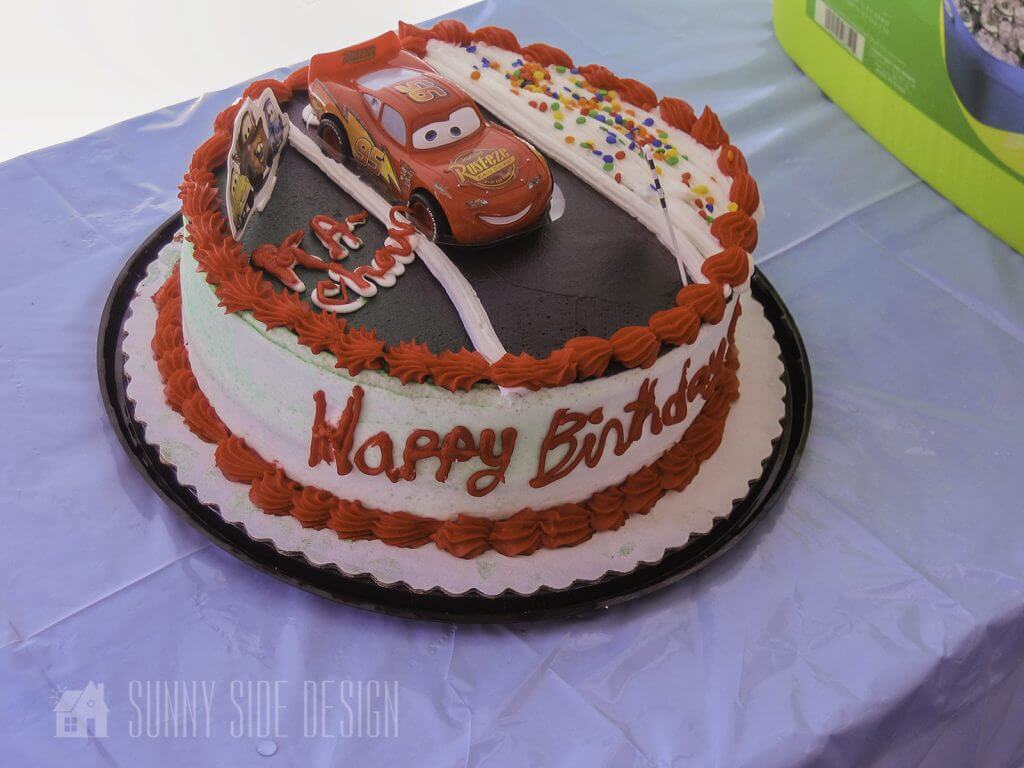
For Mr. G’s 3rd Birthday we had yet another Car Birthday Party. Decorations were simple but also made it feel like a party. We displayed the presents and cake on a table with a red tablecloth, balloons and party favors. This was the first of many attempts at making a homemade birthday cake! 😂 I suppose it didn’t turn out too bad. I displayed one of the presents Mr. G would get on top of the cake. It made for a pretty simple cake design although I’m sure I spent way too long trying to make it perfect.


He thought it was a cool cake and was even more excited about his new toys on top of the cake so in my book it was a win!
We hope you found some inspiration for your home today.
Please share your tips and ideas with us.
We love hearing from you!
If you’re new here, WELCOME! We love having new readers and friends!
You can learn more about us here.
Let’s stay connected! Join our DIY community of doers and you won’t miss the weekly updates and more inspiration for you always on a budget.
Sharing is caring!
Thanks for stopping by Sunny Side Design. Empowering you to create a home you love!
DISCLAIMER
This blog’s content is for entertainment purposes only and is not professional advice. By reading this blog and attempting to recreate a project, you assume all responsibility for any injuries or damages incurred. Read my full disclaimer here.
PHOTO USE AND CONTENT SHARING
All of the photographs you see here are the property of Sunny Side Design unless otherwise credited.
We love for others to share our work, so please feel free to use one photo with a link back to our website.
Pinning and sharing is always encouraged!
Please do not reproduce other Sunny Side Design content without permission.
Retailers We Love
- Anthropologie
- Birch Lane
- Crate & Barrel
- Joss and Main
- Lampsplus
- Mark & Graham
- One Kings Lane
- Pottery Barn
- Rejuvenation
- Serena & Lily
- Wayfair
- West Elm
- Williams Sonoma
- World Market
Be sure to follow us on Pinterest for even more home decor and DIY ideas.
To see what we are working on before it’s on our blog, follow us on Instagram.
You will also find our video tutorials on our YouTube channel.
- 35 Easy Decorating Ideas for Summer to Welcome the Season

- Fourth of July Decorating Ideas You’ll Love This Summer
- Simple and Creative Planter Container Ideas from Thrifted Finds
- 25 Must See Simple and Creative Reading Nook Ideas