It can be confusing to know when to use caulk, wood filler or spackle in home improvement projects.
And what’s the difference between wood filler and wood putty?
No to mention, when should you use spackle?
Clearly there are so many different products that are all meant to fill in holes or gaps.
So it’s easy to be a little confused when each should be used.
Each of these products serve a specific purpose and with proper knowledge and techniques, you can easily tackle any project like a pro.
Welcome to week 7 of the One Room Challange!

If you’re new here, WELCOME! You can learn more about us here.
As a reminder you can easily navigate through each week of this dark and mood home office project.
Week 1 | Week 2 | Week 3 | Week 4 | Week 5 | Week 6 | Week 7 you’re here | Week 8
And for more ideas and inspiration head on over to see all of the amazing room makeovers on the One Room Challenge blog.
Be sure to follow us on Instagram for behind the scenes progress and updates!
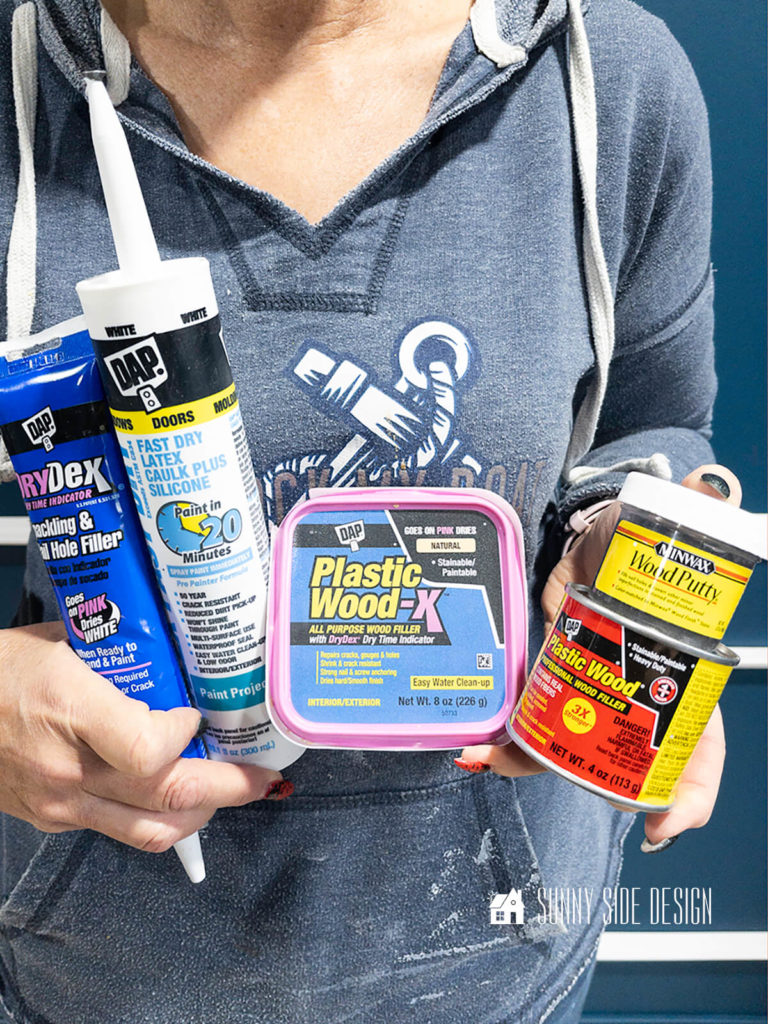
After getting all of the door casings, headers, baseboards and picture frame moulding installed last week, we’ve been caulking, adding wood filler and spackling.
So it’s the perfect time to explain when to use each, plus share our technique to get professional results.
- Are Caulk and Wood Filler the Same?
- What is The Difference Between Caulk, Wood Filler and Spackle?
- Can One of These Products Be Substituted for the Other in Certain Situations?
- What’s the Best Thing to Fill Holes in Wood?
- How Can I Ensure a Smooth, Professional Finish When Using Caulk, Wood Filler and Spackle
- Shop Caulk, Putty & Spackle Supplies
- Successfully Use Caulk, Wood Filler and Spackle
- Retailers We Love
One Room Challenge To-Do List
Let’s take a quick look at our to-do list and see what we need to complete before the reveal next week.
Paint room – 2 coatsBuild lower cabinets for built-insBuild shelvesInstall cabinetsBuild window seatInstall shelvesInstall moulding for built-insPaint built-insInstall laminate floorInstall door casing and baseboardsPaint door casings and baseboardsBuild cabinet doors and drawersPaint cabinet doors and drawersCrown mouldingInstall picture frame mouldingCaulk, putty and paint picture frame and crown mouldingRefinish and modify desk- I
nstall hardware on built-ins Paint doors- Paint window frame
Window sill- Install sconce
- Library lights
DIY faux tree- Frame and install art on walls
- Style bookshelves
- Roman shade
- Window seat cushion
- Bring in the furniture
I’m so excited to see my vision for this office come together and I can’t wait to reveal the finished room next week!
Enjoying this post?! Please pin it, save it for later and share it with a friend.
Sharing is caring!
Are Caulk and Wood Filler the Same?
Caulk and wood filler are not the same.
Paintable caulk has silacone in it which will give it a little flexibility.
As humidity and temperatures change in your home, wood expands and contracts.
Paintable caulk is used for gaps and cracks in woodwork where you want a seamless finish which you will paint.
It should be used instead of wood filler because of its flexibility, allowing it to expand and contract with temperature changes.
Additionally, it can be painted over once dry, to blend in with the surrounding area.
Later on in this post we’ll share Steph’s technique for caulking.
She has really mastered the art of caulking and you don’t want to miss her tips.
What is The Difference Between Caulk, Wood Filler and Spackle?
Caulk is typically used for sealing gaps or cracks, which allows for flexibility with temperature and humidity changes.
Wood filler is used to fill holes or imperfections in wood surfaces, and spackle is used for filling holes or imperfections in drywall.
It’s important to use the correct product for the job to ensure a smooth and professional finish.
In addition, each product may have different drying times and require specific techniques for application.
It’s always best to consult the manufacturer’s instructions before using any of these products in your project.
Can One of These Products Be Substituted for the Other in Certain Situations?
In general, it’s not recommended to substitute one of these products for the other.
Each product serves a specific purpose and should be used accordingly.
However, in some situations it may be possible to use a different product if necessary.
For example, wood filler may be able to fill small holes in drywall, or vice versa.
On the other hand I would not recommend filling in a hole with caulk.
Caulk can not be sanded and it would be difficult to get a smooth surface for painting.
Even so, it’s always best to consult the manufacturer’s instructions and use caution when making substitutions.
What’s the Best Thing to Fill Holes in Wood?
When filling holes in wood, the best option is typically wood filler.
Clearly this product is specifically designed for filling imperfections in wood surfaces and can provide a smooth, professional finish when applied properly.
In addition if staining the wood, it’s important to choose a wood filler that closely matches the color of the surrounding wood for optimal results.
Also spackle may be able to fill small holes in wood, but its not specifically designed for this purpose and may not provide the best finish.
In a pinch, I’ve used spackle to fill in holes in wood trim, but you’ll always get better results using wood filler.
There are many different types of wood filler and wood putty, each with its own unique properties.
The key difference between wood filler and wood putty is that wood filler hardens once dried, allowing it to be sanded smooth for a flawless finish.
Wood filler is typically made of a combination of sawdust and a binder, while wood putty is usually made of a fine wood flour and a petroleum-based binder.
In addition, wood filler is typically sandable and can be stained, while wood putty cannot.
It’s important to choose the appropriate product for your project and consult the manufacturer’s instructions for proper use and application.
Unlike wood filler, wood putty does not harden and remains pliable.
But it’s ideal to use to fill in nail holes for stained and prefinished wood trim.
In fact, wood putty is best applied after the piece is finished and is only suitable for interior applications.
Clearly it’s important to choose the the right product, I made the mistake by applying wood putty when refinished a piece of furniture.
And when I applied the topcoat, it pulled the wood putty out of the holes.
In this case, I should have applied the wood putty after the topcoat was applied or used a wood filler prior to staining and sealing.
When filling holes or imperfections in wood surfaces, it’s important to choose the appropriate product for the project.
Wood filler and wood putty both have their own distinct qualities and should be used accordingly.
It’s always best to consult the manufacturer’s instructions for a smooth and professional finish.

[mailerlite_form form_id=2]
How Can I Ensure a Smooth, Professional Finish When Using Caulk, Wood Filler and Spackle
To ensure a smooth, professional finish when using caulk, wood filler, or spackle, it’s important to choose the appropriate product for the job and follow the manufacturer’s instructions.
In addition, proper preparation of the surface and the application technique can also contribute to a successful result.
It may be helpful to practice on a spare piece of wood or drywall before applying the product to your project.
And as always, be sure to allow the proper drying time before sanding, painting or finishing the surface.
Tips for Caulking Like a Pro

As I said before, Steph is a master caulker.
In fact, I always have her tackle the caulking job.
If you have long acryllic nails like me, they just get in the way.
Here’s her tips for a smooth and beautiful finish.
What you’ll need:
- good quality caulk gun
- scissors or utility knife
- sandpaper and scrap wood
- caulk
- damp cloth
Tips for caulking:
- Make a small angle cut at the tip of the caulk tube. (you can always enlarge the cut if it’s not large enough, but it’s best to keep the opening small.)
- Mark the top of the tip that will always be facing towards you.
- Sand the caulk tube tip at the angle it will pull across the moulding.
- Place finger over tip as the caulk gun is pulled across the moulding.
- Dampen finger on cloth and smooth area.
- Wipe any excess caulk with damp cloth.
First things first, make sure to cut the tip of your caulk tube at an angle and not too big.
Viscosity can vary among caulk brands, so it may be helpful to practice on a spare piece before applying to your project.
Next use a permanent marker to mark the top of the caulk tube.
This will help you know the direction in which the caulk tube should be rolled as you move around corners and angles.
Sanding the tip of the caulk tube can also help it glide smoothly as you caulk.
Take a piece of sandpaper and place it between 2 pieces of scrap wood at a 90 degree angle and glide the tip of the tube across the sandpaper a few times.
If you’ve done any caulking you know that as you caulk, your tip wears down a bit and it just slides better.
Sanding just get you that tip when you begin caulking.
When applying, Steph suggests placing a finger on top of the caulk tube’s tip and while gently squeezing and pulling across the surface.
This technique force caulk directly into the groove or cracks.
And not only helps with precision, but can also save on caulk usage.
Which means less mess, because you won’t get too much caulk on your project.

Then dampen your finger on a cloth and run your finger along the top of the caulk, if you need to smooth out any areas.
Finally with a damp cloth wipe away any excess caulk before it dries.
Let’s stay connected! Follow us on social media!
Tips for Using Wood Filler and Wood Putty
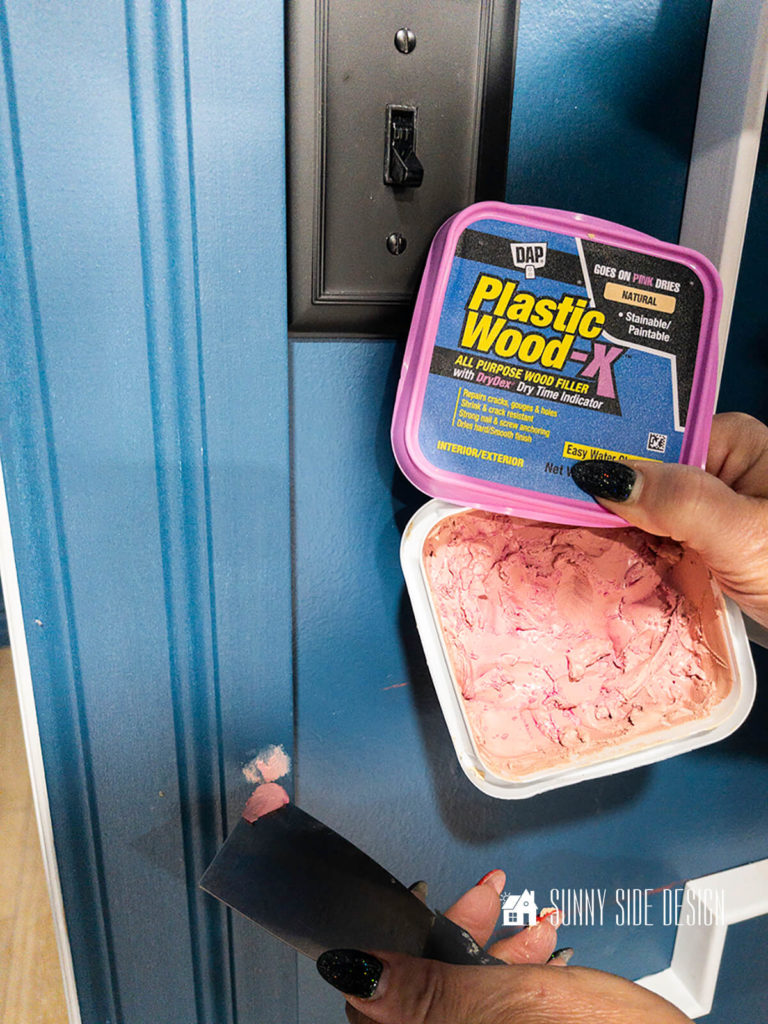
To apply wood filler, first prepare the surface by sanding away any rough edges and wipe clean with a damp cloth.
Then, using a putty knife, scoop out a small amount of filler and press it into the hole or imperfection.
I also find that sometimes it’s easier to press the wood filler into the hole with my finger.
In case there’s any shrinkage, I like to fill my holes a little high.
Next smooth the surface with the putty knife and allow to dry according to manufacturer’s instructions.
Once dry, sand smooth and finish as desired.
I like to use DAP Plastic Wood Filler with the DryDex dry time indicator.
It goes on pink and as it dries, the color changes from pink to a natural wood shade indicating the appropriate time to sand.
Certainly it takes all the guess work out of it.
Tips for Using Spackle
To apply spackle like a pro, it’s important to choose the appropriate type of spackle for your project.
For example, lightweight spackle is typically used for small holes in drywall, while heavier-duty options may be better suited for larger repair jobs on plaster walls.
It’s also helpful to use a putty knife or similar tool for smooth, even application.
Before painting or finishing the surface, be sure to allow the proper drying time according to manufacturer’s instructions and sand as necessary for a smooth finish.
Keep in mind that spackle is not typically suitable for filling holes in wood surfaces; wood filler or putty may be a better option for these types of projects.
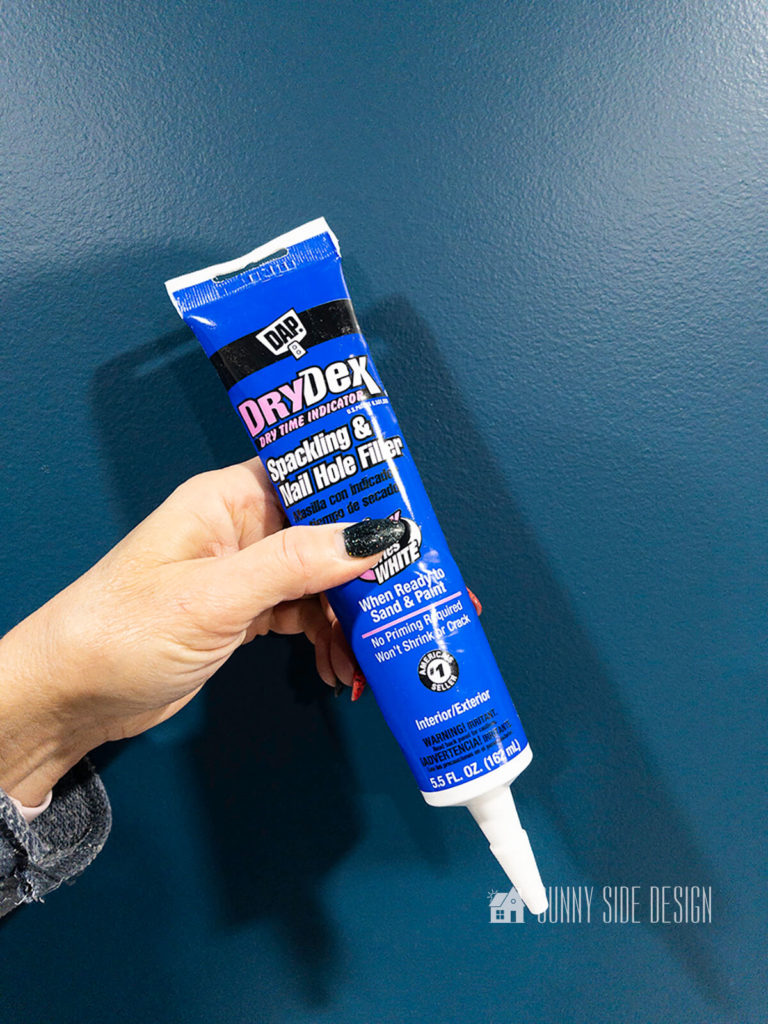
I prefer to use DAP DryDex spackling and nail hole filler.
Just like the DAP wood filler, the DryDex goes on pink and drys white when it’s ready to sand.
It just takes the guess work out.
Shop Caulk, Putty & Spackle Supplies
Successfully Use Caulk, Wood Filler and Spackle

To achieve a smooth and professional finish when using caulk, wood filler, or spackle, it’s important to choose the appropriate product for the job, properly prepare the surface, and carefully apply according to manufacturer’s instructions.
And remember practice makes improvement.
With practice you too can achieving successful results with your home DIY projects.
To see more of this home office library click here.

Are you ready to try try some our tips using caulk, wood filler and spackle in your home?
If you try this out in your home, please share your results!
Drop us a comment and let us know what you think of this project.
We’d love to hear from you!
Please share your thoughts and questions with us.
If you’re new here, WELCOME! We love having new readers and friends!
You can learn more about us here.
Let’s stay connected!
Subscribe to our free newsletter so you don’t miss any inspiration for your home.
Please PIN and save for later, and share with your friends!
Sharing helps grow our following!
Thanks for stopping by and as always here at Sunny Side Design…
WE HOPE TO BRING YOUR HOME TO THE SUNNY SIDE OF THE STREET.
Sharing is caring!

Retailers We Love
- Anthropologie
- Birch Lane
- Crate & Barrel
- Joss and Main
- Lampsplus
- Mark & Graham
- One Kings Lane
- Pottery Barn
- Rejuvenation
- Serena & Lily
- Wayfair
- West Elm
- Williams Sonoma
- World Market
Be sure to follow us on Pinterest for even more home decor and DIY ideas.
To see what we are working on before it’s on our blog, follow us on Instagram.
You will also find our video tutorials on our YouTube channel.
- Paint an Old World Texture Finish on a Vase

- Easy Strawberry Chicken Salad with Lime Maple Balsamic Vinaigrette
- How to Fix Chipped Kitchen Cabinets with a Pen
- Easy 4th of July Door Decor You Can Make in Minutes


Thanks for the tips…especially the DAP Dry-Dex turning colors…that’s a great one! : )
What color of BLUE did you use for that gorgeous wall..? I just love it!
Have a great day!
~ Hope ~
Thank you Hope, I’m so glad you found this helpful. The wall color is called Deep Breath by Behr. It’s really a gorgeous color. Have a wonderful day!
This s a great post. Thanks for sharing.
Thank you Renae, a few tips we’ve learned along the way. Have a wonderful day.