Adding a touch of elegance and personality to your home with this quick and easy DIY mirror frame that’s made from a plate charger.
Mirrors are a quick and easy way to update your home decor. Not only do they reflect light, making rooms brighter, but they can also add a touch of glam to any space. However, often store-bought mirrors can nearly break-the-bank!
No need to worry, today we have an idea for a DIY mirror frame than not only looks gorgeous, but it is also quick, easy and inexpensive to make.
To see more DIY projects from this bedroom makeover click any link below.
- How To Paint a Room with Pro Results
- Built In Desk | Upcycling At Its Best
- Upcycle Idea | Transforming Twin Bed to Daybed
- How To Refinish Furniture | With a Raw Wood Look
- DIY Canopy for a Bed | Fit for a Princess
- Shelf Decorating Ideas | A Step by Step Guide
- Roman Shade | How to Make Them Yourself
- How To Reupholster a Chair | with French Country & Boho Flair
- French Country Chandelier with Boho Flair
- DIY Mirror Frame | Quick and Easy Idea
- Antique Hardware For Dresser
- Bedroom Ideas for Tweens |Girl Room
- Area Rug For Bedroom | Top Ideas For Tween Girl
- How To Make a Bolster Pillow
- How To Make an Envelope Pillow
Sunny Side Design is a participant in the Amazon Services LLC Associates Program, an affiliate advertising program designed to provide a means for sites to earn advertising fees by advertising and linking to Amazon.com. As an Amazon Associate, this blog earns from qualifying purchases with no additional cost to you. Click here to read our full disclosure policy.
DIY Mirror Frame Supplies:
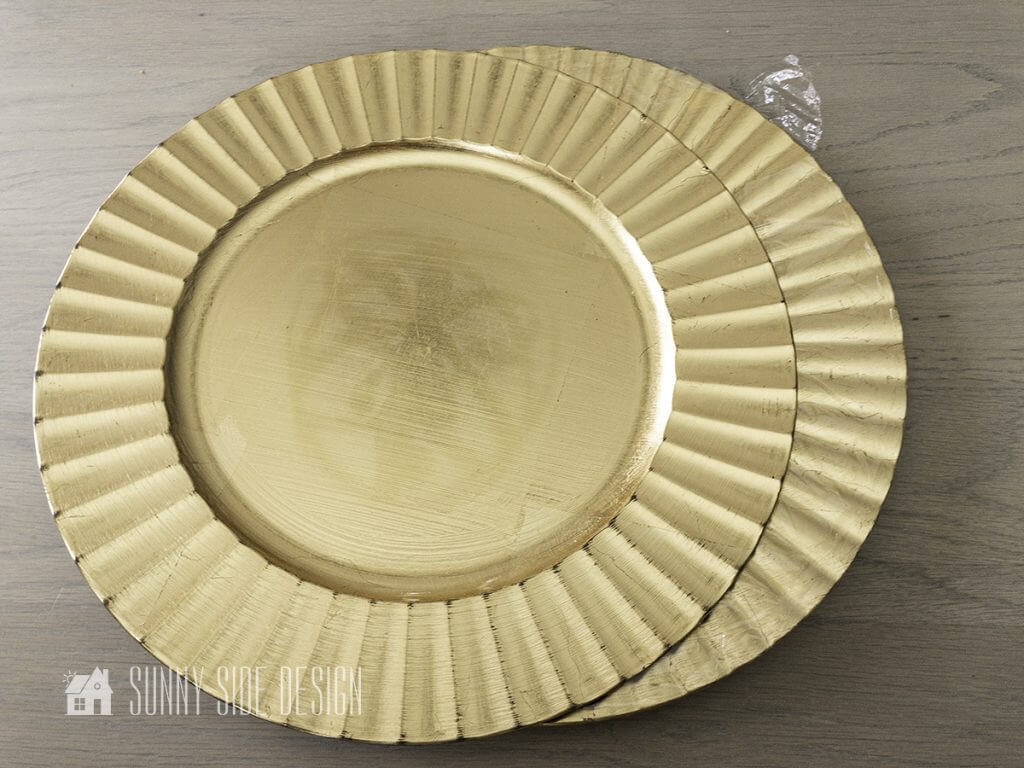
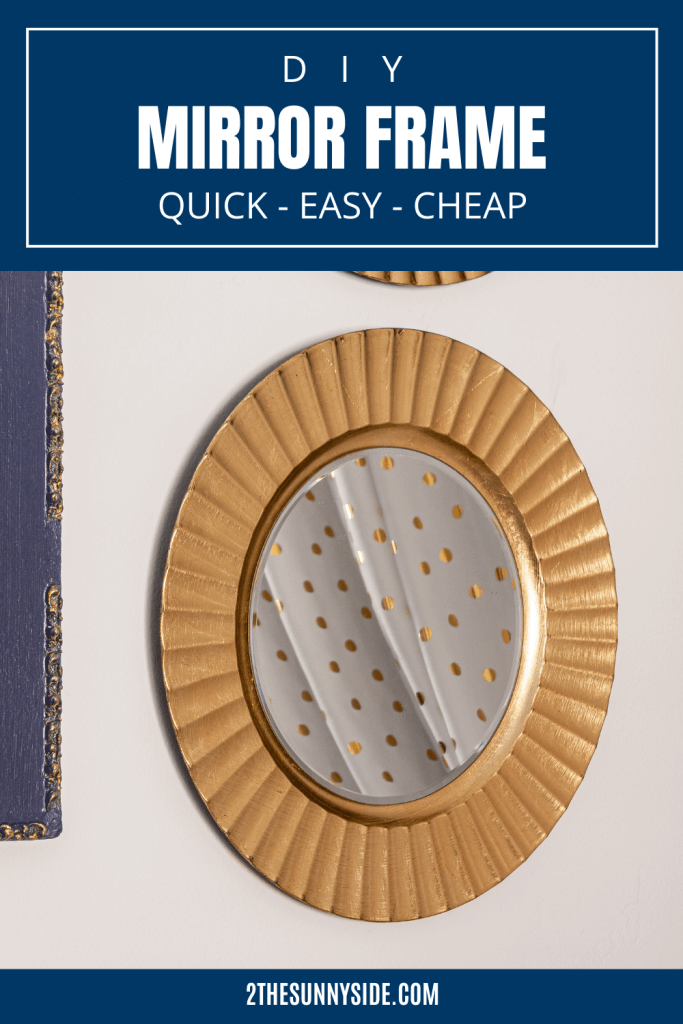
While we were shopping for the finishing touches for Ellies bedroom, we came across these fluted chargers. We immediately thought they would be beautiful mirrors in Ellies bedroom.
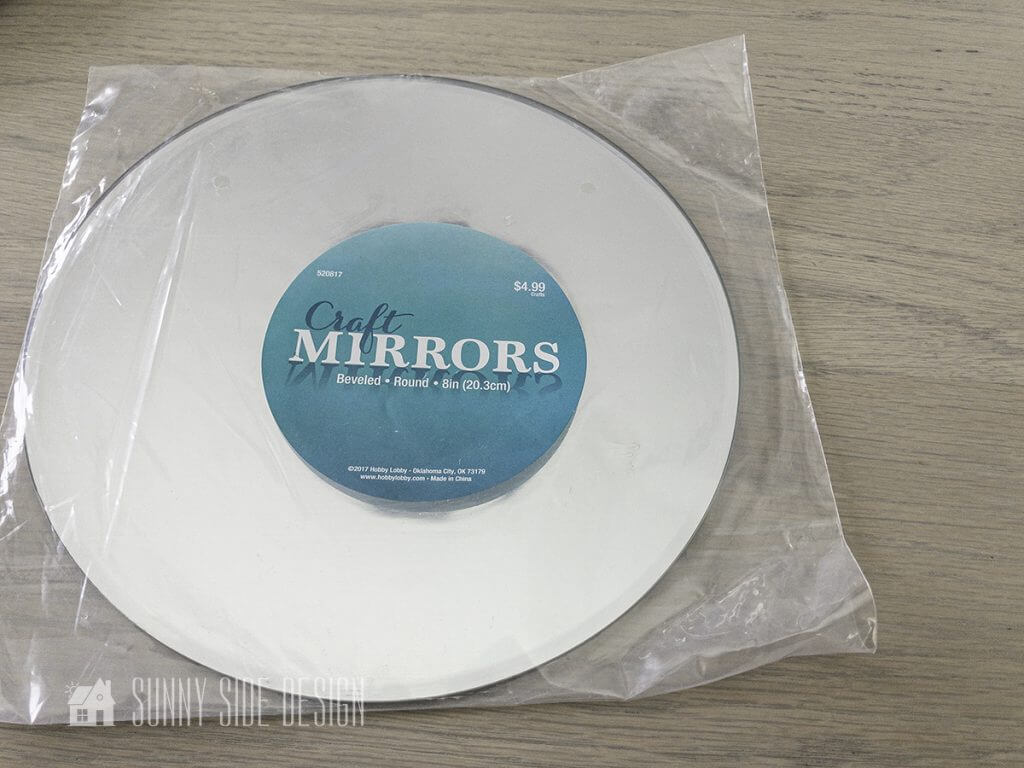
We purchased the 3 gold chargers from At Home, for $2.99 each. I have also seen beautiful chargers even at Dollar Tree. Shop around there are many great choices. Beveled mirrors to fit our chargers were purchased at Hobby Lobby. Craft mirrors are readily available at most craft stores.

These adhesive plate hangers were purchased at Hobby Lobby to provide a way to hang our chargers. They are also available on Amazon.
You will also need an adhesive that is for mirrors. Not just any adhesive will work, some adhesives can damage the reflective coating on the mirror. Be sure to read the label before purchasing. We used Gorilla Glue Construction Adhesive.
Attaching Hanger to Charger

To prep the surface for the adhesive plate hanger, we wiped the back of the charger plate with rubbing alcohol.
Are you enjoying this project? Please Pin It, save it for later and share it with a friend.
Sharing is caring!

To activate the adhesive disk, wet fingers and mix a little water on the backside of the disk. This will activate the glue. Let sit for 3 minutes and repeat by wetting fingers and rub the adhesive again. Let sit for 3 minutes and then position onto the charger. Make sure it is centered on the charger.
Note: I have used these adhesive plate hangers before for a large plate wall. They worked like a charm!
I’m not sure if it was because the surface was plastic, but when we went to hang it, the hanger pulled off the charger.

We still used them however, we just used some Gorilla Glue Construction Adhesive to adhere them.
If you’re new here, welcome! We’re so glad you’re here.
Let us introduce ourselves, we’re Michelle and Steph, a mom and daughter team who love to DIY and decorate our homes.
Not only are we passionate about making our homes warm, comfortable and unique, but it’s our mission to help you create that same feeling in your own home.
You’ll find ideas for repurposing, creating, decorating and making your home truly yours, while always mindful of a tight budget.
Undoubtedly we love finding ways to make your home look high-end on a small budget.
Plus you’ll also find a recipe or two as we share our family favorites with you.
We’d love it if you’d join our community of doers so you won’t miss any inspiration for your home.
We love new friends.

[mailerlite_form form_id=2]
Adhere Mirror to Frame

As we stated before, be sure to use an adhesive that is appropriate for mirrors. Check the label first!
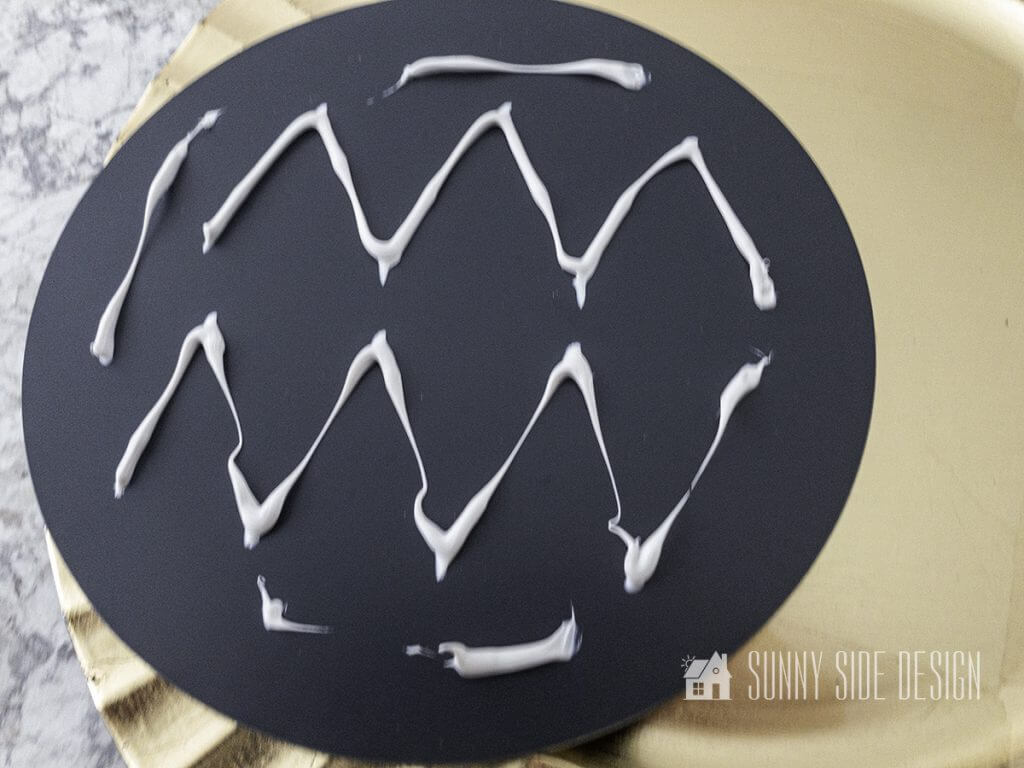
Liberally apply adhesive to the back of the DIY mirror.

Center and press mirror firmly onto charger plate. Let sit for 24 hours to fully cure.
That’s it! This is a quick and easy way to DIY a mirror, that not only looks gorgeous, but it’s inexpensive too. Can’t beat that!
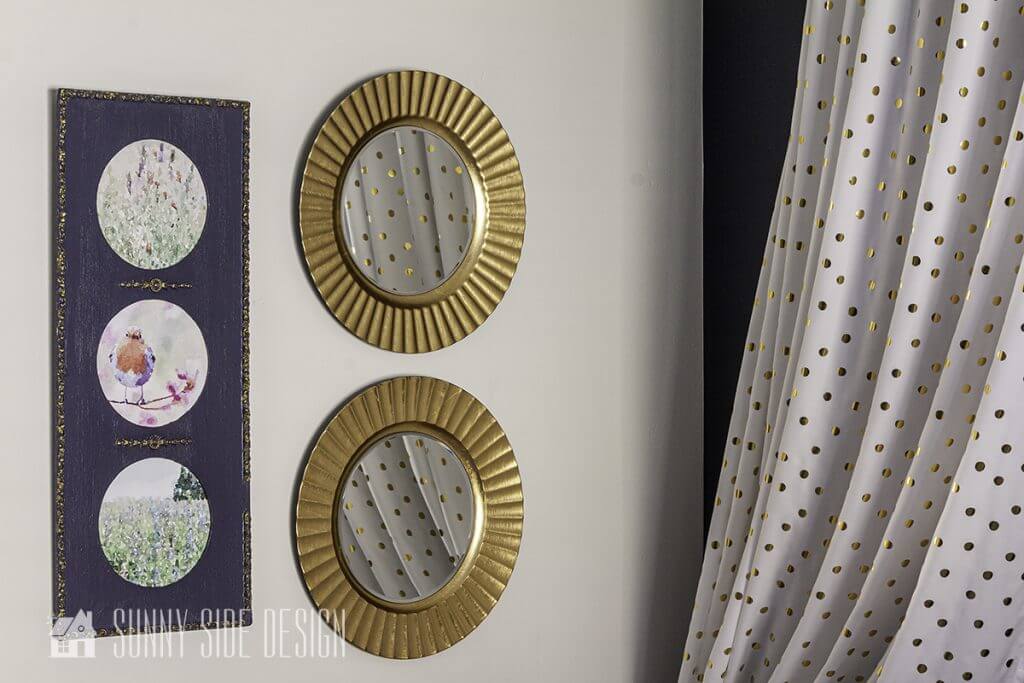
We made 3 of these DIY mirror for Ellies bedroom, two were hung over her beautiful French daybed and one we placed on a shelf in her Upcycled Built In Shelves.
For more DIY ideas for your home checkout our 50 Amazing Flea Market Flips.
More DIY home decor projects to try:
- Easy Fiber Wall Art a West Elm Dupe
- How to Make a Topiary Tree That Looks Real
- Guide to Free Printable Wall Art Online
- Simple and Stylish Cane Tray
- Pottery Barn Color Block Vase Dupe
- Easy Pedestal Tray from Thrift Store Finds
- Paint a Vase with an Aged Look
- Simple Painted Lamp Base
- Make a Beautiful Faux Tree
- Pottery Barn Brooks Cross Bar Hurricane Dupe
- Faux Concrete Planter with Plaster
- Update a Vintage Lampshade
- Decorating a Pillow with Paint
- Easy Coffee Filter Flowers with Bling
- How To Resize A Canvas
- Easy Embellished Lampshades
Let’s stay connected! Follow us on social media!
Mirror Reveal

We love the glimmer of the gold as well as the reflective quality of the mirrors in this tween bedroom.
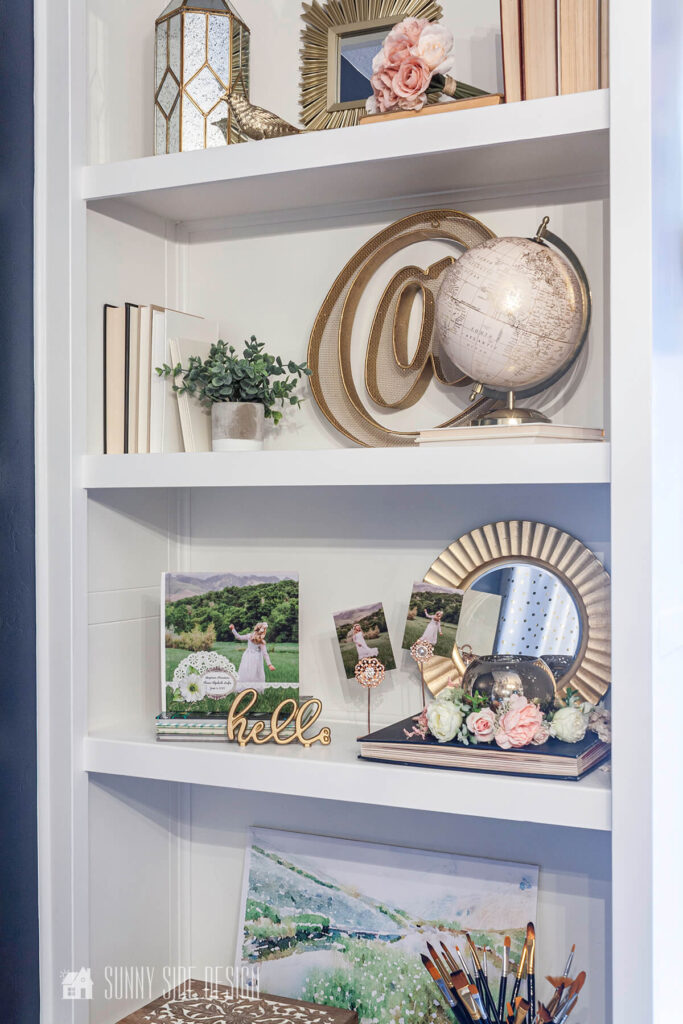
On the shelves it adds a little shimmer and shine.
The beautiful watercolor prints that we have used in Ellies room are now available on our website. Click the shop tab for more information.
Is this a project you would like to try?
We hope you found some inspiration for your home today.
Please share your tips and ideas with us.
We love hearing from you!
If you’re new here, WELCOME! We love having new readers and friends!
You can learn more about us here.
Let’s stay connected! Join our DIY community of doers and you won’t miss the weekly updates and more inspiration for you always on a budget.
Sharing is caring!
Thanks for stopping by Sunnyside Home. Empowering you to create a home you love!
Retailers We Love
- Anthropologie
- Birch Lane
- Crate & Barrel
- Joss and Main
- Lampsplus
- Mark & Graham
- One Kings Lane
- Pottery Barn
- Rejuvenation
- Serena & Lily
- Wayfair
- West Elm
- Williams Sonoma
- World Market
Be sure to follow us on Pinterest for even more home decor and DIY ideas.
To see what we are working on before it’s on our blog, follow us on Instagram.
You will also find our video tutorials on our YouTube channel.
- Creating a Cozy Outdoor Living Room with Thrifted Finds

- The Best ‘Berry in Love’ Bridal Shower Ideas
- Paint an Old World Texture Finish on a Vase
- Easy Strawberry Chicken Salad with Lime Maple Balsamic Vinaigrette