Looking for clever ideas to create your own wall art? Learn how to make this unique DIY wooden sign decor, with faux metal to create cheap vintage wall art.
Sunny Side Design is a participant in the Amazon Services LLC Associates Program, an affiliate advertising program designed to provide a means for sites to earn advertising fees by advertising and linking to Amazon.com. As an Amazon Associate, this blog earns from qualifying purchases with no additional cost to you. Click here to read our full disclosure policy.
Inspiration for DIY Wooden Sign Decor
Hi Friends! Welcome back! A big welcome to all of our new subscribers! We’re so glad to have you all here!
Decorating a room is so much fun, especially when you’re working around a theme.
To say that our youngest, Mr. A loves his cars would be the understatement of the century! I can’t even begin to describe how much he loves his cars.
So where did I get my inspiration for this vintage faux metal Route 66 sign decor?
As you know from other elements in this Ultimate DIY Cars Bedroom, I’d incorporated this faux diamond plated metal into the design of the Tool Chest Dresser and the Cheap and Unique Headboard.
I’d already been planning to make some sort of wall art to hang above the USA map art.
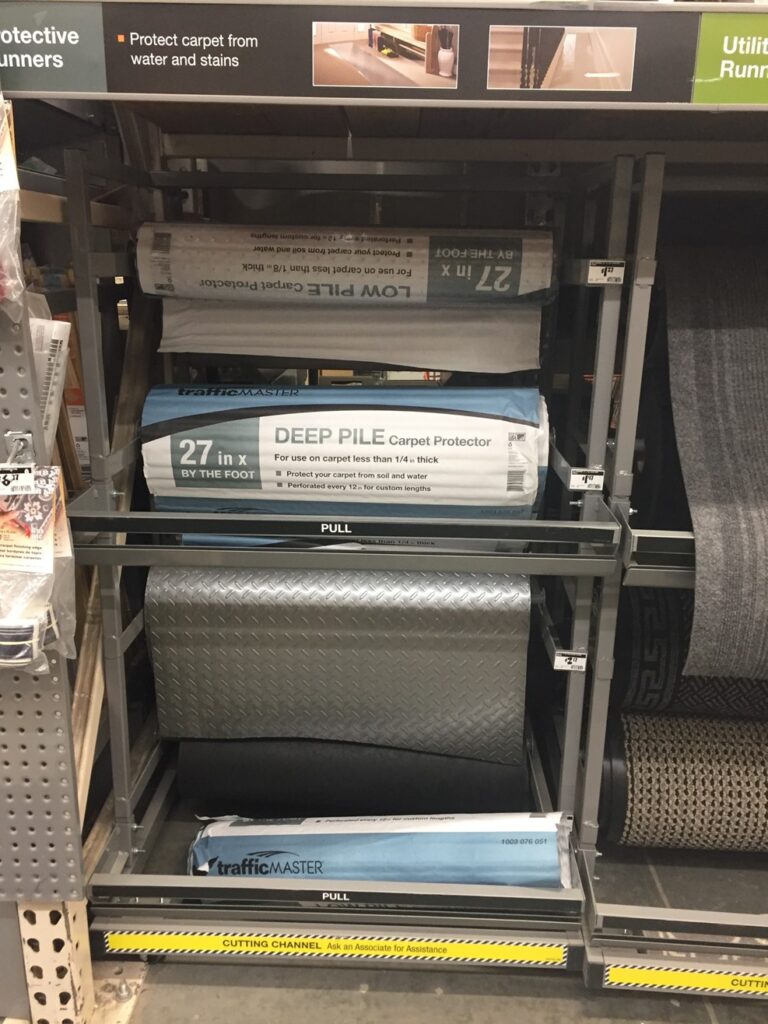
When I came across this diamond plated metal look carpet protector for the dresser top, I knew I wanted to incorporate it throughout the room!
(This runner, sold by the foot may only be available in store at your local Home Depot, however I did find a ton of similar options they have available online. Take a look.)
Are you enjoying this project? Please Pin It, save it for later and share it with a friend.
Sharing is caring!
Applying faux metal to the DIY Wooden Sign Decor
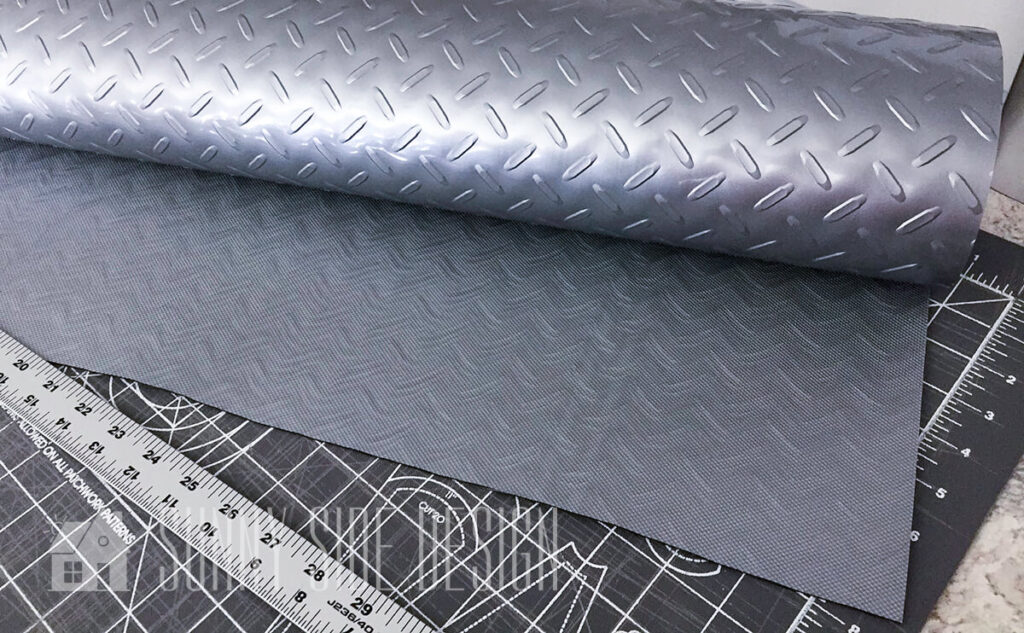
As mentioned in the DIY dresser and headboard posts, this carpet protector is really easy to work with.
Once you have the dimensions of your DIY wooden sign decor, you can measure and cut the carpet protector to size.
(For the base of this wooden sign I used a scrap piece of MDF and cut it about the same length as the USA map art.)
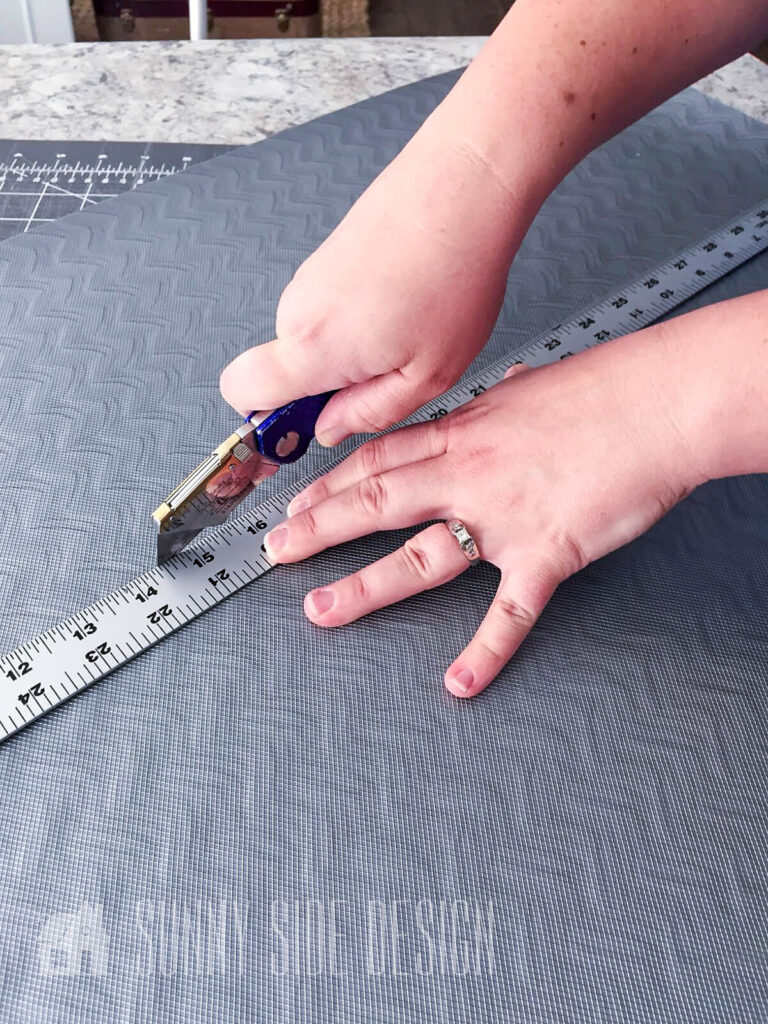
The quickest way I found to make a nice straight edge was to use my cutting mat, ruler and a utility knife.
Scissors also work well to cut this! They actually worked a lot better than I thought they would. You can definitely use scissors to cut the entire piece if you don’t have access to these other tools.

I used this contact cement by DAP. It was really easy to use, had very little to no odor and has a strong and durable bond.
Be sure to follow the directions for accurate application tips, and specific dry times.
I used a small foam roller to apply the adhesive to the scrap piece of MDF as well as the carpet protector.
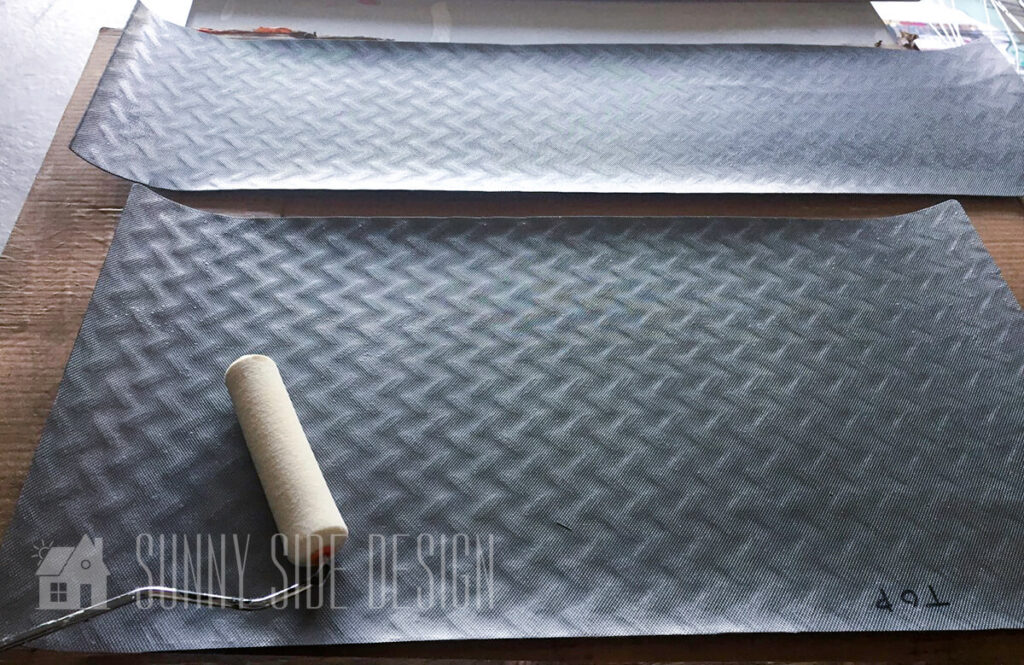
(Just to clarify so I’m not confusing you…I worked on both the dresser top and this DIY wooden sign decor projects at the same time. That’s why there are two pieces of carpet protector in this picture.)

Carefully line up the carpet protector and press into place. You may need an extra set of hands for this step if you’re working with a large piece.
If you’re new here, welcome! We’re so glad you’re here.
Let us introduce ourselves, we’re Michelle and Steph, a mom and daughter team who love to DIY and decorate our homes.
Not only are we passionate about making our homes warm, comfortable and unique, but it’s our mission to help you create that same feeling in your own home.
You’ll find ideas for repurposing, creating, decorating and making your home truly yours, while always mindful of a tight budget.
Undoubtedly we love finding ways to make your home look high-end on a small budget.
Plus you’ll also find a recipe or two as we share our family favorites with you.
We’d love it if you’d join our community of doers so you won’t miss any inspiration for your home.
We love new friends.

[mailerlite_form form_id=2]
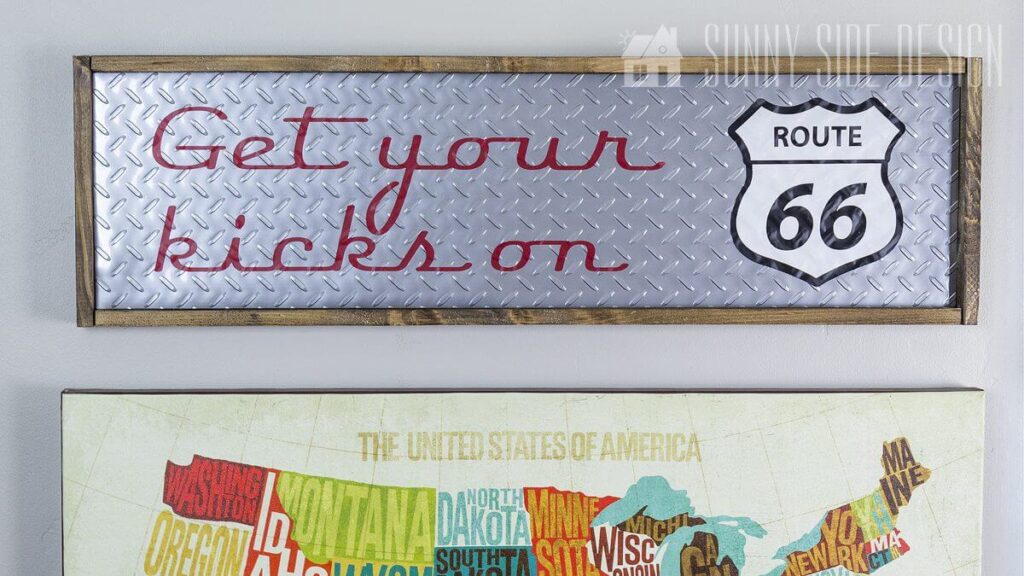
Adding Vinyl To the DIY Wooden Sign Decor

A quick and easy way to add the saying and Route 66 image to this DIY wooden sign decor is to add vinyl.
We used our silhouette machine with font type “magneto” to create the “Get your kicks on” portion of the saying, in red vinyl.
The Route 66 symbol was downloaded from the silhouette store and cut in black and white.
The black symbol was solid without any words and was cut about 1/4″ larger than the white piece to create the border.
The white symbol with “Route 66” cut out was then applied to the top of the black piece.
(Because the vinyl was applied to the textured surface of the carpet protector, there were many air bubbles underneath the vinyl. To remove the air bubbles, I simply took the weeding tool and poked a small hole in the vinyl to push out the air and remove the bubbles.)
If you don’t have a cricket or silhouette machine you can always search on Etsy to find a shop that does custom vinyl cutting.
Let’s stay connected! Follow us on social media!
Building The Frame For The DIY Wooden Sign Decor
I’m drawn to the straight and simple lines of the ever popular farmhouse style frames.
They’re pretty simple to make, and adding this faux diamond plated metal onto the sign creates the unique piece of wall art I was after.
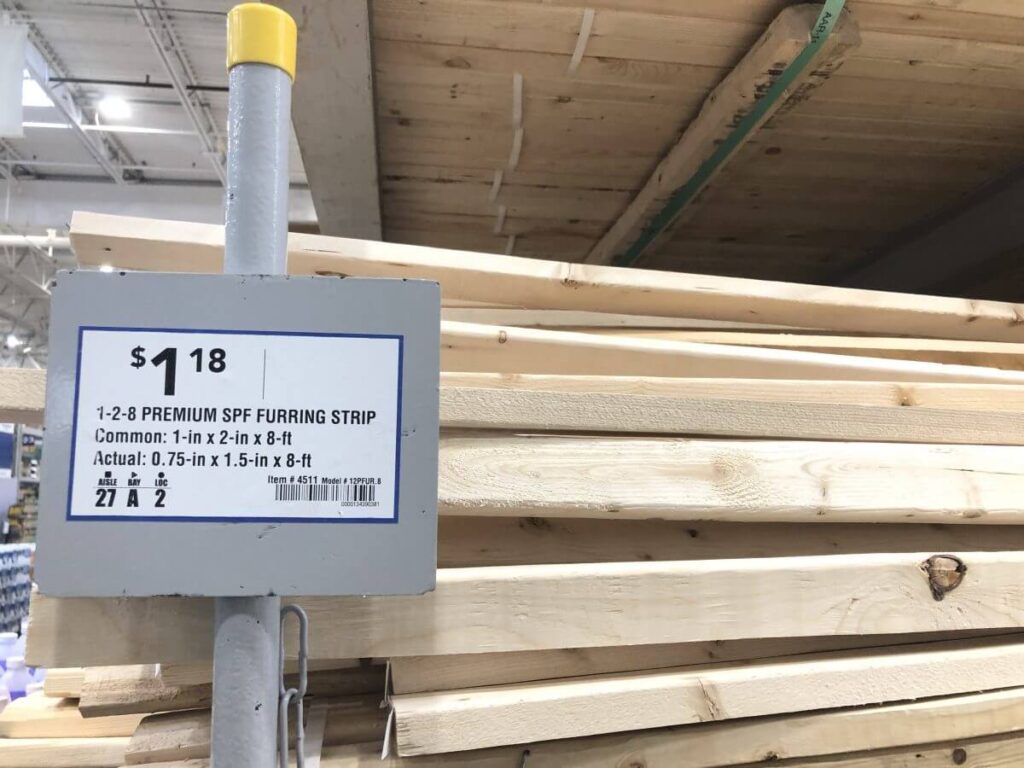
To create the frame for this DIY wooden sign decor, we used a 1×2 furring strip which can be found at your local hardware store.
When finding that perfect piece for your frame be sure to look for one with minimal to no knots in the wood, as well as a strip that isn’t bowed.

Creating this farmhouse frame is really simple to do.
Line the furring strip along the bottom edge of the MDF board, butting it up to one edge. Then mark with a pencil the length of the MDF board at the other edge.
Repeat this for the top of the MDF board.
Once the top and bottom frame edges have been marked and cut, line them up along the piece of MDF.
Then take the furring strip and line it up on each side of the MDF board. This piece will be positioned flush with the entire length of the piece of MDF and both the top and bottom edges of the horizontal furring strips. Once the strip is square, mark with a pencil and cut to size.

We used our table saw, but you could also use a chop saw, or whatever you have access to.

Before applying the furring strips to the MDF board, we waxed the wood to create that vintage and aged look.
To attach the furring strips you’ll need some wood glue, pneumatic nail gun and an air compressor.
If you don’t have access to these tools you can use a good old hammer and nails.
(You can skip using any tools altogether if you want. Add a fair amount of wood glue to each furring strip and secure each board into place using large clamps. Allow the wood glue to fully cure before removing the clamps.)
Begin with the horizontal pieces. Apply a strip of wood glue along the edge of the MDF, line up the furring strip, keeping it flush with the vertical edges of the MDF and secure into place with the pneumatic nailer.
Repeat this for both the top and bottom horizontal pieces.
Then line up the vertical side pieces, apply wood glue and secure into place.
That’s it! Now you’re ready to admire your DIY wooden sign decor in your home.
You can get pretty creative with making your own DIY wooden sign decor. You can see some of the other decor items we’ve created using this farmhouse frame look.
Target Dollar Spot Finds for home decor
Valentine Decor using Gold Leaf
We hope you found some inspiration for your home today.
Please share your tips and ideas with us.
We love hearing from you!
If you’re new here, WELCOME! We love having new readers and friends!
You can learn more about us here.
Let’s stay connected! Join our DIY community of doers and you won’t miss the weekly updates and more inspiration for you always on a budget.
Sharing is caring!

Thanks for stopping by Sunny Side Design. Empowering you to create a home you love!
DISCLAIMER
This blog’s content is for entertainment purposes only and is not professional advice. By reading this blog and attempting to recreate a project, you assume all responsibility for any injuries or damages incurred. Read my full disclaimer here.
PHOTO USE AND CONTENT SHARING
All of the photographs you see here are the property of Sunny Side Design unless otherwise credited.
We love for others to share our work, so please feel free to use one photo with a link back to our website.
Pinning and sharing is always encouraged!
Please do not reproduce other Sunny Side Design content without permission.
Retailers We Love
- Anthropologie
- Birch Lane
- Crate & Barrel
- Joss and Main
- Lampsplus
- Mark & Graham
- One Kings Lane
- Pottery Barn
- Rejuvenation
- Serena & Lily
- Wayfair
- West Elm
- Williams Sonoma
- World Market
Be sure to follow us on Pinterest for even more home decor and DIY ideas.
To see what we are working on before it’s on our blog, follow us on Instagram.
You will also find our video tutorials on our YouTube channel.
- Fourth of July Decorating Ideas You’ll Love This Summer

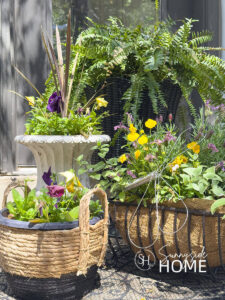
- Simple and Creative Planter Container Ideas from Thrifted Finds
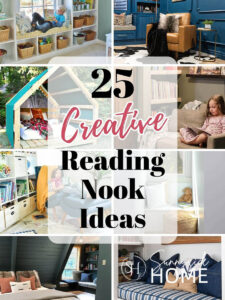
- 25 Must See Simple and Creative Reading Nook Ideas
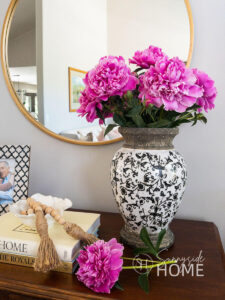
- How to Make Peonies Last Longer with 7 Simple Tricks