Do you have outdoor furniture that’s seen better days? If you’ve got metal patio furniture, maybe it’s a little rusty or a lot rusty. Scroll down and see what my chair looked like before the makeover.
I purchased this chair from the vintage market a couple of years ago. Would you believe I was actually drawn to the aqua blue color and the bits of rust?
As you know we love old, worn and vintage items that have a sense of history. Well if you’ve had anything start to rust before, you know how quickly it can spread.
As a result of my chair sitting out in the elements, this worn vintage chair soon looked too shabby and was no longer chic. In fact, you couldn’t even sit on it anymore, because the rust would transfer to your clothes.
Obviously, a makeover was in order. So with a little elbow grease, we were able to rid this vintage chair of its rust and breathe new life into old rusty furniture.

Can you see the beauty of this piece of furniture hiding under all of this rust?
What You’ll Need to Restore Rusty Furniture
Tools:
- grinder or sander
- drill with wire brush attachments
Supplies:
Sunny Side Design is a participant in the Amazon Services LLC Associates Program, an affiliate advertising program designed to provide a means for sites to earn advertising fees by advertising and linking to Amazon.com. As an Amazon Associate, this blog earns from qualifying purchases with no additional cost to you. Click here to read our full disclosure policy.
Restoring Metal Chair in Action
Step 1: Prepare Rusty Furniture for Paint

As you can see, my rusty furniture needed prep work before we could paint.
Now my sweet husband is not really a fan of painting or refinishing furniture. However, with my busy schedule he offered to use the grinder to remove the rust. Clearly I wasn’t going to turn down his offer.
Depending on the condition of your outdoor furniture you may not need to sand.
If the paint is not flaking and the metal surface is not pitted you can skip this step and just apply Rust-oleum’s Rust Reformer. It will convert the rust into a protected paintable surface.
Steve used a “flap disk” (60 grit) on the grinder to remove the chipping paint and rust.

In addition to the grinder, we also used wire brush attachments on the drill to remove paint and rust.

As you can see the wire brush will fit into small areas the grinder will not.

After we had removed the chipping paint and rust, we used a damp cloth to wipe down the chair.
If you decide that you do not need to sand or grind your rusty furniture, be sure to clean your piece well before applying the Rust Reformer.
This will ensure that the primer and paint will adhere well to your surface.
Are you enjoying this project?! Please Pin It, save it for later and share it with a friend.
Sharing is caring!
Step 2: Primer

While there are many spray paints with primer, from my experience when working with rusty furniture you’ll want to use a product that will stop the rust from spreading.
That is exactly what this product from Rust-oleum does, it converts the rusty areas on your furniture to a protected paintable surface.

Apply the Rust Reformer on all sides of the rusty metal furniture.
Spray in long strokes, pressing and releasing the nozzle at the beginning and end of each pass.

This will ensure that you will not get paint runs on your surface.
Step 3: Apply Exterior Spray Paint
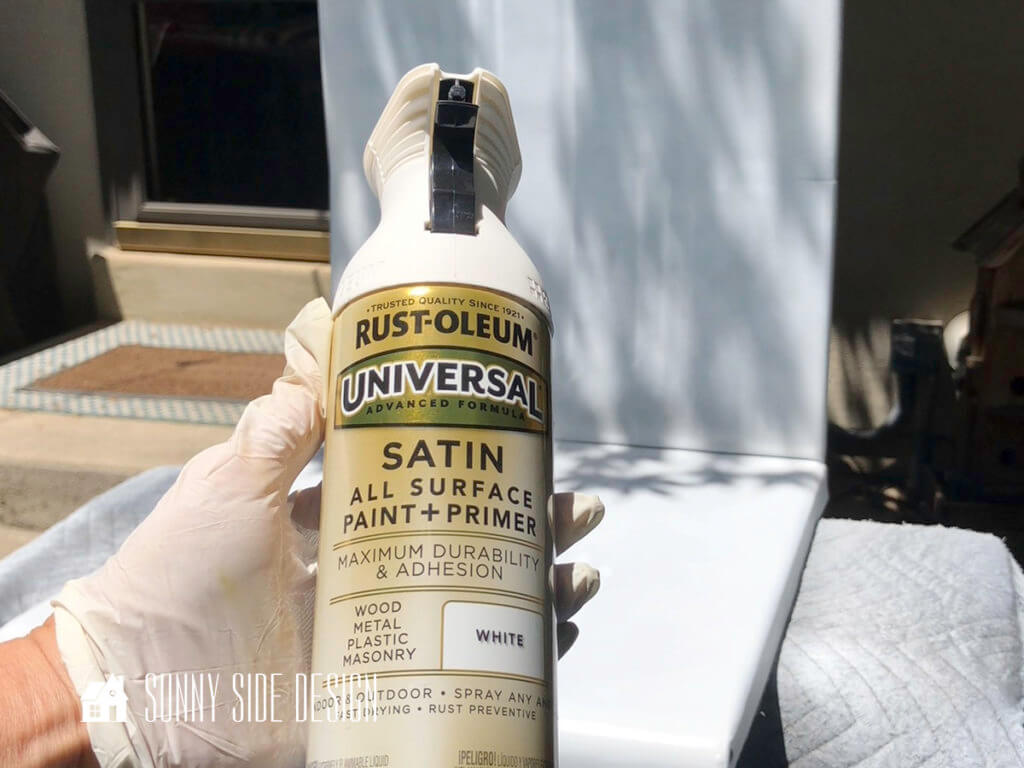
To ensure that your metal furniture will stay looking good for years to come, choose an exterior spray paint.
In the same way the Rust Reformer was applied, apply 2 coats of spray paint, using long strokes, pulling the trigger slightly off the piece and releasing the trigger at the end of the stroke.
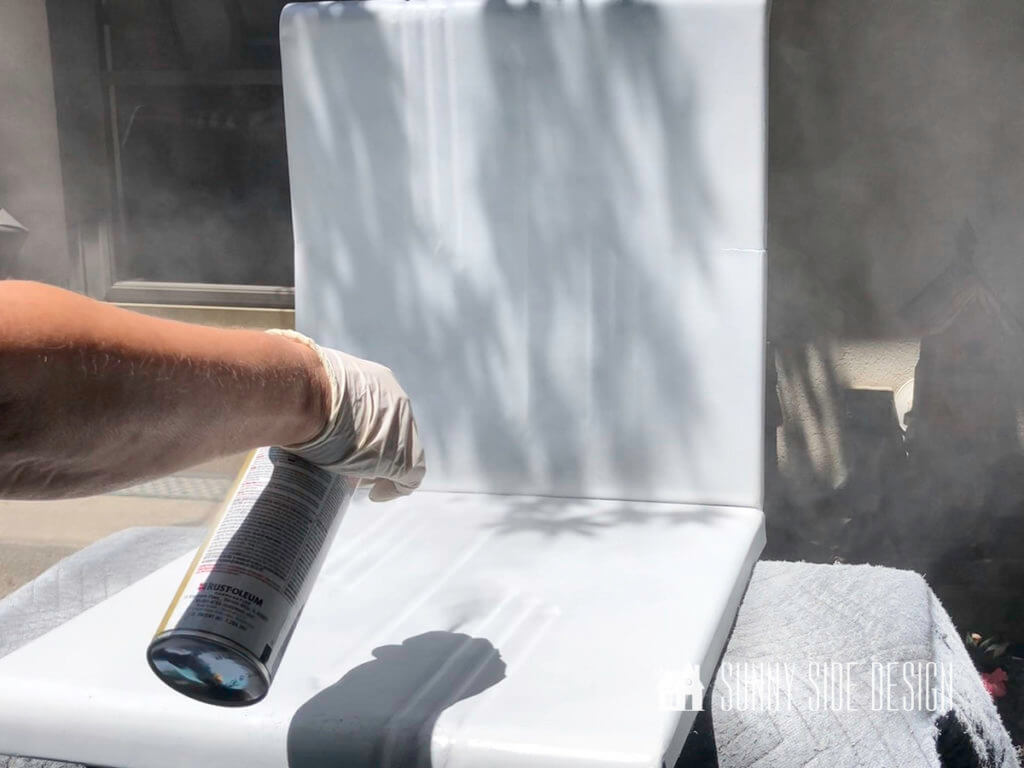
Additionally, make sure you hold the paint can 6-12 inches from your furniture and do 2 light coats.
In my opinion, nothing is worse than trying to rush a project by applying the paint to heavy and then getting runs in the finish.
Also, I must say that I love the trigger pull of the Universal spray paint. I found that I had much less hand fatigue.
In fact, I wish all spray paint cans had this feature.

For the leg and arm piece of this chair, I chose a contrasting color.
If you’re new here, welcome! We’re so glad you’re here.
Let us introduce ourselves, we’re Michelle and Steph, a mom and daughter team who love to DIY and decorate our homes.
Not only are we passionate about making our homes warm, comfortable and unique, but it’s our mission to help you create that same feeling in your own home.
You’ll find ideas for repurposing, creating, decorating and making your home truly yours, while always mindful of a tight budget.
Undoubtedly we love finding ways to make your home look high-end on a small budget.
Plus you’ll also find a recipe or two as we share our family favorites with you.
We’d love it if you’d join our community of doers so you won’t miss any inspiration for your home.
We love new friends.

[mailerlite_form form_id=2]
Embellish Metal Chair with Paint

I think adding little details to a painted piece really make it unique and fun.
Since my chair had embossed arrow markings on the chair, I thought it would be fun to make them more prominent.
So using my favorite Frog Tape I masked off the chair, revealing the design.
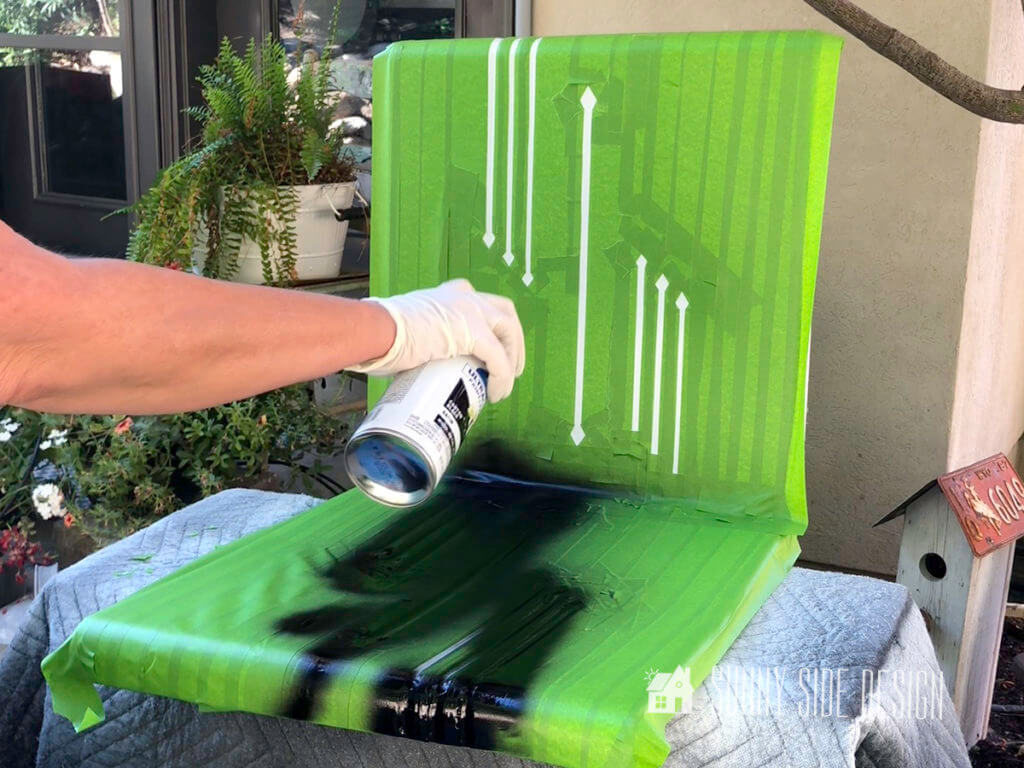
Then I applied the contrasting black spray paint.
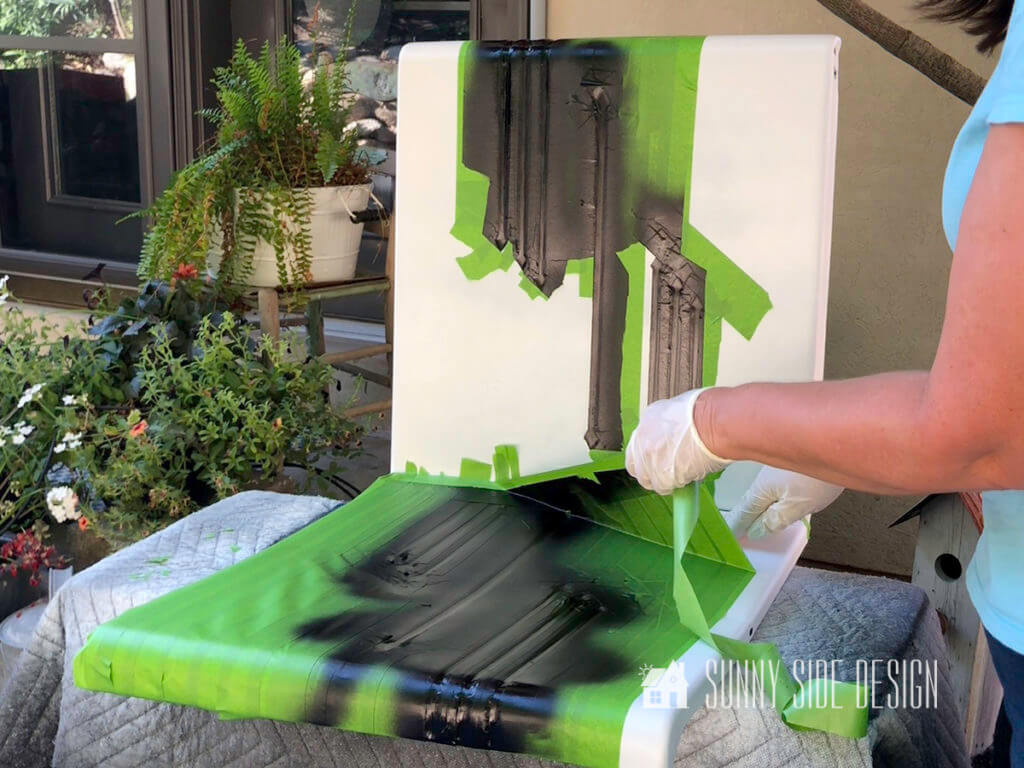
Once the design was completely painted, I remove the masking tape.
Anytime you use masking tape, it’s important to remove the tape while the paint is still wet.
This will prevent the paint from pulling off when the tape is removed.
Let’s stay connected! Follow us on social media!
Restored Metal Furniture

Oh my goodness! Don’t you love the way this chair turned out.
I believe that I love it more than when I first saw this rusty chair.

Without a doubt, it still has that vintage vibe that I love, and it looks so good out on my patio.
Creating a space in your yard where you can relax and enjoy nature is so good for the soul.
If you have cast aluminum furniture that’s look faded and chalky, click here and learn how to fix if fast!
For more ideas for your backyard, take a look at these ideas:
- Easy DIY Outdoor Stone Steps on a Slope
- How to Install a Paver Patio
- How to Make a Simple Planter Box on Wheels
- How to Fix Old Rusty Metal Outdoor Furniture
- How to Make a Modern Deer Fence for Your Garden
- Create an Outdoor Living Space You’ll Love
- Simple Outdoor Entertaining Ideas on a Budget
- 30 Inexpensive and Easy Backyard Patio Ideas
- How to Make a Cheap and Easy Garden Path
- Essential Steps to Landscaping your Front Yard
Do you have old rusty furniture just waiting to be restored?
Please tell us about it, we’d love to hear.
Did you find this tutorial helpful?
You know we love to hear from you, drop us a comment below.
We hope you found some inspiration for your home today.
Shop Vintage Inspired Patio Furniture

If you’re new here, WELCOME! We love having new readers and friends!
You can learn more about us here.
Let’s stay connected! Join our DIY community of doers and you won’t miss the weekly updates and more inspiration for you always on a budget.
Please Pin this post, save it for later and share it with a friend.
Sharing is caring!

Thanks for stopping by Sunnyside Home. Empowering you to create a home you love!
Retailers We Love
- Anthropologie
- Birch Lane
- Crate & Barrel
- Joss and Main
- Lampsplus
- Mark & Graham
- One Kings Lane
- Pottery Barn
- Rejuvenation
- Serena & Lily
- Wayfair
- West Elm
- Williams Sonoma
- World Market
Be sure to follow us on Pinterest for even more home decor and DIY ideas.
To see what we are working on before it’s on our blog, follow us on Instagram.
You will also find our video tutorials on our YouTube channel.
- 25 Must See Simple and Creative Reading Nook Ideas

- How to Make Peonies Last Longer with 7 Simple Tricks
- How to Build a Birdhouse with CharmingThrift Store Finds
- Simple Clay Pot Lighthouse Garden Decor Project