Awe…Spring, glorious Spring! Who else is LOVING this beautiful weather?! Temperatures have been nearly perfect (except for the one day last week it decided to snow again 🤦…but not to worry, it melted later that day). I love seeing the forsythia, tulips and other spring flowers in full bloom. Soccer season is also in the full swing! All 3 kiddos are playing which means Saturdays are pretty much full of games, but I wouldn’t have it any other way. I love watching my kiddos learn new skills and develop new talents.
Sunny Side Design is a participant in the Amazon Services LLC Associates Program, an affiliate advertising program designed to provide a means for sites to earn advertising fees by advertising and linking to Amazon.com. As an Amazon Associate, this blog earns from qualifying purchases with no additional cost to you. Click here to read our full disclosure policy.

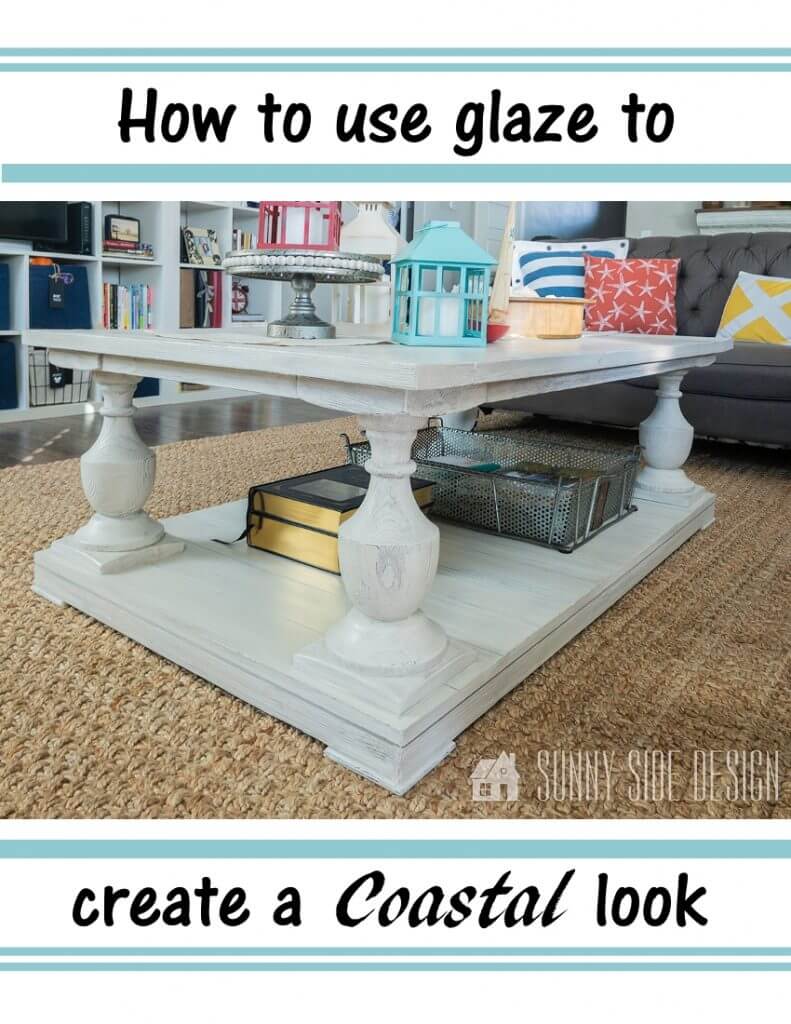
I know Spring has really just begun but it gets me excited for Summer! Maybe that’s partially why I love having a coastal/nautical theme throughout my home. It gives my home a fun and relaxing feeling like you just wanna hang out and relax. I’ve been so excited to finally reveal the Coastal Transformation that my coffee table got earlier this year!

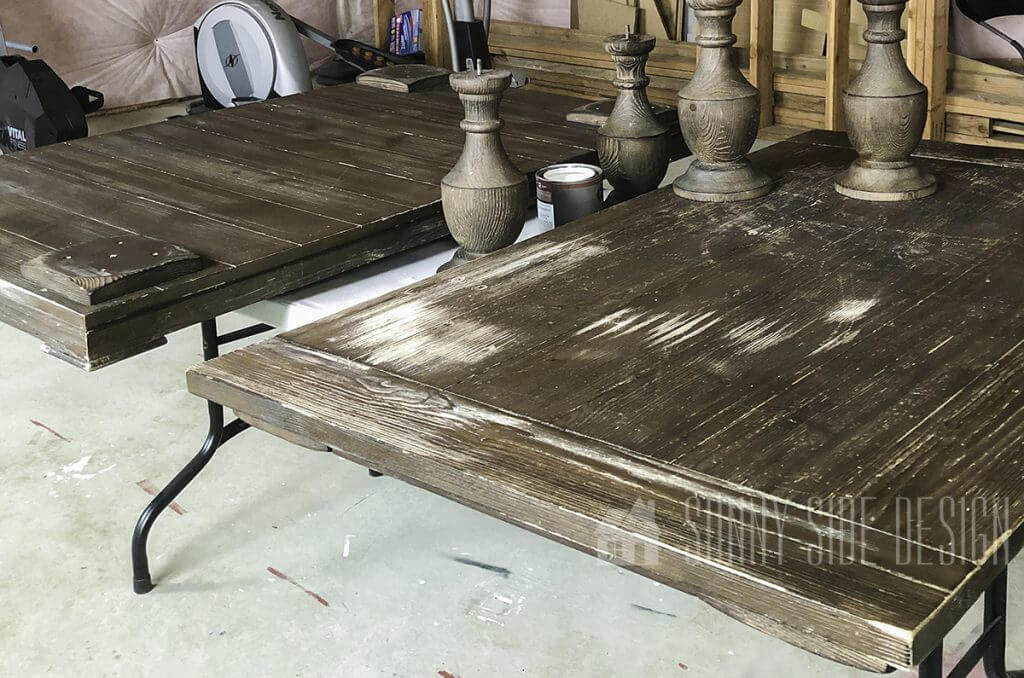
I picked this beautiful table up from my local classifieds for about $75. It was in kinda sad shape. The top was full of scratches and dings…and my 4 year old didn’t help with the matter as he would drive his cars all around the table! 😤 The table is the perfect height for him to think it is his personal racetrack for his cars! My poor table had finally suffered enough! Mr. A got a real racetrack for his cars for his birthday so the coffee table racing has been banned!
You can watch the full tutorial below to see exactly how we transformed this sad table into a darling coastal piece full of character! Please scroll through the remaining of the post to see detailed images along the way as well.
To get started on this furniture makeover we took the legs off of the table to make it easier to paint the underneath surface of the table. We gave the table top a light sanding on some of the more beat up pieces where there were scratches and dings. Then we were ready to get down and dirty with the fun stuff!

Painting the table white was just the first step to transforming this dark and drab table into a light and airy coastal piece. We painted the entire table, the bottom, legs and top with two coats of Behr Chalk Paint. We then let the paint cure overnight.


To create more depth, detail and dimension to the table we added a glaze finish to the entire piece. We used 4 parts glaze to 1 part paint. We used a light grey acrylic paint, the Behr brand from Home Depot of course, because its our favorite.
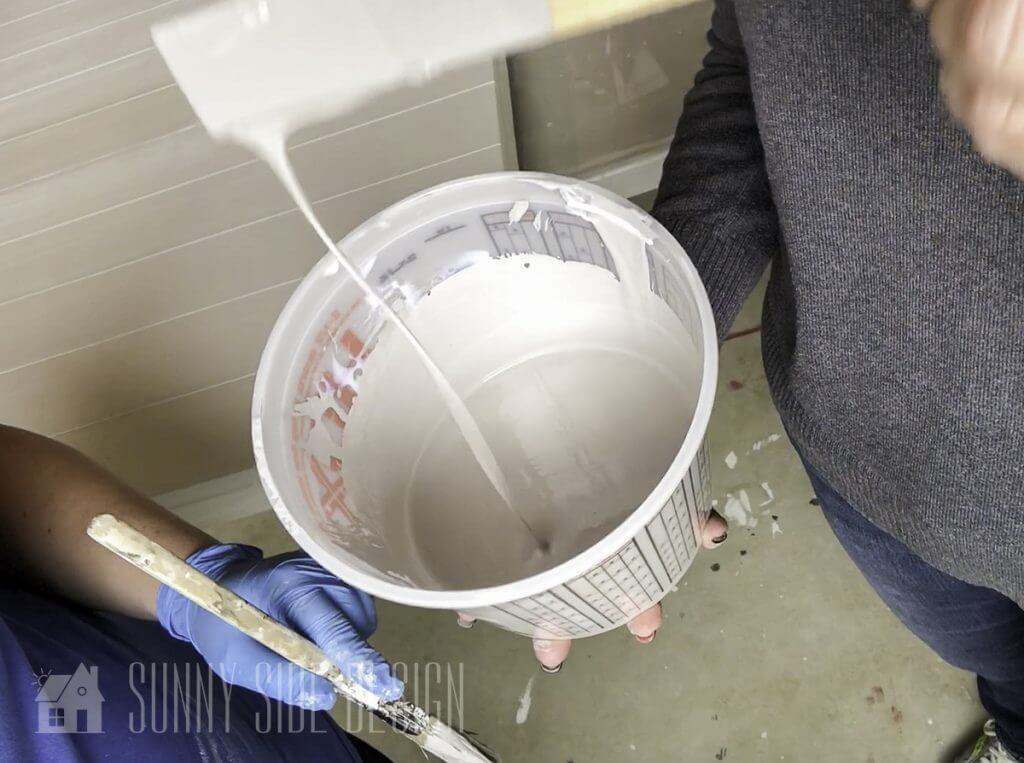
Use an old bucket to mix the 2 parts together with a stir stick. The consistency will be a little runnier than the paint alone. That’s ok, that’s how it should be. Also note that the glaze itself is a clear color, so it will take on whatever color of paint you’re using.
Are you enjoying this project? Please Pin It, save it for later and share it with a friend.
Sharing is caring!
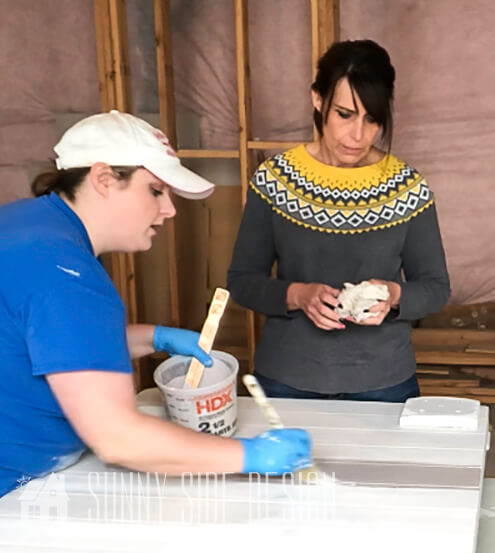
So what does the glaze do? The glaze extends the drying time of your paint. So you essentially have more working time. If you’re working on a piece alone this is especially helpful. My Mom and I worked on this project together so it just sped up the process. First we painted one plank of wood on the table at a time, making sure to get the paint down into the deep grooves in the wood, especially in between each plank. Once a plank had been painted, my Mom took a clean cotton cloth and lightly wiped the excess paint from the plank.
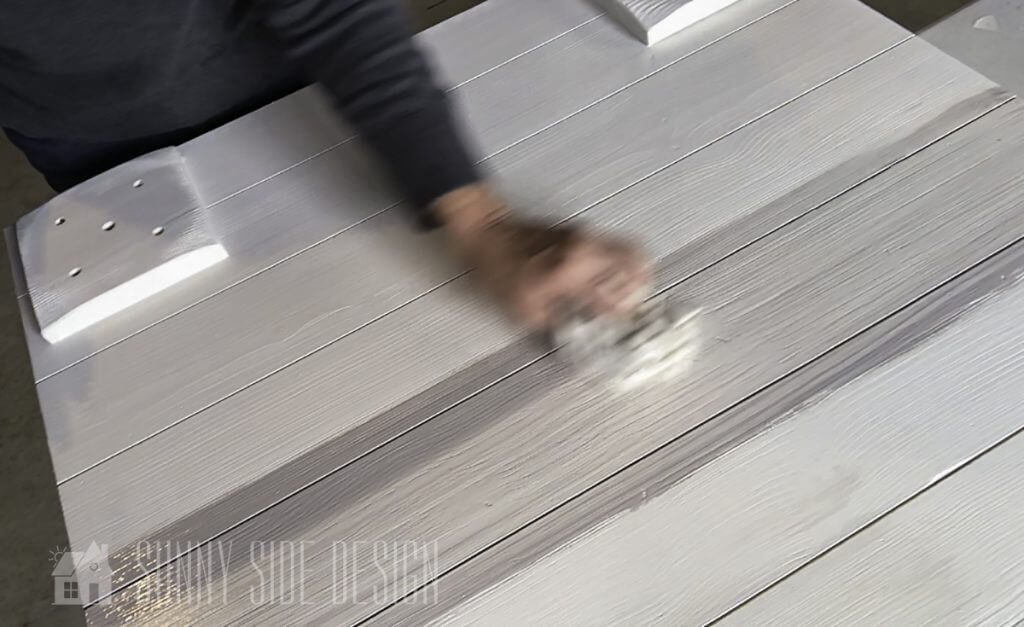
There’s no right or wrong way to do this step. Let your creativity loose and play around with the kind of look you’re going for. The less you wipe away the darker your piece will be.

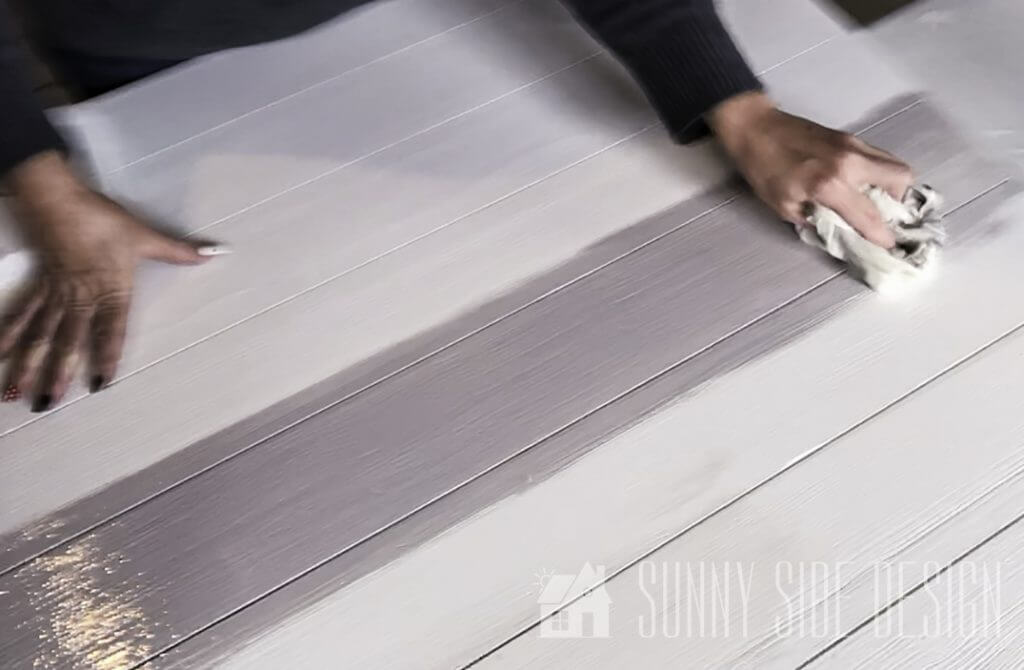
Look how much detail and definition the glazing added to this plank already! You can really see all of the deep grooves and detailing on the table starting to stand out.


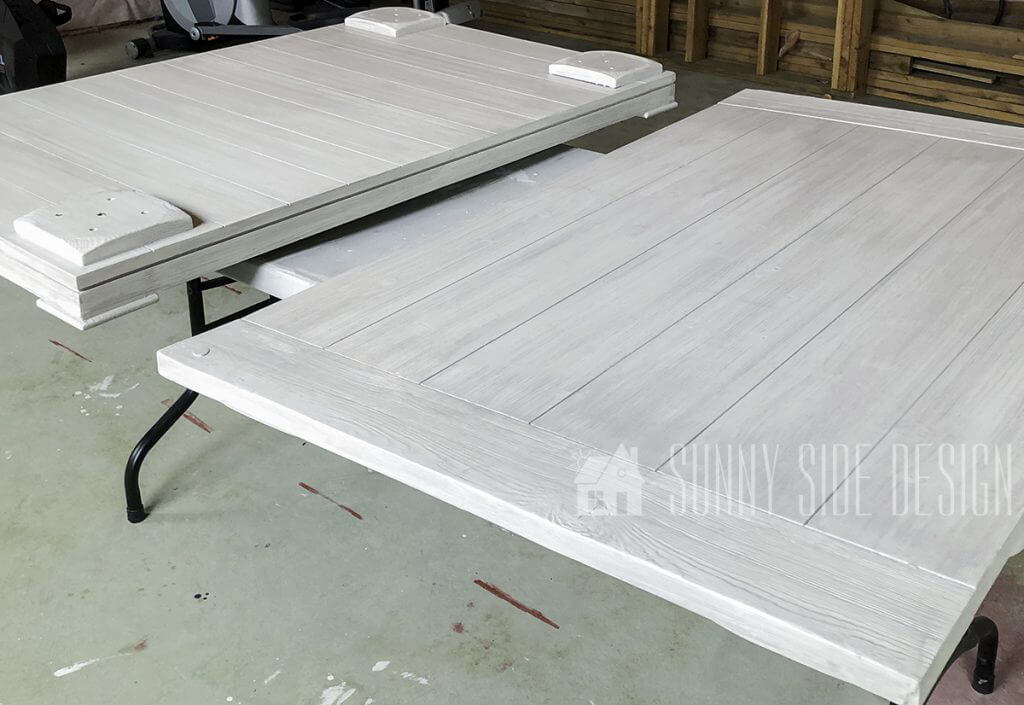
These images should give you a good idea on the different look that glaze will add to your piece. You can see where we have the bottom part of the table completely glazed and wiped down, the top of the table doesn’t have any glazing added yet, just the 2 coats of chalk paint.
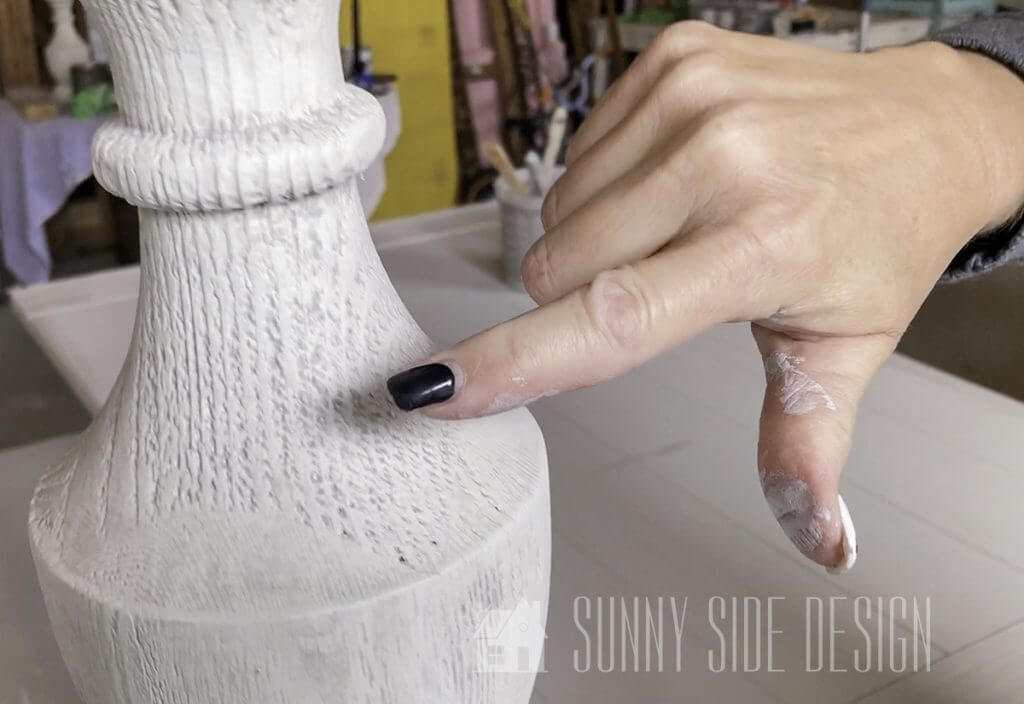
The legs of the table are especially detailed with deep grooves. I love all of the detail that is brought out with the glaze!
Once the glazing has been applied to all surfaces, we let it dry to the touch. No need to wait till overnight since we simply applied a layer of paint and wiped away the excess. Allowing it to dry to the touch is fine for this next step.
If you’re new here, welcome! We’re so glad you’re here.
Let us introduce ourselves, we’re Michelle and Steph, a mom and daughter team who love to DIY and decorate our homes.
Not only are we passionate about making our homes warm, comfortable and unique, but it’s our mission to help you create that same feeling in your own home.
You’ll find ideas for repurposing, creating, decorating and making your home truly yours, while always mindful of a tight budget.
Undoubtedly we love finding ways to make your home look high-end on a small budget.
Plus you’ll also find a recipe or two as we share our family favorites with you.
We’d love it if you’d join our community of doers so you won’t miss any inspiration for your home.
We love new friends.

[mailerlite_form form_id=2]
Really, I guess you could call it good after you’re finished glazing. It just totally depends on the look you’re going for. The glazing definitely added much needed detail and dimension to the table…but I wanted to take it another step further.

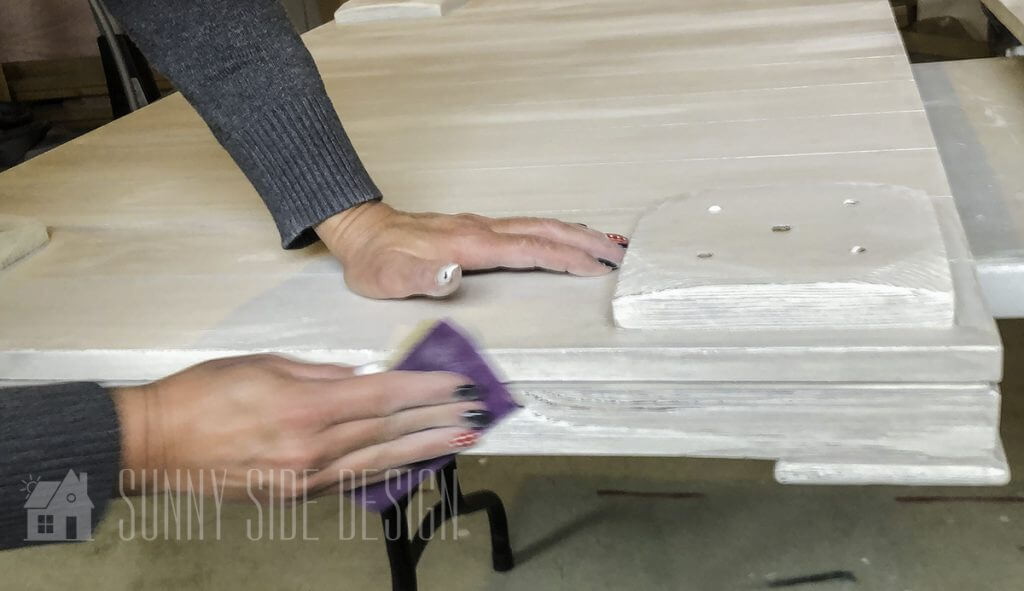
Enter sandpaper to the finishing stages and voila! It pulls some of the initial dark brown staining from the table through and creates yet another layer of detail. This step really helped to make the table look aged, salt and wind worn and well loved.

I mean really…just look at the patina on this table now! I LOVE it! It looks a bit weathered and worn like driftwood, very coastal!

After you’ve admired all of the additional and amazing detail achieved from the sanding, take the vacuum hose to suck up all the loose paint. Then take a damp cloth to wipe any excess debris from the table so it’s nice and clean.

When using chalk paint its important to seal your piece, otherwise the paint can stain and/or discolor over time. Adding a wax or polyurethane finish will also add some durability and protection to your piece. You’ll definitely want to add a finish if the piece gets a lot of use like a coffee table or kitchen table!

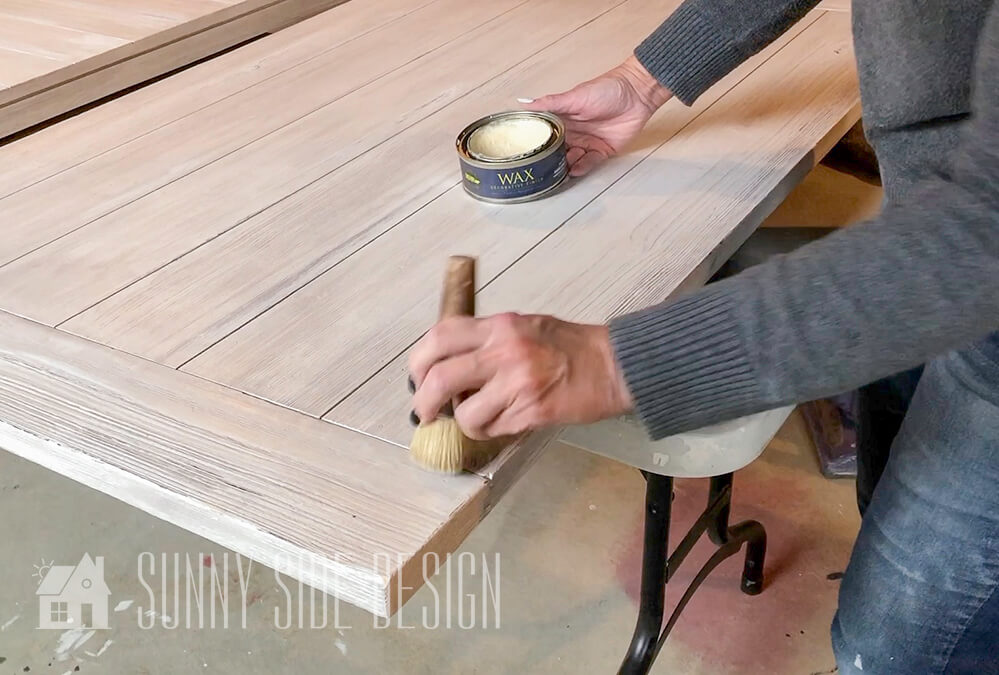
We chose to use a clear wax by Behr. You can apply wax using a cotton cloth, but we prefer to use a waxing brush. Gently dab the brush into the wax and then firmly apply to your piece using a circular motion. This will really help the wax to get into all of the different grooves and crevices in the wood.

Once the wax had been applied to the entire surface of the table top, maybe about 10 minutes or so, we used a clean cotton cloth and gently wiped away any excess wax build up, slowly going along the grain of the wood. This makes it much easier to buff the wax by removing any excess. Allow your piece to sit overnight before buffing.


Once the wax has curred overnight then the piece is ready to be buffed. Buffing is a simple step that really gives the whole piece a nice finished look. To buff by hand, take a clean cotton cloth and rub back and forth with the grain of the wood, with a fair amount of pressure, like you would wiping your table clean after dinner, continue over the entire piece. To use a power buffer simply guide the buffer across the surface of the project in the direction of the wood grain, continue over the entire piece.
Let’s stay connected! Follow us on social media!

You can see what buffing does in this image. The upper portion of the table has not been buffed yet and looks flat where the bottom portion of the table has been buffed and has a smooth surface and a slight sheen finish. The wax finish will not only help to seal the paint and prevent staining but it will also add a layer of durability. If feet rest on the edge of the coffee table or if Mr. A dares drive his cars on it again, it will be protected! (The kid just needs to learn this isn’t his racetrack anymore. 😂)

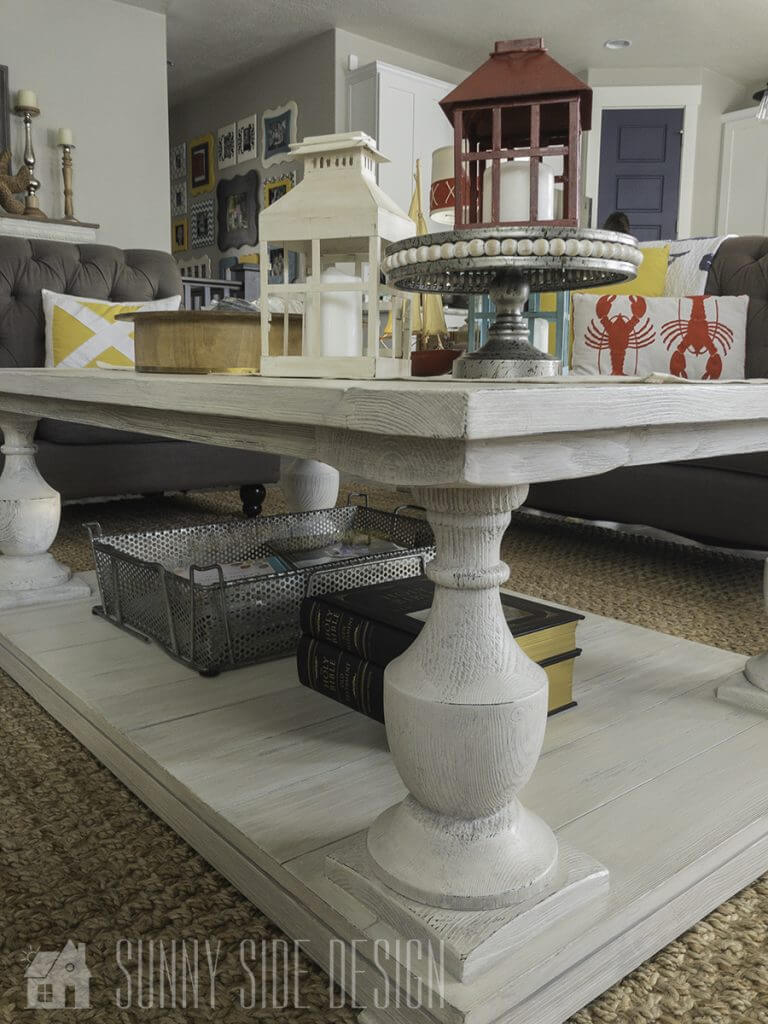
Time to put this fun coastal table back together and add my decor!
I seriously LOVE the way it turned out! I love all of the detailing that pops now!
For more ideas, checkout the coastal farmhouse style coffee table we made for the basement family room.

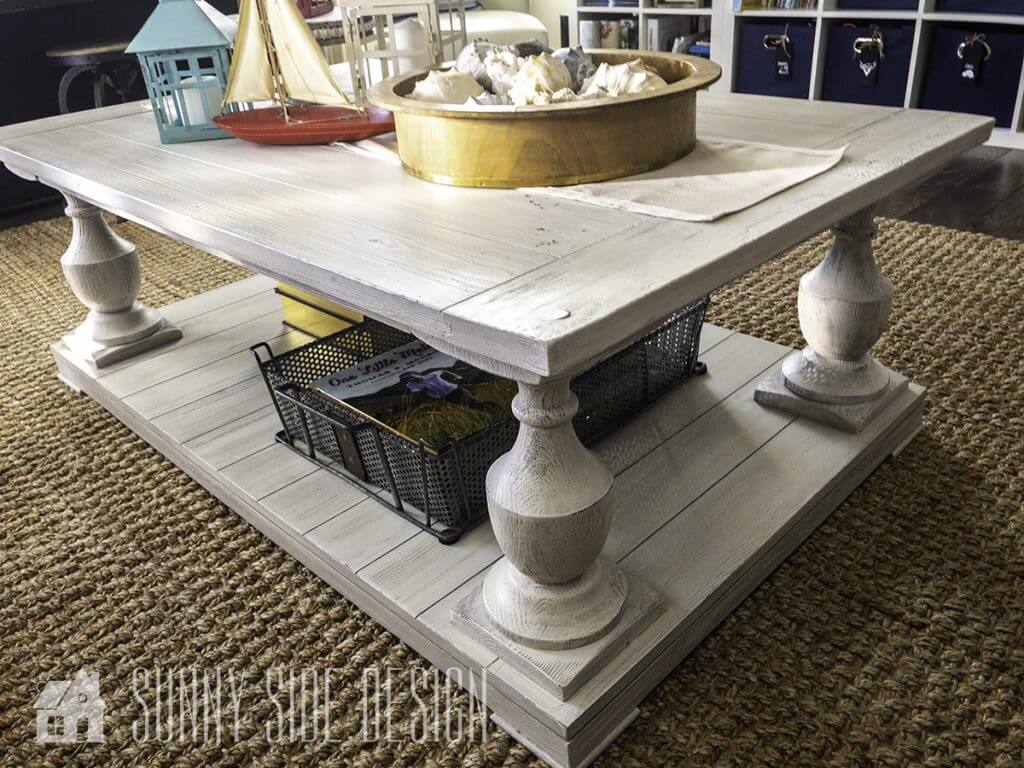

Look how well the table looks with my coastal decor now. I found this cute little sailboat at a local vintage shop and had to have it. I also scored a ton of these awesome seashells from another vintage store. Somehow…luck or not…we haven’t broken any yet! 🤞


Just look at how much more bright and airy this table is now. I fell in love with the table when I first came across it because it had good bones. It was a sturdy, well built table with some darling character, it just needed a little bit of love. I’m glad I saw the vision and snagged this piece!
We hope you found some inspiration for your home today.
Please share your tips and ideas with us.
We love hearing from you!
If you’re new here, WELCOME! We love having new readers and friends!
You can learn more about us here.
Let’s stay connected! Join our DIY community of doers and you won’t miss the weekly updates and more inspiration for you always on a budget.
Sharing is caring!
Thanks for stopping by Sunny Side Design. Empowering you to create a home you love!
DISCLAIMER
This blog’s content is for entertainment purposes only and is not professional advice. By reading this blog and attempting to recreate a project, you assume all responsibility for any injuries or damages incurred. Read my full disclaimer here.
PHOTO USE AND CONTENT SHARING
All of the photographs you see here are the property of Sunny Side Design unless otherwise credited.
We love for others to share our work, so please feel free to use one photo with a link back to our website.
Pinning and sharing is always encouraged!
Please do not reproduce other Sunny Side Design content without permission.
Retailers We Love
- Anthropologie
- Birch Lane
- Crate & Barrel
- Joss and Main
- Lampsplus
- Mark & Graham
- One Kings Lane
- Pottery Barn
- Rejuvenation
- Serena & Lily
- Wayfair
- West Elm
- Williams Sonoma
- World Market
Be sure to follow us on Pinterest for even more home decor and DIY ideas.
To see what we are working on before it’s on our blog, follow us on Instagram.
You will also find our video tutorials on our YouTube channel.
- Creating a Cozy Outdoor Living Room with Thrifted Finds

- The Best ‘Berry in Love’ Bridal Shower Ideas
- Paint an Old World Texture Finish on a Vase
- Easy Strawberry Chicken Salad with Lime Maple Balsamic Vinaigrette