Do you need solutions for desk cable management?
Are you tired of all of those ugly cords?
In this post not only will you learn how to hide desk cords, wires and computer cables with our DIY method, but also find great organization solutions for any office space.
Let me share a pet peeve of mine . . . I hate clutter!
Clutter of any kind, in fact I have been known to take a stack of papers I need to go through and hide them in the laundry room just so I don’t need to look at them.
Well, I’m the same way about cord clutter!
And it seems to me that we have more cords and cord clutter than ever.
In an office with monitors, computers, laptops, printers, wifi etc. there are cords everywhere!
As a result they create a lot of visual clutter.
Not only are we going to share our solution to hide desk cords today, but also you may find inspiration to make other cords in your home disappear.
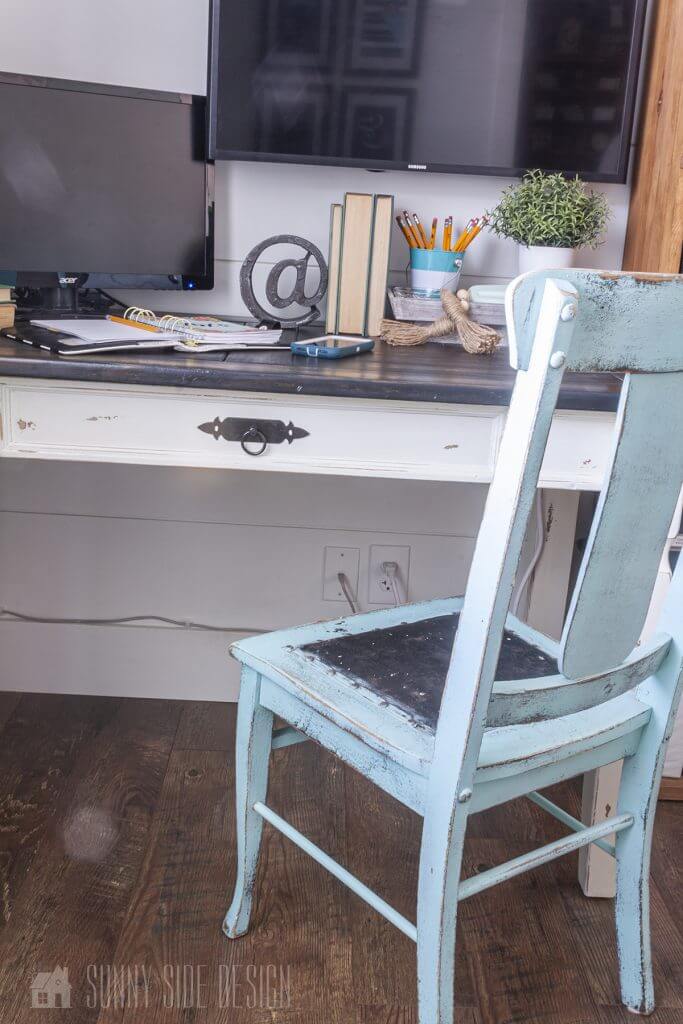
Does This Look Familiar?
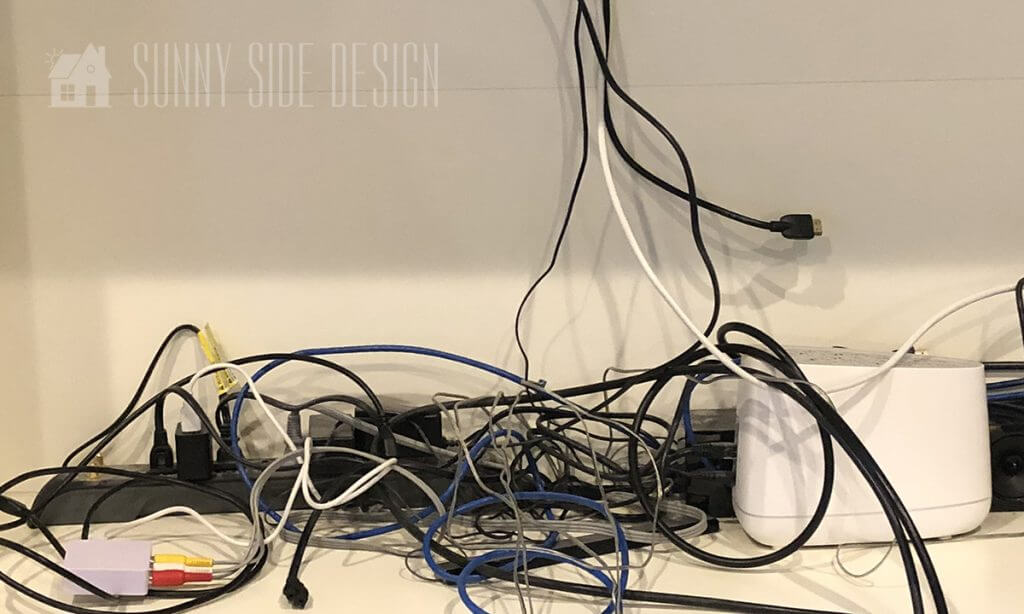
Does this look familiar?
Do you have a tangled mess of cords with all of this modern technology?
As Steph was putting together her office that was her one request, to please find some way to hide all of that cord clutter around the desk.
In order to hide the desk cords and cables we purchased a couple of inexpensive cable management products and tools.
Hide Desk Cords Supplies
Having the right supplies and tools make all of the difference.
We used cord/cable clips, desk grommet, hole saw, wood drill bit and drill.
Install Cable Grommet

This is an easy project that anyone can do.
Once all the supplies are gathered you will only need a drill, 2″ hole saw and a 1 1/4″ wood bit to install this desk cable management system.
First decide where you would like the cable grommet installed in the desk top.
Before we began, we looked under the desk to find the best area for this placement.
We chose the back left corner of the desk.
Once you have decided where you would like to install the cable grommet, drill the required size hole using a hole saw.
The cable grommet we chose was 2″ in diameter, therefore we needed a 2″ hole saw to cut out our hole.
The cable grommets come in various sizes, we needed one that would accommodate 4 cables.


Once the hole for the cable grommet is cut, insert the grommet.
This is first step to managing the cable clutter and hiding the desk cords.
Are you enjoying this post?! Please pin it, save it for later and share it w
Sharing is caring!
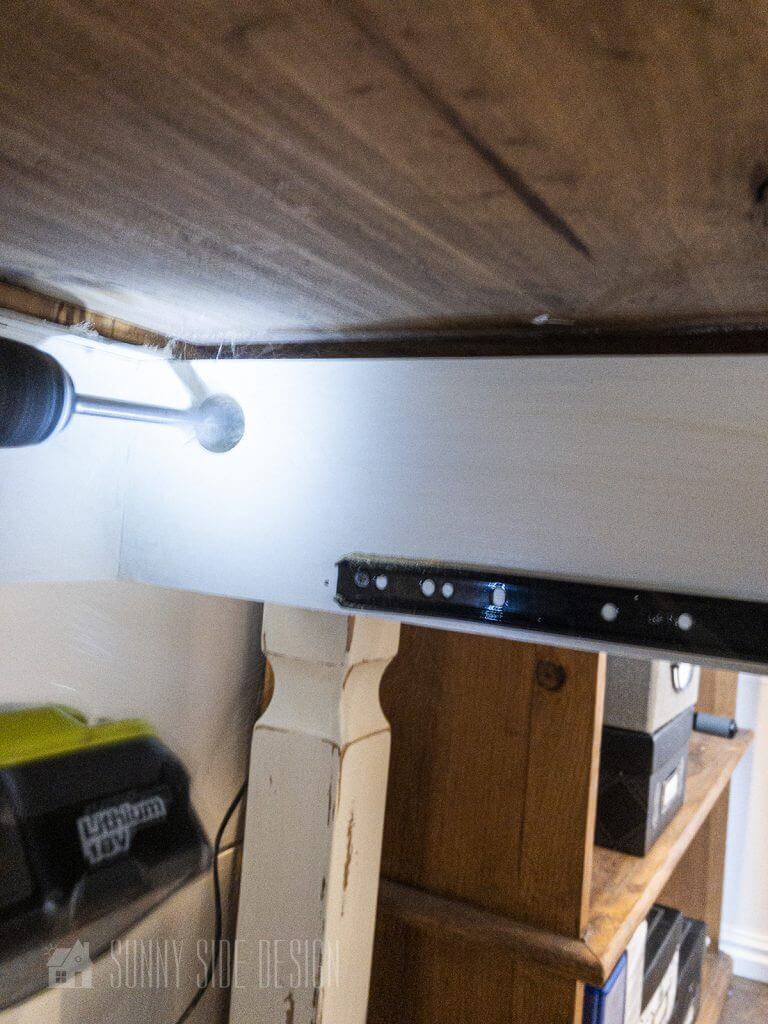
Hide Power Strip

The next goal was to find someplace to hide the power strip.
We have seen them secured to the underside of a desk with cables or Velcro, but our desk had a void underneath that was the perfect spot to place the power strip.
The desk just has one drawer in the center, with a 6″ wide void that ran the depth of the desk.
We decided that if we secured a piece of wood at the lower edge of the desk apron, we could form a small shelf that the power strip would sit on.
We cut a piece of wood 6″ x 12″ and attached it under the desk with nails.
Next we needed a hole for the cables to run through to plug into the power strip.
Using a 1 1/4″ wood drill bit we cut a hole in the area behind the drawer.
Then we were able to feed all of the cords through this hole and plug them into the power strip.

[mailerlite_form form_id=2]

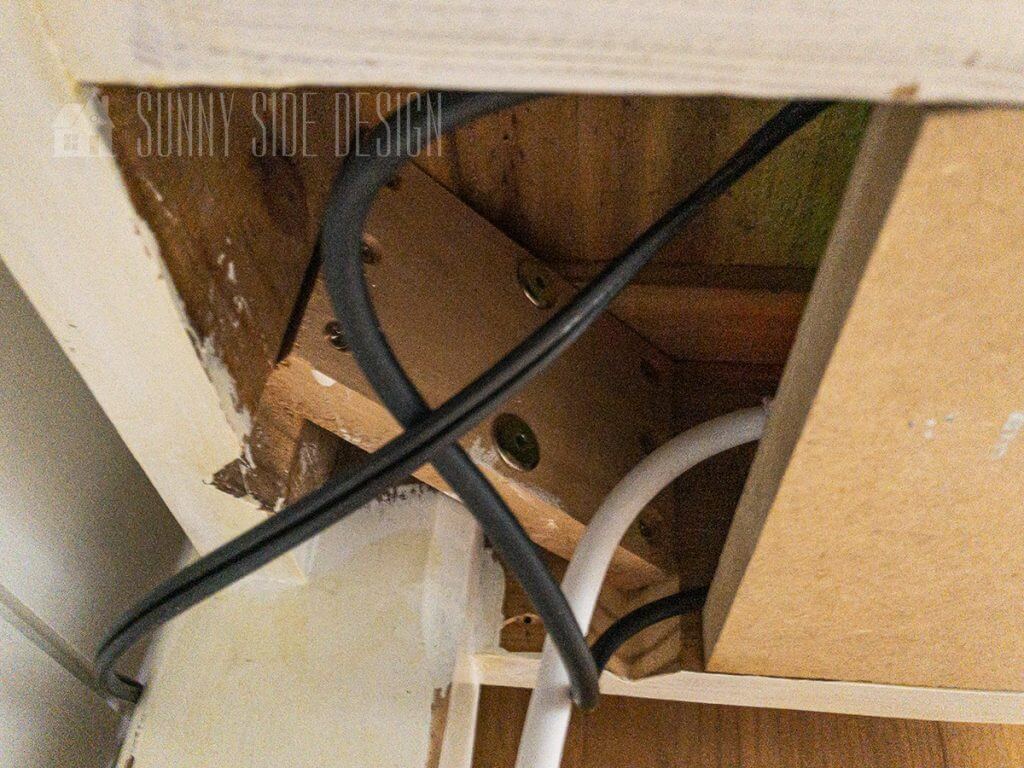
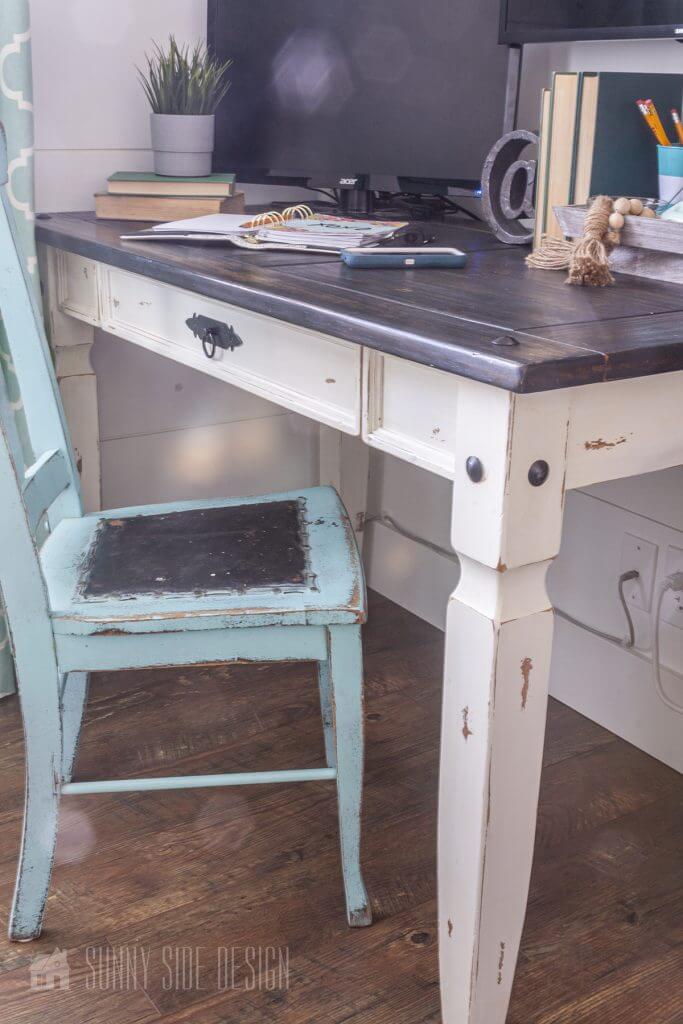
You can see here there is a gap at the rear of the desk where we were able to slide the power strip onto our platform.
Now we’ve completed the 2nd step in hiding desk cords.
Hiding Desk Cords with our Cable Management System


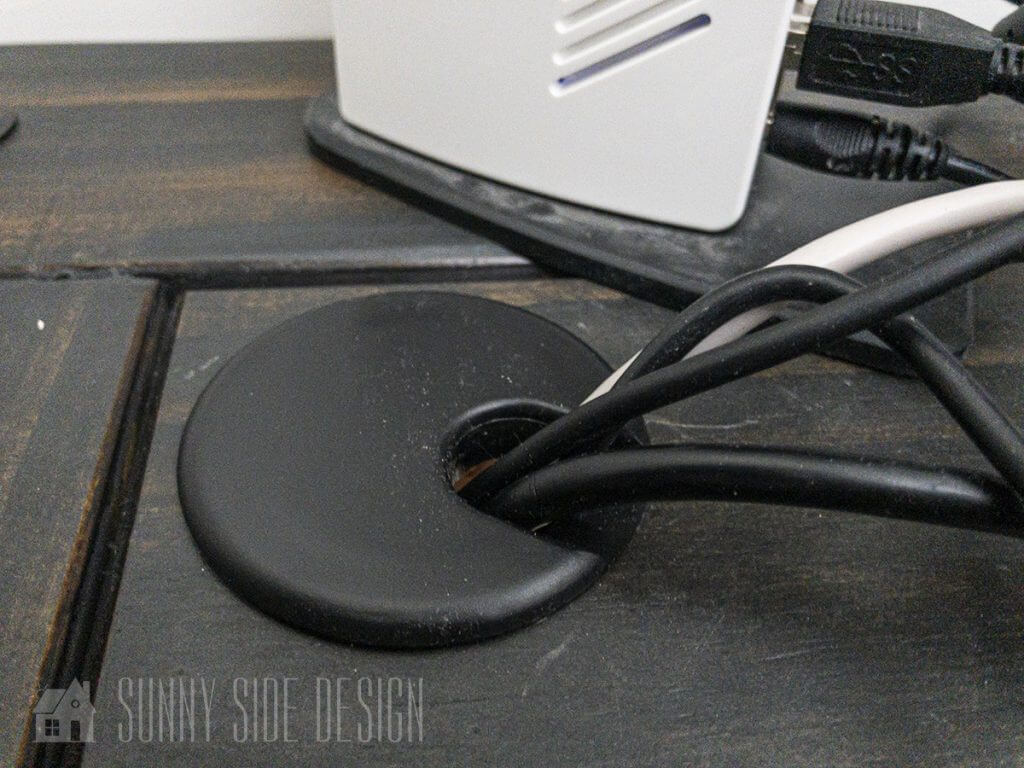
Now it’s time to run all of the cables and cords through our cable management system.
We have 4 cords that run through the cord grommet.
Simply remove the top cover, run the cords through the grommet and replace the cover.
It’s just that simple!

All of the cables that went through the cord grommet ended up at the docking station.
Now I now you are thinking, but how do you hide that?
We corralled all of the cords with a twist tie and hid them behind the monitor.
With all the cords run through our holes and cord grommet, we have just completed the 3rd step in hiding desk cords.
Let’s stay connected! Follow us on social media!
Secure Cords & Cables with Cord Clips


I discovered these cord clips several years ago and they are a must to keep cords hidden.
Not only are they great in an office to keep the cords neat and hidden from view, but they are great in any room.
For instance, I use them on my sofa table to run the cord for my lamps across the back and down the leg so no cords show.
Clearly, the possibilities are endless.
The cord clips come with an adhesive backing, you simply slide in the cable, pull off the adhesive backing and secure in place.

You can see here that we used the cord clips to secure the internet cable along the top of the base board under the desk.
They were also used to secure the cables that ran under the desk from the cord grommet to the power strip.
Yeah! We did it, we have successfully hidden that pile of desk cords!
Now doesn’t that look better than a pile of cords under the desk, or even work on the desk top?
We hope this has given you ideas for taming the cord clutter in your home office.
At a time when many of us are finding that we need to work at home having an organized space can really improve your productivity, as well as moral.
Are there other elements that you would like help with in your home office?
Please leave us a comment below. We would love to hear from you.
Did you find some inspiration for your home today?
Please pin this post, save it for later and share it with a friends.
Sharing is caring!
Are you looking more IDEAS to keep your home neat and tidy, then check out these posts!
- 30 Affordable Pantry Organization Ideas & Storage Ideas You Need to See
- 14 Useful Laundry room Organization Ideas
- How to Declutter your Home in 3 Easy Steps
- Office/Craft Room Organization Ideas
- Organizing Games: Family Board Game Storage You Need to See
- Organizing Toys in 3 Simple Steps
- 15 Amazing Organizing Ideas for Your Kitchen
Please share your thoughts and questions with us.
We love to hear from you!
If you’re new here, WELCOME! We love having new readers and friends!
You can learn more about us here.
Let’s stay connected!
Join our community of doers and you won’t miss any inspiration for your home.
Please PIN and save for later, and share with your friends!
Sharing helps grow our following!
Thanks for stopping by and as always here at Sunny Side Design…
WE HOPE TO BRING YOUR HOME TO THE SUNNY SIDE OF THE STREET.

Retailers We Love
- Anthropologie
- Birch Lane
- Crate & Barrel
- Joss and Main
- Lampsplus
- Mark & Graham
- One Kings Lane
- Pottery Barn
- Rejuvenation
- Serena & Lily
- Wayfair
- West Elm
- Williams Sonoma
- World Market
Be sure to follow us on Pinterest for even more home decor and DIY ideas.
To see what we are working on before it’s on our blog, follow us on Instagram.
You will also find our video tutorials on our YouTube channel.
- Easy 4th of July Door Decor You Can Make in Minutes

- 35 Easy Decorating Ideas for Summer to Welcome the Season
- Fourth of July Decorating Ideas You’ll Love This Summer
- Simple and Creative Planter Container Ideas from Thrifted Finds