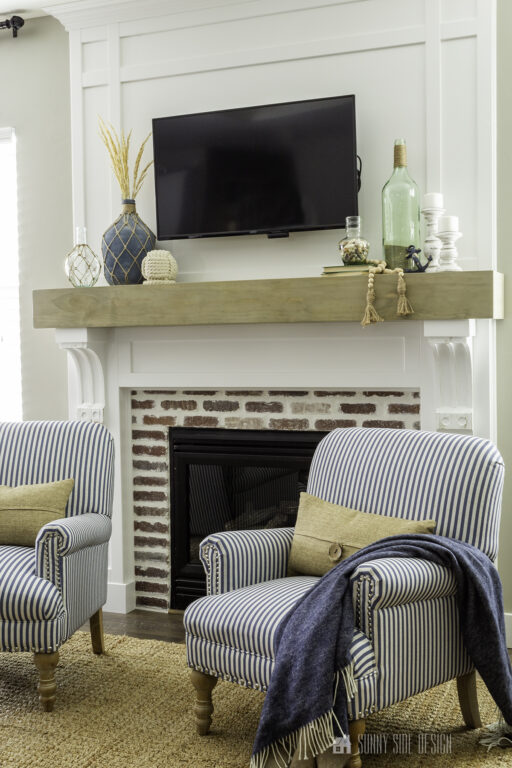
Our home was built in the late 90’s and it screamed 90’s! It just felt so sterile with the white tile everywhere and an over abundance of yellow maple cabinetry and woodwork! I believe updating the railing was a game changer in bringing this home into the current century!
Sunny Side Design is a participant in the Amazon Services LLC Associates Program, an affiliate advertising program designed to provide a means for sites to earn advertising fees by advertising and linking to Amazon.com. As an Amazon Associate, this blog earns from qualifying purchases with no additional cost to you. Click here to read our full disclosure policy.


Let’s take a look at a couple of the before pictures of the area. This area was once the kitchen. I did not take a close-up photo of the railing before I dug into it. I am really bad at this (before we started the blog!) I always jumped right into the project, then Steph would ask, “did you take a before photo?” and I just shrug my shoulders. You know when the excitement starts and you just want to dig into the project and those thoughts flee from your mind. The dated maple railing had to go and I was afraid that I would not have enough in my budget to replace it (close to $2000.) Refinishing it was my only option at this point. When you are doing a whole house renovation the $$ can easily spiral out of control with unexpected issues or my expensive tastes.

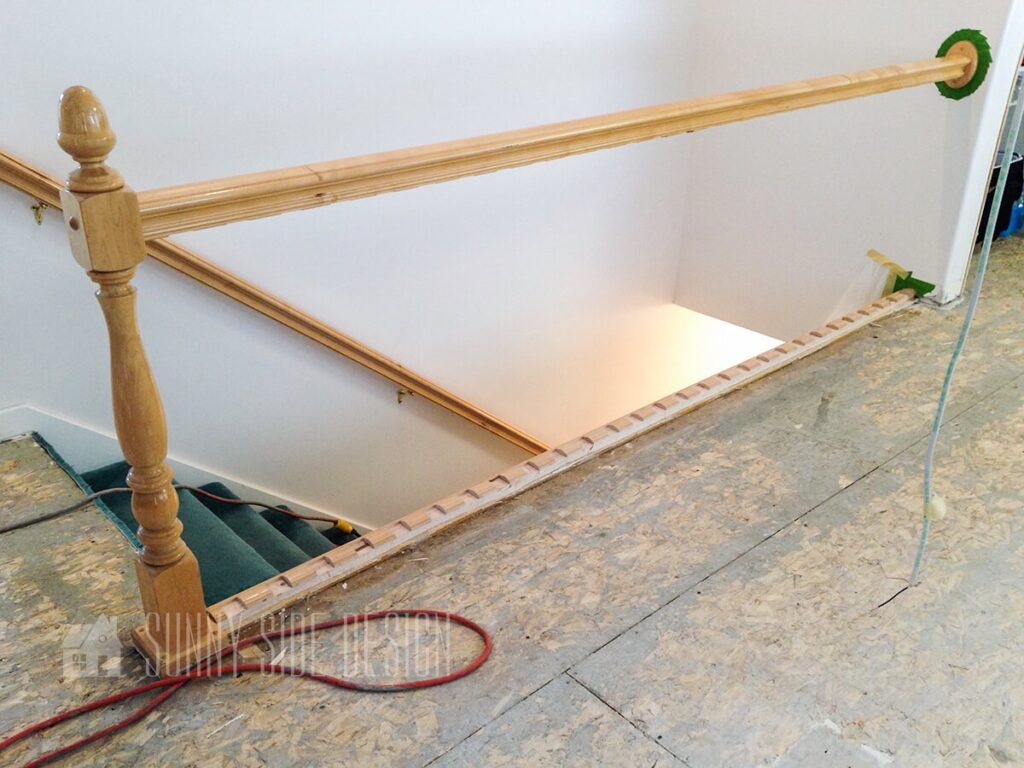
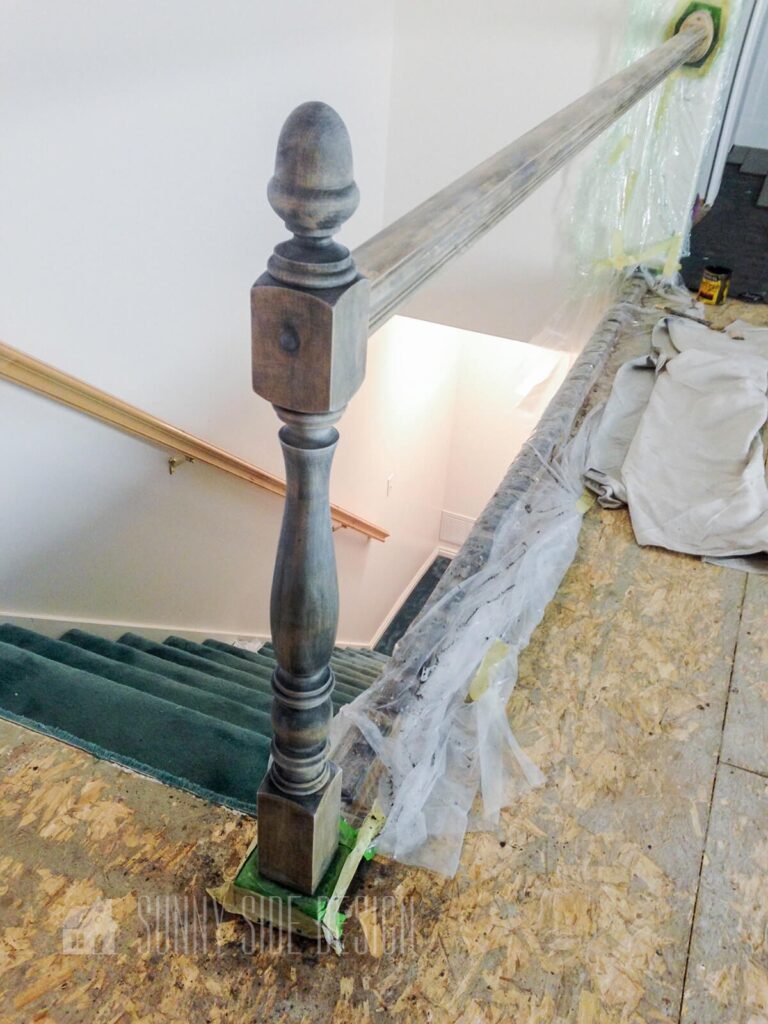
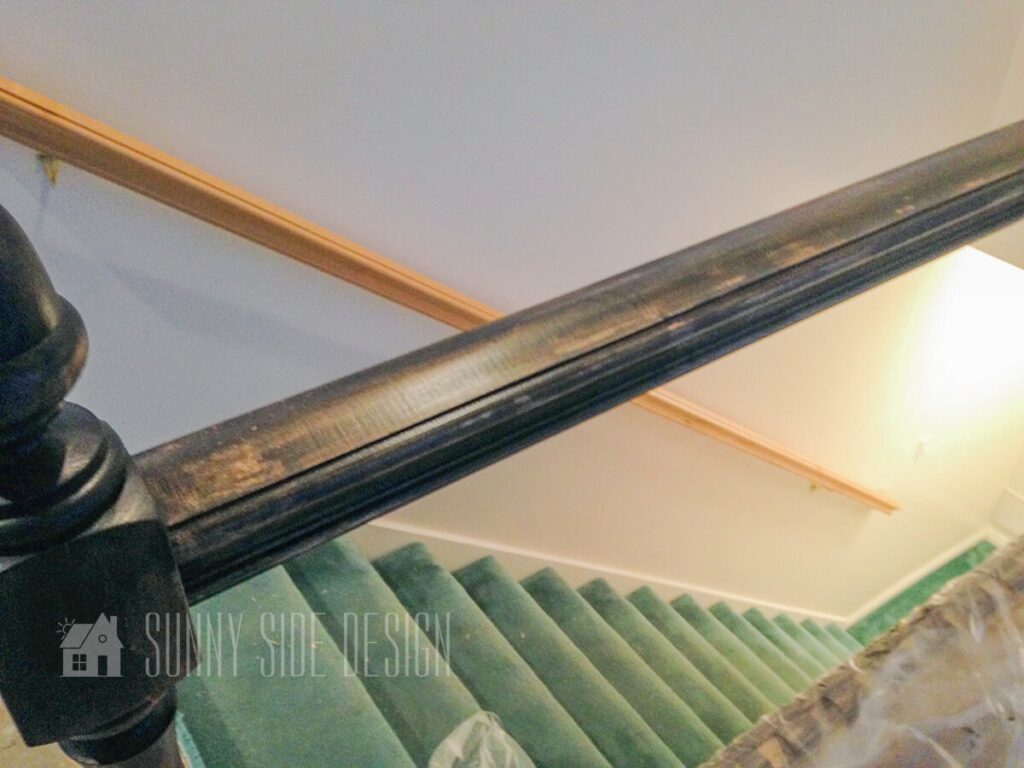
This is a current close-up photo of the lower edge of my railing. There was a strip of moulding at the base of the railing. I removed this moulding, as we were about to install the new flooring and soon discovered that all of the spindles could be removed from the railing. Yeah for me! This would make refinishing it so much easier, since I wanted the spindles to be white. The photo below shows the railing with the moulding piece and spindles removed.
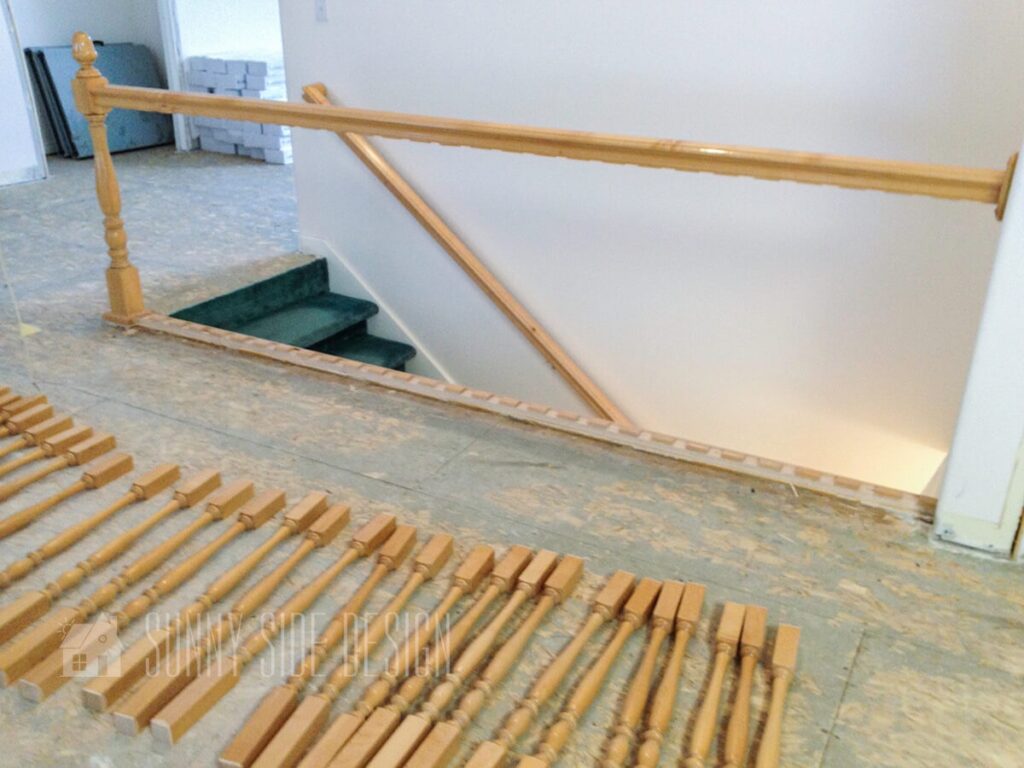
There are pieces of wood at the top and bottom of the railing that were cut and nailed into position that held each spindle in place. Then the final lower moulding held everything tight. I kept all of the railing pieces lined up in the order I removed them, just incase there was a slight difference in the thickness of the spindles. I didn’t want to regret removing them when I went to reinstall the spindles.
I prepped the surrounding area by taping off the wall. I also covered the wall with plastic, I did not want any stripper getting on my wall.

I chose to strip off the old varnish finish and re-stain it with a traditional stain. I do know gel stain is a popular choice, but from what I have seen of others using gel stain, it can wear off or scratch. I wanted this to look beautiful for the long term and really last. So taking the time to strip off the old high-gloss varnish was worth it to me. This is the stripper that I like to use, it is thick and clings to the surface really well. This is important when stripping moulding or pieces that have carvings, so that it will get in all of the crevices and grooves.
Supplies needed:
- Chemical stripper
- Chemical resistant gloves
- Goggles
- Paint brush
- Brass or stainless steel brushes
- Steel wool pads (grade 1) medium
- Steel wood pads (grade #0000) super fine
- Stain
- Wipe On Poly
- cotton rags
Ok, there are no photos of me actually striping my railing. I was home alone the day I stripped it and it’s a little hard to take photos of yourself! Besides the fact I was so anxious to get it finished. These next several photos and video are a recreation of stripping a piece of maple moulding. This moulding was actually removed from this home, so it was a part of this house.
Are you enjoying this project? Please Pin It, save it for later and share it with a friend.
Sharing is caring!


Step 1- Brush on the stripper, don’t brush back and forth like you are painting a piece of wood. Just lay on the stripper, then let it sit for about 15 minutes and watch the magic happen.
It is important to pour the stripper into a metal or glass container, plastic will dissolve and also make sure that you are wearing chemical resistant gloves and goggles. This stuff will burn your skin.

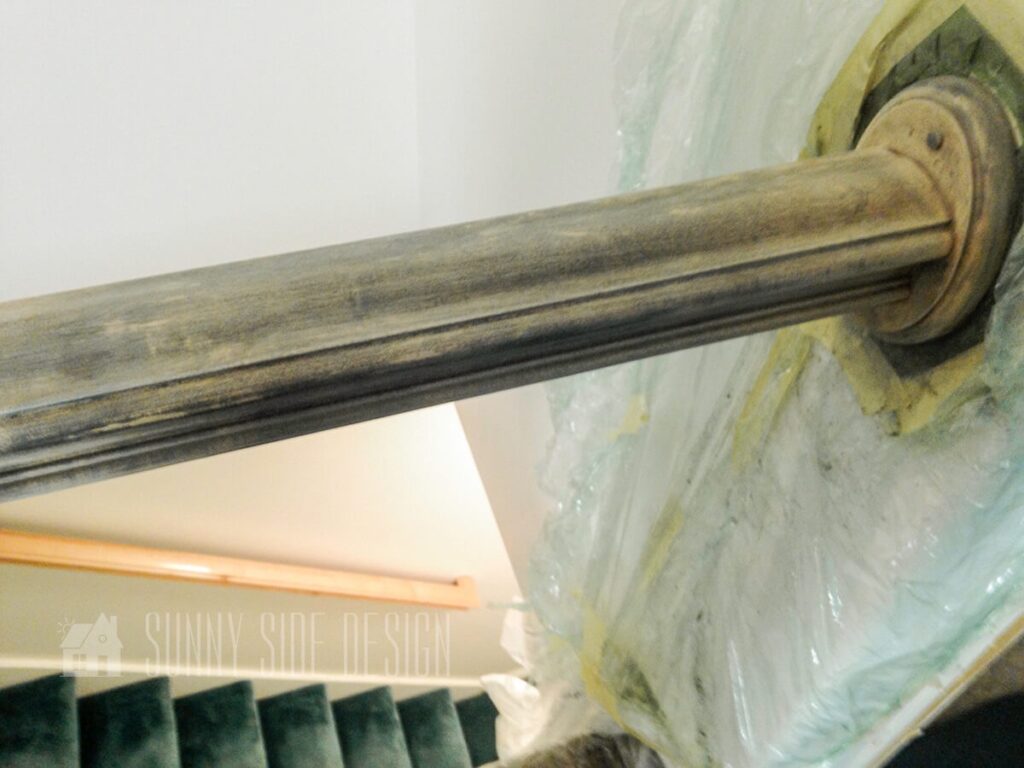
This close up view shows the stripper working it’s magic only after 1 minute. Let it sit for 15 minutes to penetrate through the layers. Stripping varnish by the way is a lot easier than stripping paint, if you’ve done that before.


Step 2- Once the stripper has done it’s magic, after about 15 minutes, take a piece of steel wool and rub off the dissolved varnish. Rubbing back and forth pulling off the varnish. You will have to periodically pull the steel wool to expose a clean section as you continue to rub off the finish.


Using a stainless steel or brass brush, scrub back and forth to get the varnish out of the crevices and grooves in the moulding, just be sure to brush with the grain of the wood. The first time I did this on a 4 poster bed that had a lot of carving, I was so worried that this would scratch the wood surface, but it does not! Brushing back and forth with the grain of the wood will remove any remaining varnish. I do like to repeat this step and apply a second layer of stripper, let it sit 15 minutes just to make sure that all of the varnish is removed. Unlike paint, varnish is a little more difficult to see if it is all removed and you will know if it’s not all removed when you go to reapply your finish and the stain does not stick in certain areas.
If you’re new here, welcome! We’re so glad you’re here.
Let us introduce ourselves, we’re Michelle and Steph, a mom and daughter team who love to DIY and decorate our homes.
Not only are we passionate about making our homes warm, comfortable and unique, but it’s our mission to help you create that same feeling in your own home.
You’ll find ideas for repurposing, creating, decorating and making your home truly yours, while always mindful of a tight budget.
Undoubtedly we love finding ways to make your home look high-end on a small budget.
Plus you’ll also find a recipe or two as we share our family favorites with you.
We’d love it if you’d join our community of doers so you won’t miss any inspiration for your home.
We love new friends.

[mailerlite_form form_id=2]

Step 3- Once all the varnish is removed, wipe off all of the wood with a damp cloth. If it feels rough in any spots, lightly sand with a fine grit sand paper, or a fine steel woolpad, then wipe again to remove any dust.

Step 4- Apply the stain, I chose an oil based stain in Ebony by Minwax. I love this deep charcoal toned stain, it goes so well with my flooring. This can be applied with a paint brush or a clean cotton rag. Let the stain penetrate the wood for 10 minutes.

After the stain has penetrated the wood for 10 minutes wipe off any excess stain with a clean cotton rag.
This is the actual railing after it has been stained and lightly sanded with a fine steel wool pad.

This is my favorite topcoat. It is easy to use and the results are absolutely beautiful. You get that amazing hand-rubbed look with no brush marks and it protects the wood beautifully.

Before applying the topcoat, wipe down the wood removing any dust. This is key to achieving that smooth, beautiful finish.
Let’s stay connected! Follow us on social media!


Step 5- Apply the topcoat, simply pour a small amount of the Wipe On Poly onto a clean cotton cloth and wipe it on. Repeat until the entire surface is covered. Let it dry 2-3 hours then buff with the super fine steel wool and repeat. I like to do 2-3 coats of the Wipe On Poly to protect the wood. After the final coat is dry do not buff again with the steel wool pad.
Here is a view of the stained and topcoat railing, now I just need to do the spindles. I was actually able to work on the spindles while I was waiting for the stripper to do it’s thing and in-between coats of the poly drying.

There is no need to sand the spindles to prep them for paint. The only prep is to use a good bonding primer like this one. This primer will bond even to glossy surfaces, eliminating the need to sand, saving a ton of time and the mess that comes with sanding.
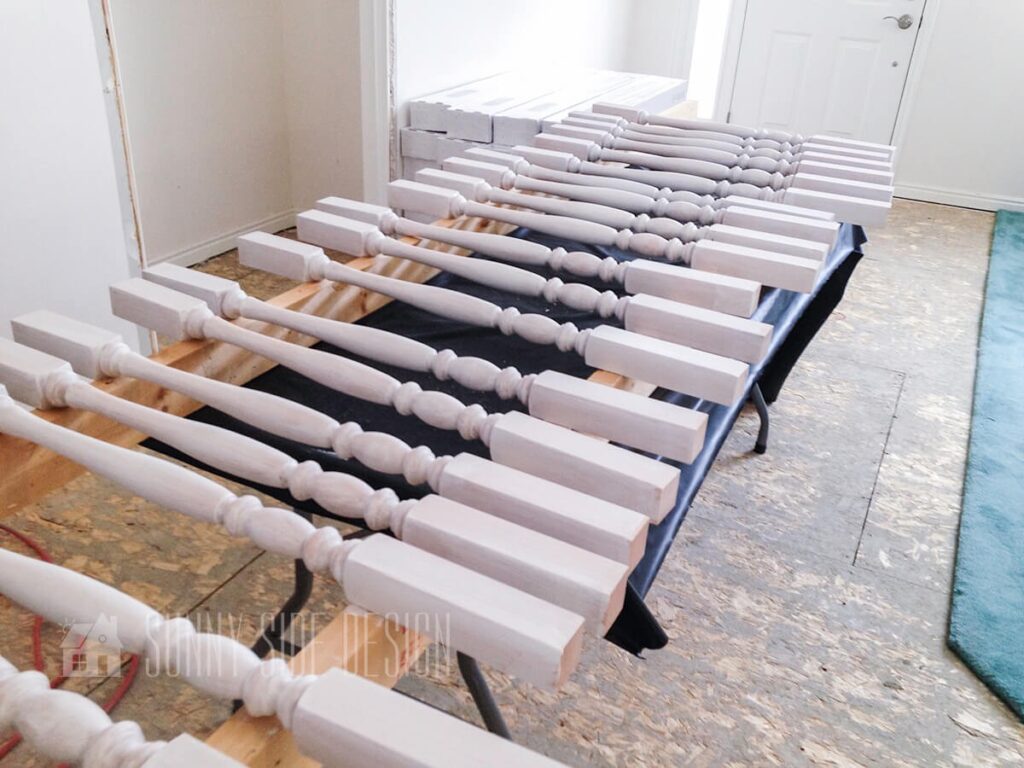
I painted one coat of primer and two coats of paint. I did keep all of the spindles in the same order they were removed for ease in reinstallation.
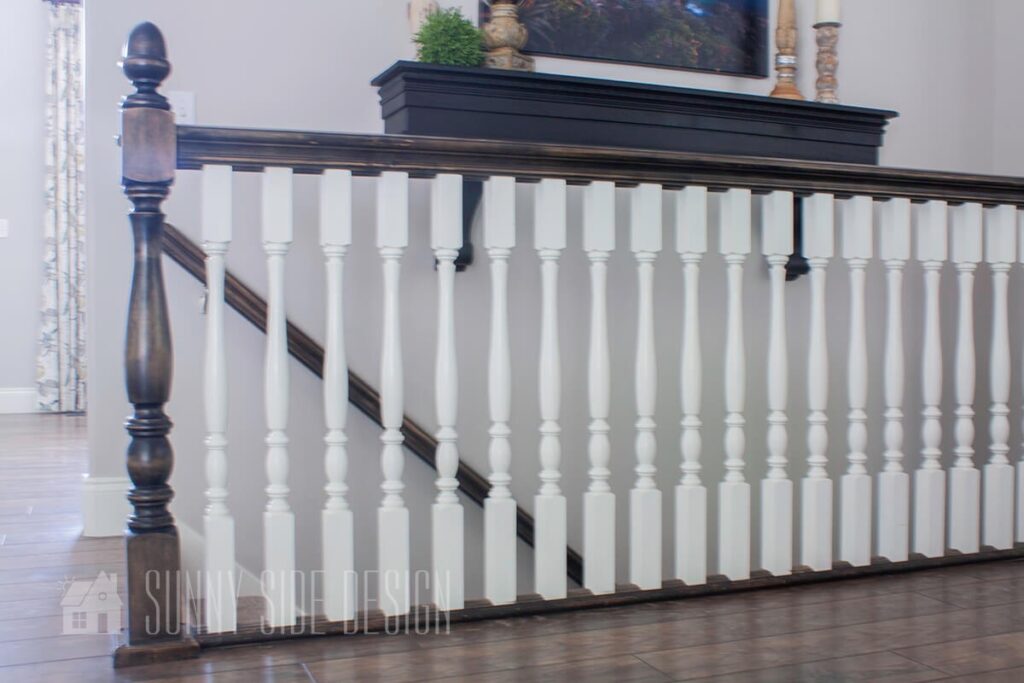
Here is the completed railing, I just love the way it turned out. It totally updated the look of this banister without the need of buying and installing a new one which would have been around $2000. I only spent $83! That’s a huge savings and only a couple of days of work.
- Jasco Stripper $14
- Steel wool pads $8
- Brass brush $3
- Stain $5
- Wipe on Poly $13
- Primer $40
On this project I used an oil based stain.
But if you choose to use an water based stain, checkout our pro tips for applying a water based stain.

The best part of this is that it still looks as good as the day I finished it! After four years it still looks great, even with grandkids dragging toys against it. They can be pretty rough.

We hope you have found this tutorial informational and helpful. Please let us know if you give this a try and how it turns out. We would love to hear from you! We also invite you to share this with your friends and family, please
We hope you found some inspiration for your home today.
Please share your tips and ideas with us.
We love hearing from you!
If you’re new here, WELCOME! We love having new readers and friends!
You can learn more about us here.
Let’s stay connected! Join our DIY community of doers and you won’t miss the weekly updates and more inspiration for you always on a budget.
Sharing is caring!

Thanks for stopping by Sunny Side Design. Empowering you to create a home you love!
DISCLAIMER
This blog’s content is for entertainment purposes only and is not professional advice. By reading this blog and attempting to recreate a project, you assume all responsibility for any injuries or damages incurred. Read my full disclaimer here.
PHOTO USE AND CONTENT SHARING
All of the photographs you see here are the property of Sunny Side Design unless otherwise credited.
We love for others to share our work, so please feel free to use one photo with a link back to our website.
Pinning and sharing is always encouraged!
Please do not reproduce other Sunny Side Design content without permission.
Retailers We Love
- Anthropologie
- Birch Lane
- Crate & Barrel
- Joss and Main
- Lampsplus
- Mark & Graham
- One Kings Lane
- Pottery Barn
- Rejuvenation
- Serena & Lily
- Wayfair
- West Elm
- Williams Sonoma
- World Market
Be sure to follow us on Pinterest for even more home decor and DIY ideas.
To see what we are working on before it’s on our blog, follow us on Instagram.
You will also find our video tutorials on our YouTube channel.
- Paint an Old World Texture Finish on a Vase

- Easy Strawberry Chicken Salad with Lime Maple Balsamic Vinaigrette
- How to Fix Chipped Kitchen Cabinets with a Pen
- Easy 4th of July Door Decor You Can Make in Minutes