Updated February 29, 2024
Welcome to week 4 of the One Room Challenge!
Certainly we are excited with the progress we are making in our ultimate family hangout room!
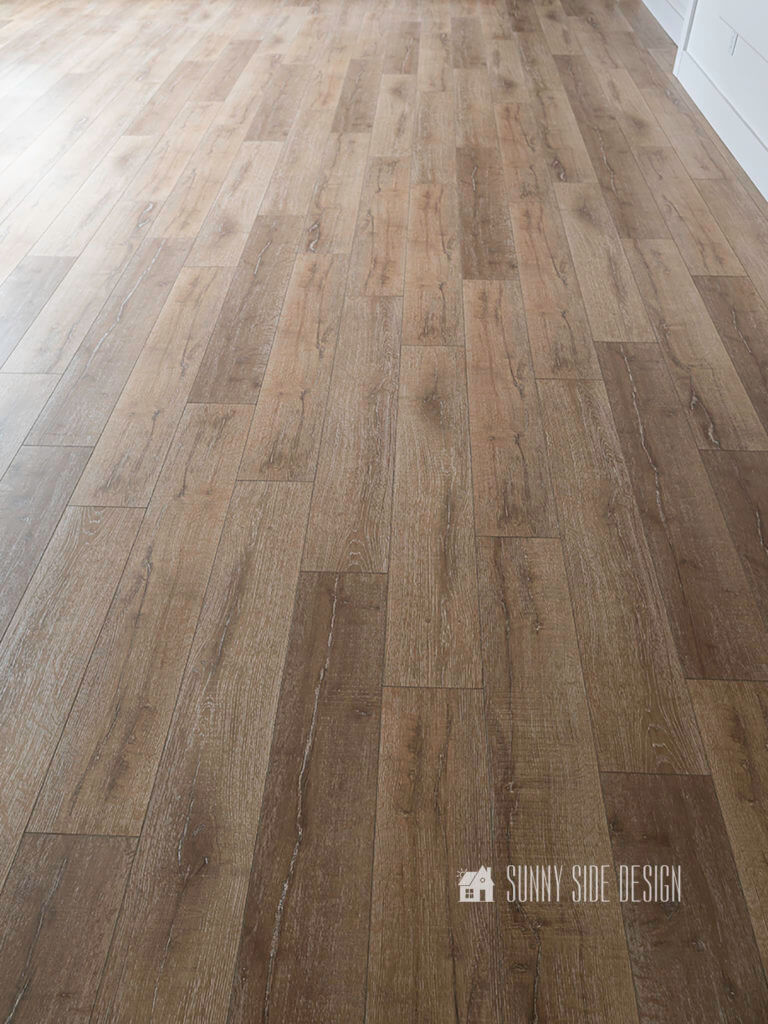
And this week we are thrilled to share how to install a gorgeous laminate floor over concrete that looks and feels just like wood.
While this may seem like a challenging project it is a doable do it yourself project.
However, it can be a little rough on the knees.
Of course, we’ll walk you through everything you need to know to install a laminate floor, even if it’s over concrete.
And for more ideas that will add value to your home, take a look at 10 Sensational Home Improvement Ideas on a Budget.
If you’re new here, WELCOME! You can learn more about us here.
For the next 4 weeks we will be transforming an unfinished basement room into the ultimate family hangout room!
Make sure you’re subscribed to our newsletter so you don’t miss any of the projects in this basement family room.
And be sure to follow us on Instagram for behind the scenes progress and updates!
Be sure to join us each week to check our progress!
Also on the One Room Challenge website, you’ll find tons of ideas for updating any space in your home.

Project in Our One Room Challenge
You can easily navigate through each week of this ultimate modern coastal family room project below.
- Week 1 – How to Make a Built In Entertainment Center
- Week 2 – How to Make a Simple Cabinet Box
- Week 3 – How to DIY an Epoxy Countertop to Look Like Marble!
- Week 4 – You are Here!
- Week 5 – Add Old World Charm with a Simple Brick Backsplash
- Week 6 – How to Make a Built In Reading Nook in a Closet
- Week 7 – How to Make a Simple Upcycled DIY Sofa Table
- Week 8 – Reveal Day! Basement Family Room Ideas on a Budget
Frequently Asked Questions About Laminate Flooring
Can Laminate Floors Be Installed Over Concrete?
Yes! Laminate flooring can be installed over a concrete sub-floor.
And that’s what we will be sharing with you today.
In fact, it can be installed over most types of floors including hardwood floors, tile, wood sub-floors and concrete.
We even installed a luxury vinyl wide plank floor in a bathroom.
It just needs to be a flat level surface.
Is Laminate Floor Easy to Install?
Installing laminate floors is not difficult, however it can be time consuming if your room is very large.
Clearly, it’s an intermediate project that most homeowners can take on themselves.
And depending on the size of your room, it’s a project that can be completed in a day or over a weekend.
For successful installation it will require a few tools as well.
Do You Need an Underlayment for Laminate Floors?
Underlayment for laminate flooring provides proper support, stability, noise reduction and helps the click lock system to provide a structurally sound floor.
While some laminate flooring come with underlayment already attached to each plank.
If you are installing your laminate floor in a below-grade installation on a concrete basement floor, a vapor barrier is recommended in addition to the underlayment.
You’ll install the vapor barrier between the subfloor and the underlayment.
Can You Install Cabinets Over Laminate Flooring?
You do not want to install cabinets or any fixed objects over laminate flooring.
In fact, installing fixed objects over laminate flooring can cause the joints to pull apart as it expands and contracts.
How Much Laminate Flooring Should I Purchase?
To determine the amount of laminate flooring needed for a room, start by measuring the length and width of the room in feet.
Multiply these measurements to find the total square footage of the floor space.
And a tool we recently started using will make this step a breeze, it’s a Distance Laser Meter.
No more struggling with tape measures, you simply point the laser and get an accurate measurement instantly.
Plus it does the math for you and will calculate the square footage.
Next, check the packaging or specifications of the laminate flooring you plan to purchase to see how many square feet each box covers.
Divide the total square footage of the room by the coverage per box to determine how many boxes you’ll need.
Remember to account for extra material to accommodate cutting waste and any pattern matching.
It’s wise to purchase 10% more than the exact calculated amount to allow for mistakes or future repairs.
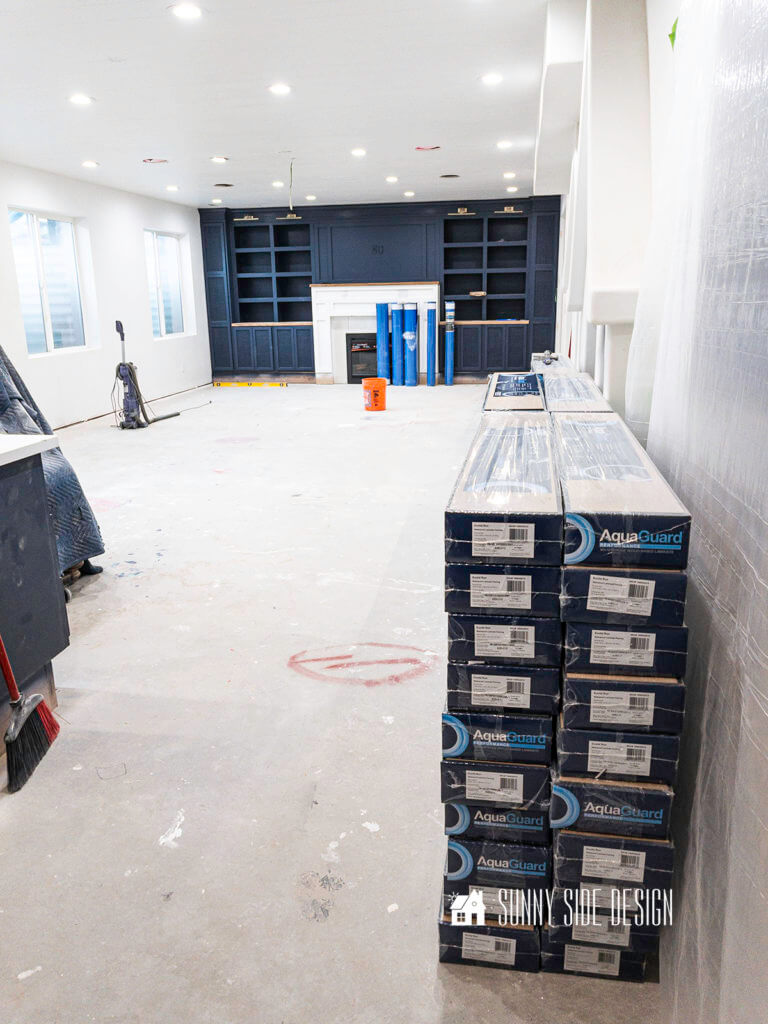
Supplies for Installing a Laminate Floor Over Concrete
- Laminate flooring (we chose a Aquaguard waterproof flooring, Euclid Run, from Floor and Decor)
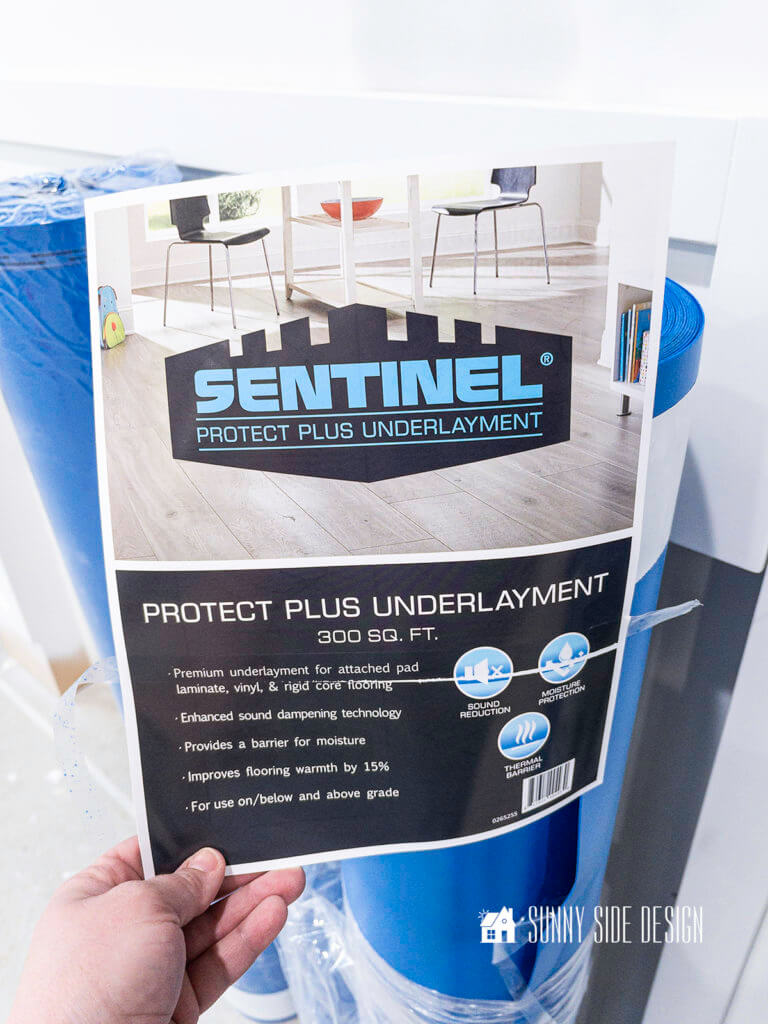
- Underlayment
- Vapor barrier (if needed)
- Transition molding or T molding
Helpful Tools When Installing Laminate Floors
- Table saw
- Jig saw
- Speed square
- Oscillating multi-tool
- Rubber mallet
- Pull bar
- Laminate floor spacers
- Tape measure
- Knee pad
- Distance Laser Meter
Enjoying this post?!
Pin it for later and share it with your friends.
Sharing is caring!
Video Tutorial
Preparing the Sub Floor
Check for Levelness
First before you actually start installing your laminate floor over concrete, you’ll want to check your floor for levelness.
Clearly areas of peaks and lows can interfere with the stability of the locking system and joints.
For instance,we had a couple of areas on our concrete slab where a crack was raised.
Because of this, we used an grinder to level off those areas.
You’ll also want to make sure your floor is clean before installing the laminate flooring.
Remove Baseboards
Certainly, removing the baseboards is optional, but I feel it looks more professional to remove the baseboards and reinstall them after the laminate flooring is installed.
However, another option is to install quarter round molding.
Installing a Vapor Barrier
In particular, concrete sub-floors are porous and have the potential to hold excess moisture.
And in order to prevent excess moisture from migrating towards your new laminate floor, it’s important to lay down a moisture barrier or choose an underlayment with a vapor barrier.
With that in mind, we chose an underlayment with a vapor barrier.

The vapor barrier was super easy to install over the concrete sub-floor.
In fact, it has a flap that unfolds on one side and an adhesive strip on the other.
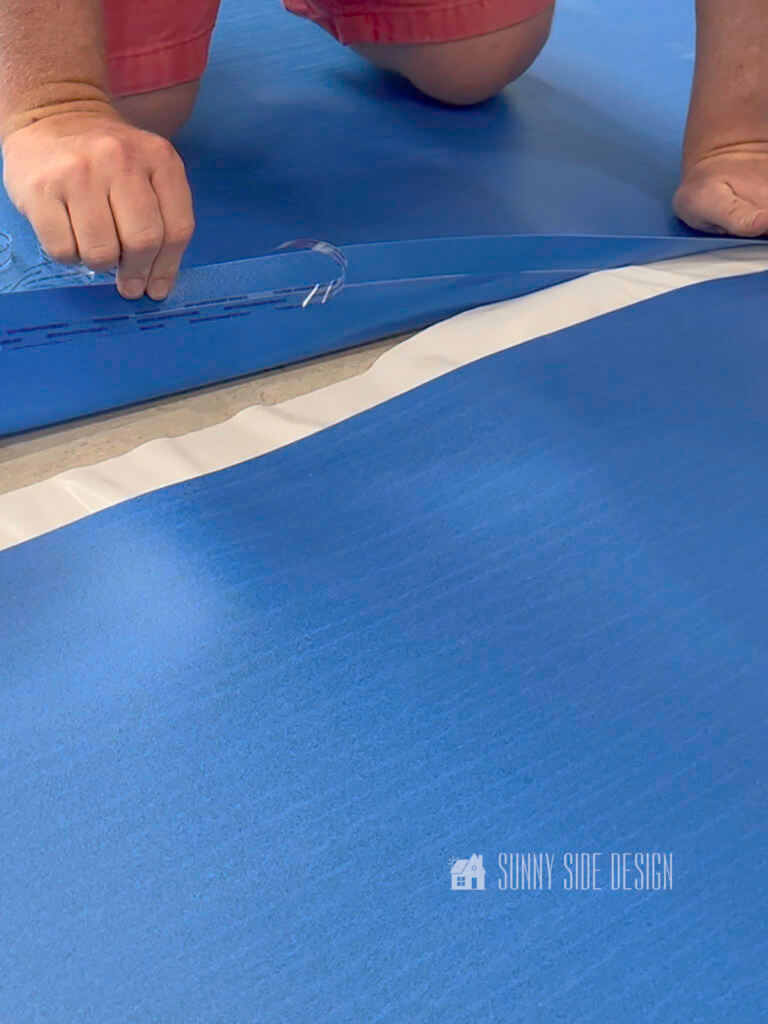
You simply make sure the underlayment is aligned and then remove the protective covering from the adhesive strip and place it on the flap.

For pieces of the underlayment that butt end to end, we placed packaging tape over that seam.

[mailerlite_form form_id=2]
Installing Laminate Flooring
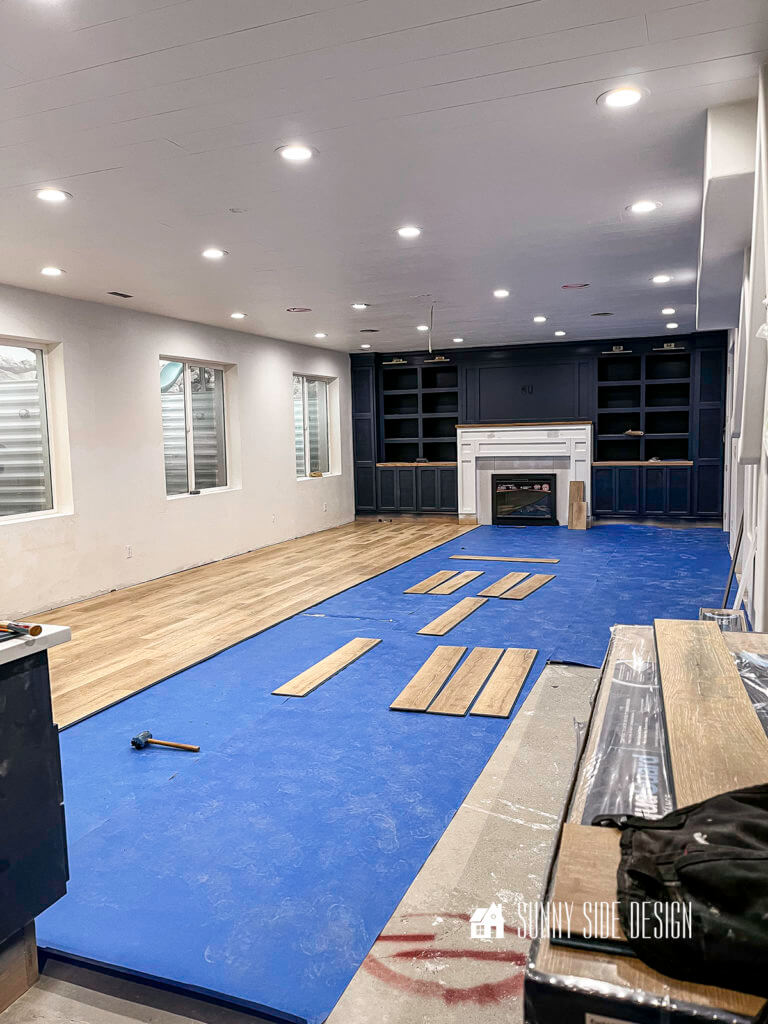
Sort Flooring
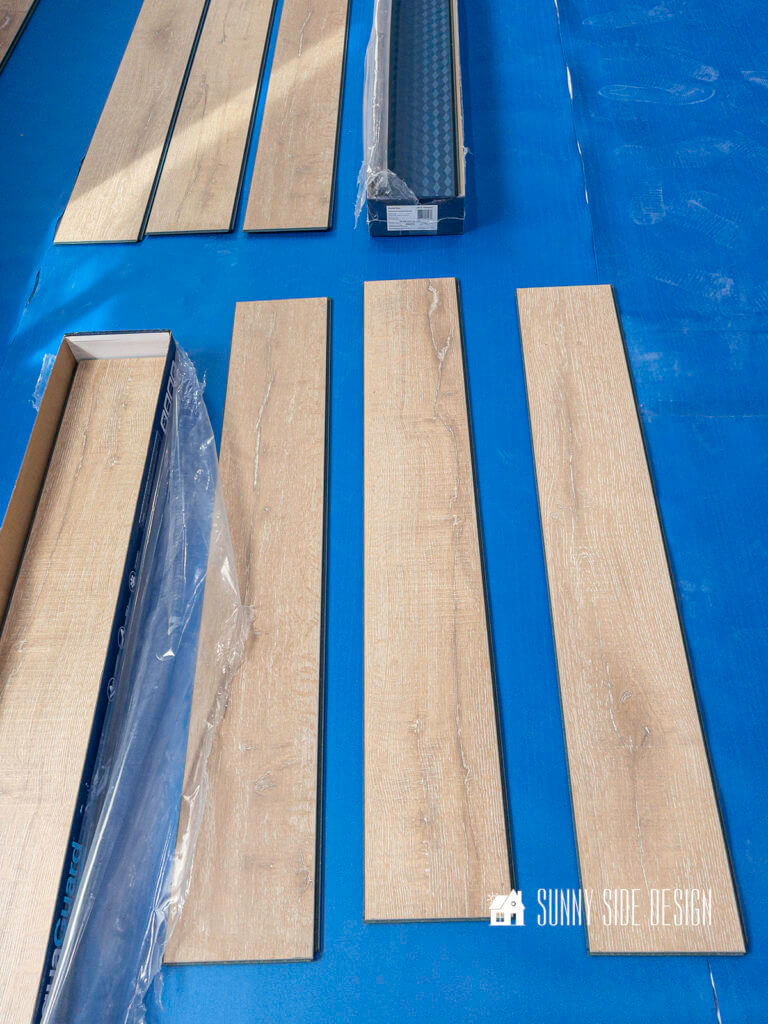
Begin by opening several boxes of the laminate floor.
You’ll want to choose pieces from several boxes to ensure you mix up any variations in color and pattern.
Of course you’ll want your floor to look like it’s a real wood floor, so you’ll want to make sure not to put two pieces that are the same pattern next to each other.
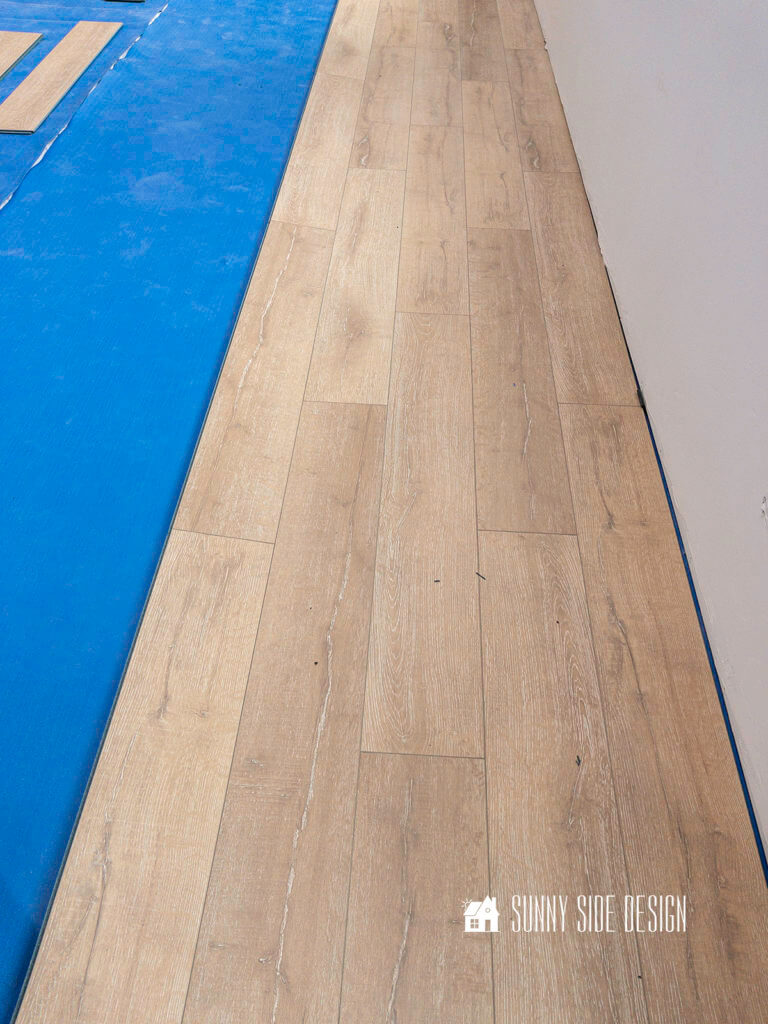
Installing First Row

Before you begin installing your laminate flooring over concrete, you’ll want to determine how many planks it will take to go across your room.
You don’t want to end up with a skiff of a board on one side of your floor.
First we took a measurement of the width of the room and divided it by the width of the laminate plank.
As it turned out we would have full planks all across the room.
It’s also recommended to install laminate flooring from left hand corner of the room.
In addition as you install the first row, you’ll also want make sure it is straight.
Also place spacers along the edge of the wall.
A laminate floor floats and needs to be able to expand and contract with changing temperatures.
As a rule, you will leave a about 1/2″ space around the room.
In addition, you need an expansion space around any pipes or other obstacle in the room.
Once the floor is complete, molding will be installed to cover the gap.

To connect each plank you will place one plank on the floor and take a second plank, holding it at an angle and connect it with the first board.
Continue connecting the planks until you get to the end of the row.
Measure and cut the last piece and connect to the row.
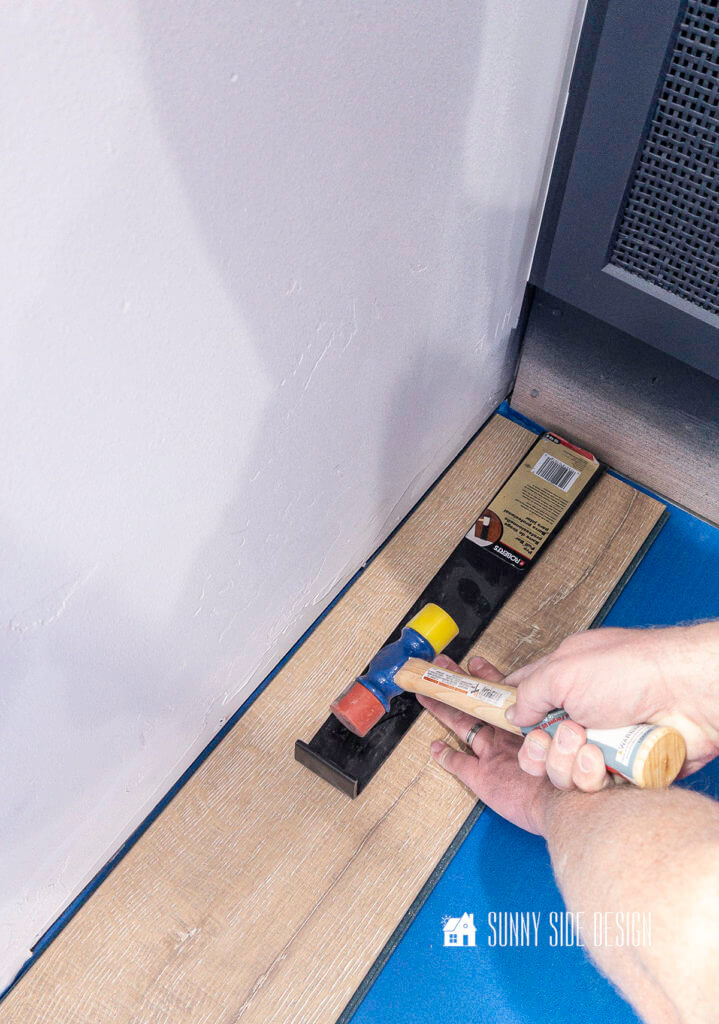
Finally when you get to the end of a row, use the pull bar to snug up any joints.
Place the pull bar at the end of the row and tap with a rubber mallet.
Clearly, you want to make sure that each plank joint of your laminate floor is tight.
How to Measure for Cuts


I think that most of your cuts can be made with a compound miter saw or chop saw.
However there will certainly be a few planks that needed to be ripped.
So for those cuts will need a table saw.
You may find that you’ll need to make cuts with a jig saw if you have heating vents or pipes you’re cutting around.
For example, when you need to make a cut around a cabinet or a closet you’ll need a table saw or jig saw.
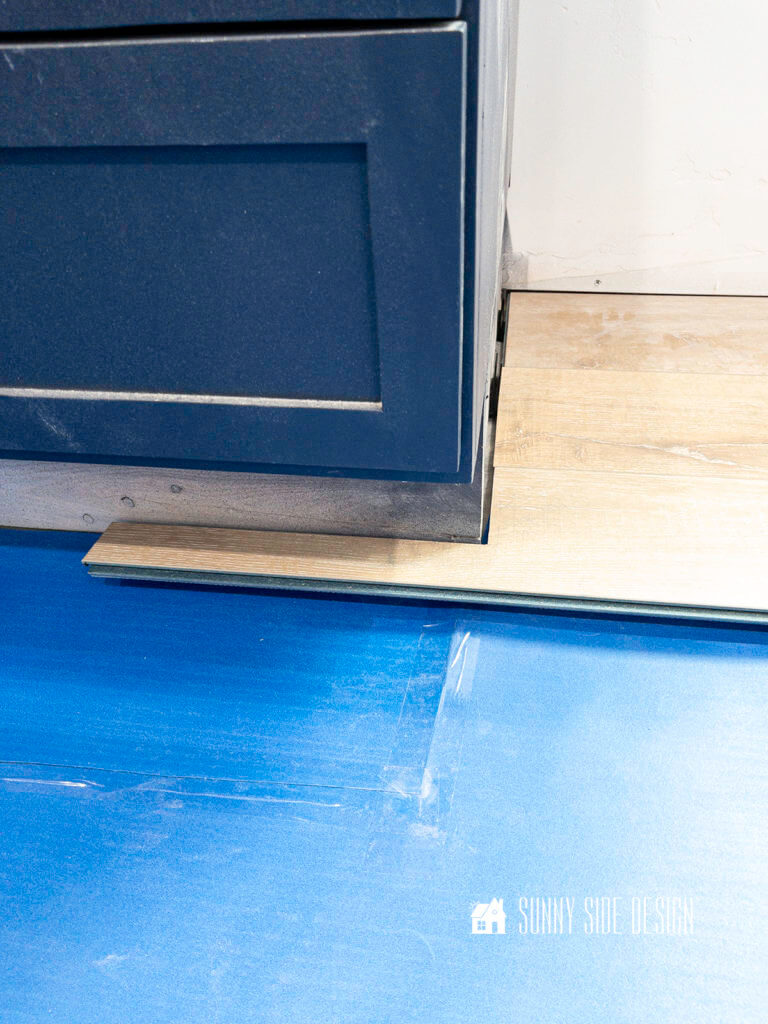
How to Install Around a Doorjamb

To get the laminate flooring piece under the door jam, you may need to trim off a bit of the door jam.
So, to do this you’ll place a scrap of laminate flooring on the cement next to the door jam, place the cutting blade against the plank and cut with an oscillating multi tool.
Then you’ll find that the laminate floor will slide under the door jam.
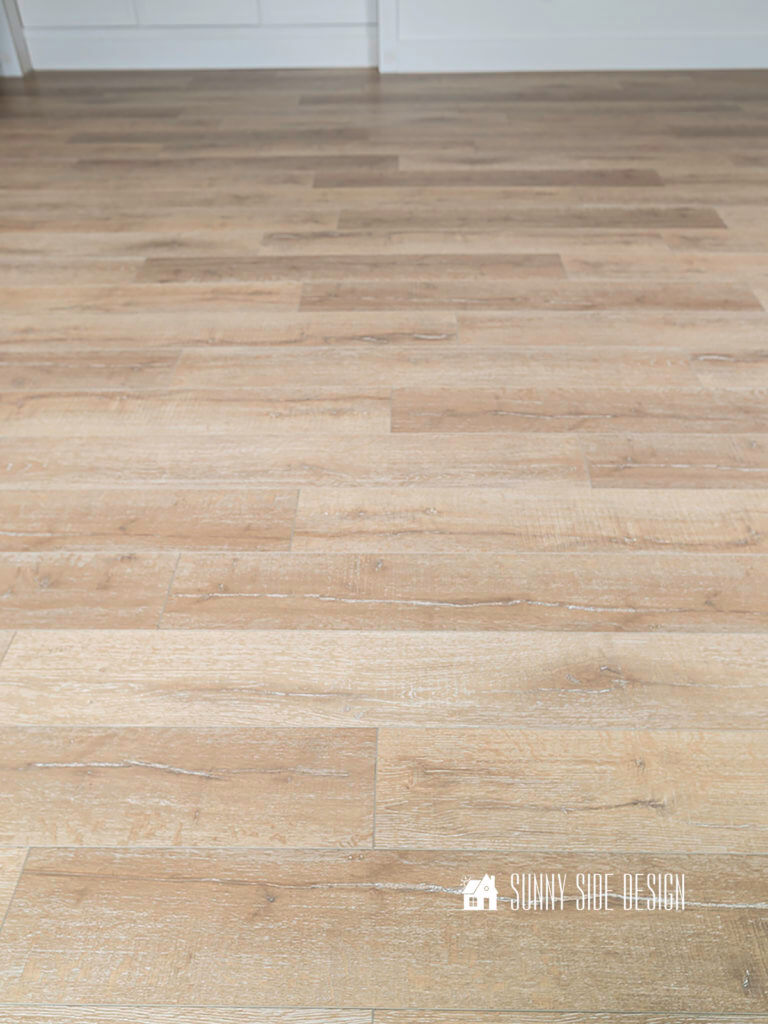
Install the Rest of the Laminate Floor
To complete the floor, generally you can use the piece cut off from the previous row and use it to begin the next row.
You’ll also want to make sure that you stagger the seams.
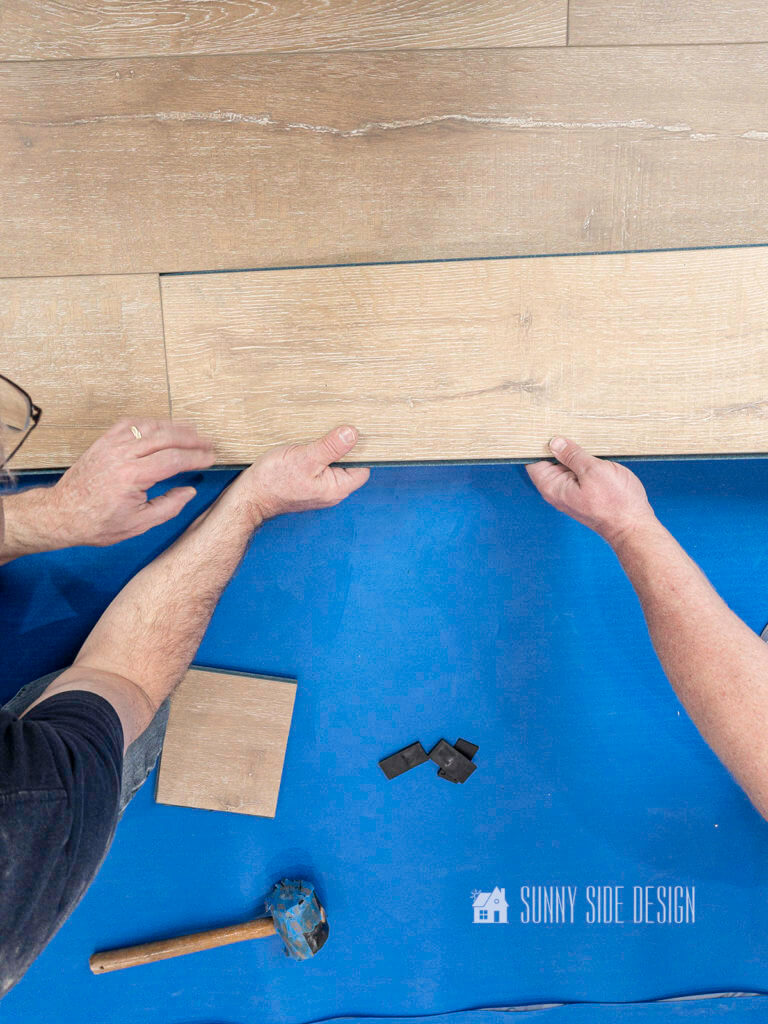
For the next row, take a plank and angle it to fit into the joint of the first board of the row.

With the planks slightly raised off the floor tap the plank into position with a scrap of laminate flooring.
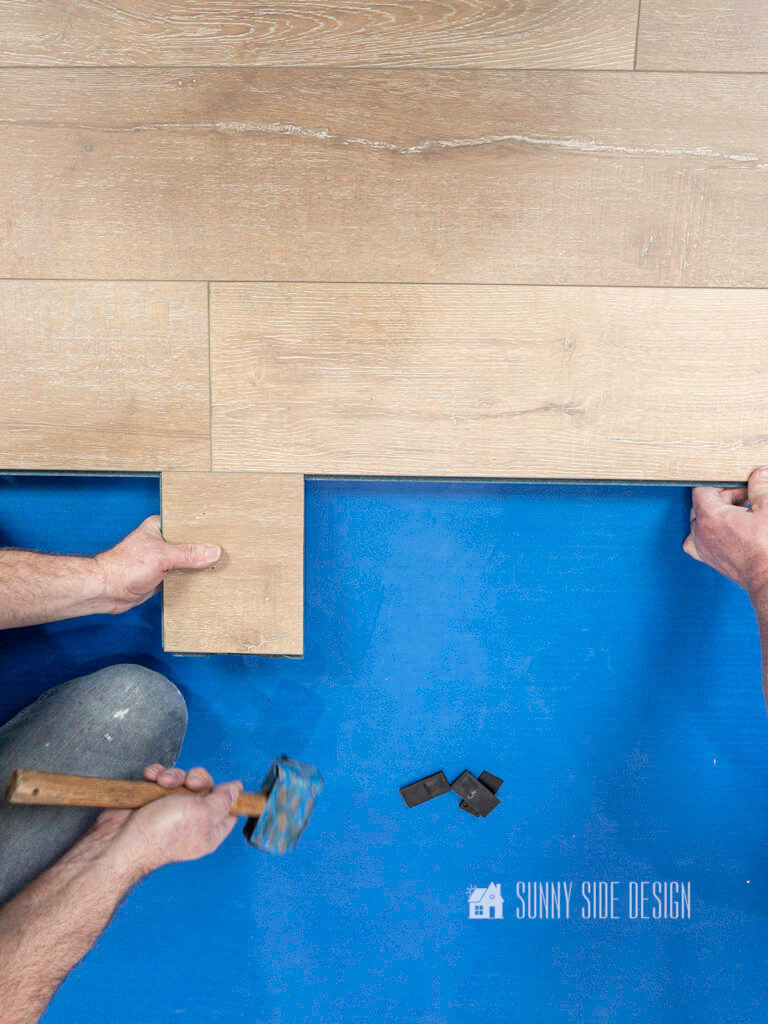
Align the tongue and groove and tap into position with a rubber mallet until the joint is snug.
Repeat this process for the entire row.
Then press down on the row to click into place.
Repeat this process, row after row.
It really goes a lot faster if you work with a partner.
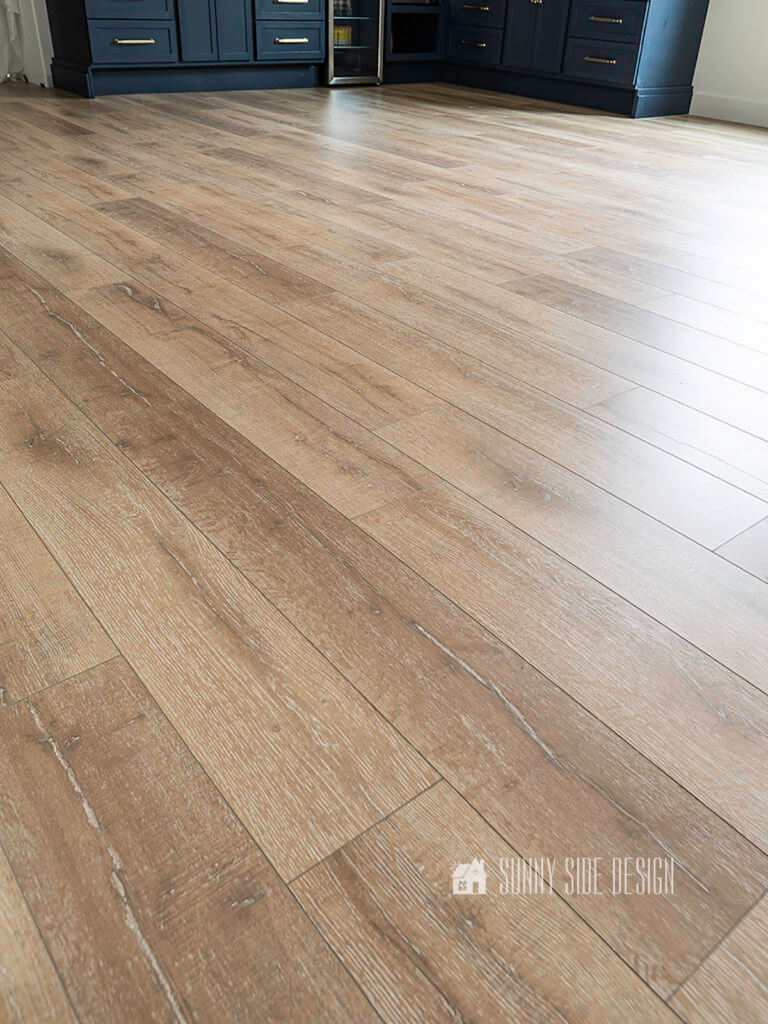
The first day we were able to get about 1/3 of the laminate flooring installed.

And after day two we have most of the room finished.
However it would take another day of work to do in side the closet and the “dream house” (playhouse area.)
How to Install Last Row
The board width of the last row should not be less than 2″.
If so, adjust the width of the first row to be installed.
When you get to the last row, you will likely need to rip the board down to fit.
Keep in mind you’ll need to leave that 1/2″ gap a well.
You may find it helpful when installing the last piece to use the pull bar and mallet to snug up the joint.
The last row seems to take the longest with all of the cuts that need to be made.
But then you can sit back and enjoy your efforts!
Let’s stay connected! Follow us on social media!
Finish Details
Install Baseboards
Finally we are ready to install the baseboards.
First, remove all of the spacers around the edge of the flooring.
The directions for our waterproof laminate flooring also recommended to apply silicon caulk around the perimeter of the floor before installing the baseboards.
If you choose to not remove baseboards, install a quarter round molding.
Install Transition Pieces
Last but not least, place T-molding or transition pieces at door ways where the laminate floor meets another floor type.
The transition pieces will come with instructions for installation.
Our transition pieces are on special order and we won’t receive them for 8 weeks.
So, we don’t have any photos of that process.
Enjoying this post?!
Please pin it for later and share it with your friends.
Sharing is caring!


We hope you found a little inspiration here today.
Are you ready to install a laminate floor in your home?
Does it seem like too much work? Or are you up for the challenge?
Remember to check back each week as we continue the One Room Challenge.
Each week we’ll share a new DIY project.
Next week we’ll share our backsplash in the kitchenette.
You are going to want to see this!
It’s absolutely gorgeous!
What are your favorite elements in this room so far?
We’d love to hear from you!
Please share your thoughts and questions with us.
If you’re new here, WELCOME! We love having new readers and friends!
You can learn more about us here.
Let’s stay connected!
Subscribe to our free newsletter so you don’t miss any inspiration for your home.
Please PIN and save for later, and share with your friends!
Sharing helps grow our following!
Thanks for stopping by and as always here at Sunny Side Design…
WE HOPE TO BRING YOUR HOME TO THE SUNNY SIDE OF THE STREET.

Be sure to follow us on Pinterest for even more home decor and DIY ideas.
To see what we are working on before it’s on our blog, follow us on Instagram.
You will also find our video tutorials on our YouTube channel.


I am looking at this flooring currently. How is it holding up to stains, pets, scratches, water, etc if you don’t mind me asking. I am so nervous reading so many bad reviews of laminate products, not to mention not knowing if it will match or clash with my kitchen cabinets and tiled areas. Stress!
I understand about the stress of choosing flooring. We don’t have a pet, but the floor looks great after 6 months. We also installed a laminate floor 8 years ago on the main floor. We selected a high quality floor with a 25 year wear warranty. I’ve had no issues with scratching or staining. I’d recommend getting samples and see how you like them in your home. I’ve had hardwood floors in the past and the floor was constantly getting scratched. I do feel that a good quality laminate is more durable than a hardwood floor, especially with scratching. Good luck on your search.
Wow! This space looks absolutely fabulous! Love it
Thank you Kylie, it’s so fun to see it coming together. we’ve got a few more weeks of project and then the final reveal!