Do you have an old rug that’s looking old and faded? Don’t throw it out just yet! Have you ever considered giving your rug a quick refresh? Did you know that you can paint a rug?!
Learn how to paint a rug, to update a space in your home!
Before we get into the steps to paint a rug, here are a few tips that will help you create a beautiful rug.
- Rugs that have a low nap or a flat woven rug will work best.
- Use good painters tape. (Frog tape is our favorite)
- Use a good quality brush
- Apply more than one coat of paint
- If planning to paint a pattern, sketch it out first to make sure you like it.
- Mix fabric medium into your paint so your rug is washable
- Paint from the edge of the tape inward to prevent bleeding
- Optional, apply fabric protector once complete
Sunny Side Design is a participant in the Amazon Services LLC Associates Program, an affiliate advertising program designed to provide a means for sites to earn advertising fees by advertising and linking to Amazon.com. As an Amazon Associate, this blog earns from qualifying purchases with no additional cost to you. Click here to read our full disclosure policy.
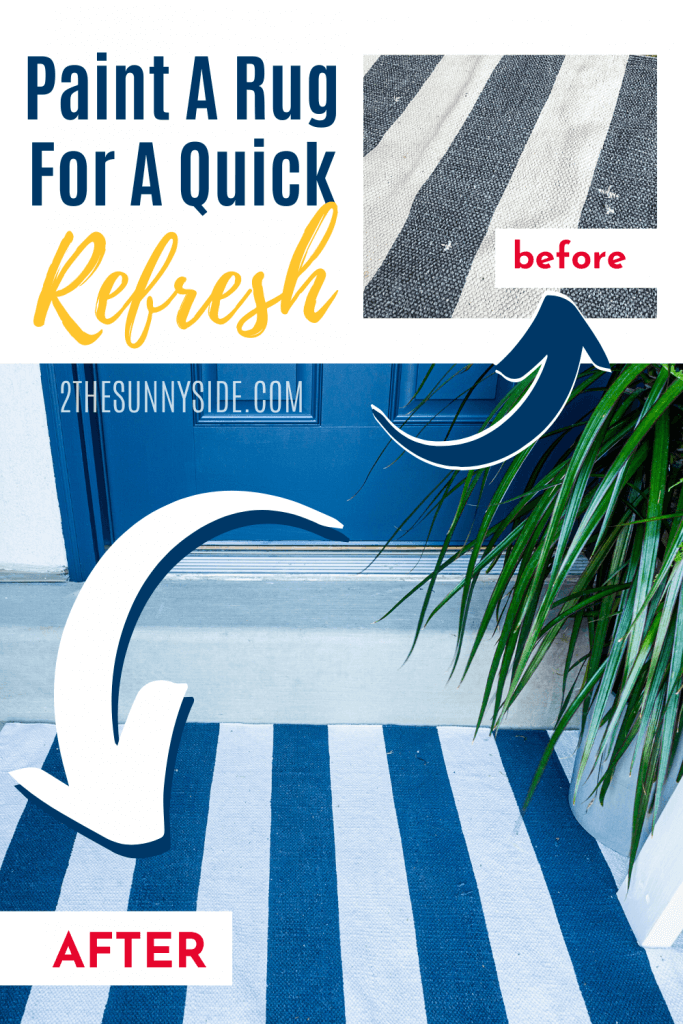
The Rug | Before
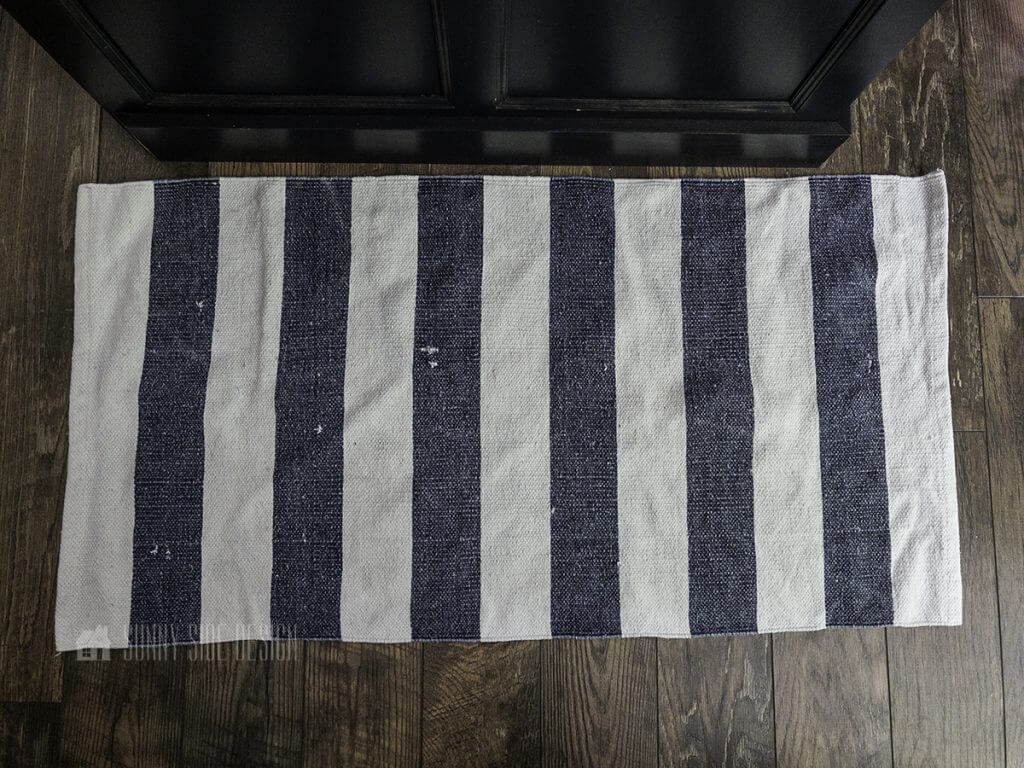
Anyone can see that this rug has seen better days. It’s faded and has some snags. But why not give it a quick refresh to make it look like new again?
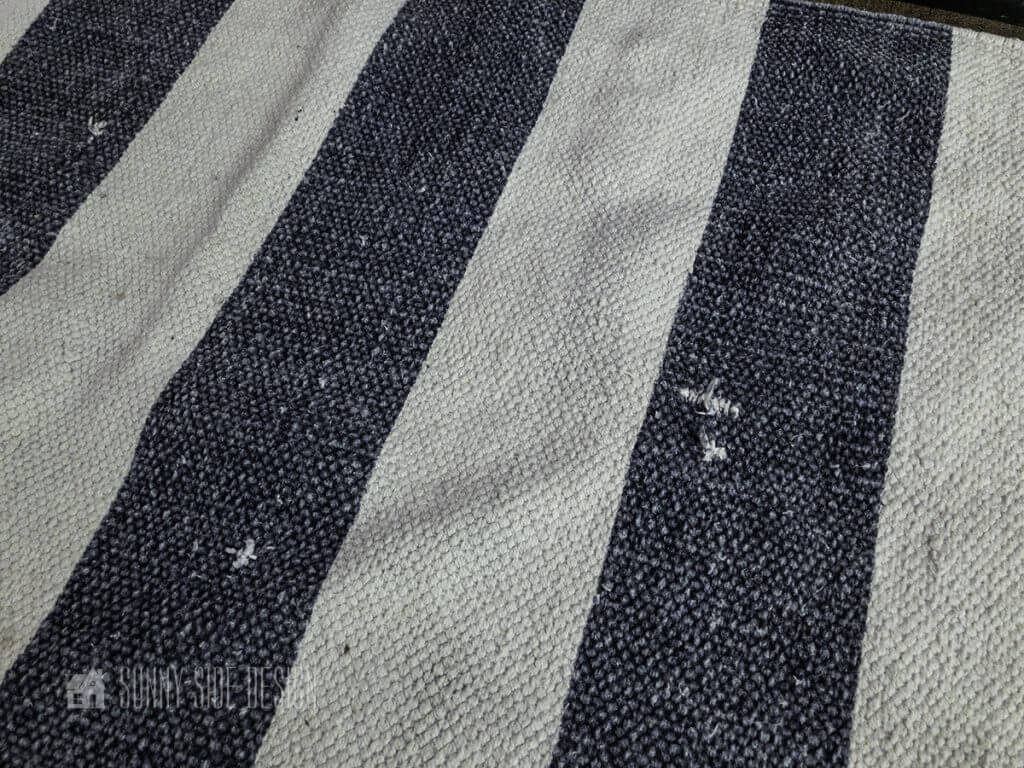
Here’s a look at the snags close up. The white stripes weren’t a bright white either. They have a slight blue hue from the blue color bleeding from being laundered.
Are you enjoying this project? Please Pin It, save it for later and share it with a friend.
Sharing is caring!
Apply Painters Tape
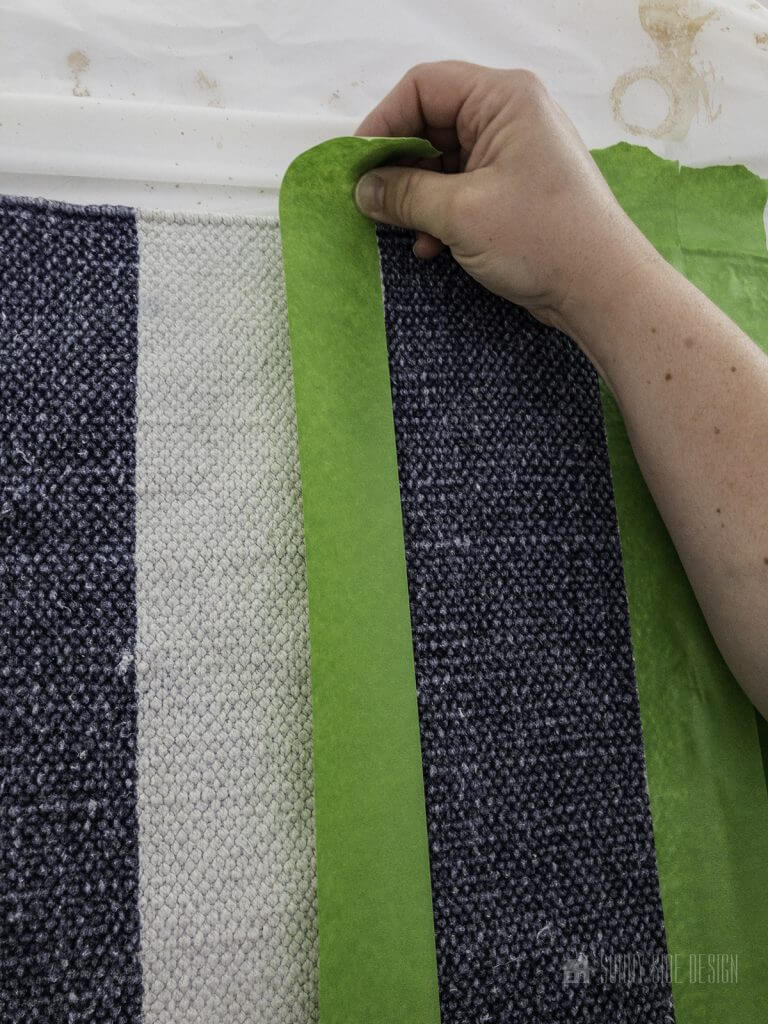

I love the simple striped design, so I decided I’d stick with that same pattern.
If you’re wanting to really transform a rug and start with a clean slate, you can definitely paint a new design on your rug!
The first step was simply to add frog tape to the edges of the blue stripes.
Be sure to firmly press the edge of tape down to ensure a nice crisp paint line.

Once all of the frog tape has been applied, it’s ready to be painted.
If you’re new here, welcome! We’re so glad you’re here.
Let us introduce ourselves, we’re Michelle and Steph, a mom and daughter team who love to DIY and decorate our homes.
Not only are we passionate about making our homes warm, comfortable and unique, but it’s our mission to help you create that same feeling in your own home.
You’ll find ideas for repurposing, creating, decorating and making your home truly yours, while always mindful of a tight budget.
Undoubtedly we love finding ways to make your home look high-end on a small budget.
Plus you’ll also find a recipe or two as we share our family favorites with you.
We’d love it if you’d join our community of doers so you won’t miss any inspiration for your home.
We love new friends.
Supplies to Paint a Rug
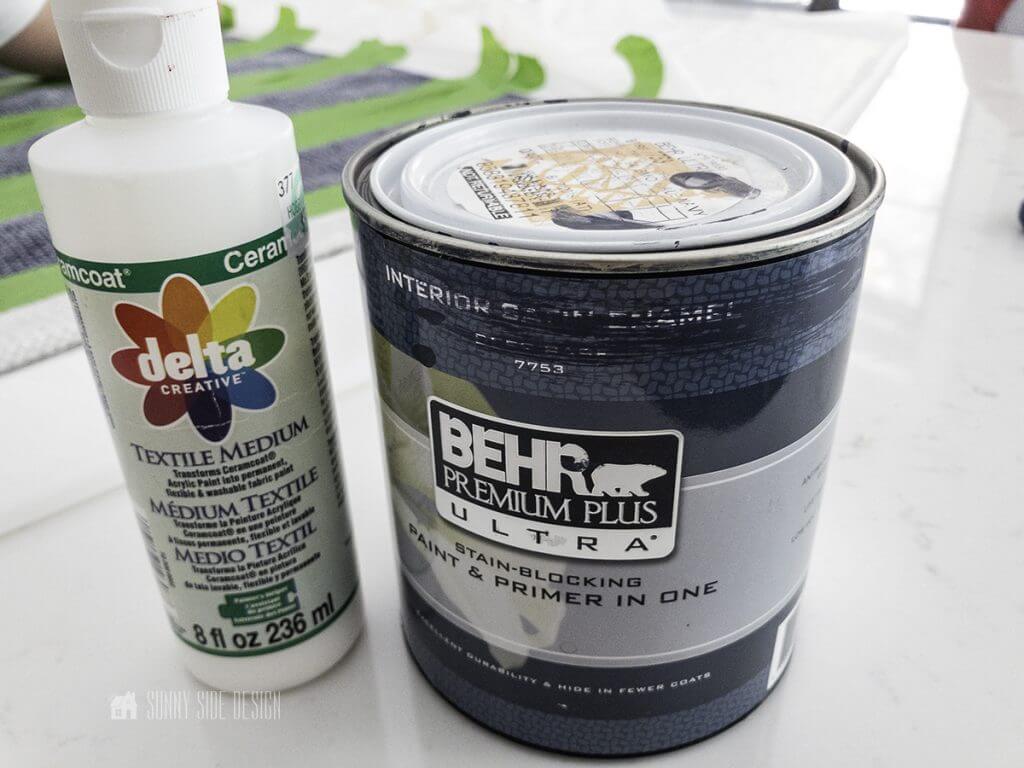
To ensure your rug will hold up through laundering, you’ll want to use a fabric medium with your paint.
The fabric medium will prevent bleeding of colors and creates a smooth flow of paint on fabrics. It will also help the color penetrate into the fabric fibers, which will make the paint bond to the fabric.
For the paint we’re using leftover, Behr Paint & Primer color matched to Benjamin Moore, Hale Navy.
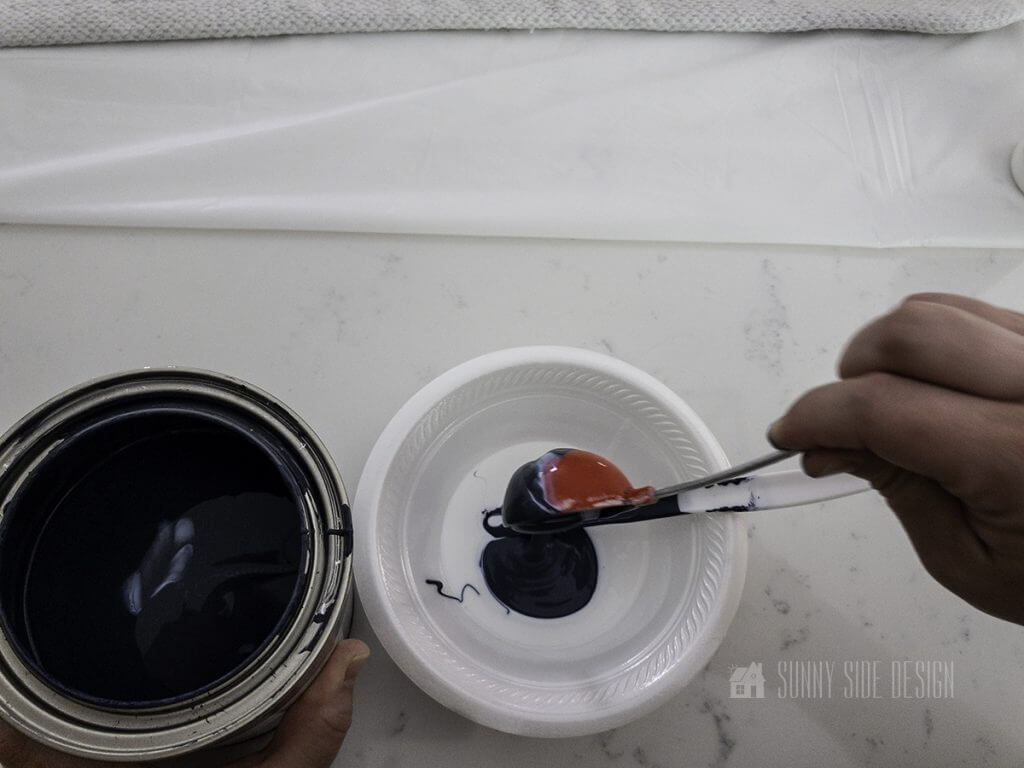

Add a 2:1 ratio of paint to textile medium. For this 2×4 rug, we mixed 4 T. paint with 2 T. fabric medium.
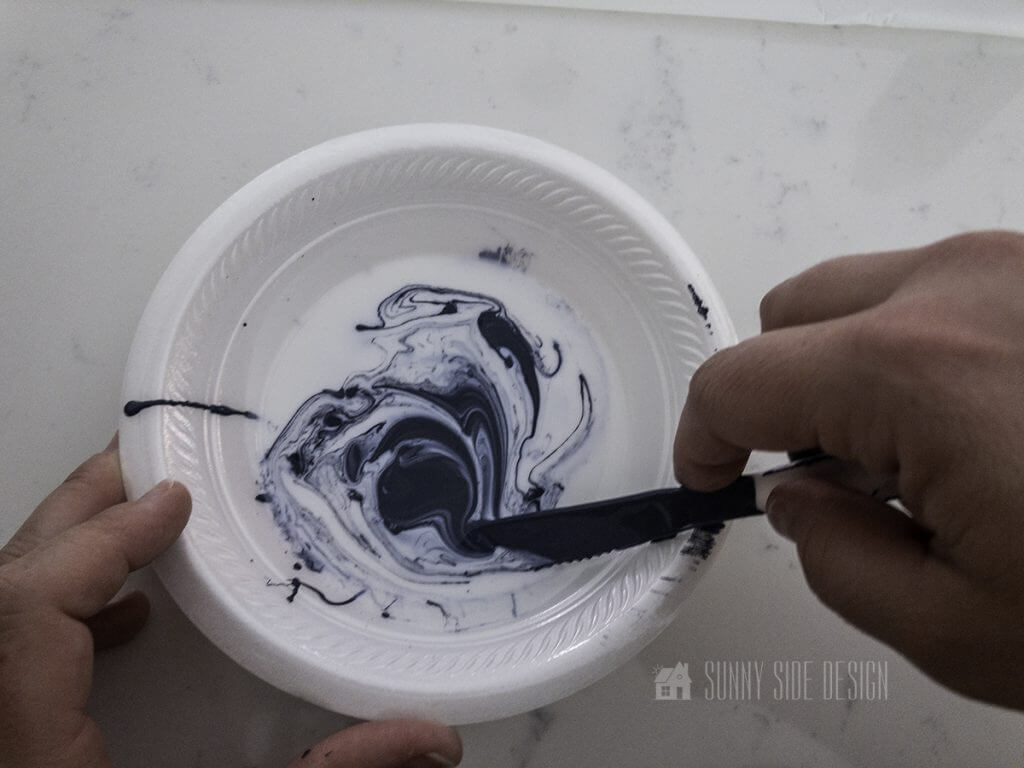
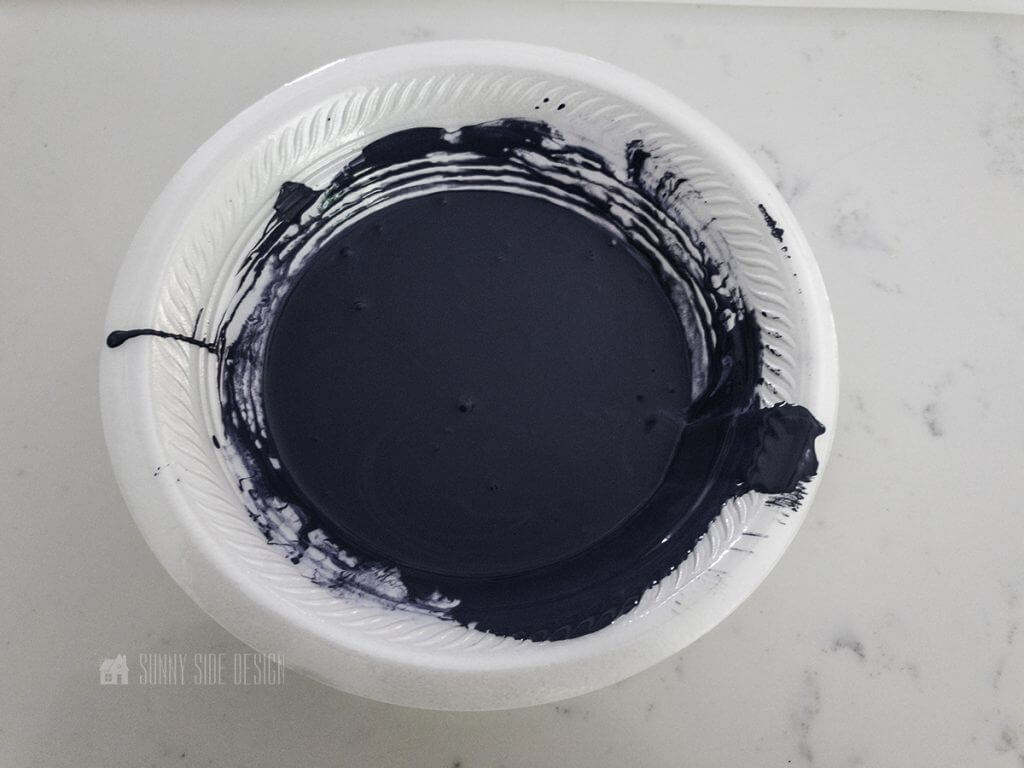
Stir until combined. Note that the fabric medium will make the paint a little bit more runny, this is what helps the paint penetrate into the fabric fibers.
Let’s stay connected! Follow us on social media!
How To Paint A Rug
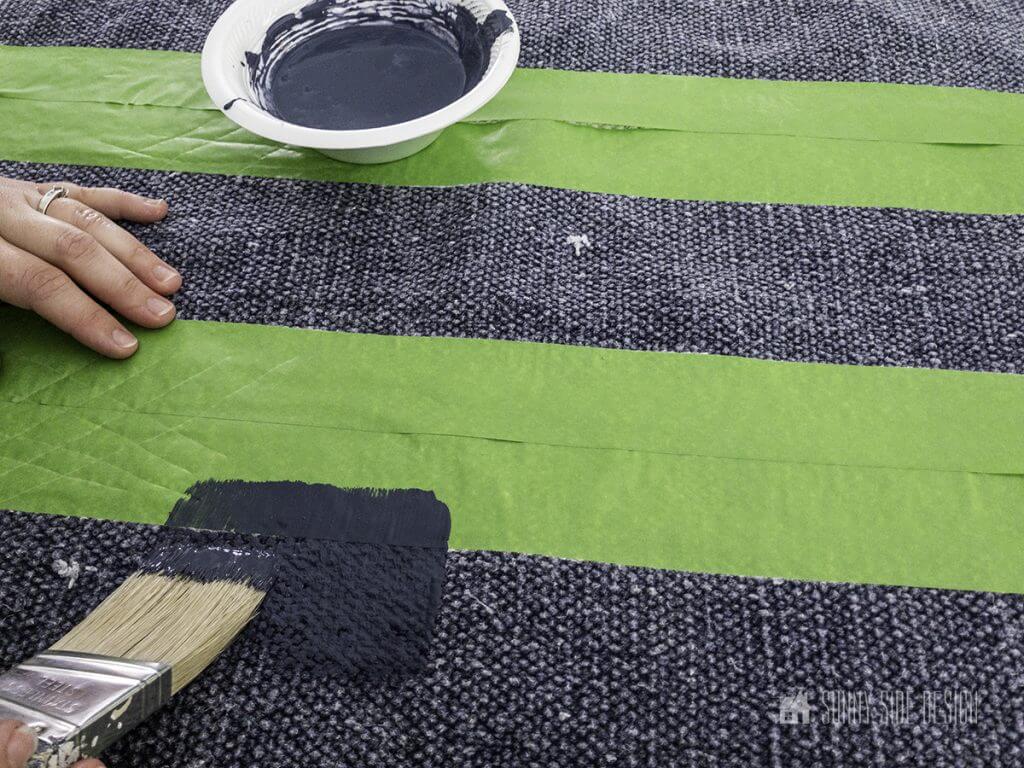
The quality of your brush really will make a difference on any painting project.
We prefer using a brush by Purdy. We love their brushes, while they are a little more expensive, they are well worth it. We get much better results.
Begin by placing the brush on the edge of the frog tape and brush inward toward the fabric. This will help prevent any bleeding.
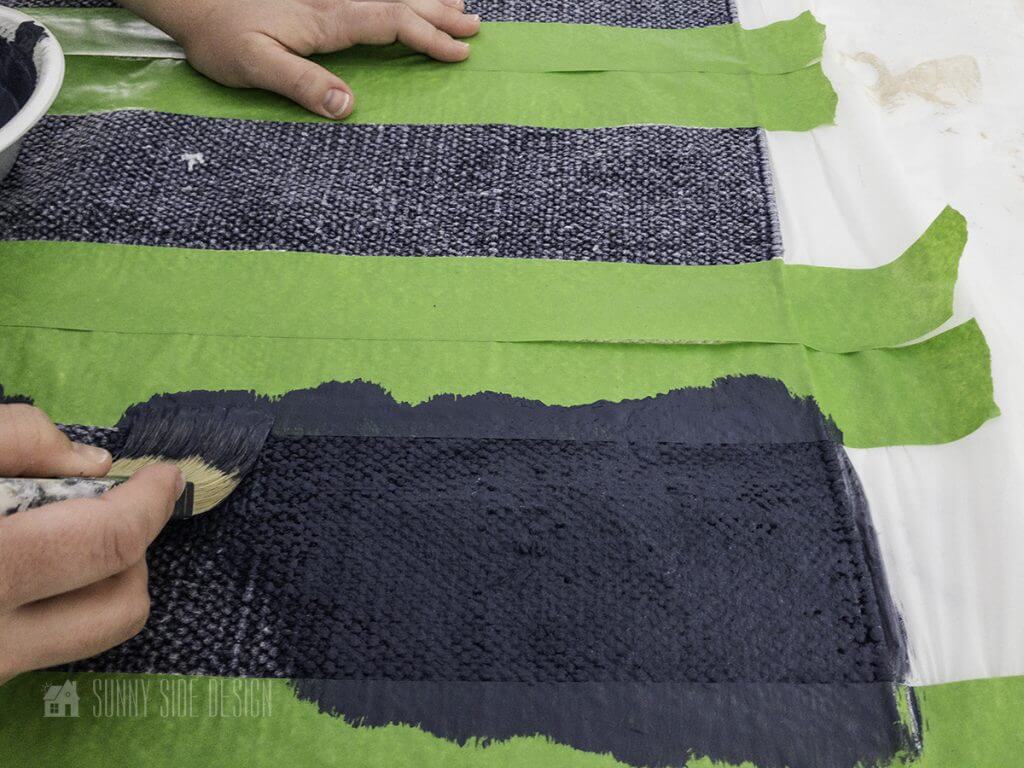
Look at the difference already! The painted stripe already looks so much more rich and colorful than the worn and faded stripe.

Fabric fibers really soak up the paint. Even if you think you’ve covered your area heavily, be sure to give it a second coat.
In this case, since we already began with an existing blue stripe, it acted as a first coat of paint, so we were able to get away with only one coat of paint.
(More projects are linked below for additional ideas of painting on fabric. Two coats of paint were used on each of these.)
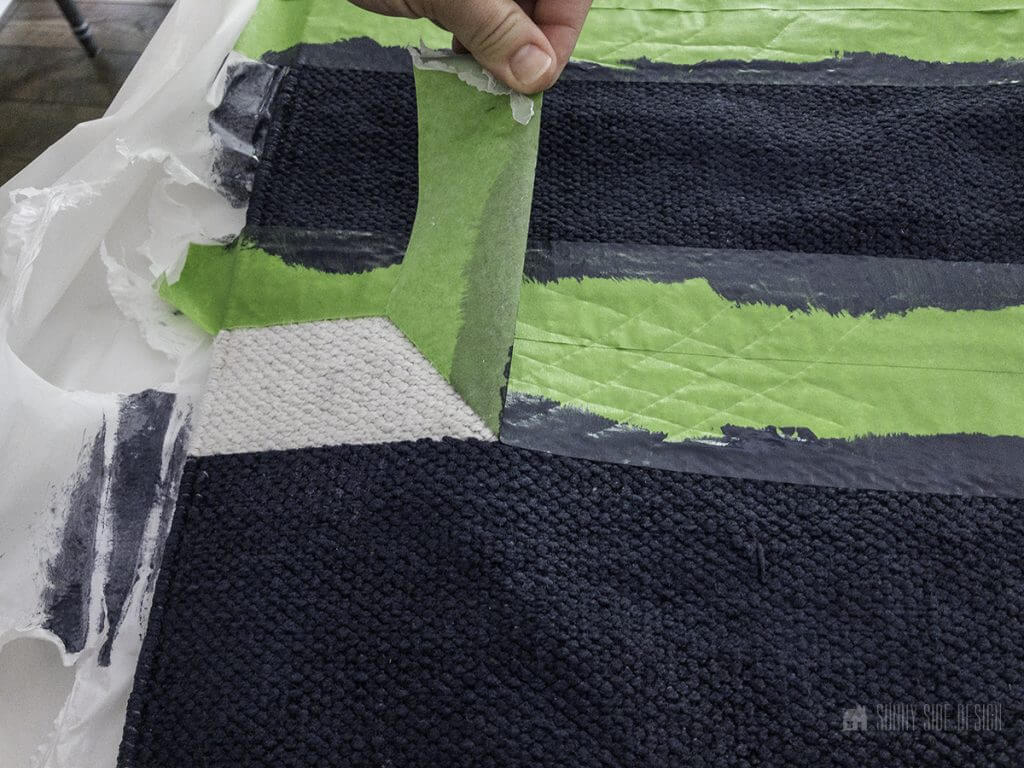
After each of the stripes had been painted we pulled the frog tape off. This is best to do while the paint is still wet.
The Rug | After

Now would you have ever thought to paint a rug? Look what a difference it made!
We only added blue paint, but having those stripes more rich in color, gives the illusion of a more bright white too.

I absolutely love the navy and white stripes on our front porch! It creates such a fun and relaxed feel to our small space. If you’d like to see what patriotic elements we used for our porch decor you can take a tour of our porch here.
We hope you found some inspiration for your home today.
Please share your tips and ideas with us.
We love hearing from you!
If you’re new here, WELCOME! We love having new readers and friends!
You can learn more about us here.
Let’s stay connected! Join our DIY community of doers and you won’t miss the weekly updates and more inspiration for you always on a budget.
Sharing is caring!
Thanks for stopping by Sunnyside Home. Empowering you to create a home you love!
Retailers We Love
- Anthropologie
- Birch Lane
- Crate & Barrel
- Joss and Main
- Lampsplus
- Mark & Graham
- One Kings Lane
- Pottery Barn
- Rejuvenation
- Serena & Lily
- Wayfair
- West Elm
- Williams Sonoma
- World Market
Be sure to follow us on Pinterest for even more home decor and DIY ideas.
To see what we are working on before it’s on our blog, follow us on Instagram.
You will also find our video tutorials on our YouTube channel.
- How to Fix Chipped Kitchen Cabinets with a Pen

- Easy 4th of July Door Decor You Can Make in Minutes
- 35 Easy Decorating Ideas for Summer to Welcome the Season
- Fourth of July Decorating Ideas You’ll Love This Summer


