Craft an impressive bust skull decor that’s sure to be a hit, with just a few simple supplies you can create a chilling centerpiece that will leave your guests in awe.
Have you wondered how to make Halloween decorations around the house? More specifically how to decorate a skull for Halloween?
The entire theme for decorating our home for Halloween this year revolves around skeletons. We’ve created some pretty fun pieces of skeleton decor this year. From our DIY skeleton silhouettes for our family portraits, to easy DIY dollar tree skull napkin rings for your Halloween party.
We’ve even invited you to join us while we decorated our homes for Halloween so you have behind the scenes access to our decorating process. Mine of course is themed around skeletons. Mymom’s home is all about Bats!
Today we wanted to share one last DIY Halloween decor idea with you, How To Make Bust Skull Decor.
For more DIY Halloween decor ideas see 60 Spooky and Creative Halloween Decor Ideas.
Sunny Side Design is a participant in the Amazon Services LLC Associates Program, an affiliate advertising program designed to provide a means for sites to earn advertising fees by advertising and linking to Amazon.com. As an Amazon Associate, this blog earns from qualifying purchases with no additional cost to you. Click here to read our full disclosure policy.
Inspiration for Skull Decor

While my Mom and I were out picking up the last few decor pieces for Ellie’s bedroom makeover, we spotted these amazing skeleton busts! I immediately fell in love with them, but at $50 each I wasn’t about to take them home with me!
I almost took it as a challenge. How could I recreate these or make a copycat version to display in our home at a fraction of the cost?
Follow along as we share how you can recreate this awesome skull decor for Halloween this year for only $15! That’s a SAVINGS of 85%! CHA CHING! Money kept in my wallet!
Realistic Skull Decor with Paint

The first thing you’ll need to do is source out some skulls. I found these at Dollar Tree. So for $1 each you can’t beat that!
Here’s a look at the before, during and after process of distressing the skull decor.
This process is completely optional depending on the look you’re going for. We just love how the paint really accentuates all of the details on the skulls by distressing them.
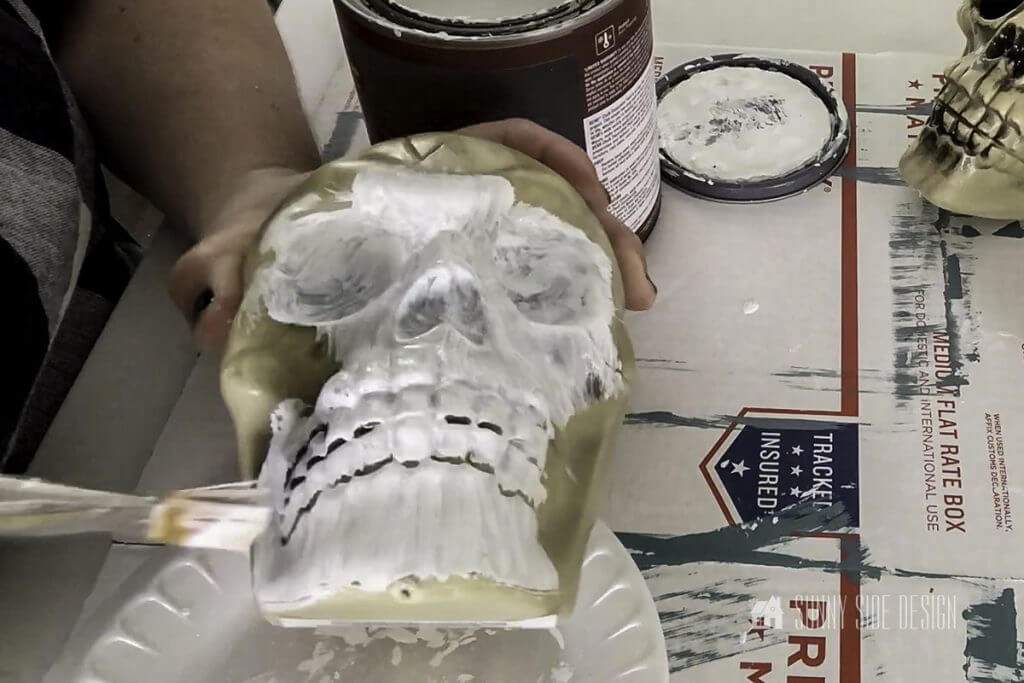


First apply 2 coats of white chalk paint to each skull.
We used Behr Chalk Paint that we had on hand from previous projects. But you can also get chalk paint in a spray can if you prefer that method to brushing.
Once the skull decor has completely dried, mix a dark gray paint with a good amount of water and mix well. The consistency should be pretty runny.
Use a small paint brush to apply the dark gray paint mixture over the entire surface of the skull. Then using a wet washcloth, wipe all of the excess paint off.
This will allow the darker paint to remain in all of the detailed areas of the skull decor creating more depth and dimension.
Are you enjoying this project? Please Pin It, save it for later and share it with a friend.
Sharing is caring!
The Neck Piece

We’re big at using things we already have around the home. This neck piece came in a bag of bones I’ve had for years.
Being plastic I was able to cut it in half with a kitchen knife.
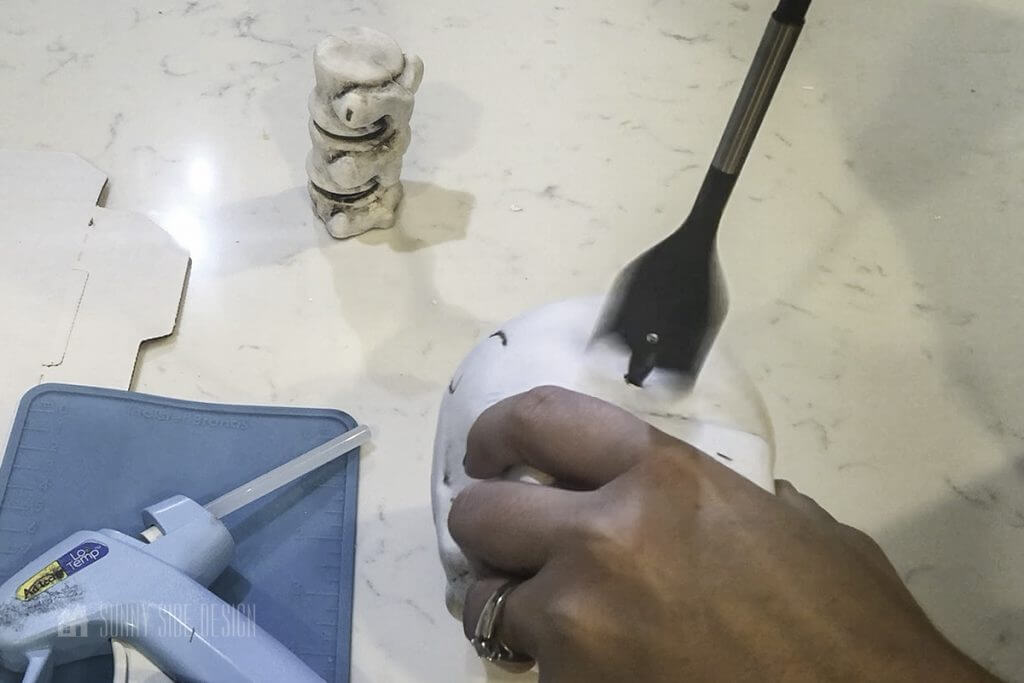

Next, a hole will need to be drilled in the bottom of each skull large enough for the neck piece.
I used a 1 1/4″ wood bit to drill each hole.
If you don’t have access to these tools, you can also use a pair of scissors. I did need to use the scissors to make the hole a little bit bigger to fit the neck piece inside.
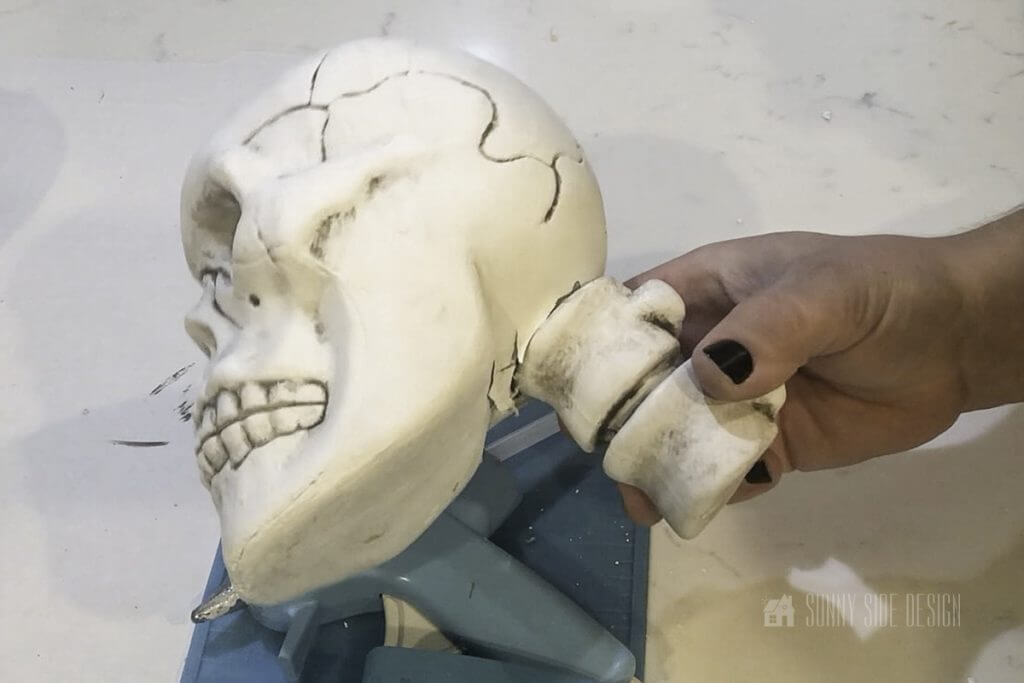
Fit the neck piece inside the hole and attach with hot glue.
If you’re new here, welcome! We’re so glad you’re here.
Let us introduce ourselves, we’re Michelle and Steph, a mom and daughter team who love to DIY and decorate our homes.
Not only are we passionate about making our homes warm, comfortable and unique, but it’s our mission to help you create that same feeling in your own home.
You’ll find ideas for repurposing, creating, decorating and making your home truly yours, while always mindful of a tight budget.
Undoubtedly we love finding ways to make your home look high-end on a small budget.
Plus you’ll also find a recipe or two as we share our family favorites with you.
We’d love it if you’d join our community of doers so you won’t miss any inspiration for your home.
We love new friends.

[mailerlite_form form_id=2]
Attach to Bust


I found these jewelry busts at Hobby Lobby for about $7 a piece. (I also used a 40% off coupon on one, why not save a bit right?)
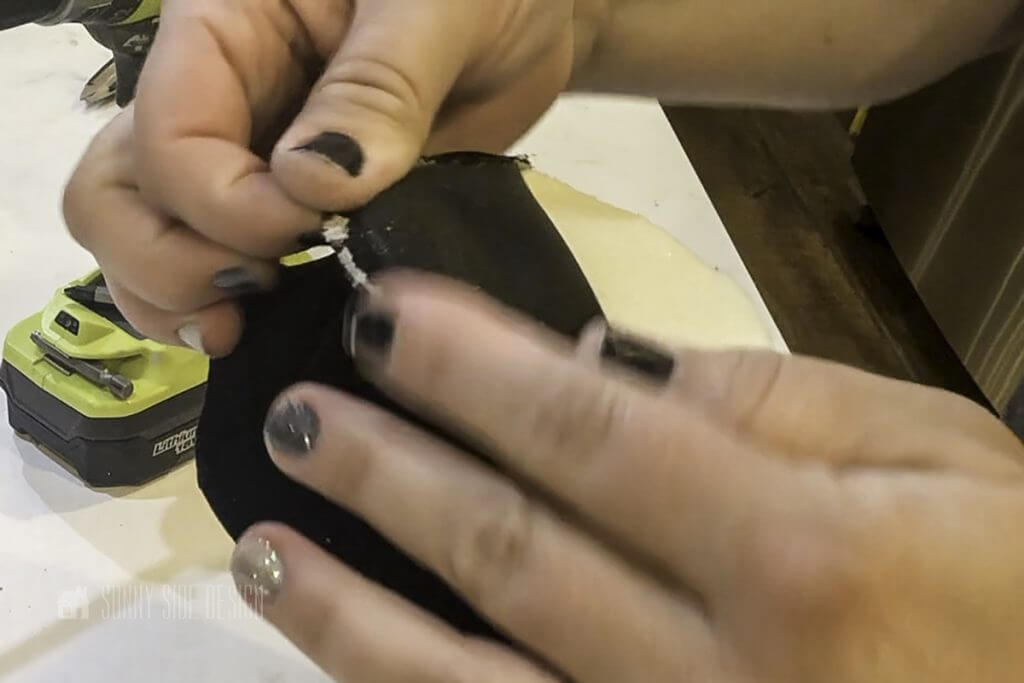
To make a hole in the top of the jewelry bust for the neck piece, pull back the velvet covering. Then use the drill to make the hole.
These are made out of cardboard, but it took some effort making this hole. You’ll definitely need the drill for this part!
Then use a pair of scissors to cut a hole in the velvet. Secure back into place with a hot glue gun.
Insert the neck piece and secure into place with hot glue.
Embellish Female Skull Decor

You can embellish your skull decor any way that you’d like.
I wanted to mimic the Victorian style of my inspiration piece.
First I added a pearl gem onto a piece of black stretchy ribbon with hot glue.
(The gems are from Totally Dazzled. We’ve used these gems on SO many other DIY projects and love them! You can see our other projects here.)

I used the same ribbon to make a headband for the female. Then I embellished it with some plum colored feathers.
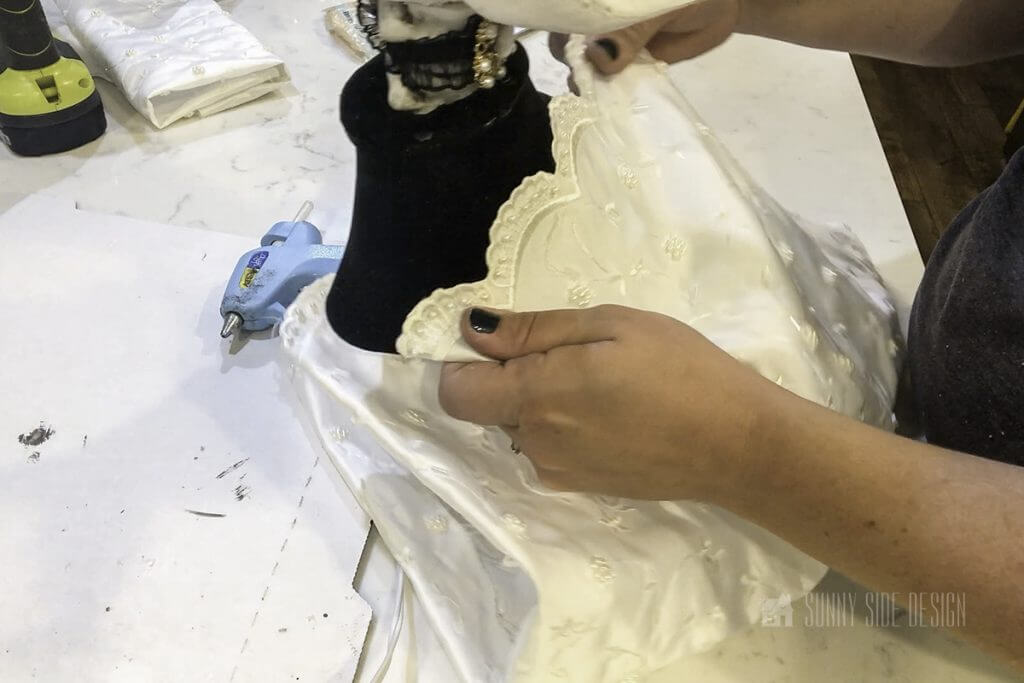

To create the dress, I found scrap fabric from my wedding dress in my Mom’s stash of scraps! It creates the perfect touch for the Victorian feel.
The fabric was secured around the top edges of the jewelry bust with hot glue.
Trim excess fabric at the bottom to fold under the jewelry bust and secure with hot glue.
Let’s stay connected! Follow us on social media!
Embellish Male Skull Decor

The male skull decor was embellished with a white collared shirt and necktie from the thrift store.
The shirt is size 2T and fit perfectly around the jewelry bust!
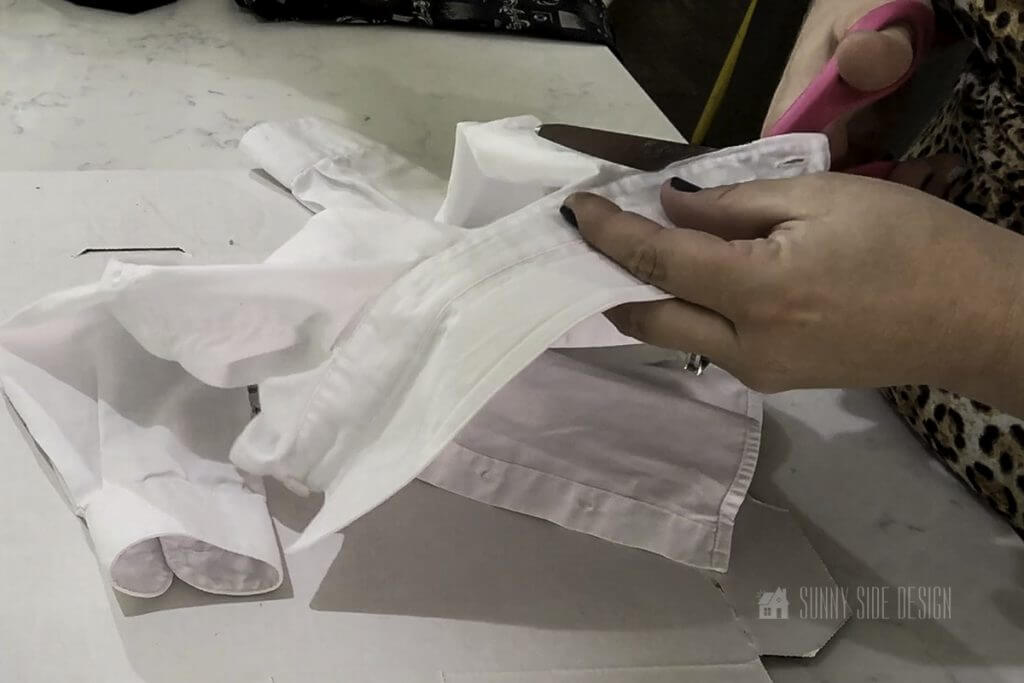
Use fabric scissors to trim the collar away from the rest of the shirt. Place it around the jewelry bust and button closed.


To create the ascot, cut about 7″ off the bottom of the necktie. Then cut another piece from the longer part of the necktie between 5″-6″.
At the wider part of the 5″-6″ piece, fold in half and cut on a diagonal to create a V point.
Fold the raw edges back about 1/4″ and secure down with hot glue.


Make pleats on the top edges of both cut pieces of the necktie and secure with hot glue.
Line the smaller piece along the top edge of the larger piece and secure them together with hot glue.
Secure the ascot onto the collar with hot glue.
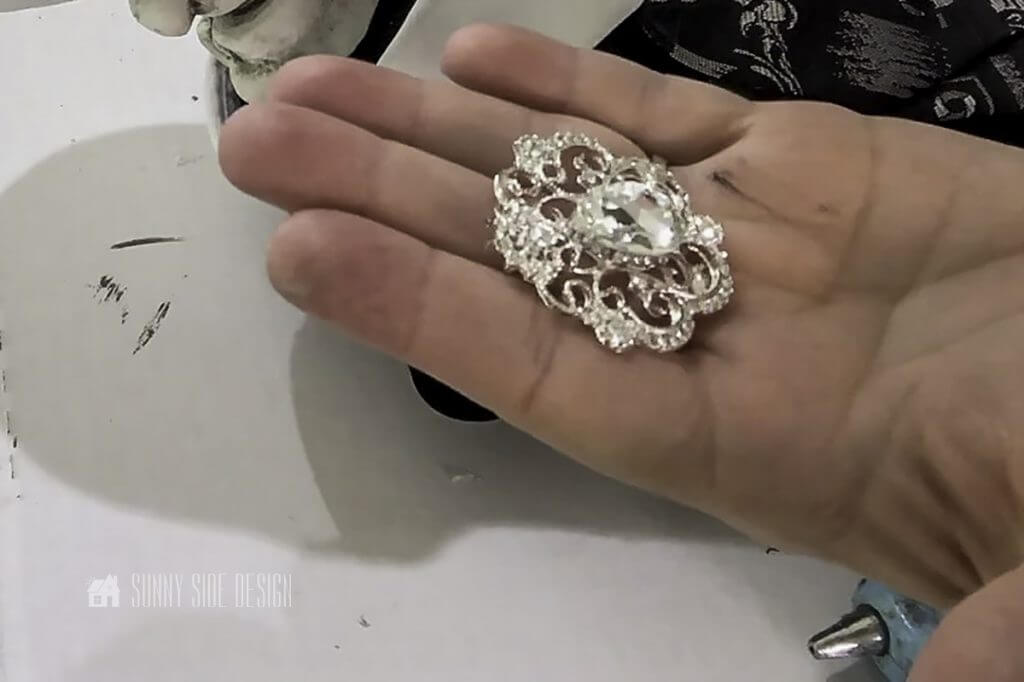
Embellish the ascot with another gem from Totally Dazzled with hot glue.
Make Top Hat

To complete the male skull decor, embellish with a top hat.
Instead of spending the time hunting for a small top hat, I decided to create my own.
I found a small paper bucket at the thrift store and painted it black.
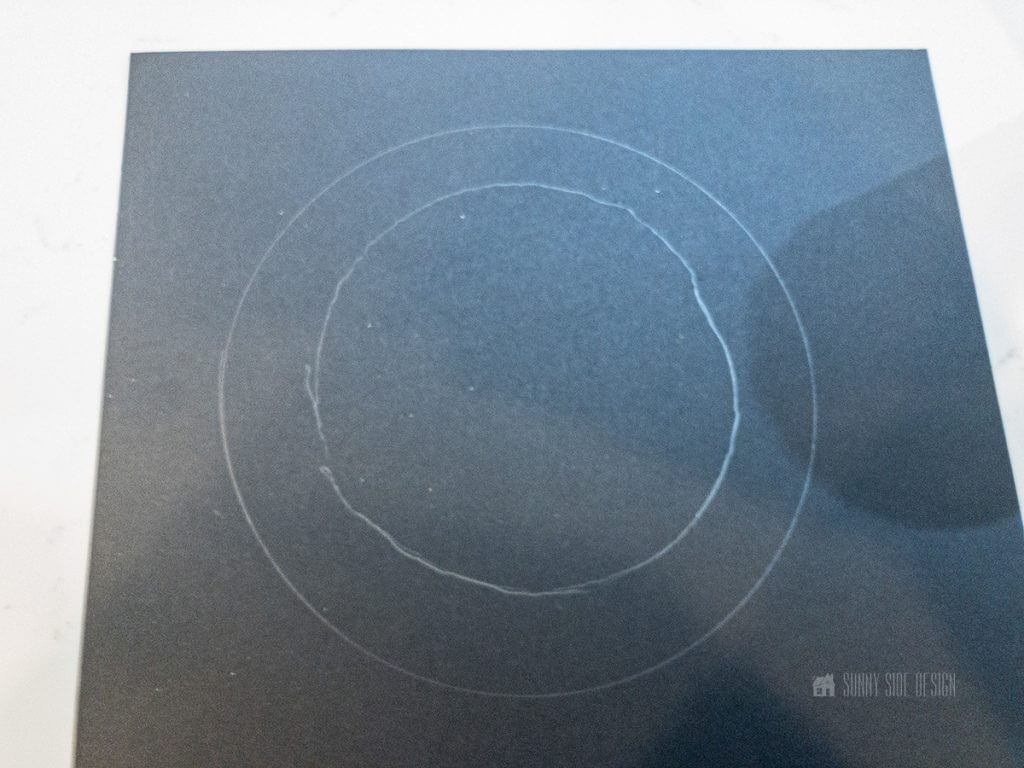
Once dried, I traced the bucket onto a piece of black card stock. Draw another circle about 1″ larger around the traced pattern.


Cut the outer circle to create the rim of the top hat.
Then cut a small hole in the center of the paper.
Cut slits about every 1/4″ or so around the inner edges up to the traced pencil line.
Fold the slit pieces of paper toward the pencil mark.
This will allow you to fold the rim of the hat inside the bucket and glue into place.
To embellish the top hat, I secured a strip of rhinestone mesh ribbon from Totally Dazzled around the rim of the hat with hot glue.
Copycat Skull Decor
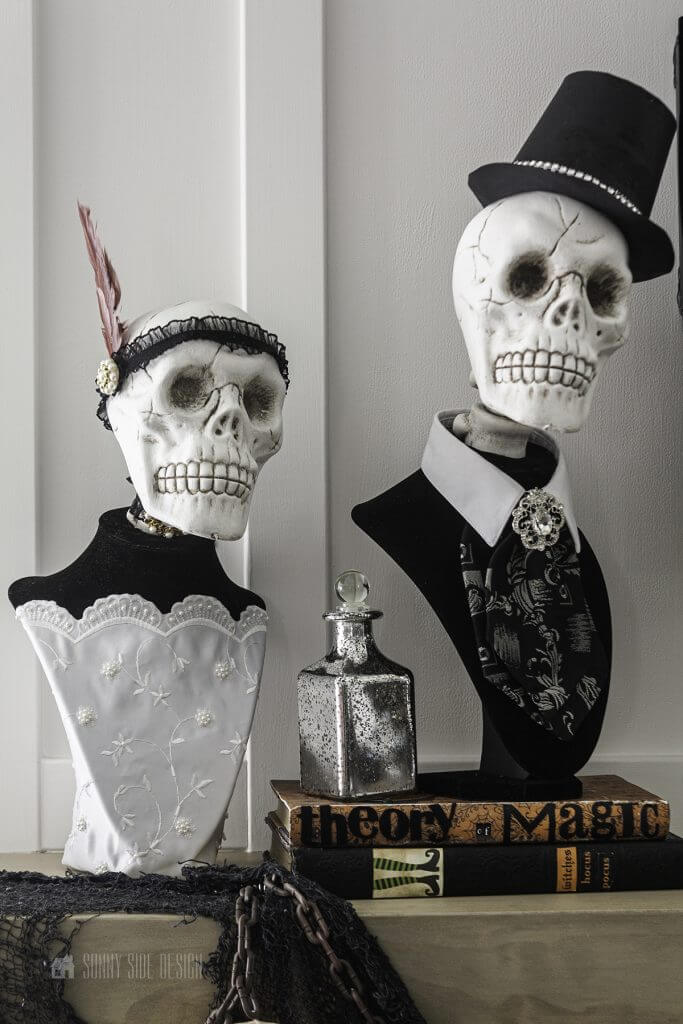
Don’t they look spooktacular?!
Loving the way they turned out!
I know they don’t look exactly the same as my inspiration piece, but that’s whats fun about making your own, you can make them any way you want!
And I’d much rather create new Halloween decor for $15 rather than spend $100 on prefab skull decor!
We hope you found some inspiration for your Halloween decorating today.
Would you like to make these copycat bust skull decor for your Halloween decor this year?
How will you embellish yours?
What style will they be?
Please share your tips and ideas with us.
For more DIY Halloween decor check out these ideas:
- Easy Spider and Web Halloween Outdoor Decorations
- How To Make Spooky Halloween Skeleton Silhouettes
- Easy Halloween Bat Wreath
- DIY Halloween Skull Napkin Rings
- Easy Halloween Pillow Covers
We love hearing from you!
If you’re new here, WELCOME! We love having new readers and friends!
You can learn more about us here.
Let’s stay connected! Join our DIY community of doers and you won’t miss the weekly updates and more inspiration for you always on a budget.
Sharing is caring!

Thanks for stopping by Sunny Side Design. Empowering you to create a home you love!
DISCLAIMER
This blog’s content is for entertainment purposes only and is not professional advice. By reading this blog and attempting to recreate a project, you assume all responsibility for any injuries or damages incurred. Read my full disclaimer here.
PHOTO USE AND CONTENT SHARING
All of the photographs you see here are the property of Sunny Side Design unless otherwise credited.
We love for others to share our work, so please feel free to use one photo with a link back to our website.
Pinning and sharing is always encouraged!
Please do not reproduce other Sunny Side Design content without permission.
Retailers We Love
- Anthropologie
- Birch Lane
- Crate & Barrel
- Joss and Main
- Lampsplus
- Mark & Graham
- One Kings Lane
- Pottery Barn
- Rejuvenation
- Serena & Lily
- Wayfair
- West Elm
- Williams Sonoma
- World Market
Be sure to follow us on Pinterest for even more home decor and DIY ideas.
To see what we are working on before it’s on our blog, follow us on Instagram.
You will also find our video tutorials on our YouTube channel.
- Easy Strawberry Chicken Salad with Lime Maple Balsamic Vinaigrette

- How to Fix Chipped Kitchen Cabinets with a Pen
- Easy 4th of July Door Decor You Can Make in Minutes
- 35 Easy Decorating Ideas for Summer to Welcome the Season


