It’s that wonderful time of year to get outside to beautify our yards and plant gardens.
I believe getting out and digging in the dirt is good for the soul.
While I’ll admit, after a long day of gardening I certainly am exhausted, it revives my spirit to be out in nature.
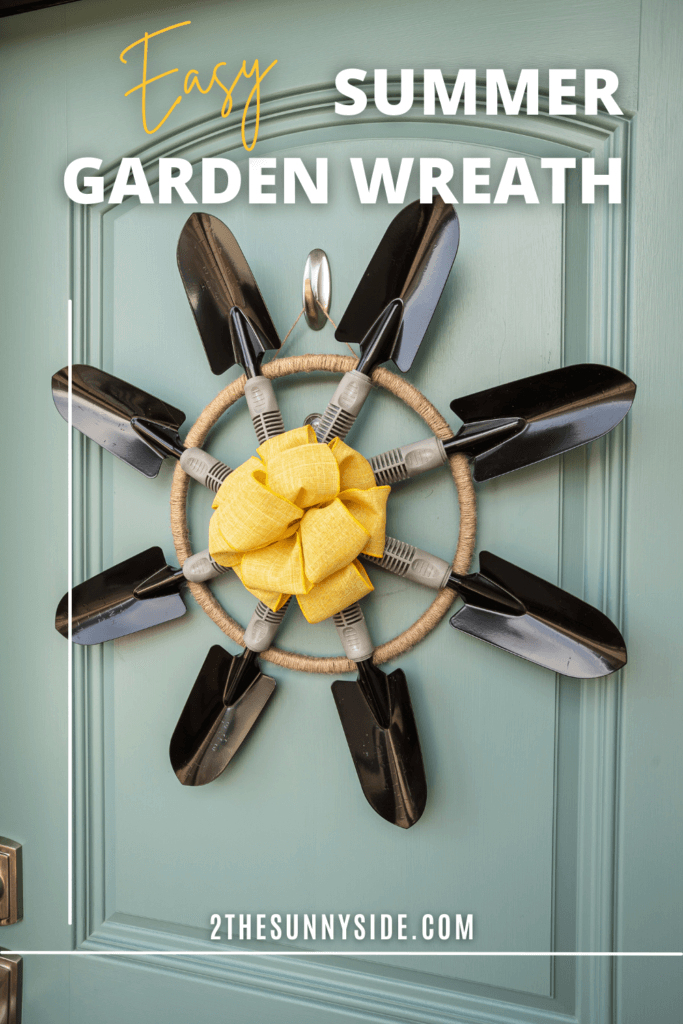
So in honor of the gardening season, I thought I’d share my summer garden wreath with you.
You’ll find that it can be made rather quickly.
However, you’ll need to be patient while the glue sets.
And you’ll find it’s inexpensive to make using dollar store garden trowels.
Summer Garden Wreath Supplies

This summer garden wreath can be made inexpensively with dollar store supplies.
In fact, that’s where I picked up my garden trowels.
You’ll need the follow supplies and tools:
- 8 garden trowels
- 12″ floral ring
- ribbon
- jute (optional)
- craft wire
- E6000 glue
- cardboard from an old box or a 4 ” wood circle
- tree pruners or a saw (if you need to shorten your handles)
Disclosure: This post contains affiliate links or referral links for your convenience. It is a way for this site to earn advertising commissions by advertising or linking to specific products and/or services. Click here to read my full disclosure policy.
Assemble Summer Garden Wreath
Trim Trowel Handle

At first I was not anticipating that I’d need to trim the handles of the trowels, but when I placed them on the floral ring I could see that the handles were about 1/2″ too long.
While trying to think of the easiest way to trim them, I thought I’d try my tree loppers.
And it cut the end of the handles like butter.
Super easy to do!
If you don’t have loppers, the trowel handles can also be trimmed with a saw.
Easier yet, you may not even need to trim them, depending on how large your garden trowels are.

As you can see here, you don’t need much off, but the handles can not overlap.

[mailerlite_form form_id=2]
Attach Garden Trowels with Glue
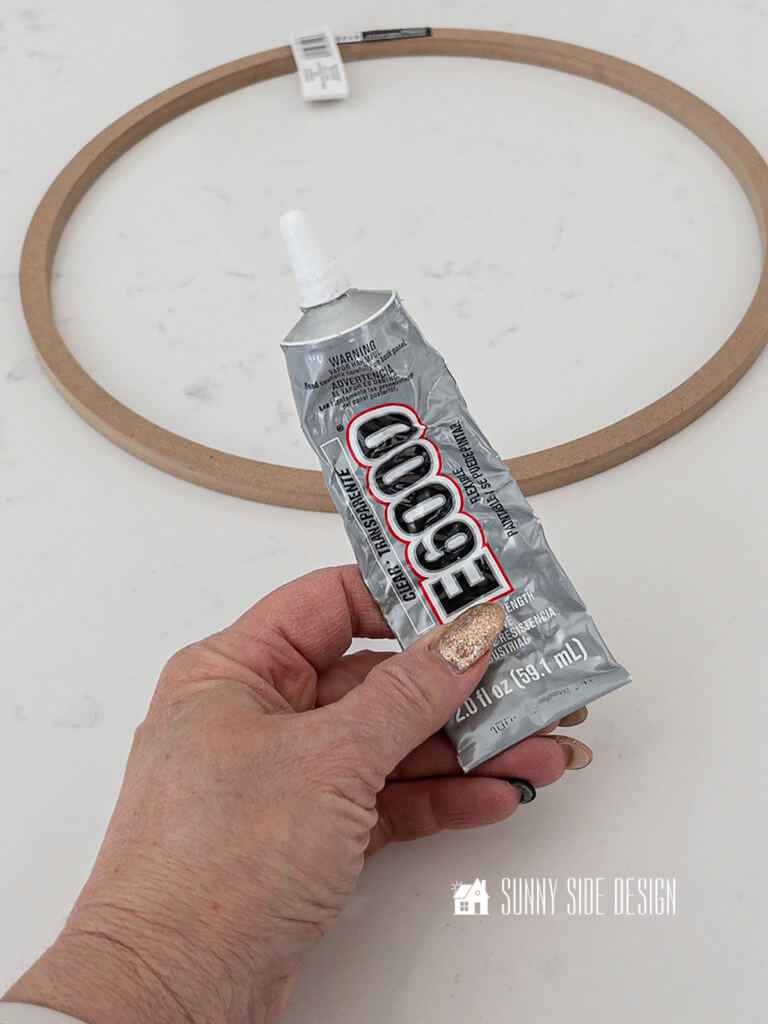
For this project, I went with my trusty E6000 glue.
It’s such a great all purpose glue and it works well on plastics, wood and metal.
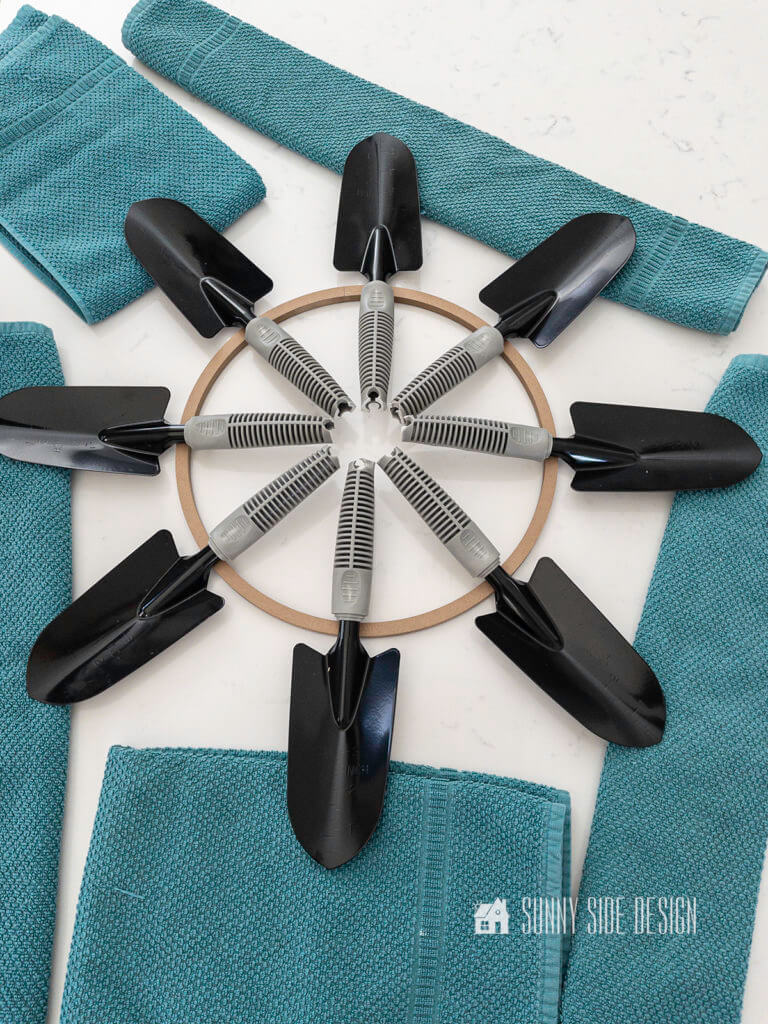
Begin laying out the trowels for the summer garden wreath, evenly spaced around on the floral ring.
I quickly discovered that I needed to prop up the metal portion to keep them level when placed on the floral ring.
Place a small amount of the E6000 glue at the base of the handle, where the metal and plastic meet.

After I had my trowels all glued to the ring and I let it dry overnight, I made a little discovery.
I think it would work just as well to place all the the trowels upside down.
Then put the glue on each trowel and place the floral ring on, like the photo above.
I feel this will save some time, because you can do the next step at the same time while adhering the trowels to the floral ring.
Secure Trowel Handles

Next, I needed to secure the ends of the handles together.
At first, I planned on running a ribbon or cord through the holes of the handles.
But when I had to trim them, that spoiled that plan.
So, I cut a piece of cardboard box in a 4″ circle and placed 2 holes in it near the center.

Then place E6000 glue on the cardboard circle and place it in the center of the summer garden wreath over the handles.

Then just to make sure it adhered well, I placed a couple of books on it while it dried.
Let’s stay connected! Follow us on social media!
Embellish Summer Garden Wreath
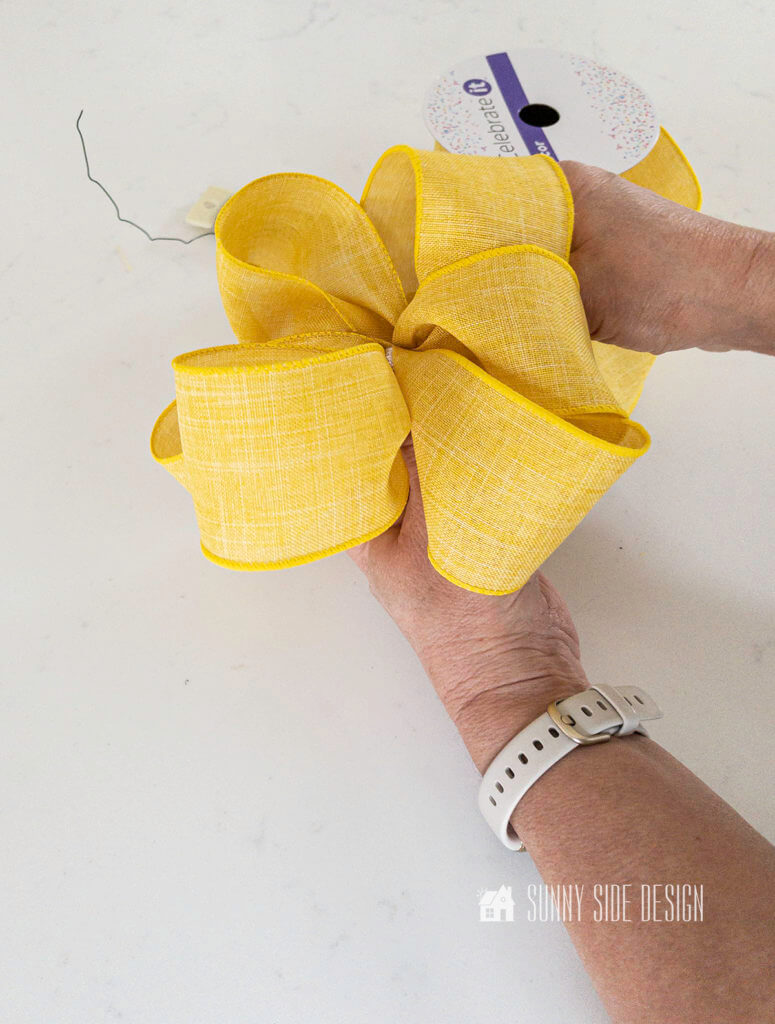
Next, I made a 10 loop bow from wired ribbon and secured it with wire.
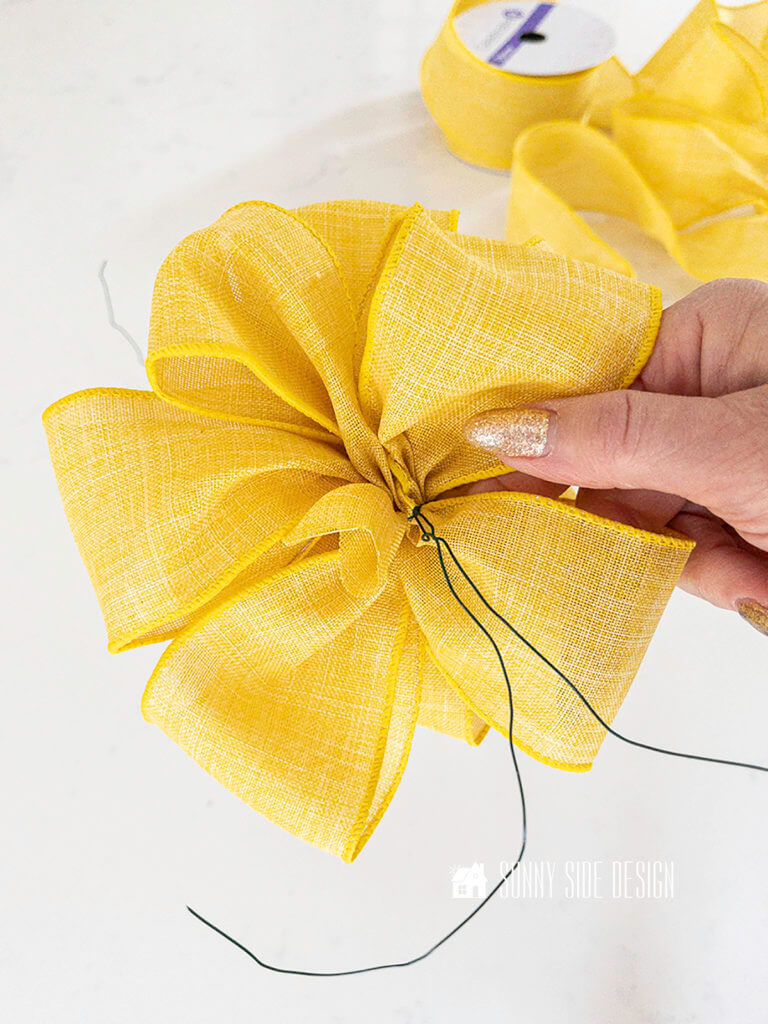

Finally thread the wire through each of the holes and secure on the back of the cardboard.
Because my summer garden wreath is placed on the front door and is protected from the elements, the cardboard piece will hold up just fine.
However, if your wreath will be exposed to rain, I’d suggest that you use a thin piece of wood instead of the cardboard to secure the handles.

Finally, fluff the wired ribbon, hang and enjoy.
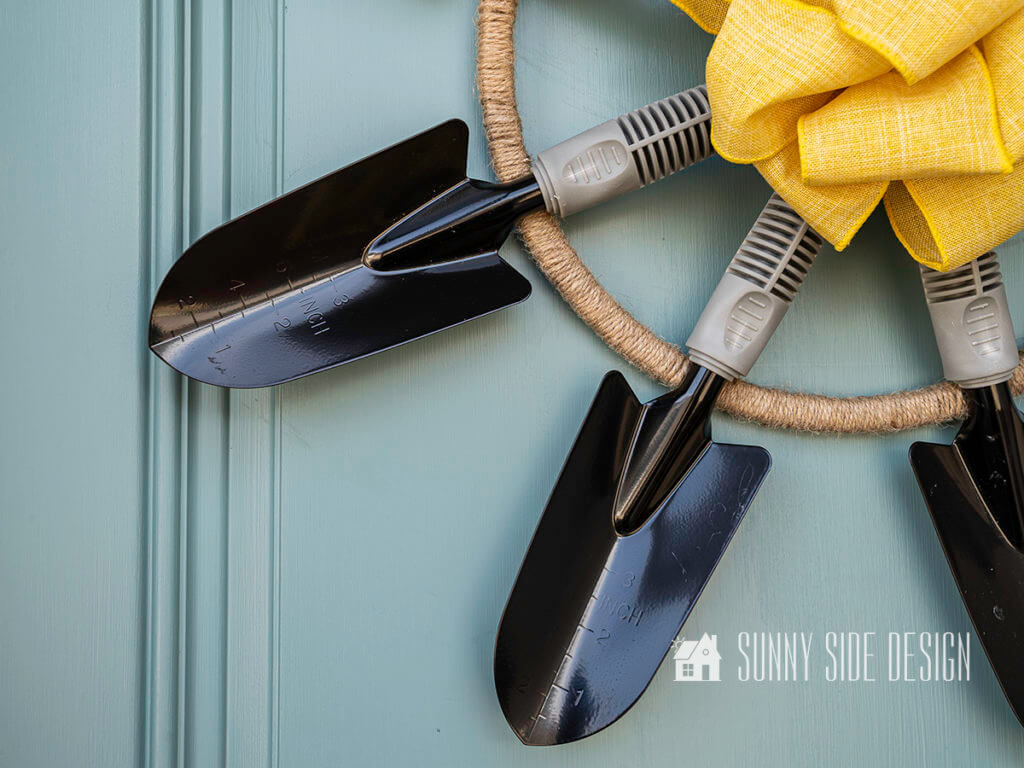
There is one more element that I added to my wreath after I assembled it.
Steph thought it would look fun to wrap the floral ring with jute.
Now, I forgot to take pictures of this step.
However, I did have the video camera running.
So, if you’d like to see how I added that, just click on the video link.
This step is totally optional, I think it looks great either way.
In the video, you can also see how I made the 10 loop box.
Need a little more inspiration?
Check out these summer wreath ideas!
And if you love to garden you may also like these ideas too!
For something a little more playful, check out our Summer Pool Noodle Wreath.
Enjoying this post?!
Pin it and save it for later. Better yet, share it with your friends and family.
Summer Garden Wreath
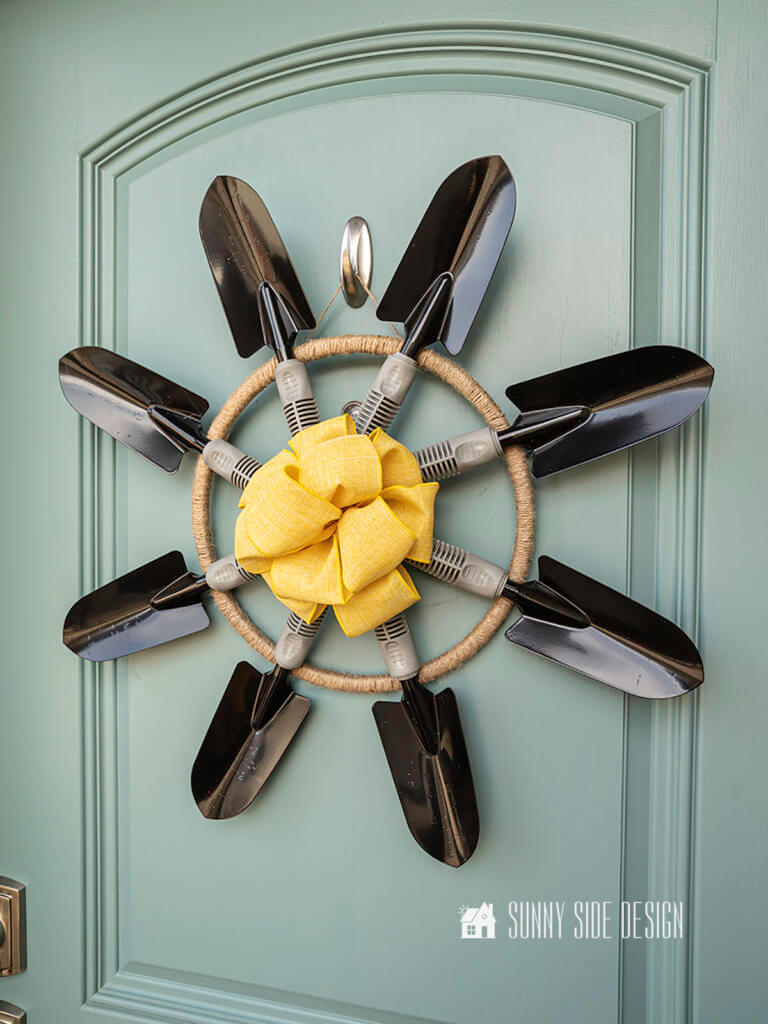
Whether you’re looking for a wreath for spring or summer, this garden wreath will easily transition from one to the other.

So what do you think of our summer garden wreath?
Is this a craft project you’d like to try?
If you have another idea, we’d love to hear from you.
How would you embellish yours!
Shop Summer Garden Wreaths

And if you have specific things you’d like to see on our blog you can leave us a comment below or drop us an email.
We love hearing from you!
More Creative Ideas for Outdoor Living
- Create an Outdoor Living Space You’ll Love
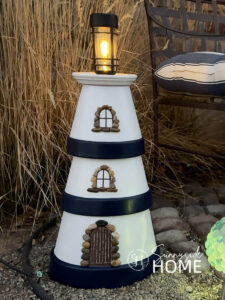
- Simple Dollar Store Solar Lights Glow-Up
- Easy DIY Bird Bath with Recycled Materials
- Simple and Cheap DIY Garden Lighting
- Fix Faded Aluminum Patio Furniture Without Paint
- Simple Outdoor Entertaining Ideas on a Budget
- 30 Inexpensive and Easy Backyard Patio Ideas
- How to Build a Raised Garden Box That Will Last
- Easy DIY Outdoor Stone Steps on a Slope
- How to Install a Paver Patio
- How to Make a Simple Planter Box on Wheels
- How to Fix Old Rusty Metal Outdoor Furniture
- How to Make a Modern Deer Fence for Your Garden
- Essential Steps to Landscaping your Front Yard
Thanks for spending some time with us today!
We hope you’ve been inspired to try something new for your home.
Let’s stay connected!
Subscribe to our free newsletter so you don’t miss any inspiration for your home.
Please PIN and share with your friends! It helps us grow our following.
If you’re new here, WELCOME! We love having new friends!
We hope you’ll join us again for more ideas for your home.
If you’d like to learn more about us you can do that here.
Thanks for stopping by Sunnyside Home.
Empowering you to create a home you love!
Retailers We Love
- Anthropologie
- Birch Lane
- Crate & Barrel
- Joss and Main
- Lampsplus
- Mark & Graham
- One Kings Lane
- Pottery Barn
- Rejuvenation
- Serena & Lily
- Wayfair
- West Elm
- Williams Sonoma
- World Market
Be sure to follow us on Pinterest for even more home decor and DIY ideas.
To see what we are working on before it’s on our blog, follow us on Instagram.
You will also find our video tutorials on our YouTube channel.