Upcycle. It’s kind of a funny word right? It’s likely you’ve heard it before and seen it around Pinterest, but what does it even mean? Not only will we explain what it means to upcycle, and the benefits of upcycling, we will share our most recent upcycle idea that will have you scouring your local thrift stores and yard sales to create your own one of a kind item for your home!
Unlike recycling, where an item is broken down, losing its original form to be made into something new, upcycling is a way to reuse items that are no longer being used, and turn it into something else.
Some examples of upcycling you may have seen would be turning an old ladder into a bookshelf, a globe into a lamp, a crib into a bench, and the list goes on.
Both recycling and upcycling are beneficial to the environment, reducing the amount of items going to landfills each year. Not only are you conserving waste, but you’re using your imagination to create a new prized possession for your home!
Sunny Side Design is a participant in the Amazon Services LLC Associates Program, an affiliate advertising program designed to provide a means for sites to earn advertising fees by advertising and linking to Amazon.com. As an Amazon Associate, this blog earns from qualifying purchases with no additional cost to you. Click here to read our full disclosure policy.
To see more highlights from this bedroom makeover click any link below.
Other DIY Projects From This Bedroom Makeover
- How To Paint a Room with Pro Results
- Built In Desk | Upcycling At Its Best
- How To Refinish Furniture | With a Raw Wood Look
- DIY Canopy for a Bed | Fit for a Princess
- Shelf Decorating Ideas | A Step by Step Guide
- Roman Shade | How to Make Them Yourself
- How To Reupholster a Chair | with French Country & Boho Flair
- French Country Chandelier with Boho Flair
- DIY Mirror Frame | Quick and Easy Idea
- Antique Hardware For Dresser
- Bedroom Ideas for Tweens |Girl Room
- Area Rug For Bedroom | Top Ideas For Tween Girl
- How To Make a Bolster Pillow
- How To Make an Envelope Pillow
The Inspiration

I’ve always been drawn to upcycled items because of how clever they can be. It’s fascinating to see what others can create using old discarded items.
While designing Ellie’s bedroom makeover, my Mom and I began to fall in love with the idea of getting her a french provincial daybed. We found several we love while browsing online.
It’s inevitable that we’re always drawn to expensive items! At $4,200, this beauty is FAR from fitting in my budget! So, we used this bed as our inspiration piece, knowing we could upcycle thrifted beds into our dream french provincial daybed!
Thrifted Twin Beds

After mulling all of our ideas over, we decided we would use each headboard for the sides of the daybed. However, the headboard did not have the beautiful curved detail in the legs. Since the headboards would be more prominent now we need a solution for a more detailed leg.
To solve this problem we decided to attach each footboard piece to the bottom of the headboards. Then we would secure the bed together using the bed rails that came with the bed.
Essentially for this upcycle idea, we’d be using all pieces of both twin beds and turning them into one daybed
To see the transformation of this daybed, tap to watch the video tutorial below.
Creating The Daybed

First we marked there we would like to cut off the legs of the two headbaords.

Then we used a circular saw to make the cuts.
Removing the legs created a flat surface on the bottom edge of the headboards.
This allows us to stack the headboards on top of the footboards and will give us the beautiful French curved lines we want to see on this daybed.
Adding Detail To The Bed Rail
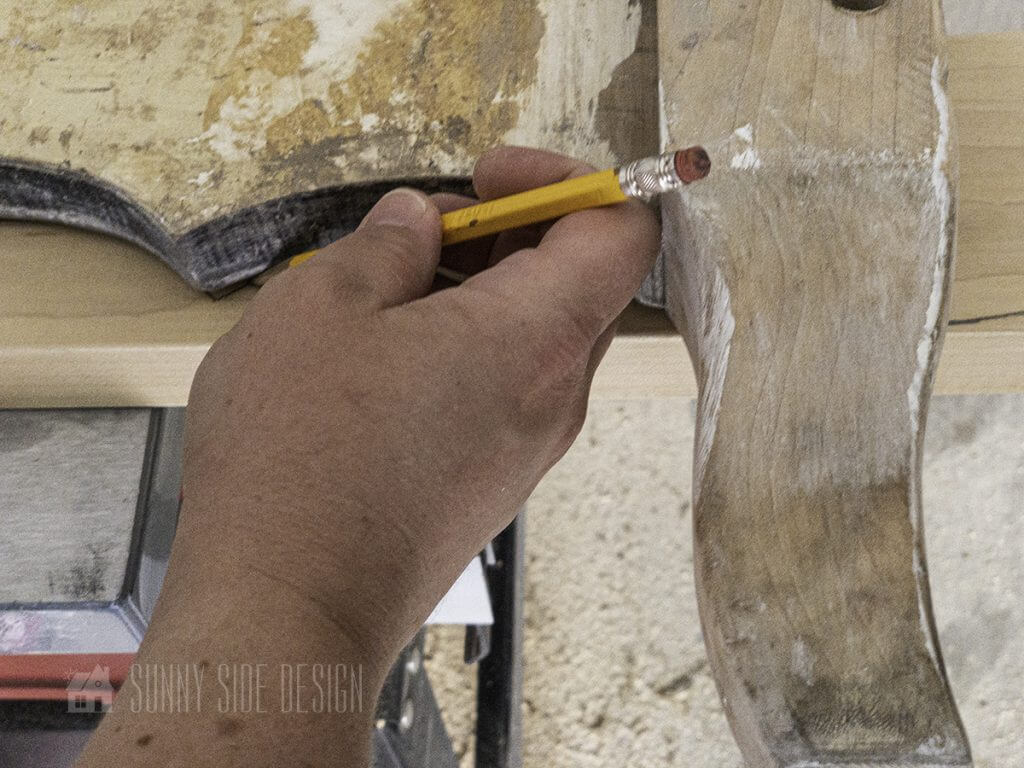
The original bed rails were simple straight boards. Since they would be front and center of the new daybed, I decided that the bottom bed rail needed a bit of detail added.
Using the footboard as a guide, I traced the design onto the center of the bed rail.
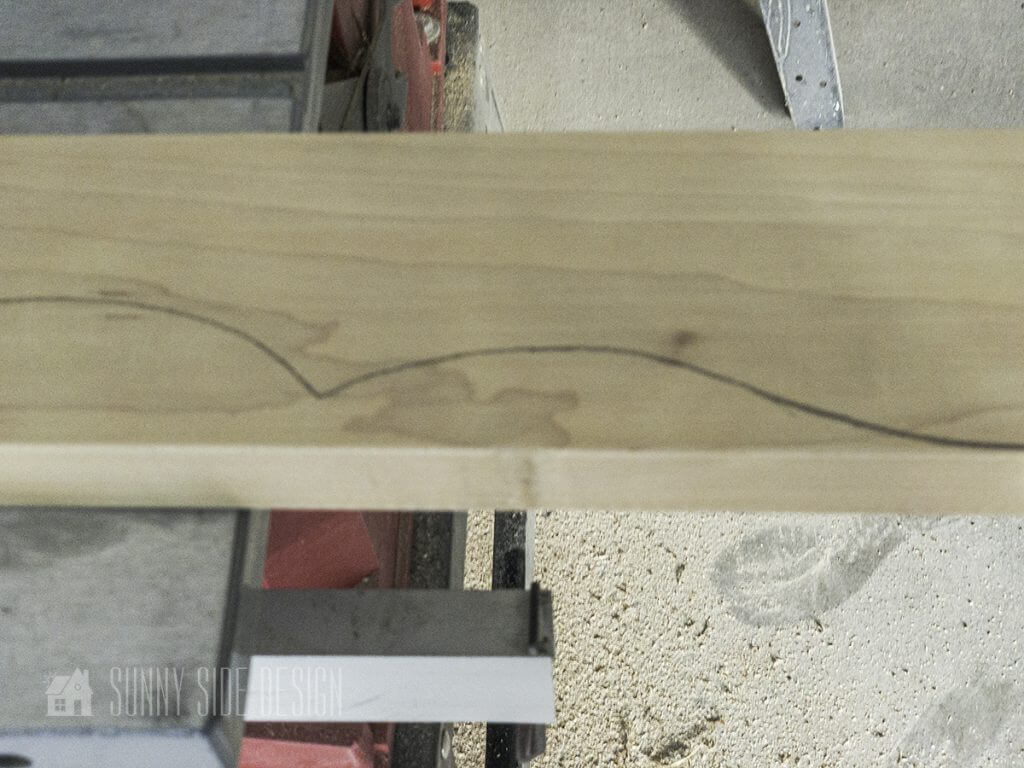
Then using a curved seamstress ruler, I extended the design toward the outer edges of the bed rail.
(Again you can see all of these details more clearly in our video tutorial.)
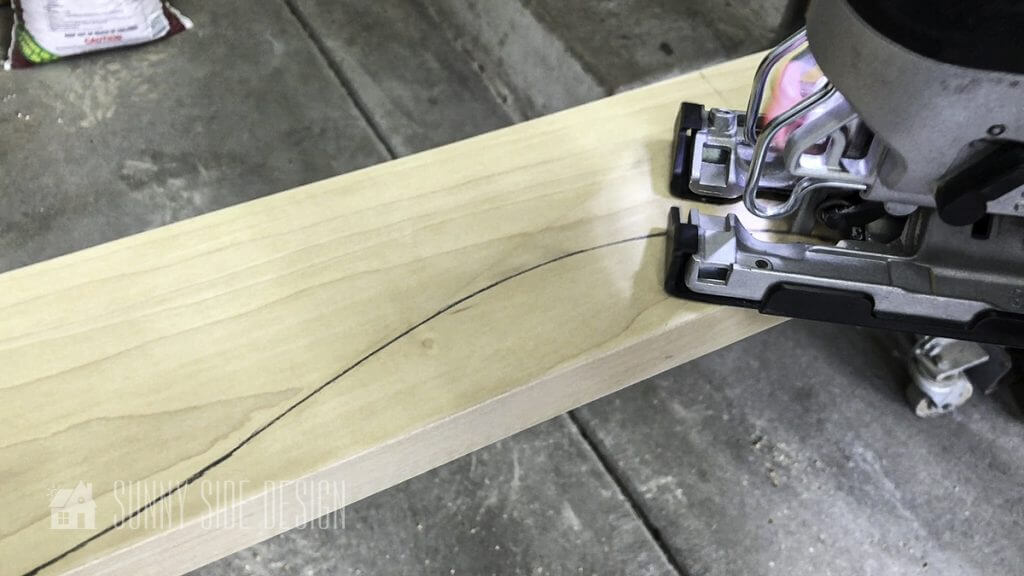
Once the pattern had been sketched onto the bed rail, we secured it to a sturdy surface with clamps. This helped keep the board from moving while I cut the design with a jigsaw.
Turns out it’s harder than you think to cut with a jigsaw! You can see the comical outcome in our video. But rest assured, the finished upcycle idea of turning twin beds into a daybed looks amazing in the end!
Adding this detail work to the bed rail is of course completely optional. There were several tools we needed to make this happen, so if you don’t have access to them or don’t want to go to the extra trouble, by all means save yourself the extra work.
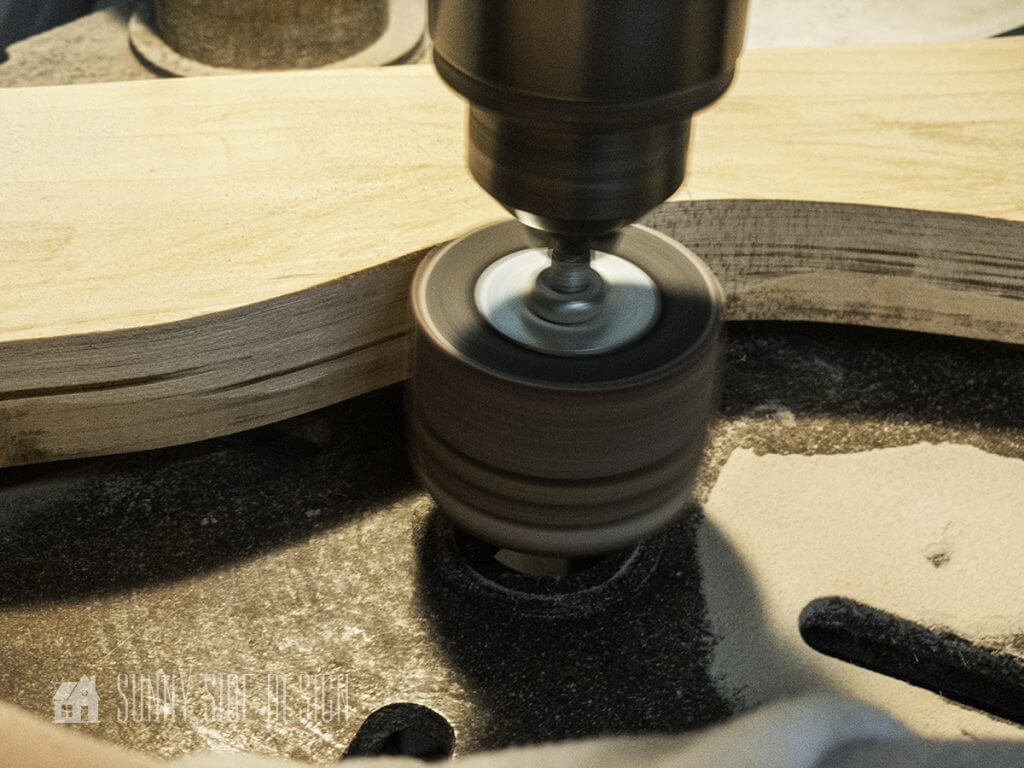
After the scroll design had been cut with the jigsaw, we attached a drum sander to the drill press to smooth all of the curved edges.
Natural Wood Finish
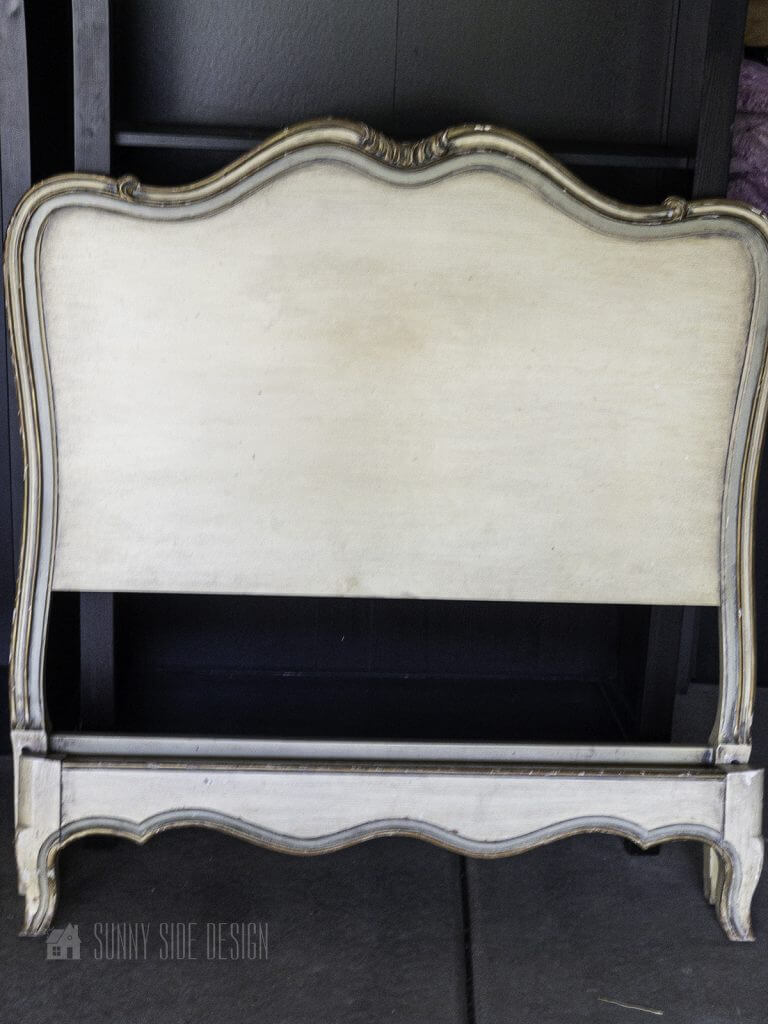
The original finish of these beds was dated to say the least! The cream colored paint with accents of gold and dark glazing was screaming for an update!
After refinishing the beautiful natural wood dresser for this room makeover, we both knew this bed would look amazing stripped down to the bare wood!
We used Citristrip to remove the paint from the detail work of the headboards and the entire footboards and bed rails.
*To learn more about stripping paint and our tried and true techniques, see our post on stripping this vintage dresser.
NOTE: To save ourselves some time and work, we only stripped the paint around the edges of the headboards because we knew we would be upholstering the flat surfaces of the headboards later on.
Once the paint had been stripped, we sealed the wood with a clear wax, and added white wax onto the detailed areas.
Upholstered Daybed
Another upcycle idea we had for this project was to add upholstery to the front and back panels of the headboards. These would be used as the two sides of the new daybed.

First we took a piece of poster board and covered the horizontal opening at the bottom edge of each headboard. They were secured into place using our pneumatic staple gun.
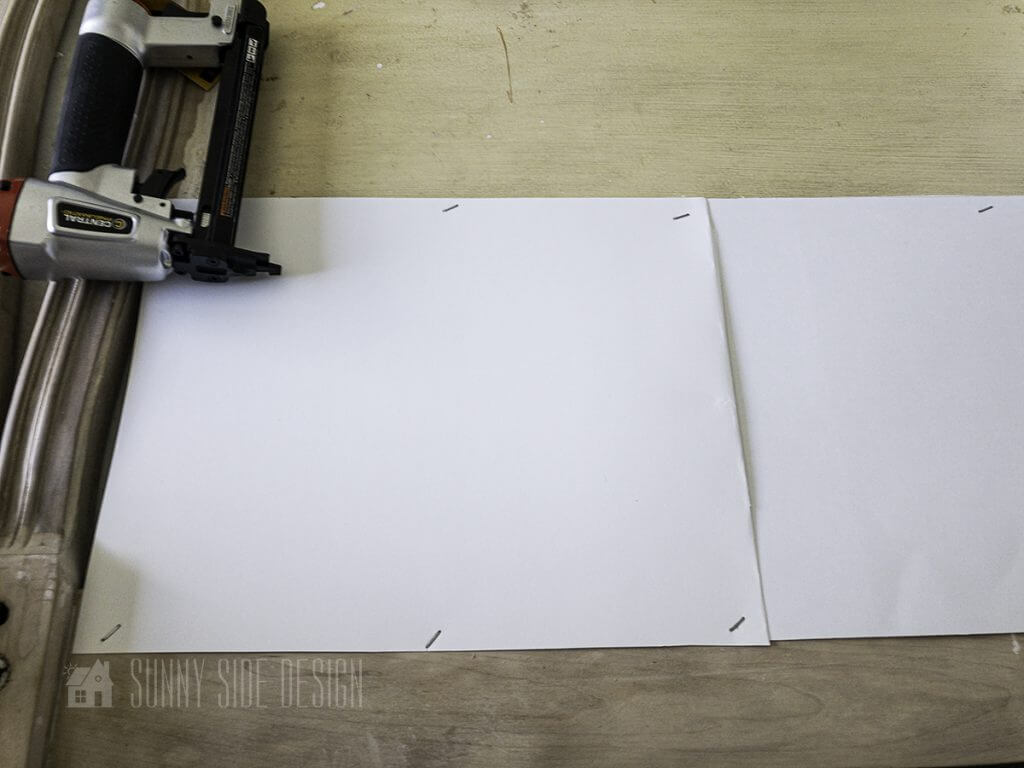
*Covering this opening will keep the foam, batting and fabric from being pushed back into this empty space. This was done on both the front and back sides of each headboard.
Are you enjoying this project? Please Pin It, save it for later and share it with a friend.
Sharing is caring!
Adding Foam and Dacron Batting
Since this bed was not originally upholstered, we needed to add foam to both the front and back of each headboard.
We’re always looking to save money where we can, without skimping on the results! Foam can be pretty expensive at fabric stores.

So, we opted to buy foam mattress toppers from Walmart. Per the dimensions of the bed, we purchased 2 Full size toppers for about $30 total.
Simply place the unfolded topper onto the front surface of a headboard and trace the shape of the bed with a sharpie.

Press down on the topper to feel where the frame of the bed is and mark your lines about 1″ inside of the frame. Then repeat for the other 3 sides of the headboards.

The foam pieces were then held into place with staples every 5″-10″ or so. You don’t need too many, just enough to hold it into place.
(We picked up a pneumatic nail gun for a previous no sew upholstery project, it is fabulous! It makes work go much quicker, it’s super easy to use and it’s only $35!)
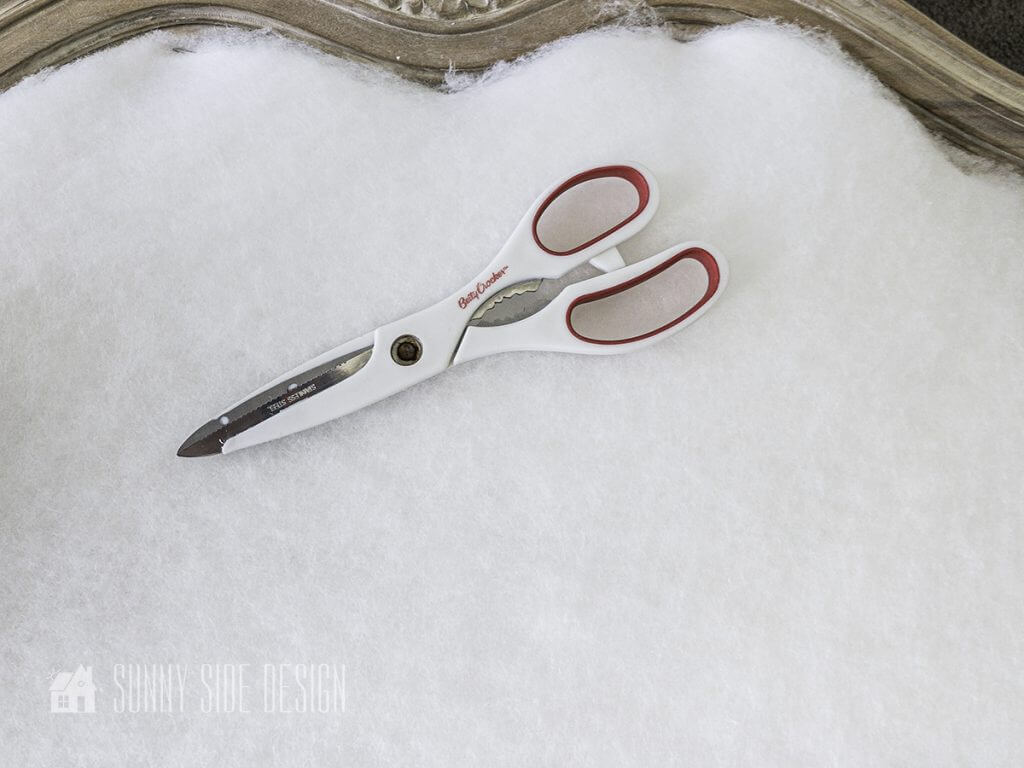
A thin layer of batting was then placed over the foam. Again secure the batting into place with a few staples. Trim away the excess batting with kitchen sheers.
Yep kitchen sheers! We stumbled across this hack as a result of my kids not putting the scissors away! All we could find were kitchen sheers. But it turns out that these work GREAT at cutting both the foam and batting! Best part, they came from the dollar store! Now I’m going to keep a pair with all of my other tools! Who knew?!
Welcome to Our Site
If you’re new here, welcome! We’re so glad you’re here.
Let us introduce ourselves, we’re Michelle and Steph, a mom and daughter team who love to DIY and decorate our homes.
Not only are we passionate about making our homes warm, comfortable and unique, but it’s our mission to help you create that same feeling in your own home.
You’ll find ideas for repurposing, creating, decorating and making your home truly yours, while always mindful of a tight budget.
Undoubtedly we love finding ways to make your home look high-end on a small budget.
Plus you’ll also find a recipe or two as we share our family favorites with you.
We’d love it if you’d join our community of doers so you won’t miss any inspiration for your home.
We love new friends.

[mailerlite_form form_id=2]
Attach Fabric
The upcycle idea of adding upholstery to an otherwise non upholstered piece of furniture will dramatically change its appearance!

To learn how to upholster without any sewing please visit our post on this updated ottoman and these farmhouse bar stools. You’ll learn all of our tips and tricks to achieving professional results, and what tools you need, without breaking the bank!
Upholstering furniture really is simple, and can be easy with the right tools.
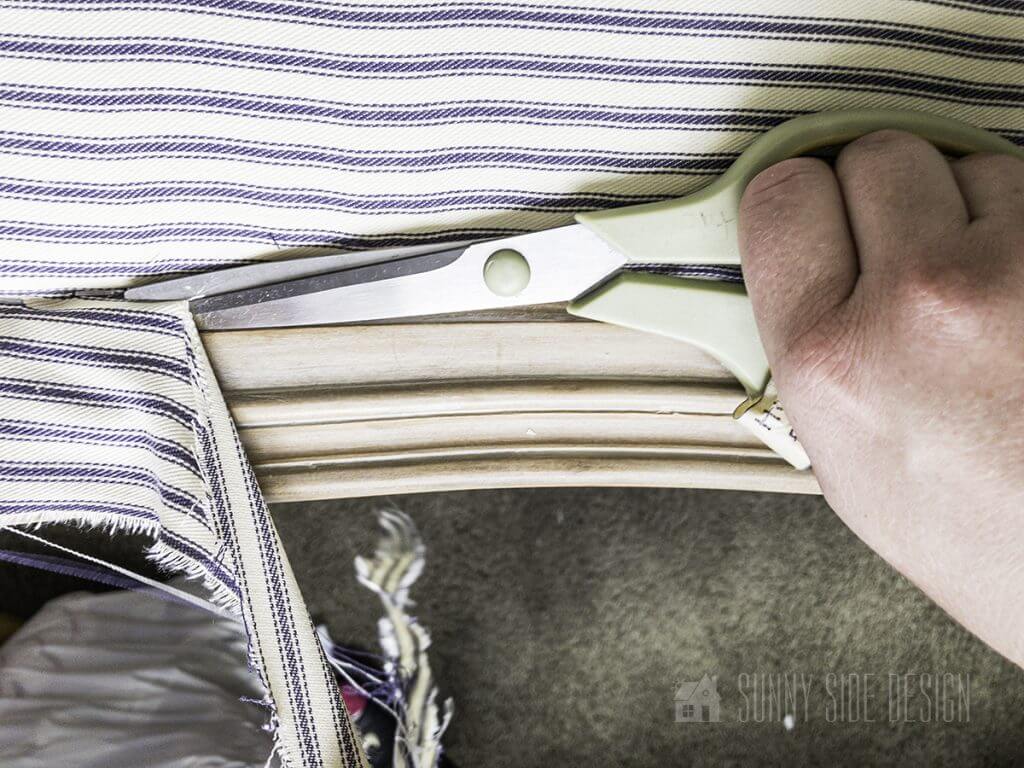
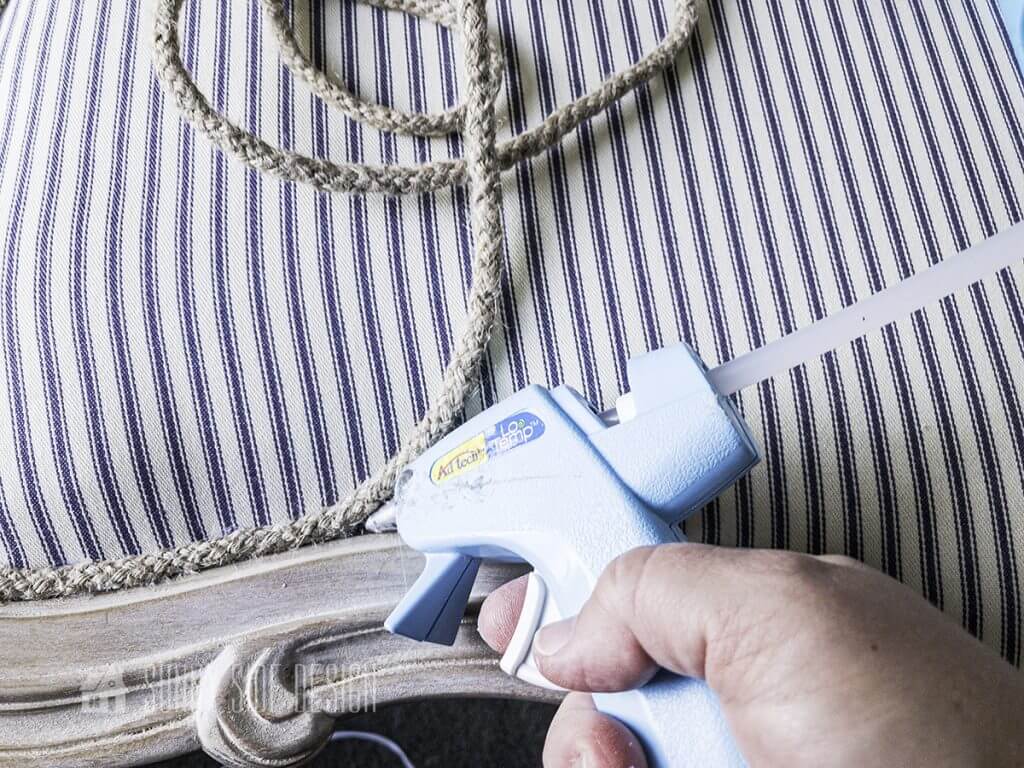
Essentially, the fabric will need to be secured into place with staples (see our video for more details), excess fabric is trimmed away and cording is placed around the edges covering the staples.
I’m so happy with the vintage navy and cream ticking fabric we used. It compliments the style and era of the bed making it look vintage and beautiful!
Let’s stay connected! Follow us on social media!
Building The Daybed
To build the daybed, we used all of the original pieces from the two twin beds.
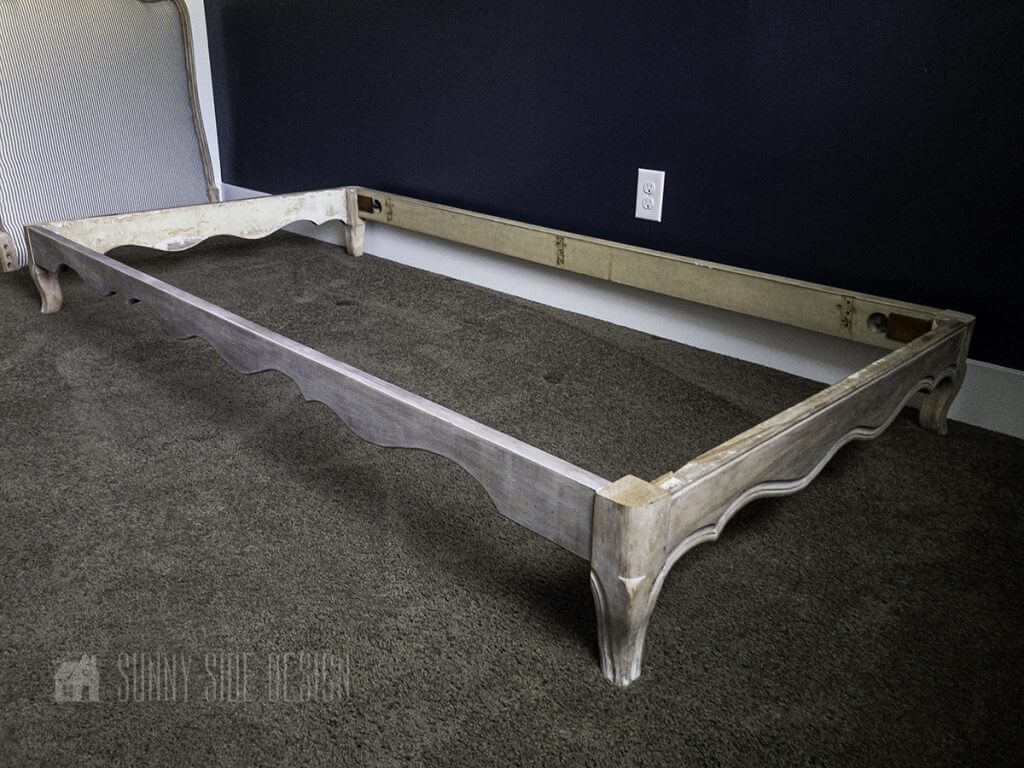
We began by securing the footboards to the bed rails.
(We put the scroll design on the bottom front edge of the bed frame.)

Then we secured each of the two headboards to the remaining two bed rails.
After they had been secured into place, we lifted the top headboard section onto the bottom footboard section.

Once the two sections of the daybed have been stacked, we secured the bed rails together to make the bed frame sturdy.
To do this, we secured three mending plates onto each set of bed rails. First we drilled pilot holes into the wood, then secured the mending plate into place with 1″ screws.
Upcycled Twin Beds To Daybed

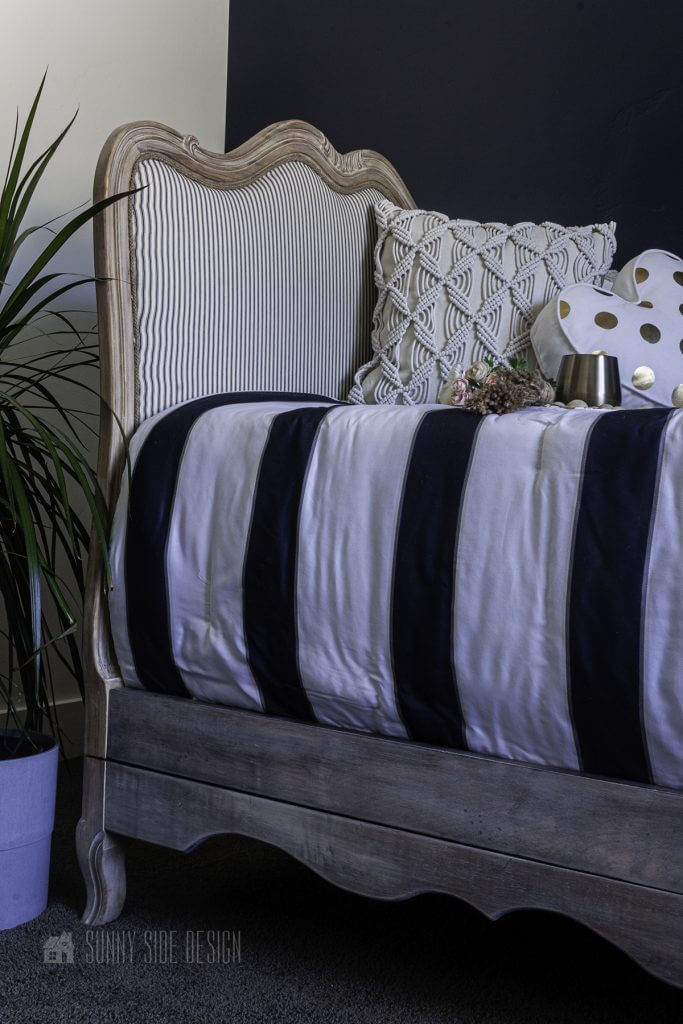
Here’s the completed upcycle idea. You wouldn’t even know this was two twin beds if you hadn’t scrolled through this post!
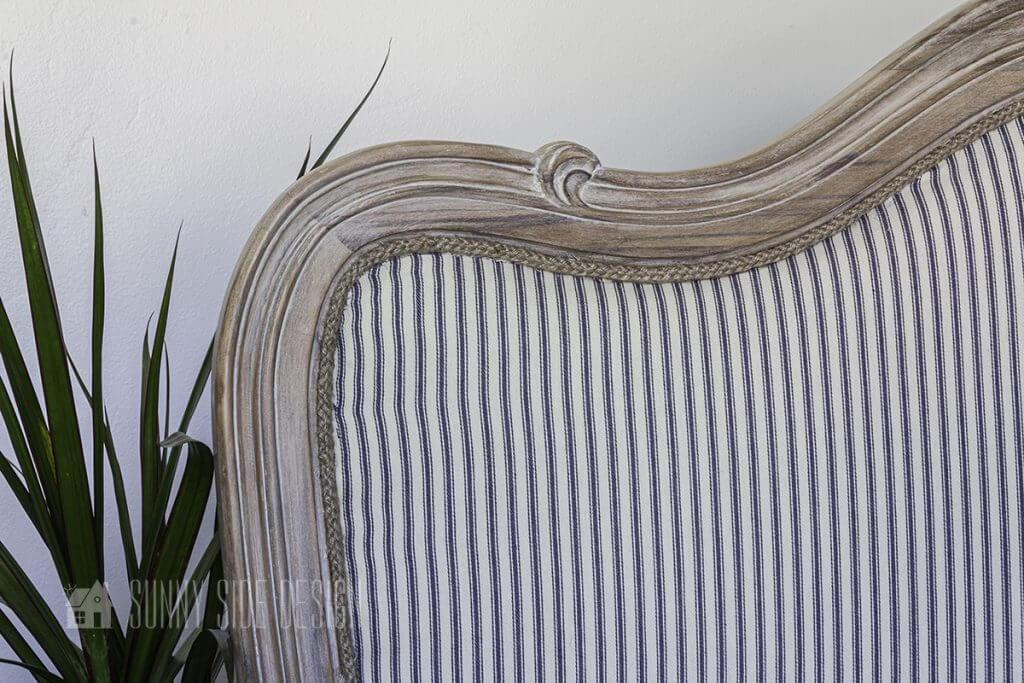
We’re so happy we decided to take the bed down to the raw wood. Just take a look at that beautiful detailing in the wood work!
The white wax adds a little bit more aged character to the carvings and really makes this piece feel vintage.

This piece is definitely one of a kind!

Even though I only spent roughly $285 to purchase the twin beds and all the supplies to give it a makeover, to me it’s worth the $4,200 of our inspiration piece!
We LOVE recreating expensive items at a FRACTION of the cost!

Can you believe the transformation?!
Is this a project you would like to try?
We hope you found some inspiration for your home today.
Please share your tips and ideas with us.
We love hearing from you!
If you’re new here, WELCOME! We love having new readers and friends!
You can learn more about us here.
Let’s stay connected! Join our DIY community of doers and you won’t miss the weekly updates and more inspiration for you always on a budget.
Sharing is caring!

Thanks for stopping by Sunny Side Design. Empowering you to create a home you love!
DISCLAIMER
This blog’s content is for entertainment purposes only and is not professional advice. By reading this blog and attempting to recreate a project, you assume all responsibility for any injuries or damages incurred. Read my full disclaimer here.
PHOTO USE AND CONTENT SHARING
All of the photographs you see here are the property of Sunny Side Design unless otherwise credited.
We love for others to share our work, so please feel free to use one photo with a link back to our website.
Pinning and sharing is always encouraged!
Please do not reproduce other Sunny Side Design content without permission.
Retailers We Love
- Anthropologie
- Birch Lane
- Crate & Barrel
- Joss and Main
- Lampsplus
- Mark & Graham
- One Kings Lane
- Pottery Barn
- Rejuvenation
- Serena & Lily
- Wayfair
- West Elm
- Williams Sonoma
- World Market
Be sure to follow us on Pinterest for even more home decor and DIY ideas.
To see what we are working on before it’s on our blog, follow us on Instagram.
You will also find our video tutorials on our YouTube channel.
- Creating a Cozy Outdoor Living Room with Thrifted Finds

- The Best ‘Berry in Love’ Bridal Shower Ideas
- Paint an Old World Texture Finish on a Vase
- Easy Strawberry Chicken Salad with Lime Maple Balsamic Vinaigrette