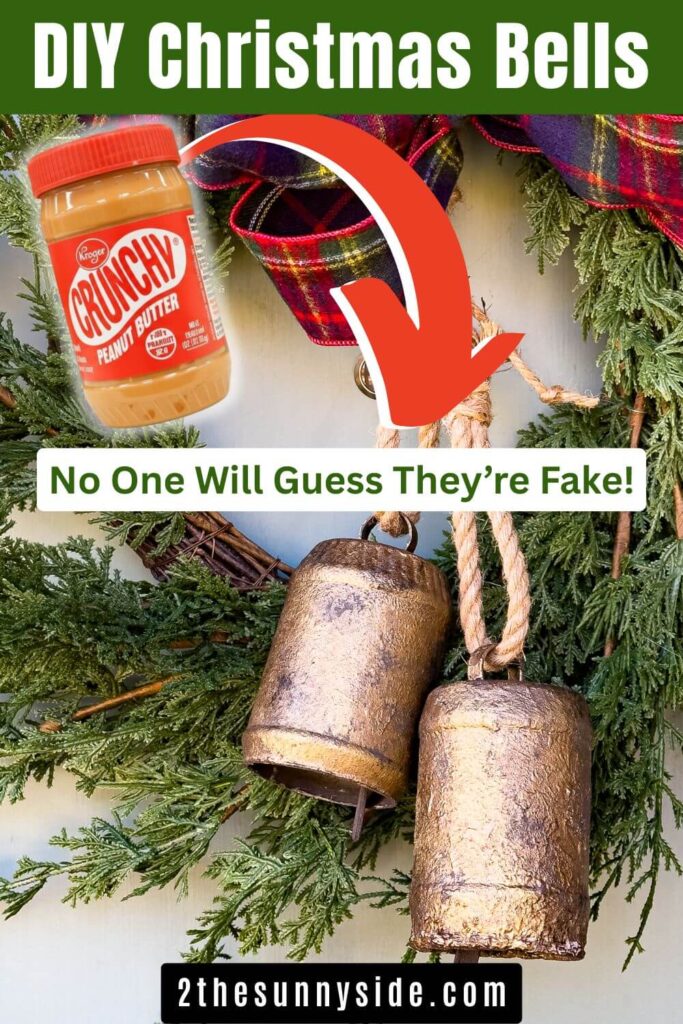
These DIY Christmas bells may look like real vintage brass, but they’re made from simple recycled jars — a beautiful, budget-friendly holiday craft anyone can make.
There’s something truly magical about turning everyday items into beautiful holiday décor — especially when no one would ever guess their humble beginnings!
In this DIY Christmas bells project, we’re transforming simple mustard and peanut butter jars into stunning, vintage-inspired Christmas bells that look just like real antique brass.
It’s a budget-friendly, eco-conscious craft that proves you don’t need to spend a fortune to create timeless holiday charm.
Ready to see how easy it is to make your own handmade Christmas bells from recycled materials?
Let’s get started!
- Why You’ll Love This DIY
- Supplies You’ll Need
- Best Containers to Use for DIY Christmas Bells
- Prep the Container for Your DIY Christmas Bells
- Faux Vintage Brass Bell Finish (Option 1)
- Cow Bell Faux Finish (option 2)
- Assemble and Add Details
- The Reveal
- Styling Ideas for Your Handmade Christmas Bells
- Shop Christmas Bells
- More Christmas Bell and Decor Ideas
- Final Thoughts
Sunnyside home is a participant in the Amazon Services LLC Associates Program, an affiliate advertising program designed to provide a means for sites to earn advertising fees by advertising and linking to Amazon.com. As an Amazon Associate, this blog earns from qualifying purchases with no additional cost to you. Click here to read our full disclosure policy.
Why You’ll Love This DIY
You’re going to love this DIY Christmas bells project because it’s the perfect mix of creativity, sustainability, and charm.
It’s eco-conscious and budget-friendly, giving new life to recycled jars instead of tossing them out.
With just a bit of paint and imagination, you can achieve that real vintage brass look—no metalworking required!
Plus, it’s completely customizable to match your holiday decor style, whether you love classic, rustic, or coastal Christmas vibes.
It’s an easy, rewarding weekend Christmas craft you can enjoy solo or as a fun family project.
Supplies You’ll Need
Before we dive in, gather a few simple supplies — most of which you probably already have around the house!
This Christmas bell DIY uses recycled jars, a bit of paint, and a few clever tricks to create that realistic vintage brass finish.
It’s the kind of Christmas craft that’s easy, affordable, and guaranteed to add charm to your holiday decor.
Whether you hang your DIY Christmas bells on a wreath, display them on your mantel, or use them as ornaments on your tree, they’ll bring a cozy, handmade touch to your festive home.
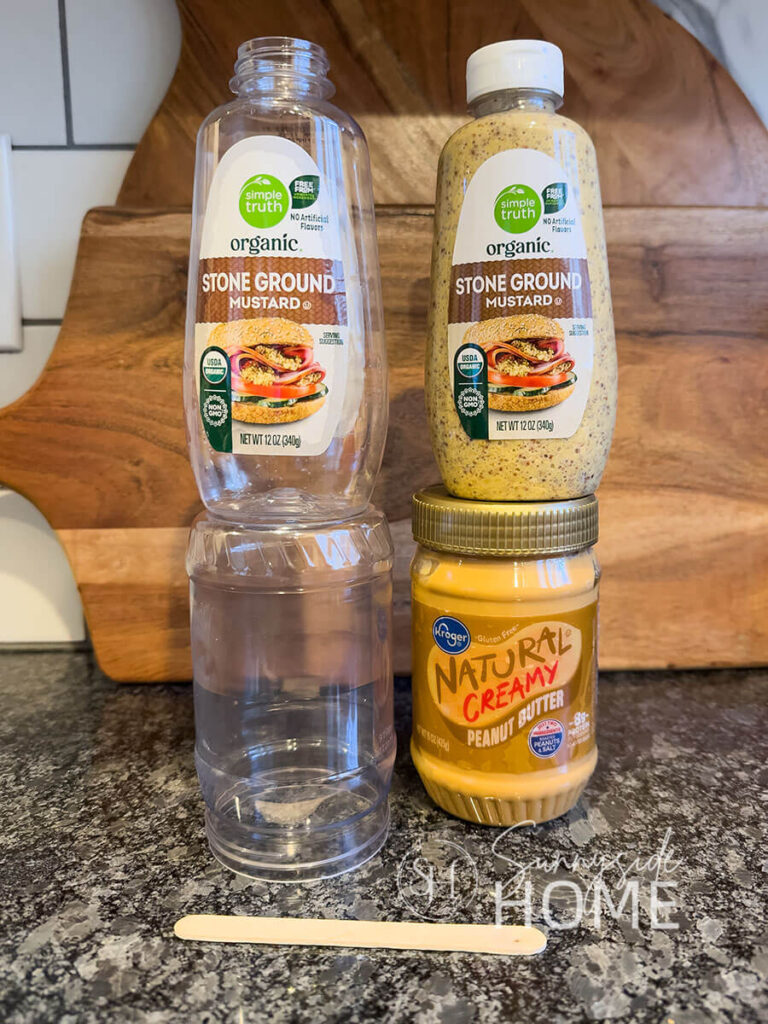
Materials list:
- recycled plastic jars (peanut butter, mustard, etc.)
- popsicle stick
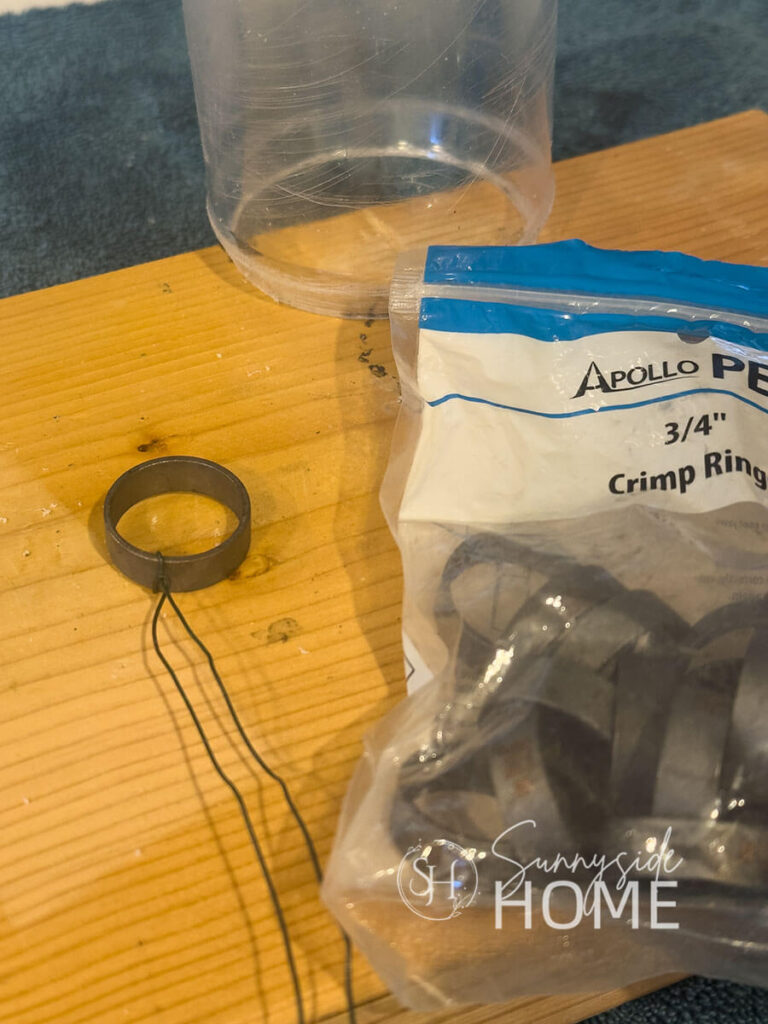
- ring (we found a bag crimp rings that were perfect)
- wire
- jute or cord
Paint supplies for peanut butter jar bell:
- grey paint
- baking soda
- DecoArt Metallic Rich Espresso acrylic paint
- Ceramcoat Metallic Gold acrylic paint
- Ebony Rub ‘n Buff
Paint supplies for mustard container bell:
- brown paint
- Antique gold Rub ‘n Buff
- European gold Rub ‘n Buff
- Ebony Rub ‘n Buff
- Ceramcoat Metallic Gold acrylic paint
We also used a drill, scissors and an oscillating tool to cut the peanut butter container, but a hot knife will work also.
Are you enjoying this project? Please Pin It, save it for later and share it with a friend.
Sharing is caring!
Best Containers to Use for DIY Christmas Bells
While mustard and peanut butter jars are perfect for this DIY Christmas bells project, you can get creative with all kinds of recycled containers!
Try using shampoo bottles, plastic bouillon jars, yogurt cups, pudding containers, or even tin cans for different Christmas bell shapes.
The key is to look for containers with a smooth, round base that gently tapers at the top — that’s what gives your bells a realistic silhouette.
In fact we’ve even used a toilet paper roll and easter egg for a small faux brass bell, or an oat container and dollar store plunger for a realistic metal bell.
Mix and match sizes and shapes for variety, and don’t be afraid to experiment!
If you’re new here, welcome! We’re so glad you’re here.
Let us introduce ourselves, we’re Michelle and Steph, a mom and daughter team who love to DIY and decorate our homes.
Not only are we passionate about making our homes warm, comfortable and unique, but it’s our mission to help you create that same feeling in your own home.
You’ll find ideas for repurposing, creating, decorating and making your home truly yours, while always mindful of a tight budget.
Undoubtedly we love finding ways to make your home look high-end on a small budget.
Plus you’ll also find a recipe or two as we share our family favorites with you.
We’d love it if you’d join our community of doers so you won’t miss any inspiration for your home.
We love new friends.
Prep the Container for Your DIY Christmas Bells
Before adding any paint or finish, it’s important to prep your container properly so your faux brass Christmas bells turn out their best.
Start by cleaning the jars thoroughly, removing all labels (if desired, Steph chose to keep her labels on the mustard container adding more detail to the finished bell.
If you’re concerned about your paint adhering to the plastic, lightly sand the surface — this helps the paint adhere better, especially if you’re using plastic containers.
However, if you’re using a chalk type paint, it should bond just fine without sanding.
Shorten Container
You can also trim off the threaded section where the lid screws on, or shorten the container’s height if needed (like we did for our mustard jar bell) to get that perfect bell shape.
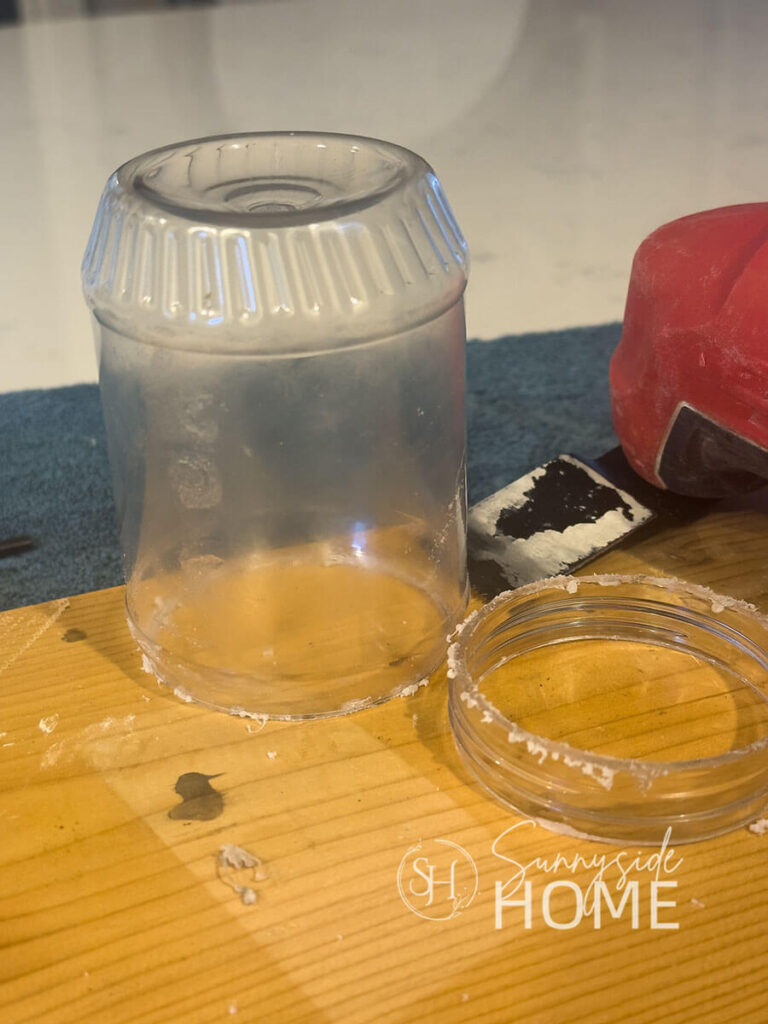
The mustard container was easy to shorten with scissors, however the peanut butter jar was a different story.
We found the best way to cut it down was with our oscillating tool, or you can use a hot knife and then I cleaned up the rough edges with sandpaper.
Or you can keep the rim of the jar on and just add a little more texture to that section.
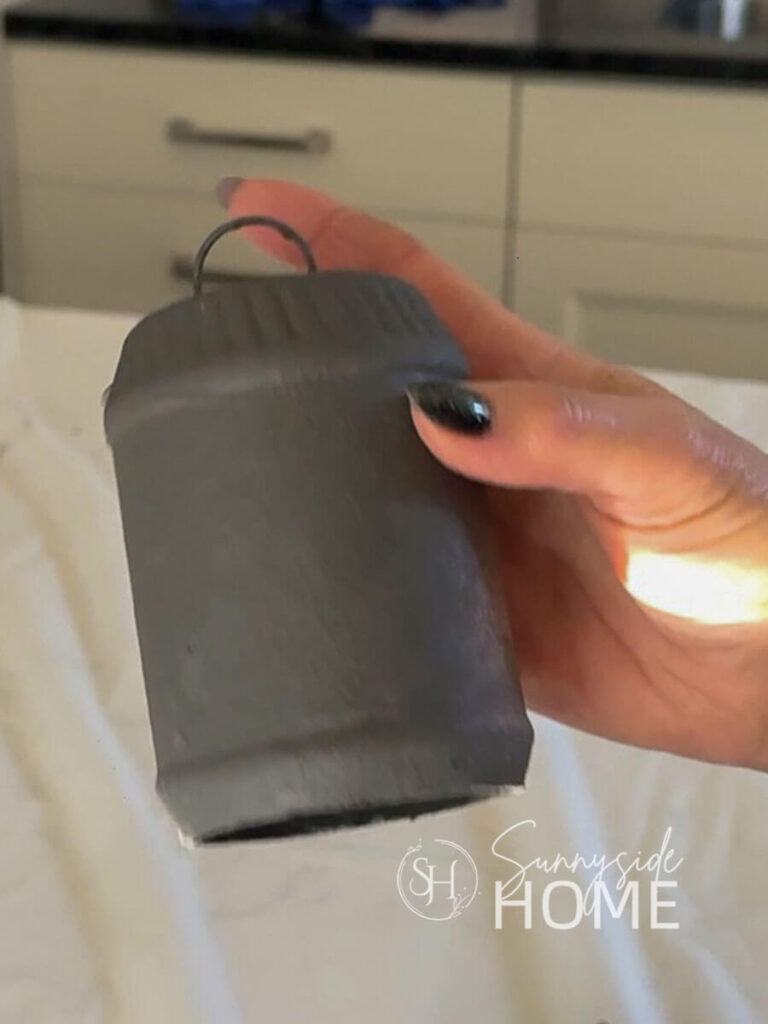
Add Ring
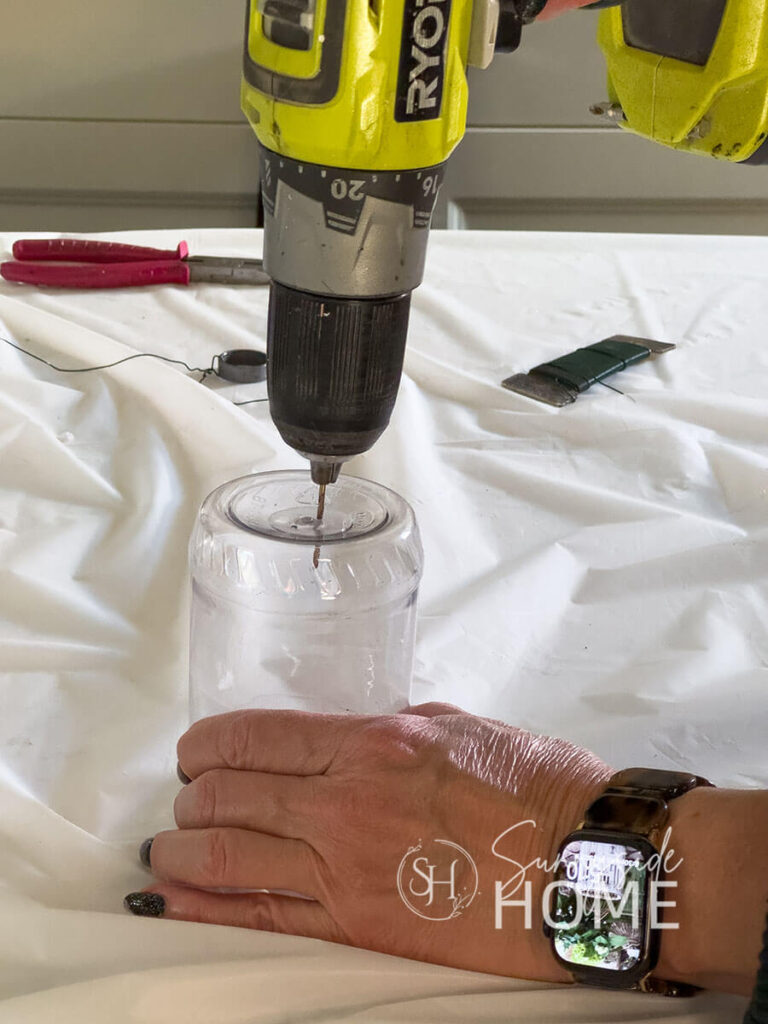
Next, drill two small holes in what will become the top of your bell.
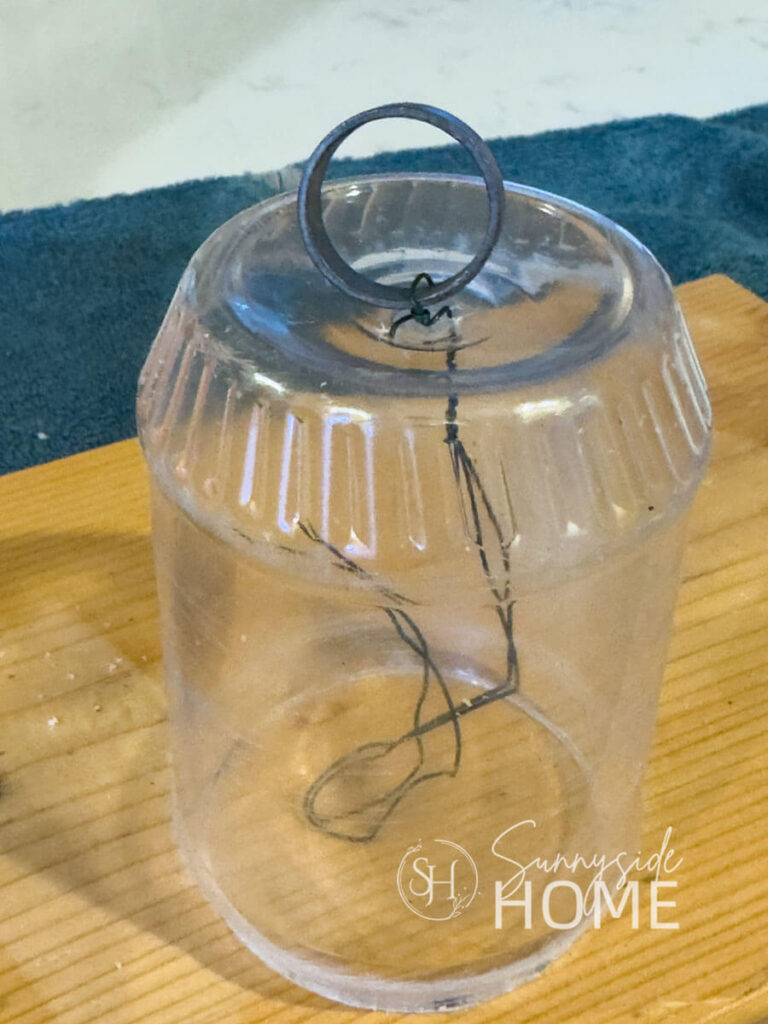
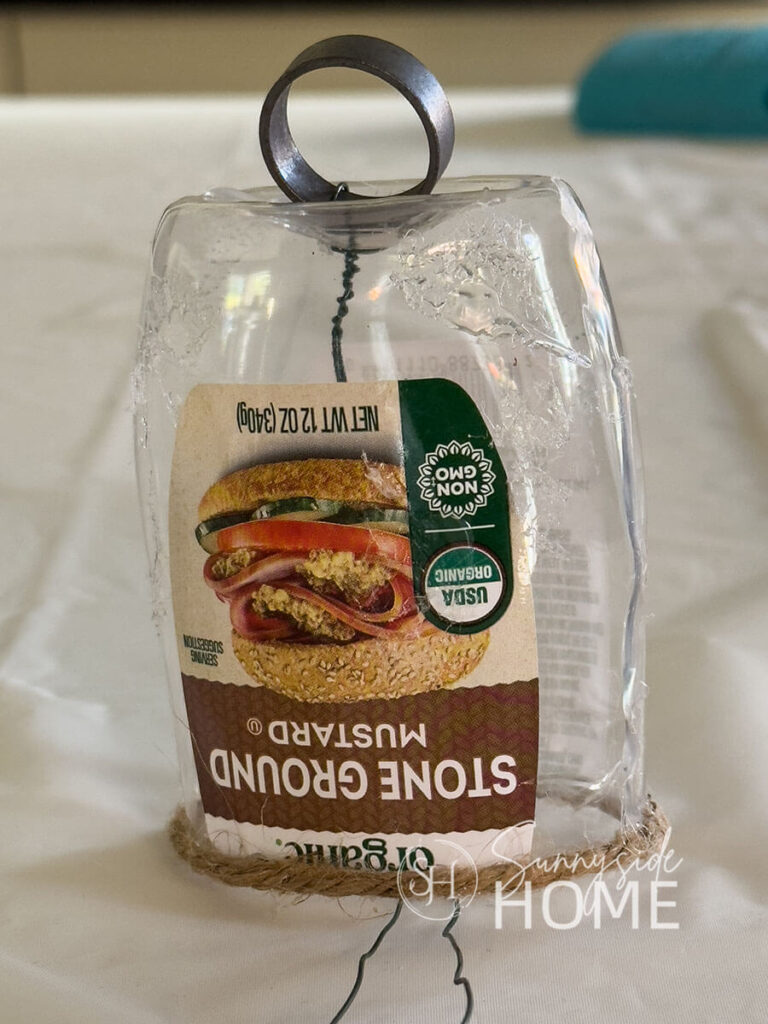
Cut a piece of wire twice the length of your container, fold it in half, twist around a small ring, then thread both ends through the holes and twist inside to secure it — this will be your hanger.
We found a bag of leftover crimp rings in Steph’s garage and they were the perfect size for our DIY Christmas bells.
If your container is larger you may want to try a disposable napkin ring that can be found at party stores.
To add a rim to the bottom of the mustard container bell, adhere a piece of jute or cord around the bottom of the bell.
I added the rim to the peanut butter jar on my first bell, but decided it wasn’t necessary on my second bell because of the shape of the container.
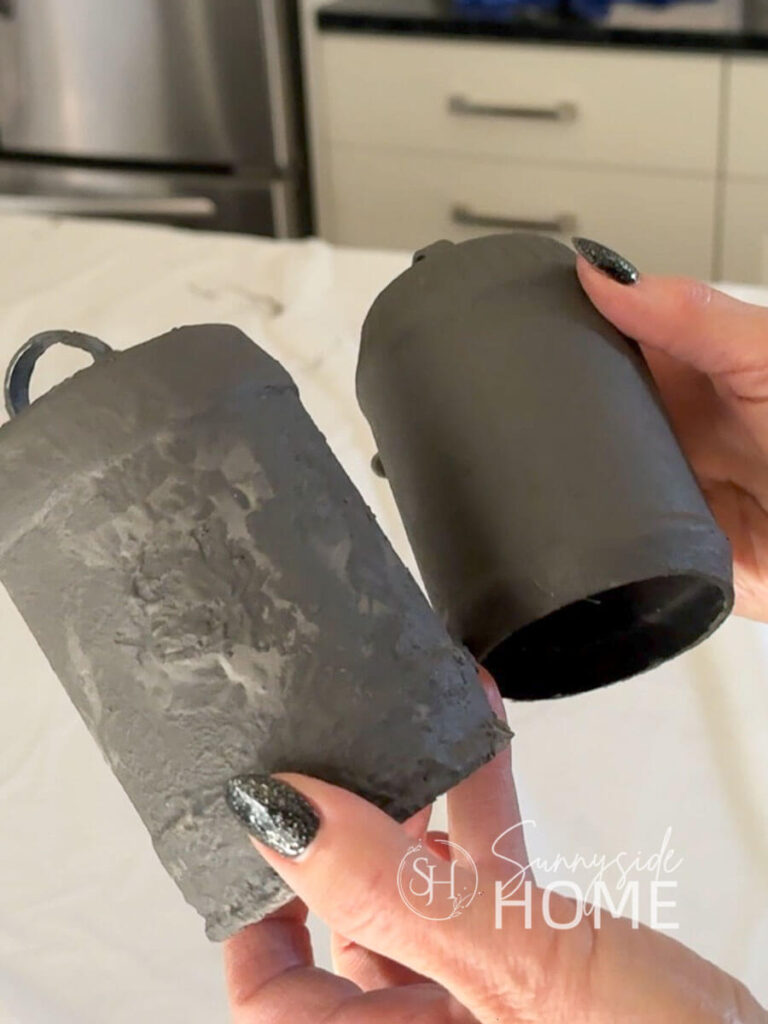
Create Texture with Glue
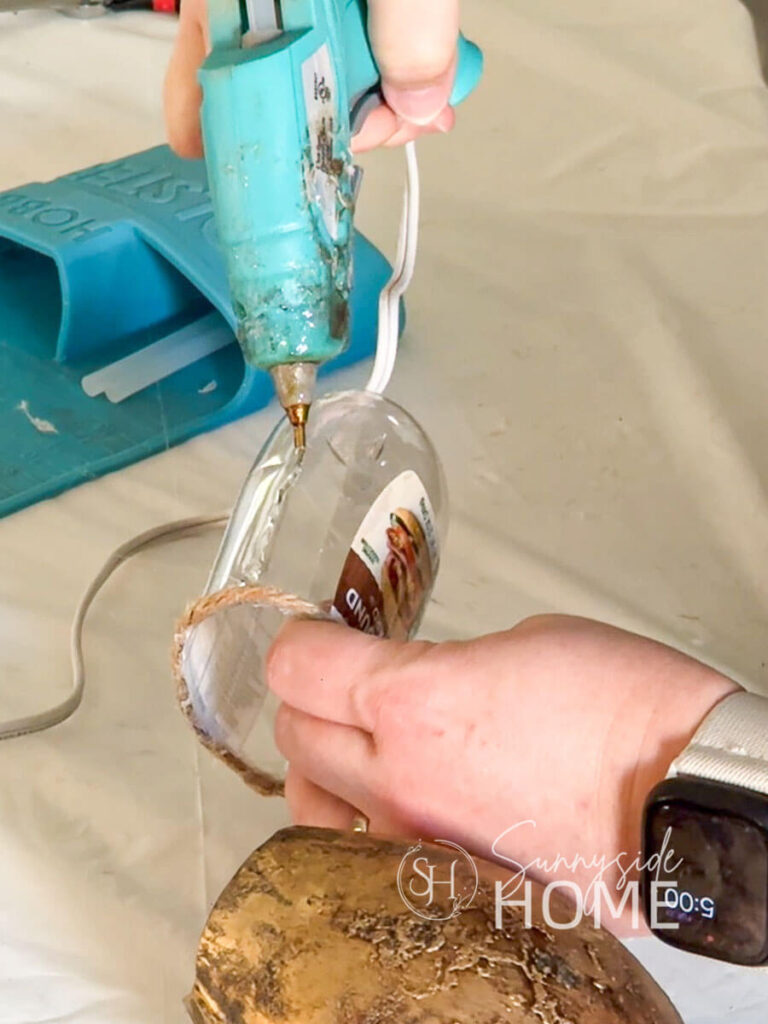
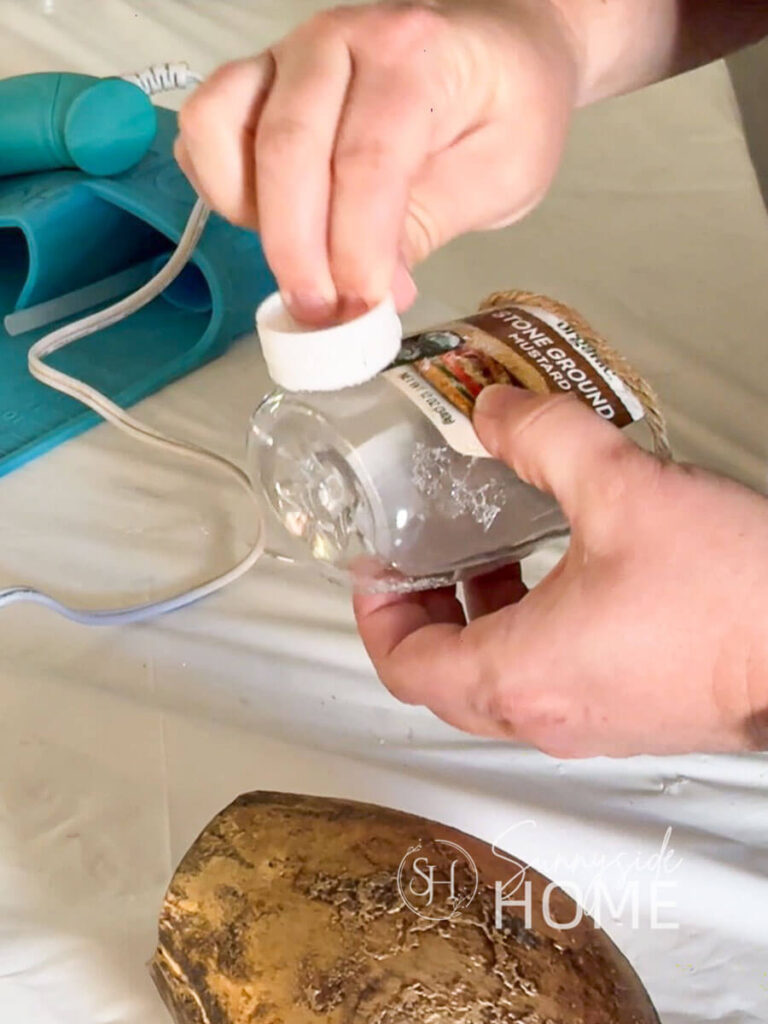
For extra texture, Steph added a faux “seam” line along the sides of her cowbell using hot glue.
She also dabbed on small spots of glue and pounced them with the plastic mustard lid to create subtle texture — a clever trick that gives your bell an aged, realistic look once the paint finish is applied.
Let’s stay connected! Follow us on social media!
Faux Vintage Brass Bell Finish (Option 1)
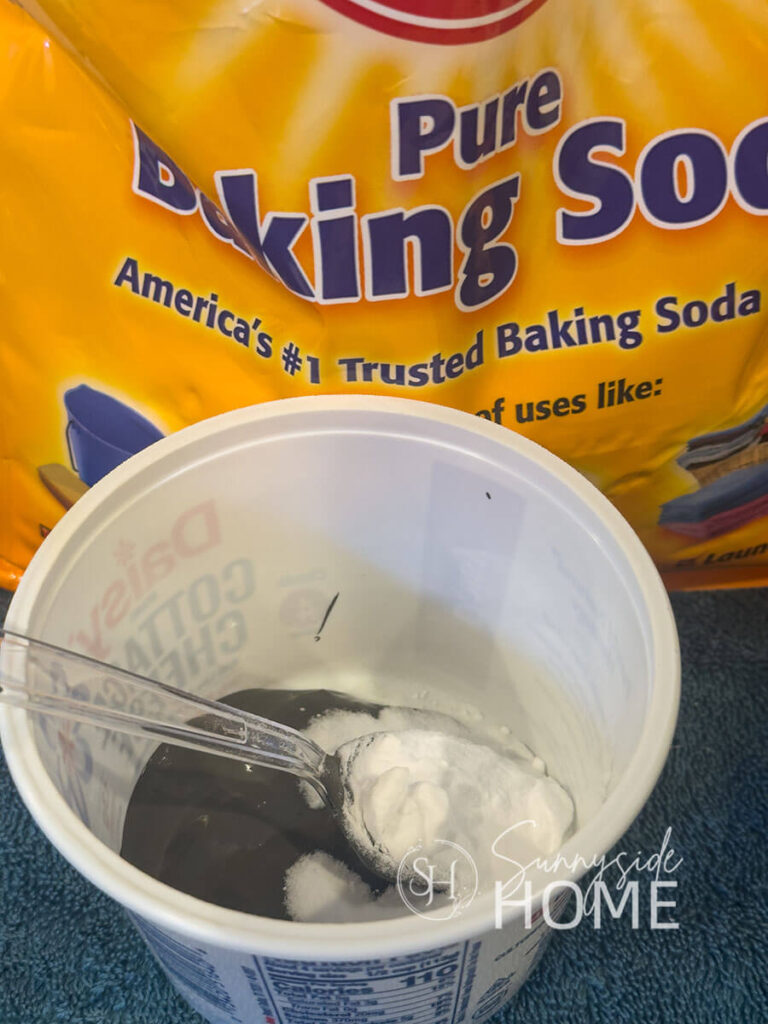
To create the perfect faux vintage brass finish for your DIY Christmas bells, start by mixing a little baking soda into charcoal gray paint — about one part baking soda to two or three parts paint.
The more baking soda you add, the more texture you’ll get.
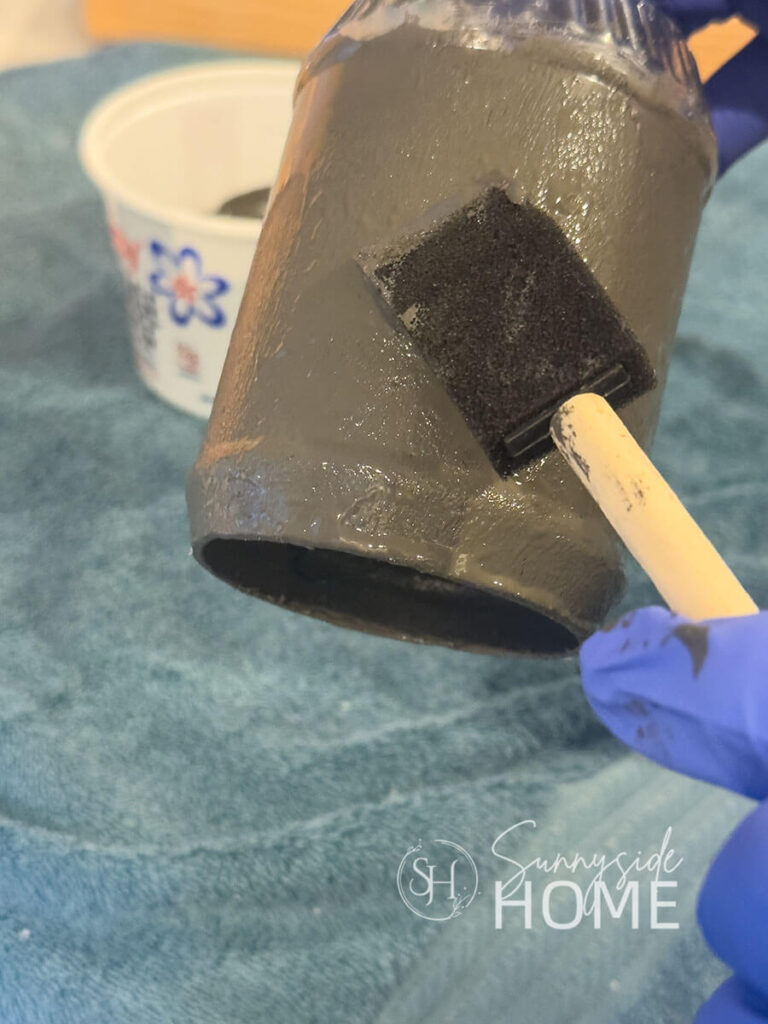
On my first bell, I used quite a bit and ended up losing some of the ribbed details in the container, so on the next one I used less.
Personally, I prefer seeing those details come through, but it’s totally up to your taste!
This textured gray coat creates a great base for layering your metallic finishes.
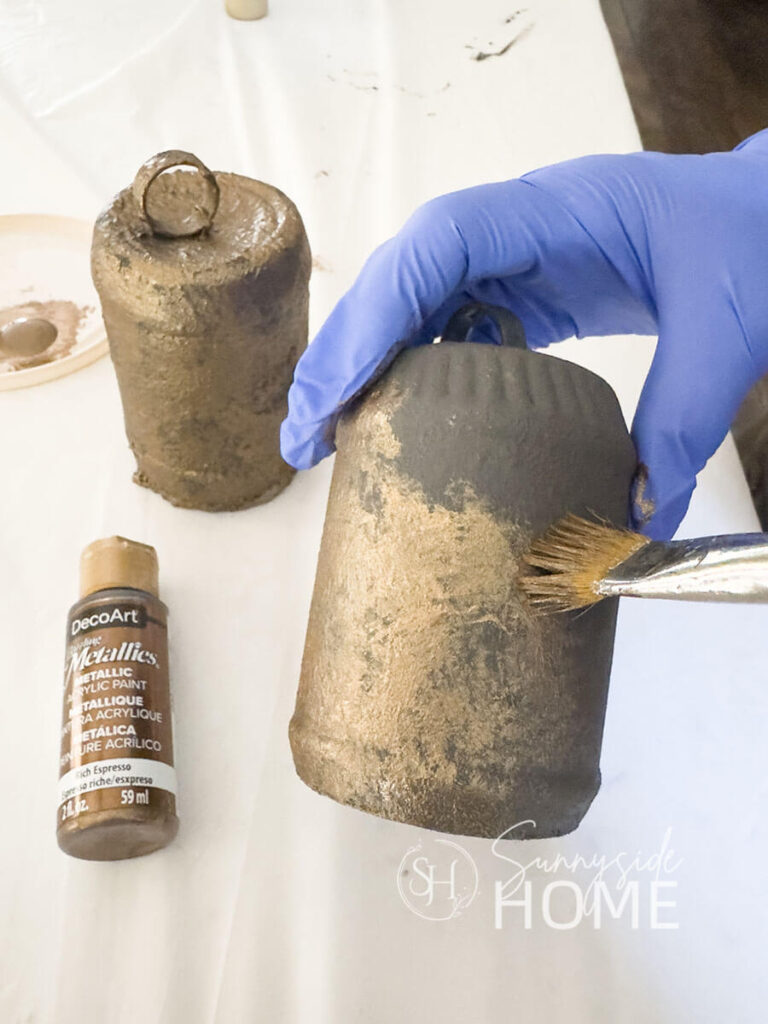
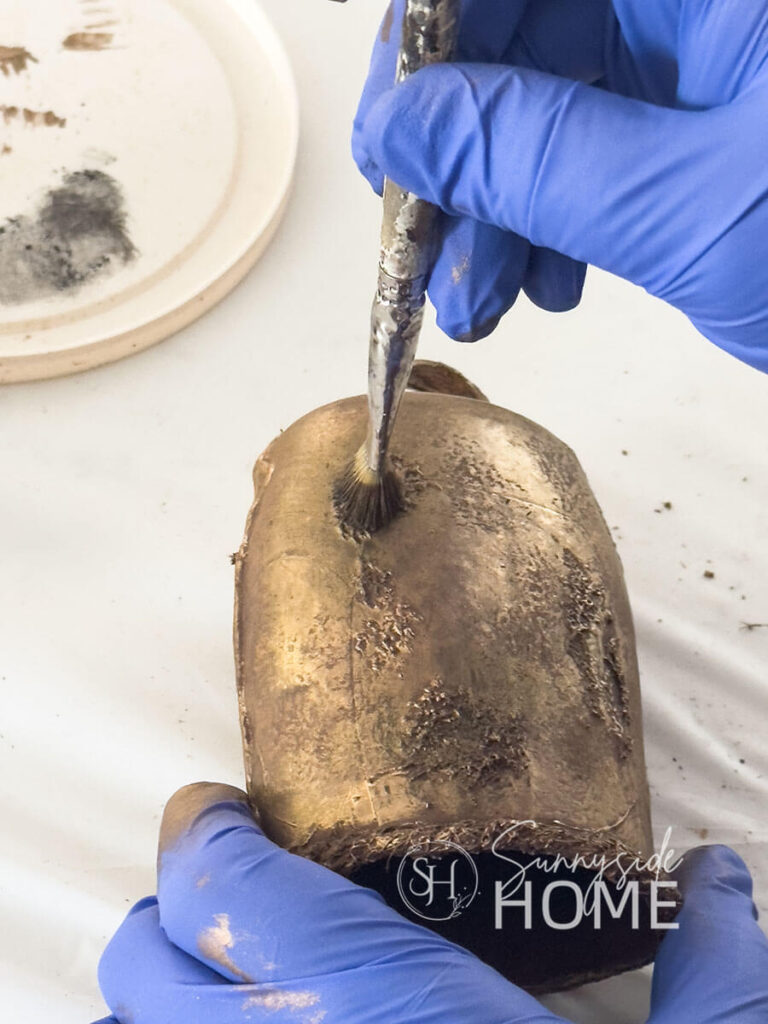
Once the base coat is dry, add depth by pouncing on DecoArt Metallic Rich Espresso acrylic paint with an old, sprung artist brush.
Don’t cover it completely — let some of that gray peek through for a natural aged-metal look.

When that layer dries, apply a touch of Rub ’n Buff in Ebony to a few of the raised or textured areas, then gently buff with a paper towel once it’s dry to bring out a soft sheen.
Originally, I thought I was done there — but I wanted a little more warmth and variation, so I added a final layer using metallic gold acrylic paint.
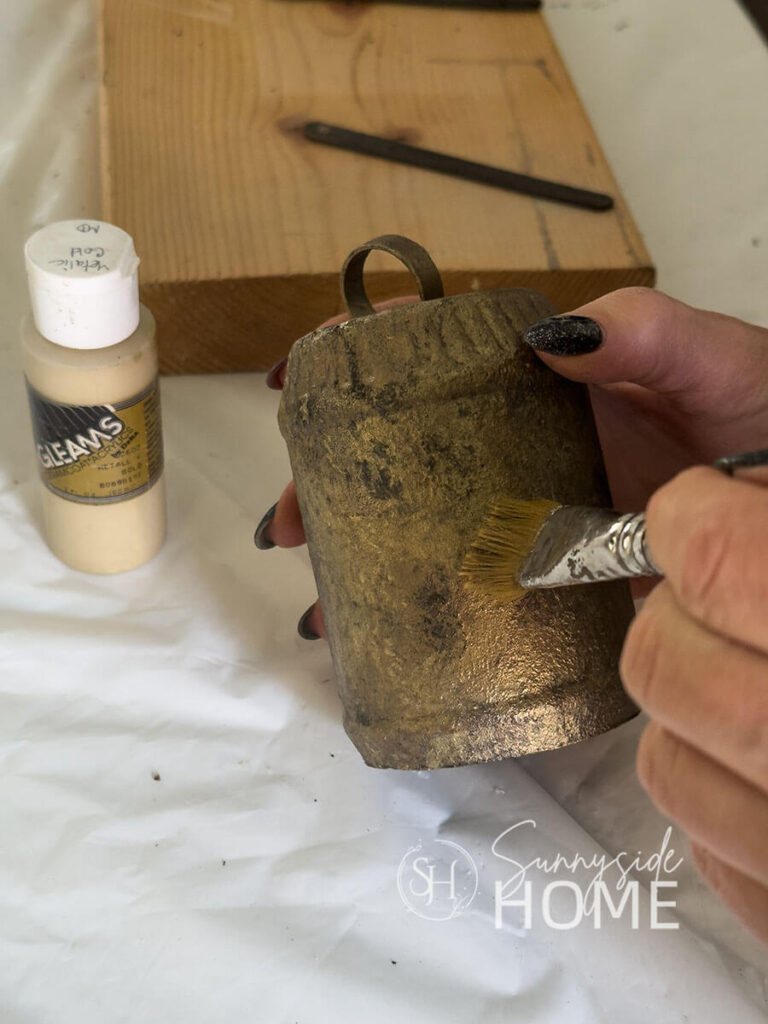
Using the same brush, lightly pounce the gold over a few spots to highlight and brighten the surface.
This final step adds incredible depth, giving your bell the rich, dimensional glow of real aged brass.
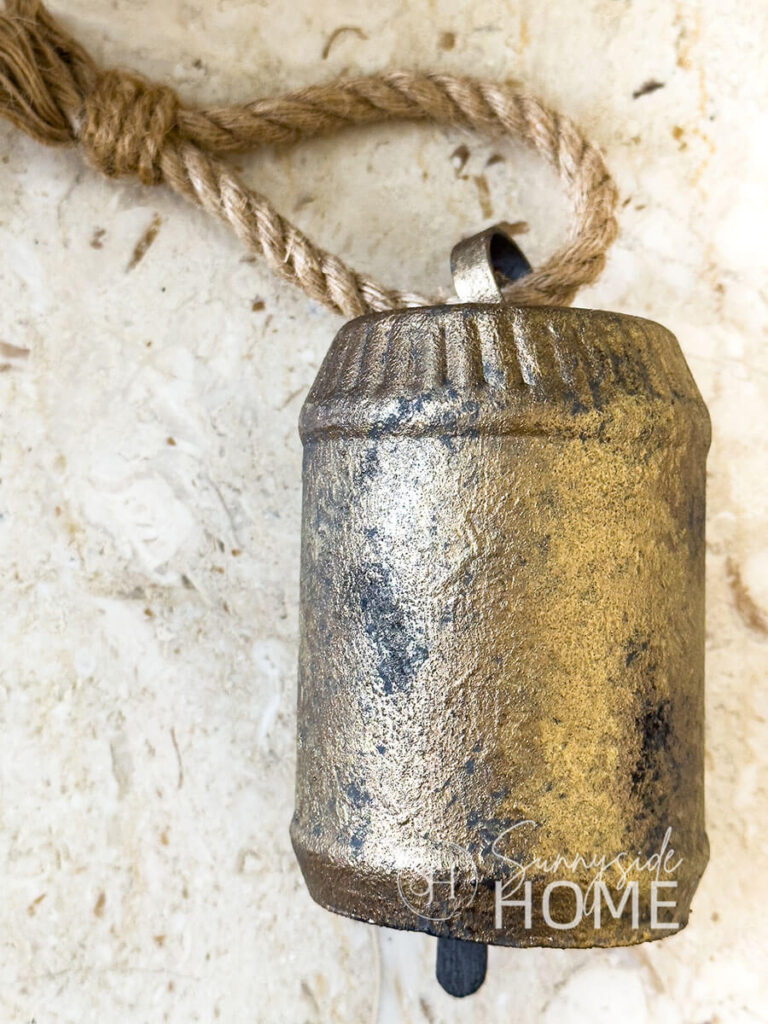
Cow Bell Faux Finish (option 2)
Steph’s inspiration for this vintage brass cowbell finish came from a pair of beautiful bells we purchased last year — she wanted to capture that same warm, aged patina in her own DIY Christmas bell.
To start, she painted the entire bell with a rich chocolate brown undercoat and let it dry completely.
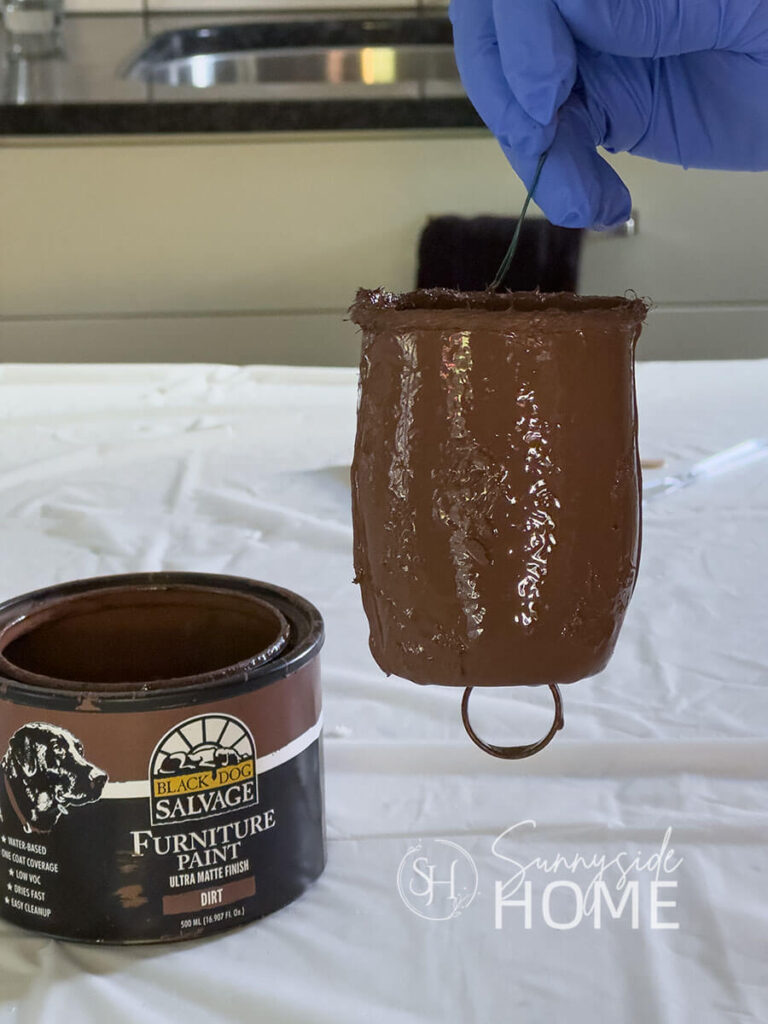
This dark base gives the metallic layers that follow a deep, authentic tone.
Next, she slipped on a glove and applied Antique Gold Rub ’n Buff, rubbing it on with her fingertip in small circular motions to mimic the look of aged brass.
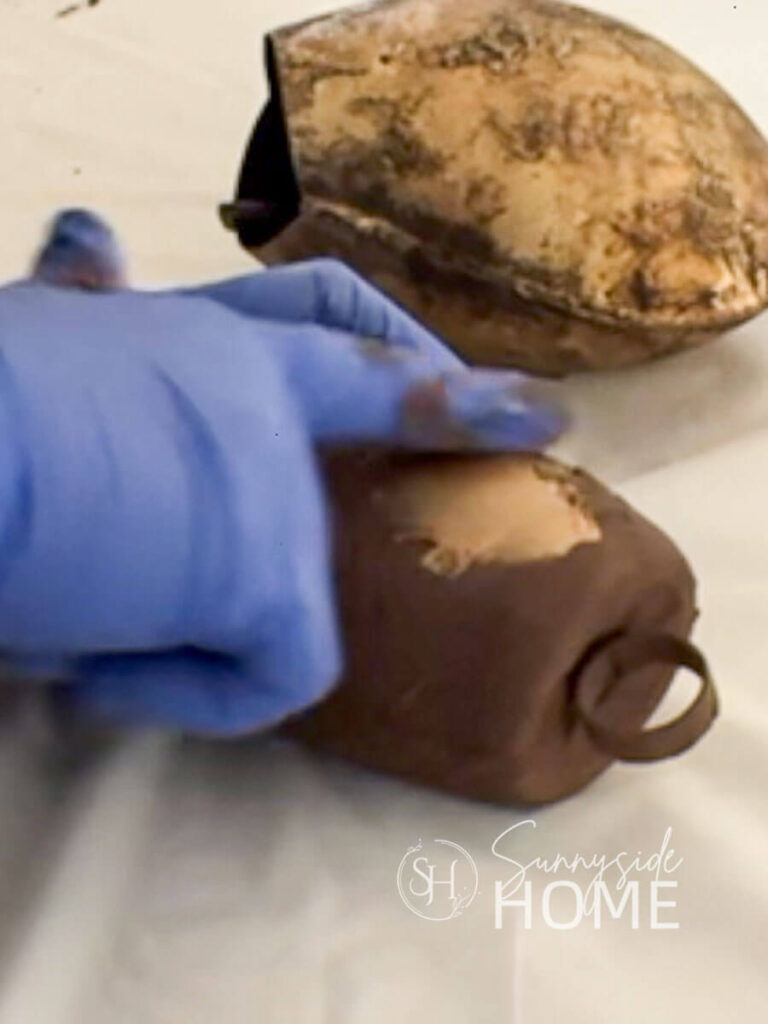
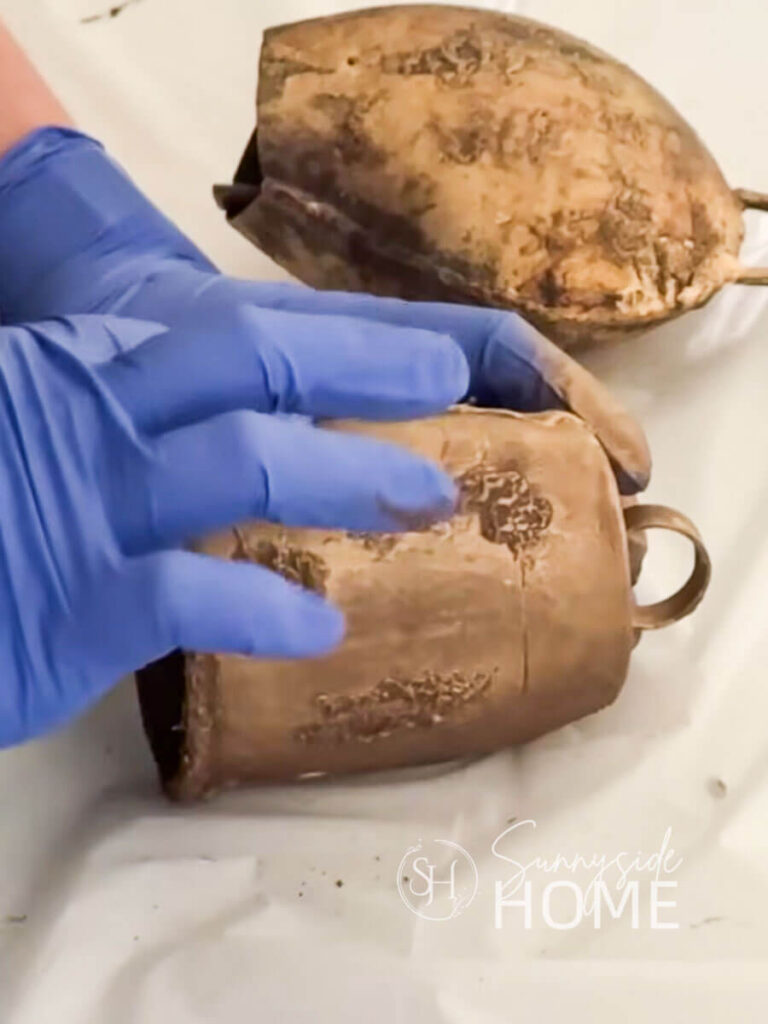
Once that first metallic layer set, she added European Gold Rub ’n Buff in a few random areas, again working it in softly with circular motions to create depth and variation.
After allowing it to dry, she gently buffed the surface with a paper towel to bring out a subtle, warm sheen.
For the final touch, Steph used a small sprung artist brush to dab a little Ebony Rub ’n Buff onto the raised textures she had created earlier with hot glue, then finished with one last light buffing.
The result?
A stunning, dimensional Christmas bell DIY finish that looks convincingly aged — just like the vintage bells that inspired it.
Assemble and Add Details
Now that your DIY Christmas bells have their beautiful faux finish, it’s time to bring them to life with a few finishing touches!
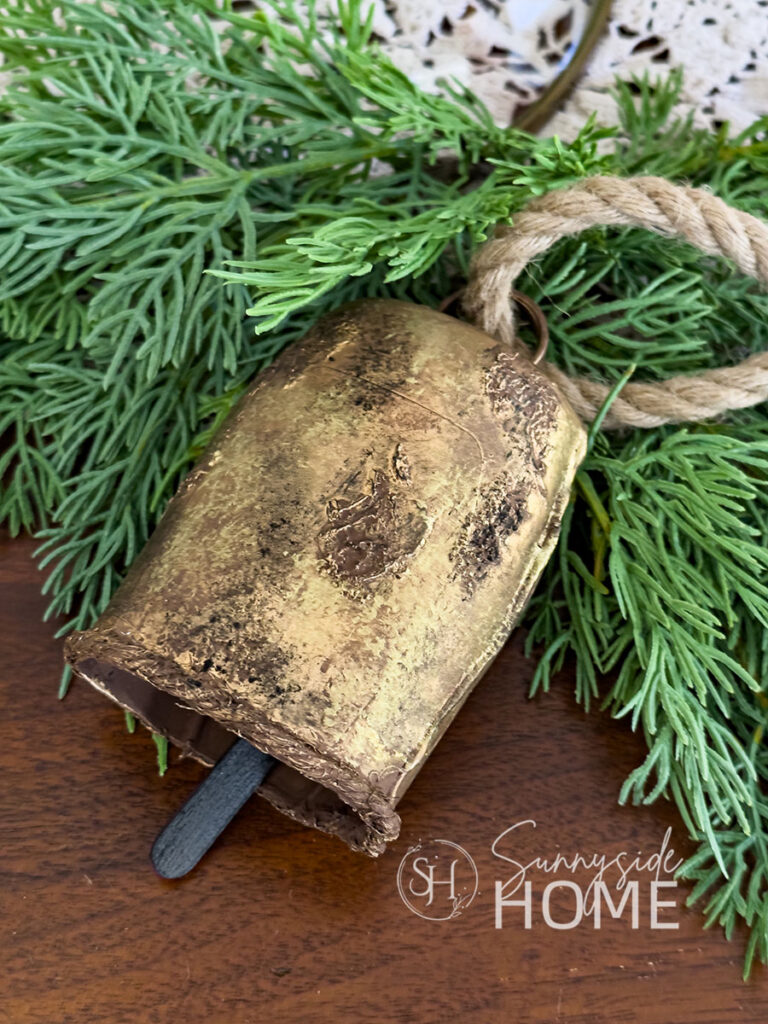
First up — the clapper. Start by deciding how long you want your clapper to hang, then trim a popsicle stick to that length using kitchen shears.
Paint the stick with dark charcoal paint to mimic the look of aged iron.
Once dry, rub a little Ebony Rub ’n Buff over the surface to add depth and a subtle metallic sheen.
Next, drill a small hole in the cut end of the popsicle stick.
Feed the wire from inside your bell through the hole and twist it securely around the stick until it hangs at your desired length.
To create the hanger, we used a soft rope from the floral section at Michaels.
Cut a length of rope, thread it through the top loop of your bell, and then wrap the two loose ends together neatly with jute.
Secure the ends with a bit of hot glue to keep everything in place.
Finally, it’s time for the fun part — embellishing your bells!
Add small bows, greenery, or faux berries to tie in your holiday theme.
These details instantly add charm to your Christmas bells.
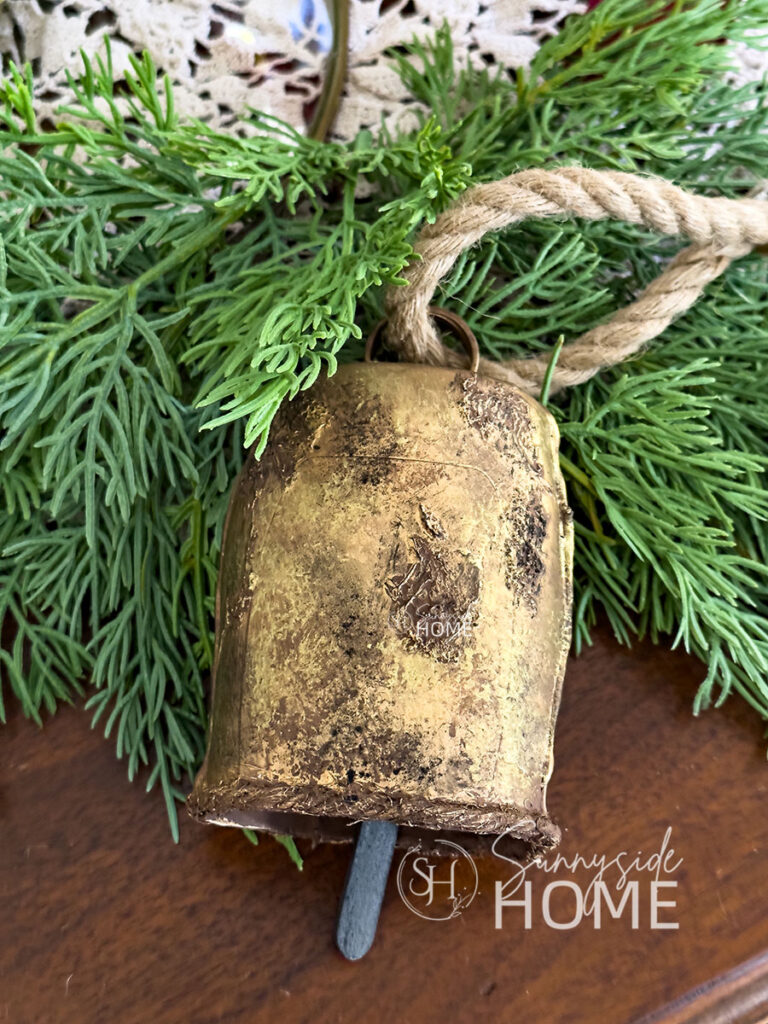
The Reveal
And now for the best part — the final reveal!
It’s hard to believe these Christmas bells started out as mustard and peanut butter jars.
Once assembled and embellished, they look just like genuine vintage brass bells you’d find in a boutique holiday shop.
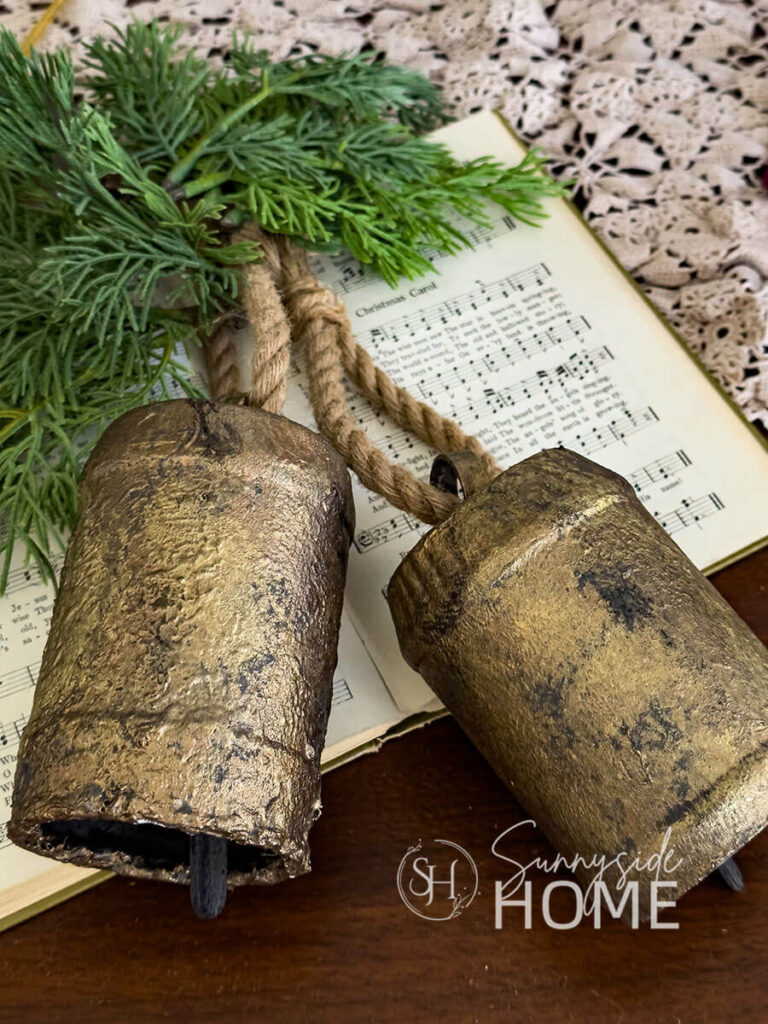
The warm metallic tones, subtle texture, and charming clappers give them an authentic, timeworn feel that instantly elevates any space.
We styled our handmade Christmas bells with a few evergreens and love how the mix of rope and greenery added cozy, old-world charm.
Whether you hang yours from a wreath, display them on your mantel, or cluster them in a basket by the tree, these upcycled treasures will fill your home with the spirit of the season — proof that a little creativity can truly turn trash into timeless Christmas decor.
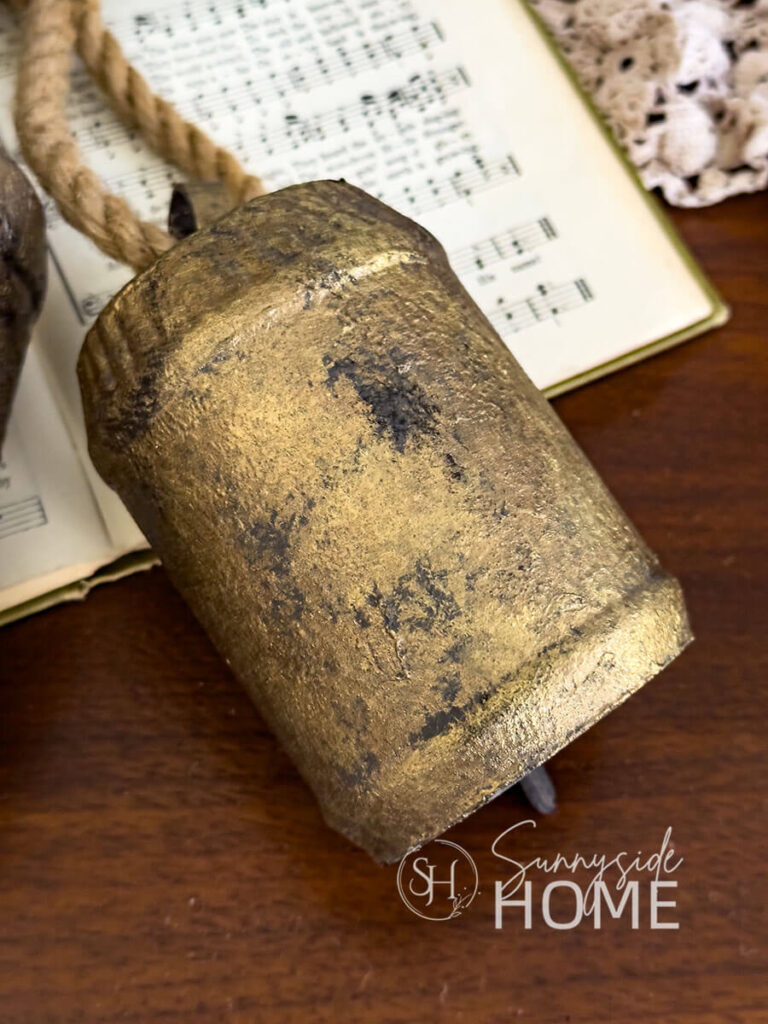
Styling Ideas for Your Handmade Christmas Bells
There are so many beautiful ways to style your vintage-inspired DIY Christmas bells!
Try embellishing an evergreen garland with a few bells for a timeless look, or tie a small cluster to the newel post of your staircase with a bow and greenery.
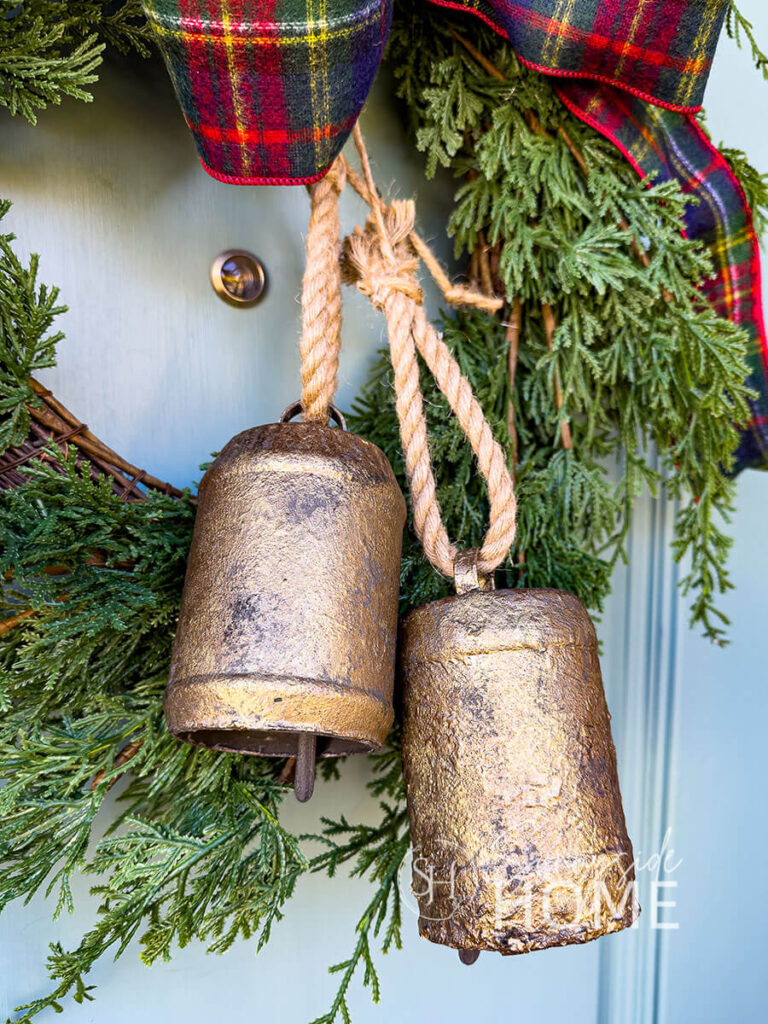
We also love grouping bells on either side of the mantel, accented with ribbons and fresh greens, or adding a couple to an evergreen wreath for instant holiday charm.
You can even tie them to your Christmas tree branches with satin ribbon, string them along jute across a mirror, or fill a basket with your creations and tuck it under the tree for a cozy, collected look.
However you display them, these handmade Christmas bells will add warmth, texture, and vintage magic to your holiday decor.
How will you style yours?
Shop Christmas Bells
No time to DIY Christmas bells? Then take a look at these!

More Christmas Bell and Decor Ideas
- How to Make Christmas Bell Decorations with Toilet Paper Rolls
- Simple Frosted Pinecone Christmas Ornaments
- How We Made Christmas Bells Using Dollar Tree Items
- How to Make a Christmas Tree Collar with Dollar Tree Tiles
- How to Make a Quick & Easy Christmas Countdown Advent Calendar
- Cozy Christmas Decorations That Are Quick & Easy
- Make an Easy Christmas Pillow Cover with a Zipper
- How to Make Easy Finger Knit Christmas Tree Decor
For more Christmas bell ideas check out our video on YouTube.
Click here for tips for organizing and storing your Christmas decorations.
Final Thoughts
We hope this handmade Christmas bells project inspires you to look at everyday containers in a whole new way.
With a little creativity, paint some Rub ’n Buff magic, you can turn simple recyclables into timeless holiday decor that feels both vintage and personal.
Whether you make one or a whole collection, these handmade bells will add charm and character to your Christmas home for years to come.
If you try this project, we’d love to see how you style your bells — tag us on Instagram or share your photos!
And don’t forget to pin this idea to save it for your next cozy weekend craft session.
We hope you found some inspiration for your home this Christmas.
Please share your tips and ideas with us.
We love hearing from you!
If you’re new here, WELCOME! We love having new readers and friends!
You can learn more about us here.
Let’s stay connected! Join our DIY community of doers and you won’t miss the weekly updates and more inspiration for you always on a budget.
Sharing is caring!
Thanks for stopping by Sunnyside Home. Empowering you to create a home you love!
Retailers We Love
- Anthropologie
- Birch Lane
- Crate & Barrel
- Joss and Main
- Lampsplus
- Mark & Graham
- One Kings Lane
- Pottery Barn
- Rejuvenation
- Serena & Lily
- Wayfair
- West Elm
- Williams Sonoma
- World Market
Be sure to follow us on Pinterest for even more home decor and DIY ideas.
To see what we are working on before it’s on our blog, follow us on Instagram.
You will also find our video tutorials on our YouTube channel.
What New . . .
- 18 Daily Cleaning Habits for a Neat and Tidy Home

- How to Paint a Ceramic Pitcher Inspired by Pottery Barn
- How to Build Simple Basement Storage Shelves That Last
- Easy One Pot Beef and Cabbage Soup with a Kick