Learn how to make a chair planter with this easy, budget-friendly DIY! Repurpose an old chair into a charming garden accent.
My mom’s been on a mission this summer to add cozy cottage charm to her flower garden and patio, and she’s been on the lookout for budget-friendly ways to do it.
During a neighborhood yard sale, she scored big—four old, mismatched farmhouse chairs for just $5!
Naturally, we saw the potential right away.
The plan?
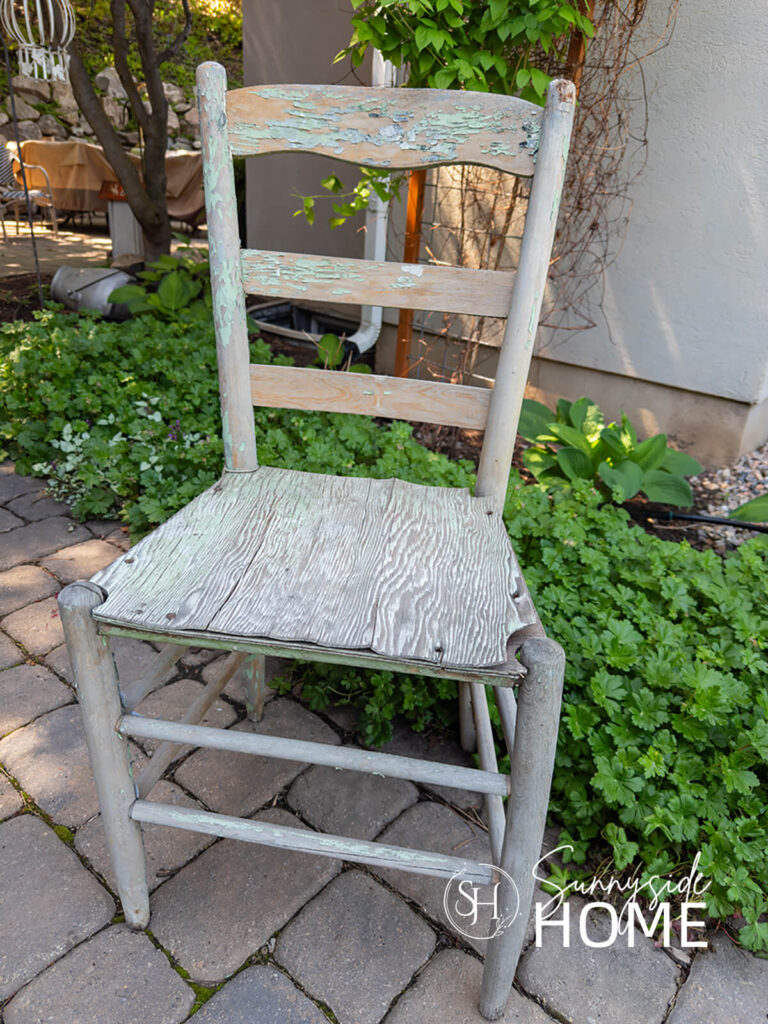
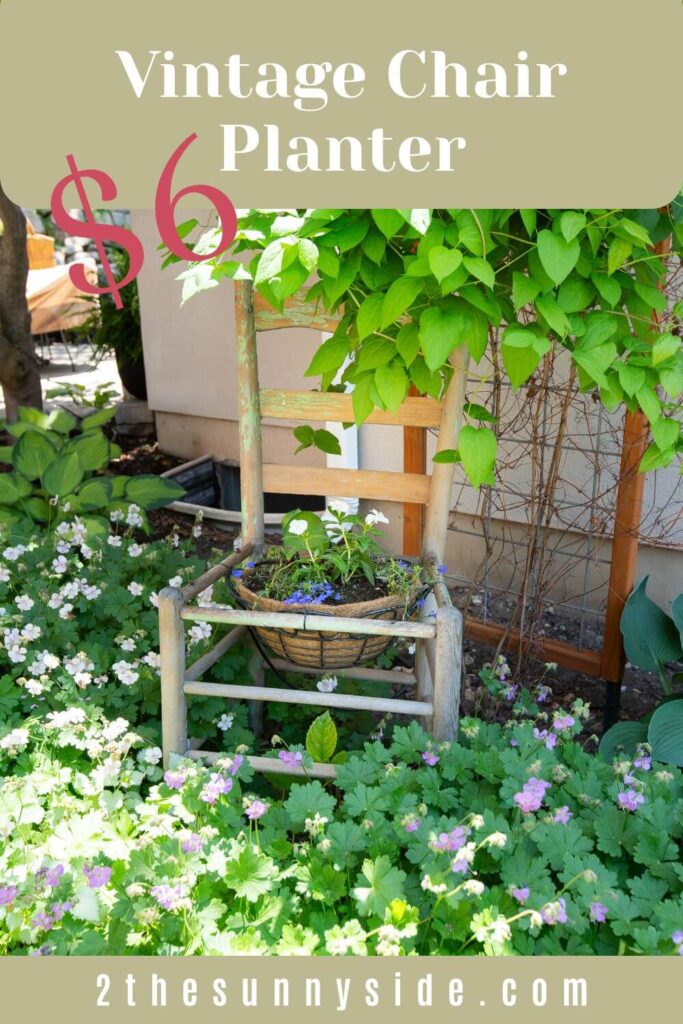
Turn one of those perfectly chippy chairs into a simple yet enchanting garden planter.
This quick and easy DIY came together in no time and added so much character to her garden.
Scroll on down for our tips on how to create your own charming chair planter!
Sunnyside home is a participant in the Amazon Services LLC Associates Program, an affiliate advertising program designed to provide a means for sites to earn advertising fees by advertising and linking to Amazon.com. As an Amazon Associate, this blog earns from qualifying purchases with no additional cost to you. Click here to read our full disclosure policy.
DIY Chair Planter Supplies
To make your own charming chair planter, you’ll only need a few simple supplies.
We started by preserving the beautiful, chippy paint on our vintage chair using a clear matte spray sealer—this helps lock in the character while protecting the wood from outdoor weather.
Since our chair was a little wobbly, we used wood glue, a rubber mallet, and some straps to hold the frame together while the glue dried and made it sturdy enough to support the planter.
For the planter portion, we used a thrifted wire basket that fit nicely into the seat opening, secured it with zip ties, and lined it with a coir liner.
All that was left was to add potting soil and our favorite flowers to bring this sweet little garden accent to life!
Are you enjoying this project? Please Pin It, save it for later and share it with a friend.
Sharing is caring!
Remove Chair Seat
The first step in creating a chair planter is to remove the seat—and let’s just say, it turned out to be trickier than we expected.
We started with a drill fitted with a straight bit and were able to remove a couple of the screws without much trouble.
But the rest?

They were so old and rusted that the grooves had completely worn away, making them impossible to unscrew.
So, we rolled up our sleeves and used a little elbow grease to pull the seat off by hand.
Once the wood was out, we used pliers to twist out the stubborn screws still stuck in the frame.
Not the easiest part of the project, but definitely worth the effort!
Seal the Chippy Finish
To preserve the character of the old chippy paint while preventing any further flaking, we gave the entire chair a good coat of clear matte spray sealer.
This step is key to locking in that beautiful vintage finish while also helping to protect the wood frame from the elements.
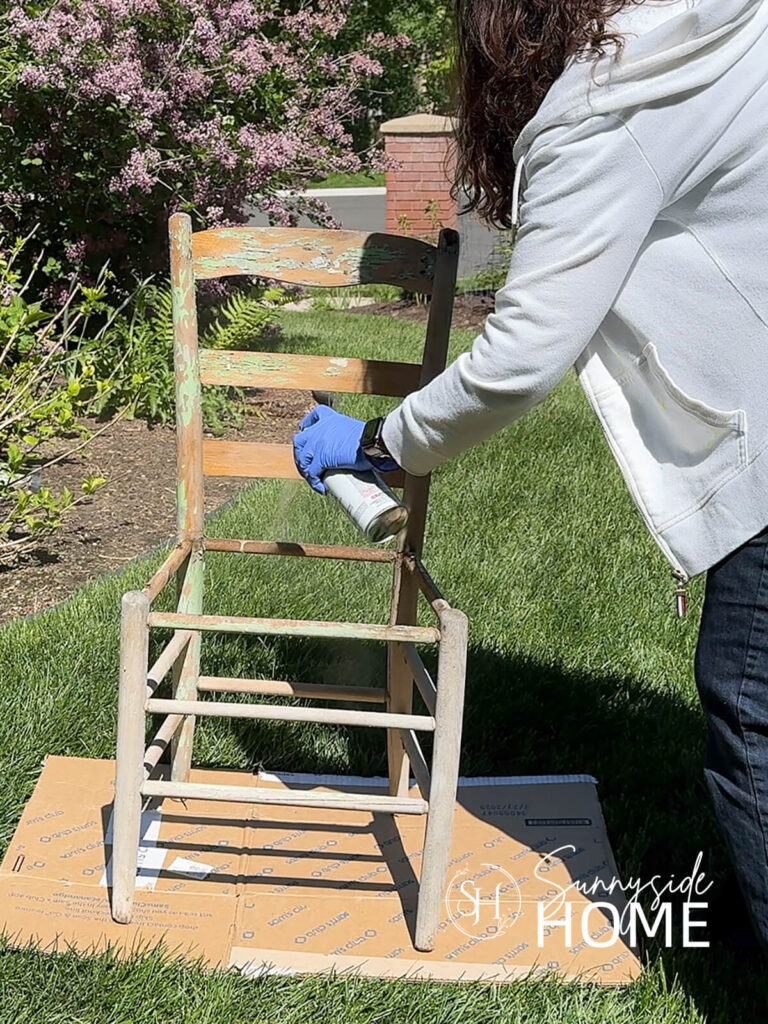
We love that it kept all the charm without adding any unwanted shine.
Plus, the sealer dries in just about 20 minutes, so we didn’t have to wait long before moving on to the fun part—turning our chair into a planter!
If you’re new here, welcome! We’re so glad you’re here.
Let us introduce ourselves, we’re Michelle and Steph, a mom and daughter team who love to DIY and decorate our homes.
Not only are we passionate about making our homes warm, comfortable and unique, but it’s our mission to help you create that same feeling in your own home.
You’ll find ideas for repurposing, creating, decorating and making your home truly yours, while always mindful of a tight budget.
Undoubtedly we love finding ways to make your home look high-end on a small budget.
Plus you’ll also find a recipe or two as we share our family favorites with you.
We’d love it if you’d join our community of doers so you won’t miss any inspiration for your home.
We love new friends.

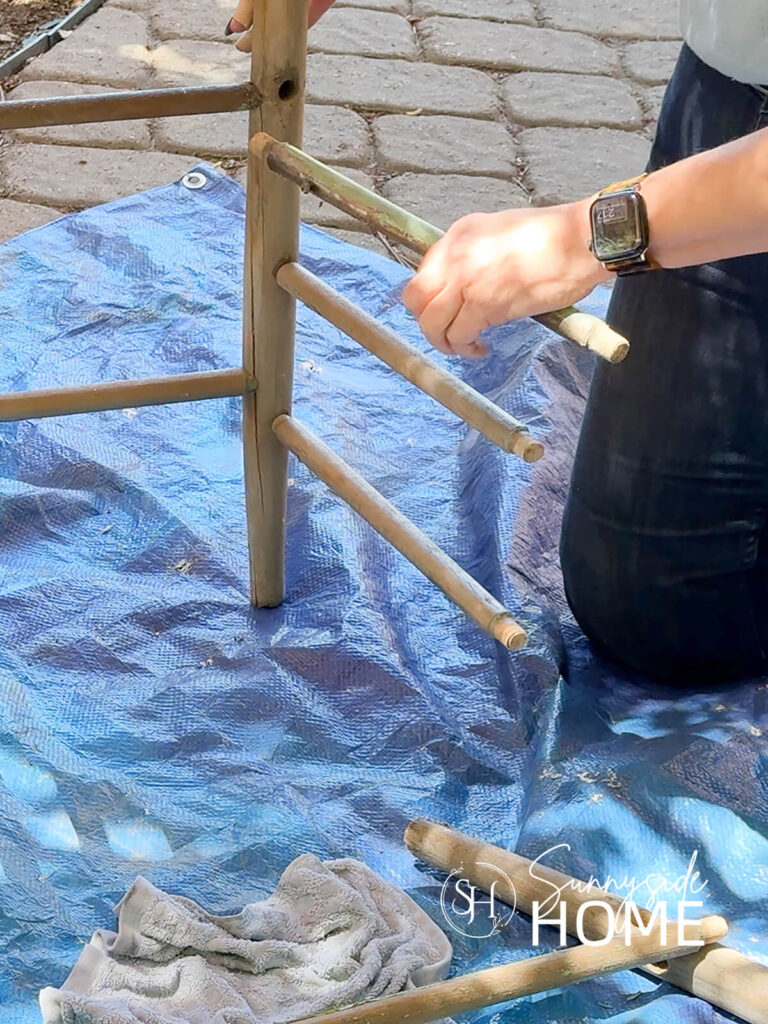
Sturdy Up the Chair Frame
Before turning your chair into a planter, it’s important to make sure the frame is sturdy enough to handle outdoor conditions.
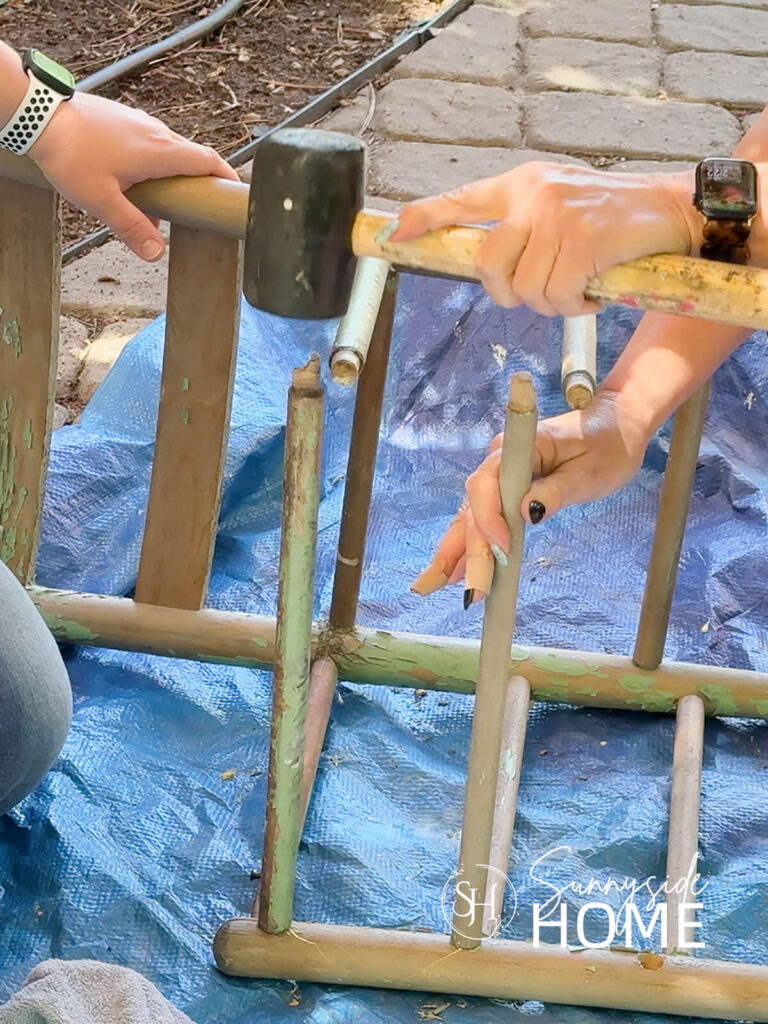
Start by checking for wobbly joints or loose cross bars—on our chair, nearly half of the cross bars had come loose over time.
We carefully pulled out each loose piece and kept them sorted by the location they came from.
Then we filled the holes with wood glue, and used a rubber mallet to tap everything back into place, ensuring a snug fit.
Once the chair was reassembled, we wrapped it with two ratcheting straps to hold everything tightly together and let the glue cure overnight.
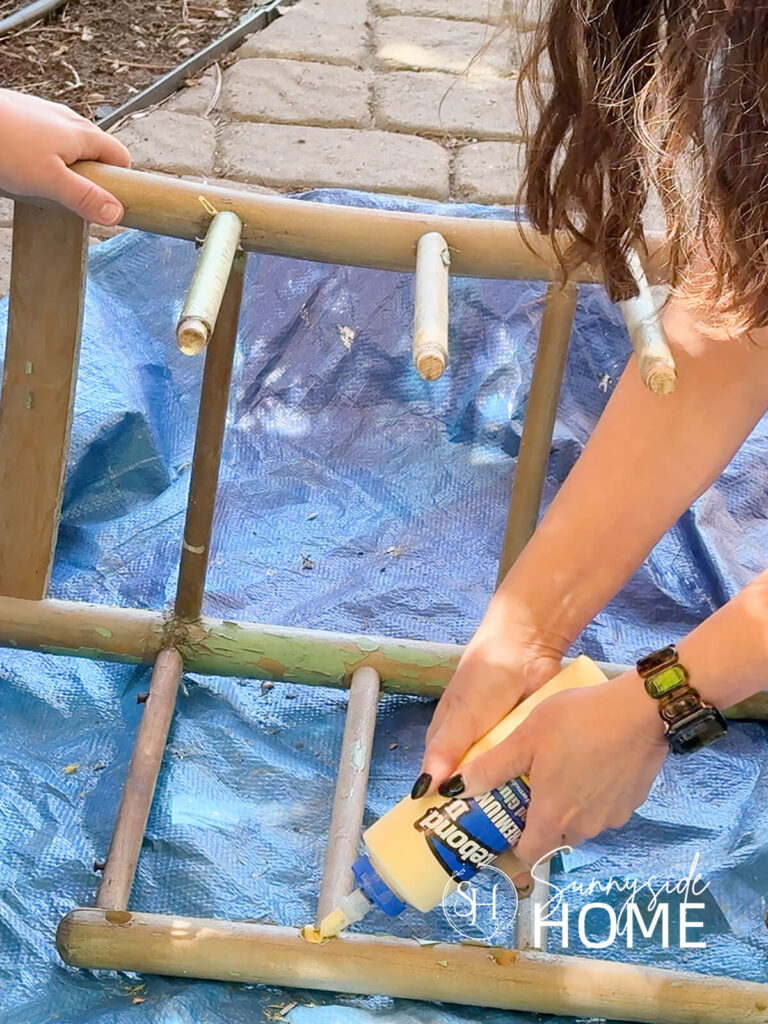
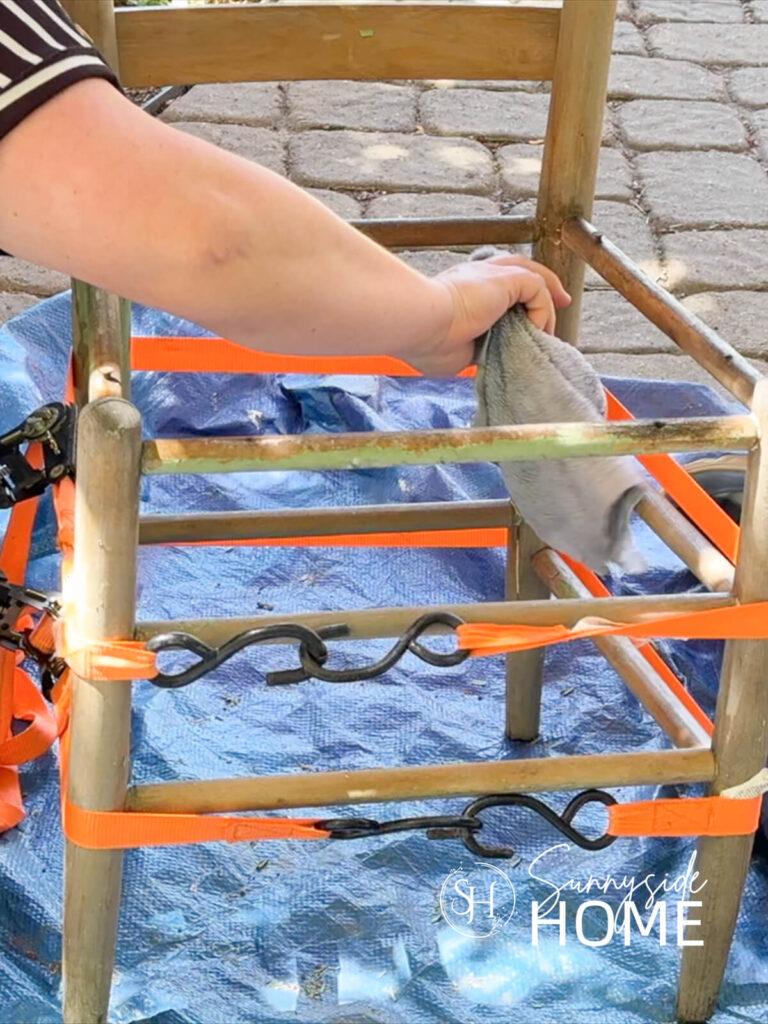
While it might look a little intimidating, this step is actually pretty simple with two sets of hands it only took about 15 minutes to complete.
The result is a solid, weather-ready frame that’s perfect for your new planter!
Attach the Wire Basket
Next, it’s time to attach the wire basket that will hold your plants.
Start by choosing a basket that fits nicely within the seat opening of your chair.
We got lucky and found a set of three wire baskets while out thrifting—and it happens to be the perfect size for our chair frame (12″).
The other two baskets we used to create some fun garden lighting!
To secure the basket, we used four zip ties—one on each of the top cross bars of the chair frame.
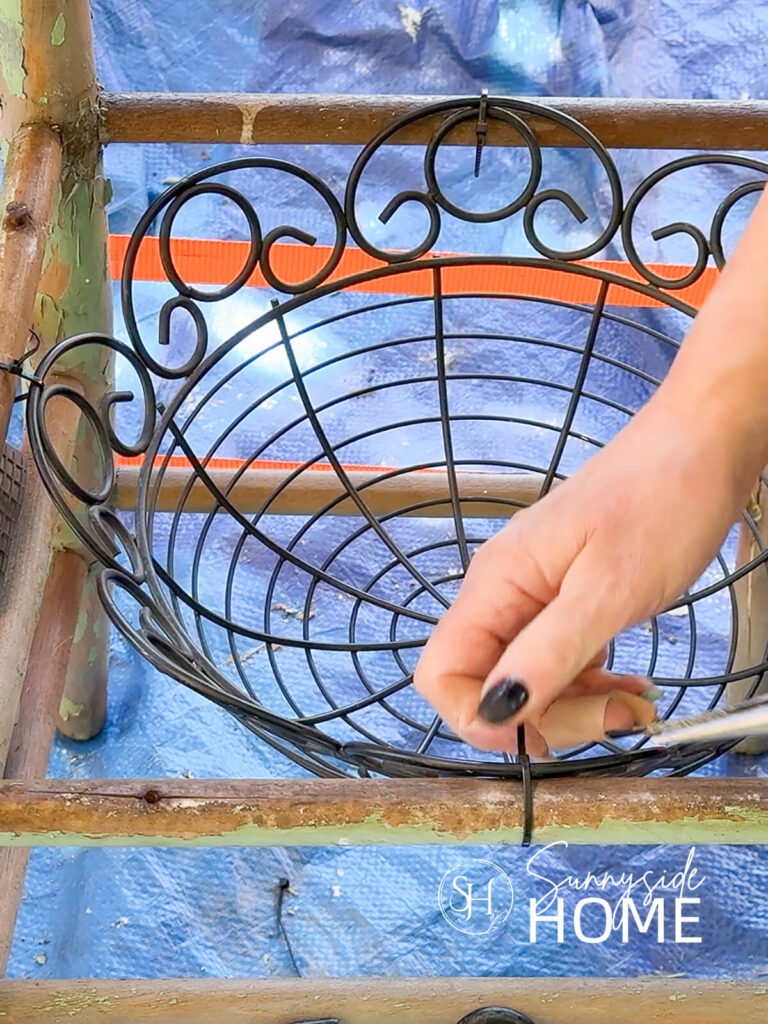
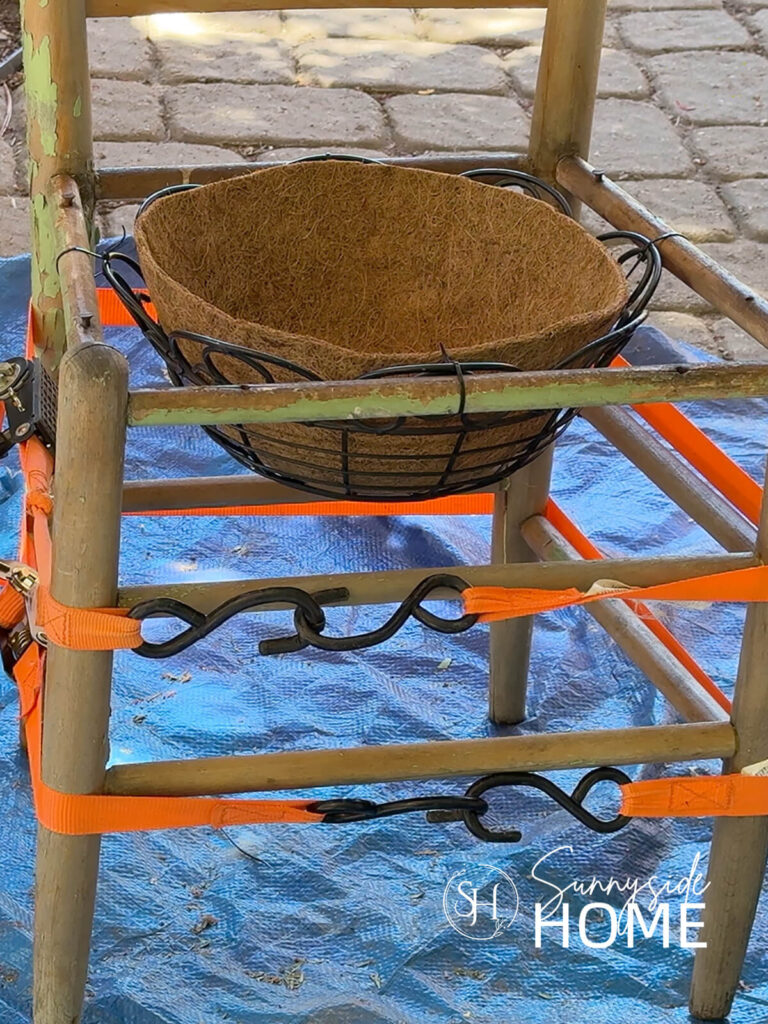
It was a quick and easy process, but be sure to check that your basket is level and securely attached so it can safely support the weight of the soil and plants.
Lastly, line the basket with a coir liner to help contain the soil and support healthy drainage for your plants.
Let’s stay connected! Follow us on social media!
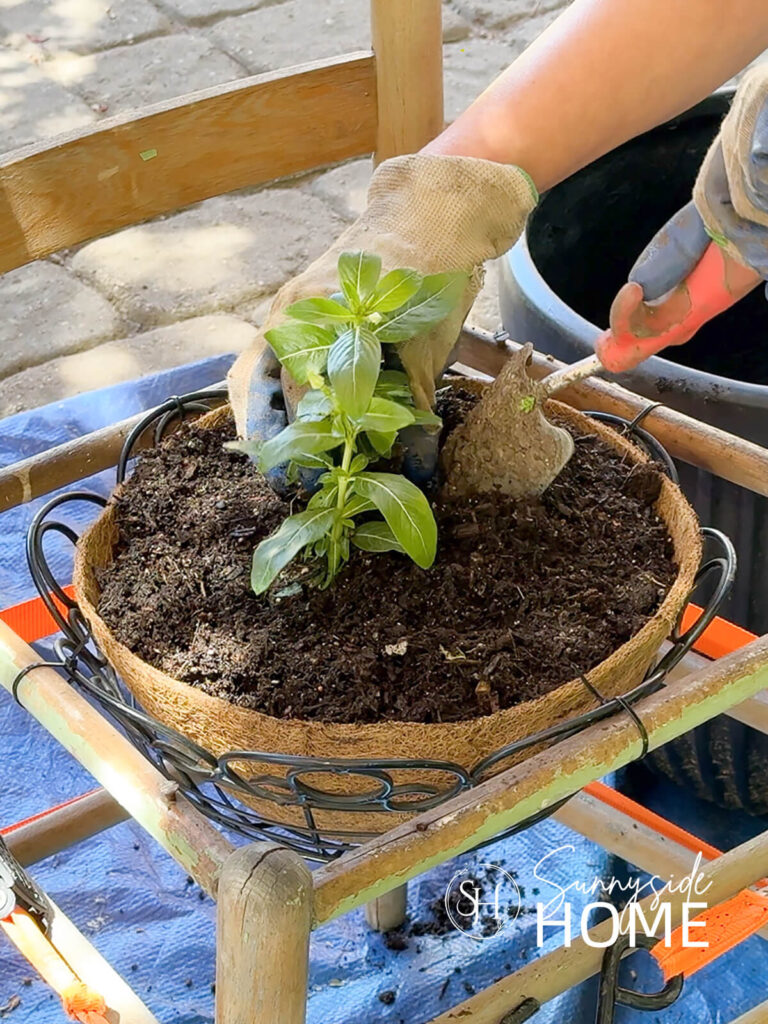
Add Plants
Now for the fun part—adding plants!
Start by filling the lined basket with potting soil, then add your favorite flowers, herbs, or trailing plants.
For a bold statement, consider using colorful blooms like petunias, geraniums, or calibrachoa that spill over the edges for a lush, cascading effect.
If you prefer something low-maintenance, a mix of succulents can create a beautiful and drought-tolerant chair planter.
Choose plants that suit your climate and sun exposure, and don’t be afraid to get creative with your combinations!
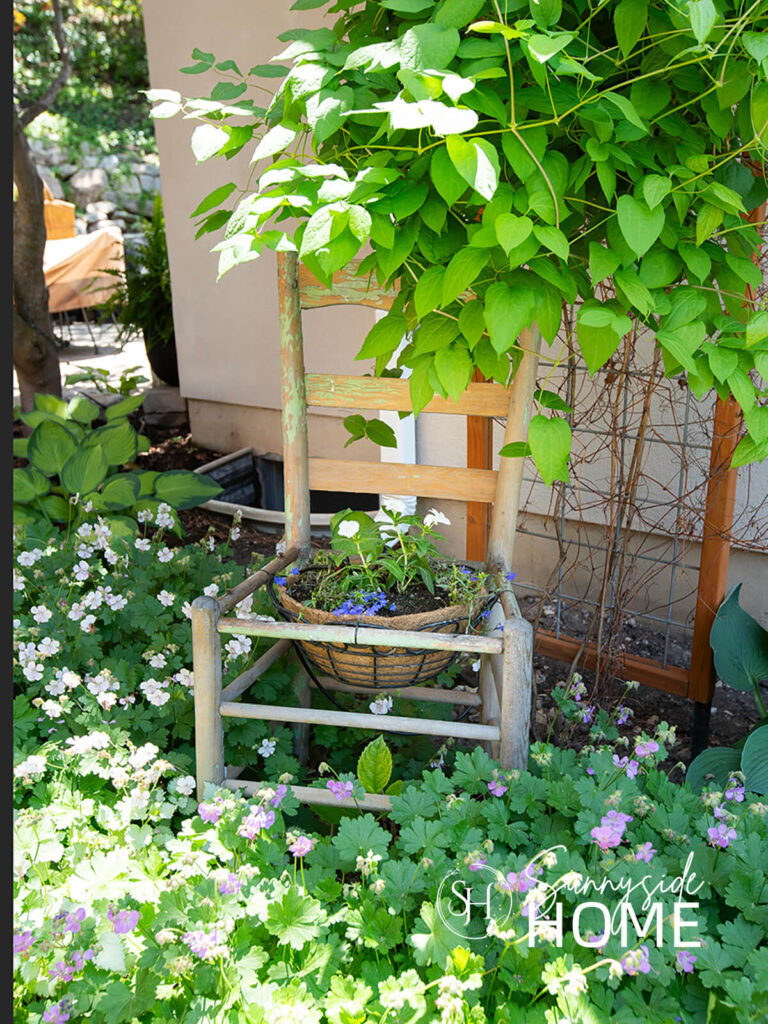
Enjoy Your Chair Planter in the Garden
Now that your chair planter is complete, it’s time to find the perfect spot for it to shine!
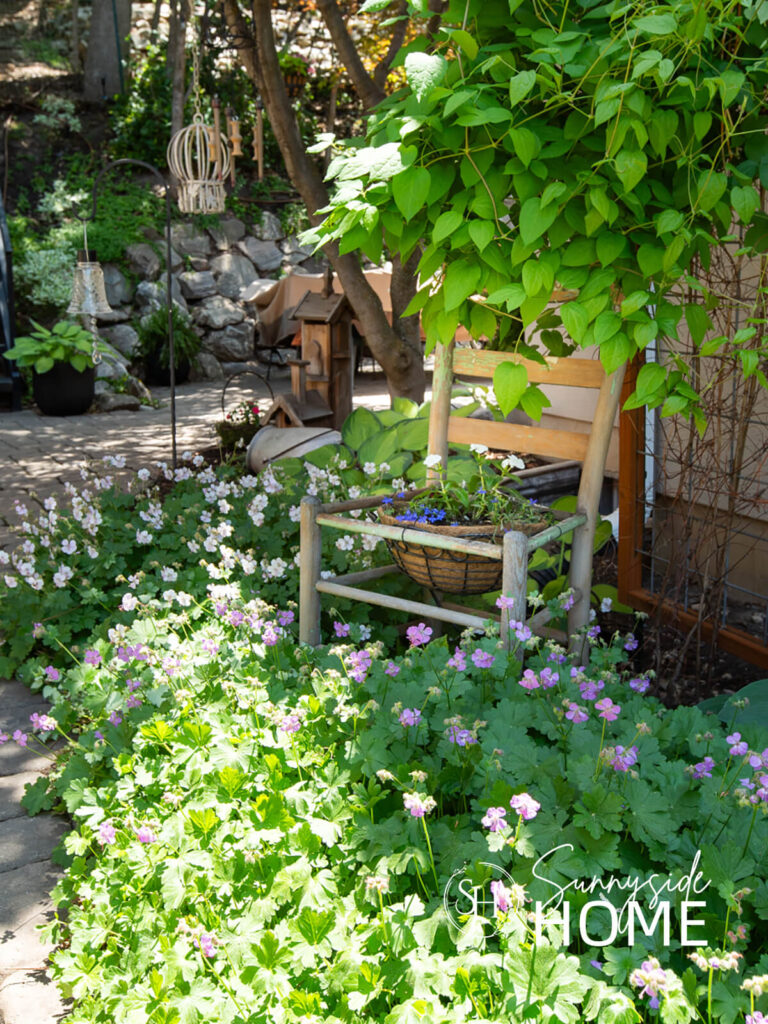
Place it in your flower garden, on the patio, or by the front porch—anywhere that could use a little extra charm.
This simple DIY makes a beautiful focal point in cottage-style gardens and adds personality to even the smallest outdoor spaces.
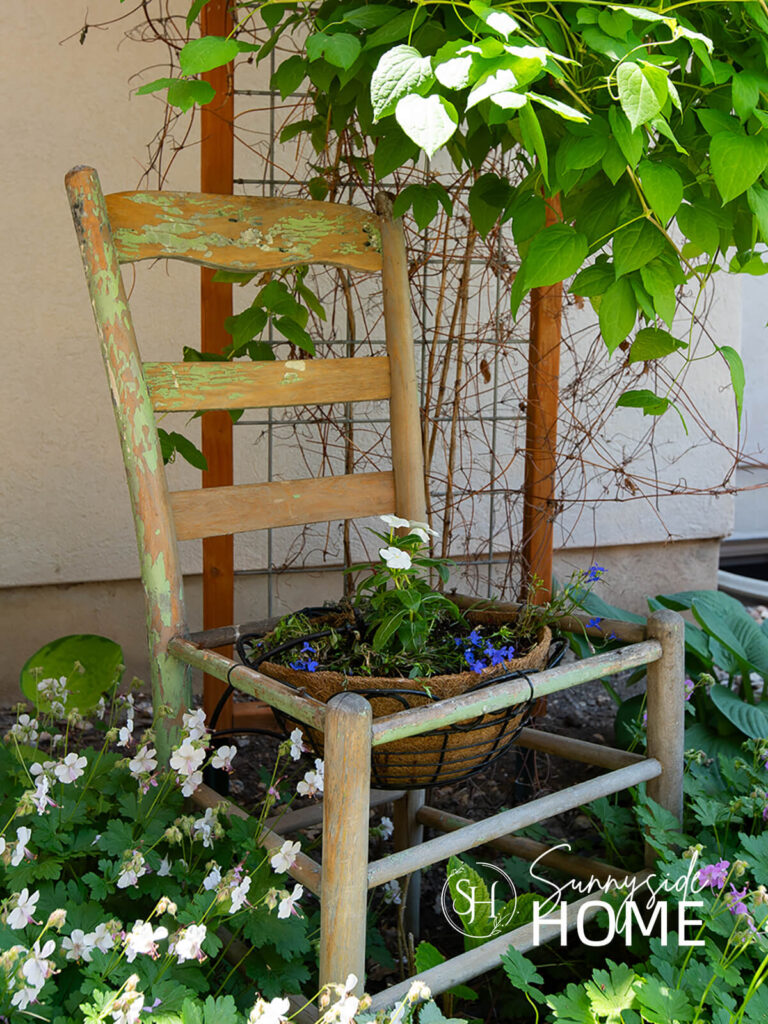
No matter where you display it, your repurposed chair planter is sure to bring instant character and a whimsical touch to your garden!
Shop Chair Planters

More Ideas for Your Backyard
- DIY Garden Lighting for Cozy Evenings
- Simple Faux Limestone Garden Fountain
- DIY Bird Bath with Recycled Materials
- Whimsical Garden Teapot Decor
- DIY Wind Chimes with Thrifted Finds
- Fix Faded Aluminum Patio Furniture W/O Paint
- Cheap and Easy Garden Path
- 45 Beautiful Garden Path Ideas
- Simple Paver Patio Ideas
This easy DIY chair planter is such a rewarding project that adds instant charm without breaking the bank.
It’s amazing how a simple, repurposed chair can become a unique garden centerpiece with just a few supplies and a little effort.
Whether you’re a seasoned gardener or just looking for a fun weekend project, this planter is a perfect way to personalize your outdoor space and showcase your creativity.
Plus, knowing it only cost us $6 makes it even sweeter!
Here’s the breakdown of what we spent:
- $1.25 chair
- $2.98 coir liner
- $2.00 wire basket
All of the other items used we had on hand.
We can’t wait to see how this little chair planter inspires your own garden makeover.
Please share a photo of your garden chair creation and tag us on Instagram.
Did you find some inspiration for your garden today?
Please share your tips and ideas with us.
We love hearing from you!
If you’re new here, WELCOME! We love having new readers and friends!
You can learn more about us here.
Let’s stay connected! Join our DIY community of doers and you won’t miss the weekly updates and more inspiration for you always on a budget.
Sharing is caring!
Thanks for stopping by Sunnyside Home. Empowering you to create a home you love!
Retailers We Love
- Anthropologie
- Birch Lane
- Crate & Barrel
- Joss and Main
- Lampsplus
- Mark & Graham
- One Kings Lane
- Pottery Barn
- Rejuvenation
- Serena & Lily
- Wayfair
- West Elm
- Williams Sonoma
- World Market
Be sure to follow us on Pinterest for even more home decor and DIY ideas.
To see what we are working on before it’s on our blog, follow us on Instagram.
You will also find our video tutorials on our YouTube channel.
What New . . .
- Easy One Pot Beef and Cabbage Soup with a Kick

- Simple Valentine Heart Decor Using Vintage Linens & Lace
- How to Store and Organize Christmas Decorations
- Easy Last Minute Neighbor Christmas Gifts with PrintableTag