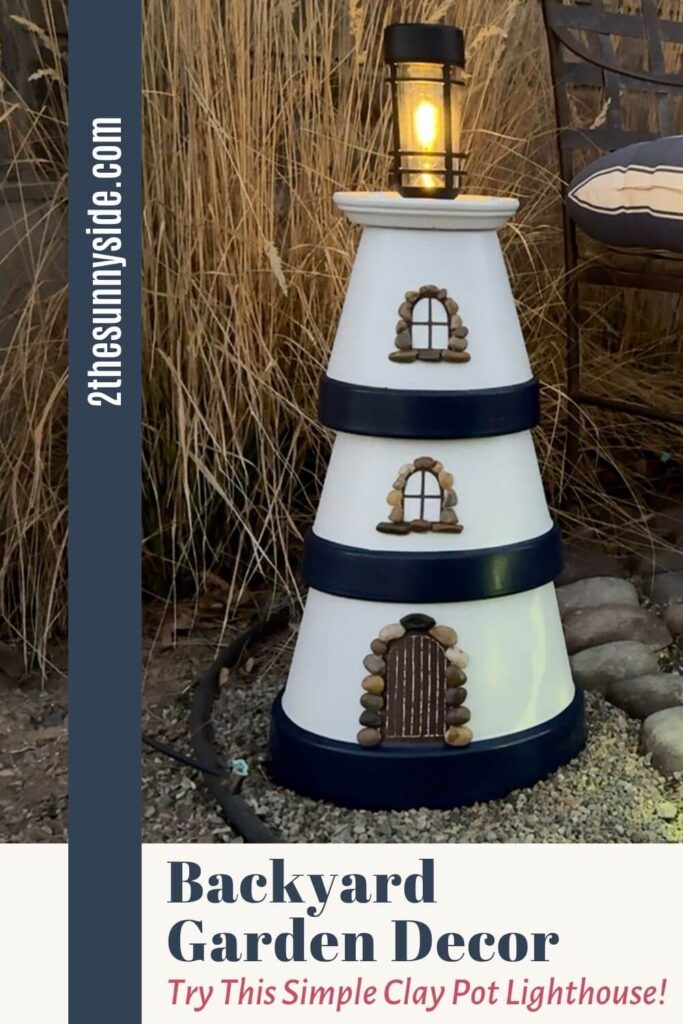
Discover how to create a whimsical clay pot lighthouse that actually lights up, adding an easy, coastal-inspired glow your garden is missing.
I’m infusing some personality into my backyard this year.
After living in our home for 10 years, it’s been pretty plain Jane…
Just grass, with a small vegetable garden we planted last year.
I’m slowly working on a plan to turn it into the backyard of my dreams…
But for now, I thought it would be fun to bring in a little of my love for coastal vibes with some playful garden decor, a clay pot lighthouse.
This simple project is easy to put together, makes the cutest statement in my yard, and honestly has me dreaming even bigger about my outdoor space.
Keep reading to see how I transformed 3 clay pots into a darling lighthouse that actually lights up.
Sunnyside home is a participant in the Amazon Services LLC Associates Program, an affiliate advertising program designed to provide a means for sites to earn advertising fees by advertising and linking to Amazon.com. As an Amazon Associate, this blog earns from qualifying purchases with no additional cost to you. Click here to read our full disclosure policy.
Supplies You’ll Need
Before you get started, gather your supplies—this project is simple, but having everything on hand makes it come together quickly.
I also found my solar light and clay pots were cheaper at Hobby Lobby than at the typical home improvement stores, which helped keep this project budget-friendly.
- 3 clay pots (8″, 10″, 12″)
- 1 clay saucer (6″)
- solar light
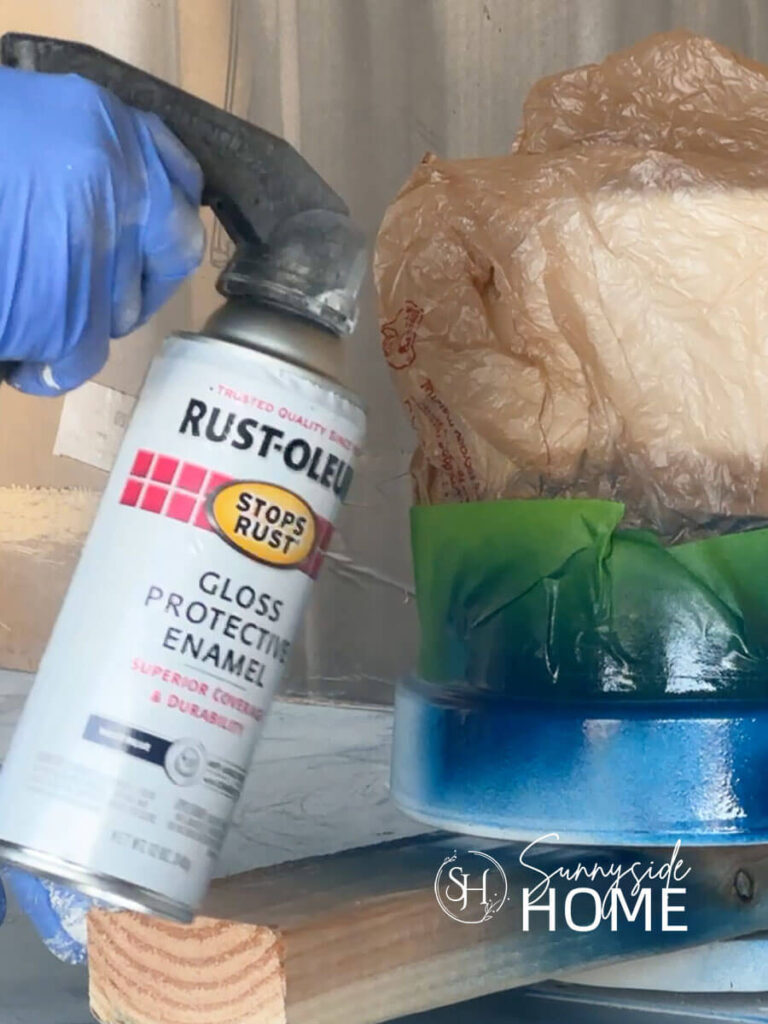
- white paint + primer spray paint
- navy blue spray paint
- brown exterior paint
- painter’s tape
- waterproof outdoor silicone (for windows and doors)
- pebbles (from Dollar Tree)
- door and window stencil
- level
- tile drill bit and drill
I used my silhouette machine to cut the stencil for the door and windows.
If you don’t have access to a digital cutting machine you can always free hand it.
Are you enjoying this project? Please Pin It, save it for later and share it with a friend.
Sharing is caring!
Paint the Clay Pots
Start by making sure your clay pots are clean, dry, and free of dust so the paint and primer can adhere properly.
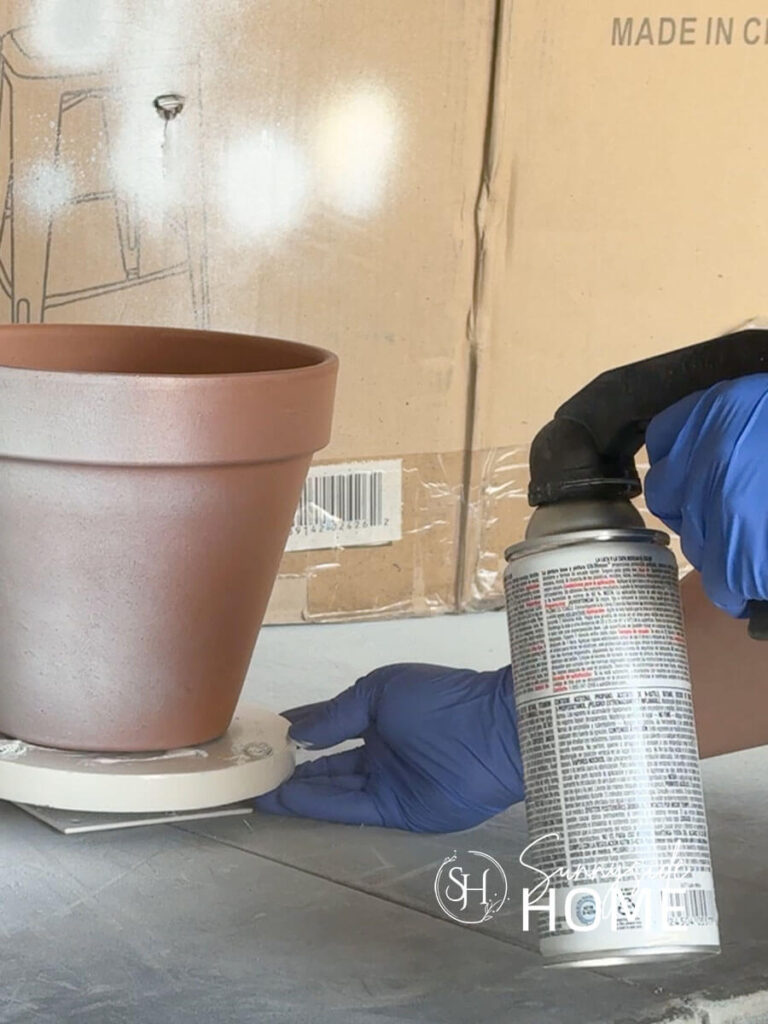
Apply 2–3 light coats of your white paint and primer, allowing about an hour of dry time between each coat.
Keeping the coats light will help prevent drips and give you a professional smooth finish.
Once your base coat is complete, let it cure for a full 24 hours before adding any contrast color.
For that classic coastal look, think navy blue, red, aqua, or even sea-glass green accent.
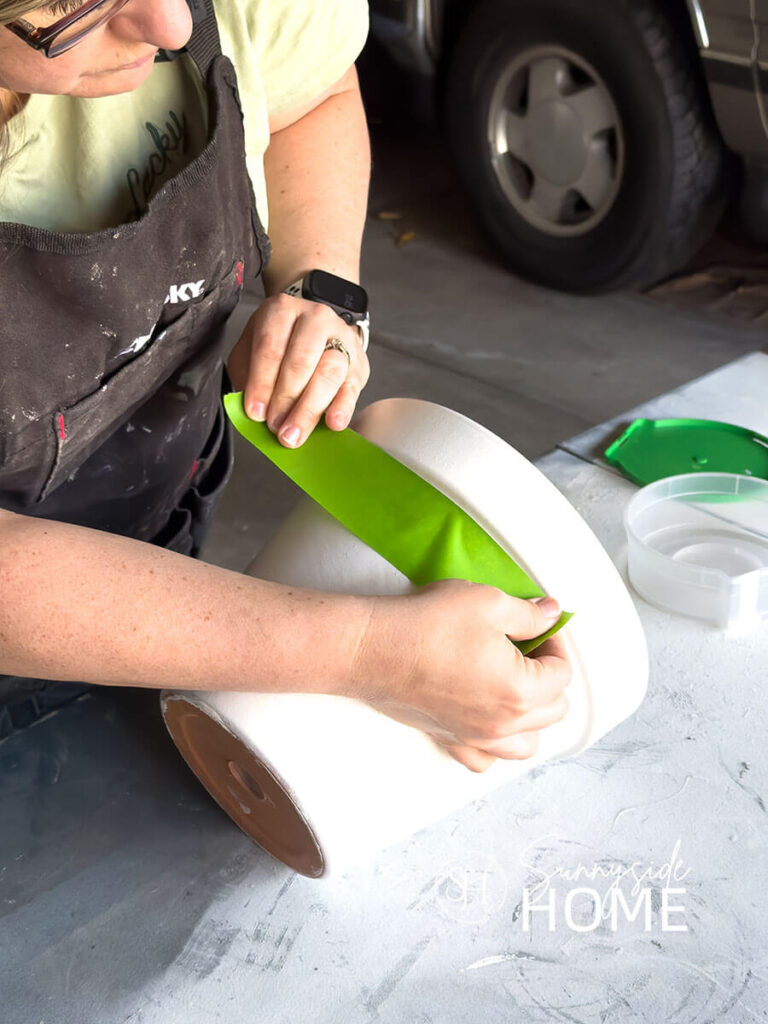
When you’re ready, use painter’s tape around the rim, then cover the rest of the pot with a plastic grocery bag before applying 2–3 light coats of your navy (or chosen) color.
Tips:
- place pot on a turntable for easy paint application
- spray under the rim first
- flip pot and spray the remaining rim
- allow the paint to fully dry before handling
- apply spray paint in a well ventilated area
After I completed my clay pot lighthouse, I wished I would have painted my saucer the contrasting color.
I do think it would have been better if it was navy blue…
Oh well, live and learn!
If you’re new here, welcome! We’re so glad you’re here.
Let us introduce ourselves, we’re Michelle and Steph, a mom and daughter team who love to DIY and decorate our homes.
Not only are we passionate about making our homes warm, comfortable and unique, but it’s our mission to help you create that same feeling in your own home.
You’ll find ideas for repurposing, creating, decorating and making your home truly yours, while always mindful of a tight budget.
Undoubtedly we love finding ways to make your home look high-end on a small budget.
Plus you’ll also find a recipe or two as we share our family favorites with you.
We’d love it if you’d join our community of doers so you won’t miss any inspiration for your home.
We love new friends.
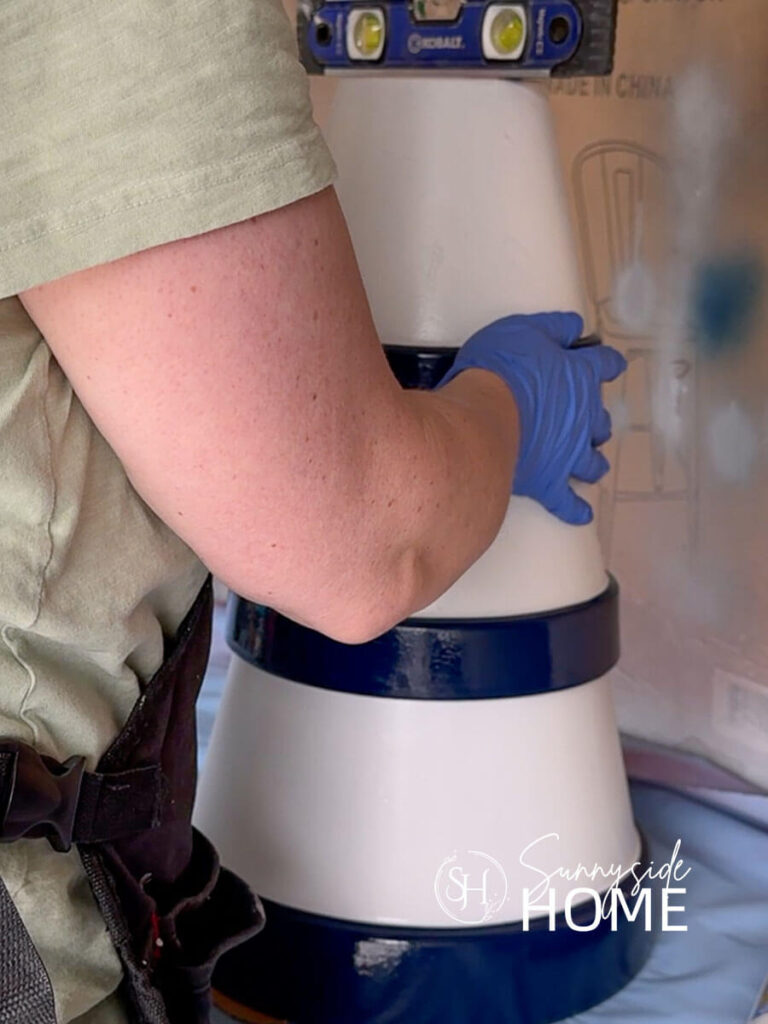
Assemble the Clay Pot Lighthouse
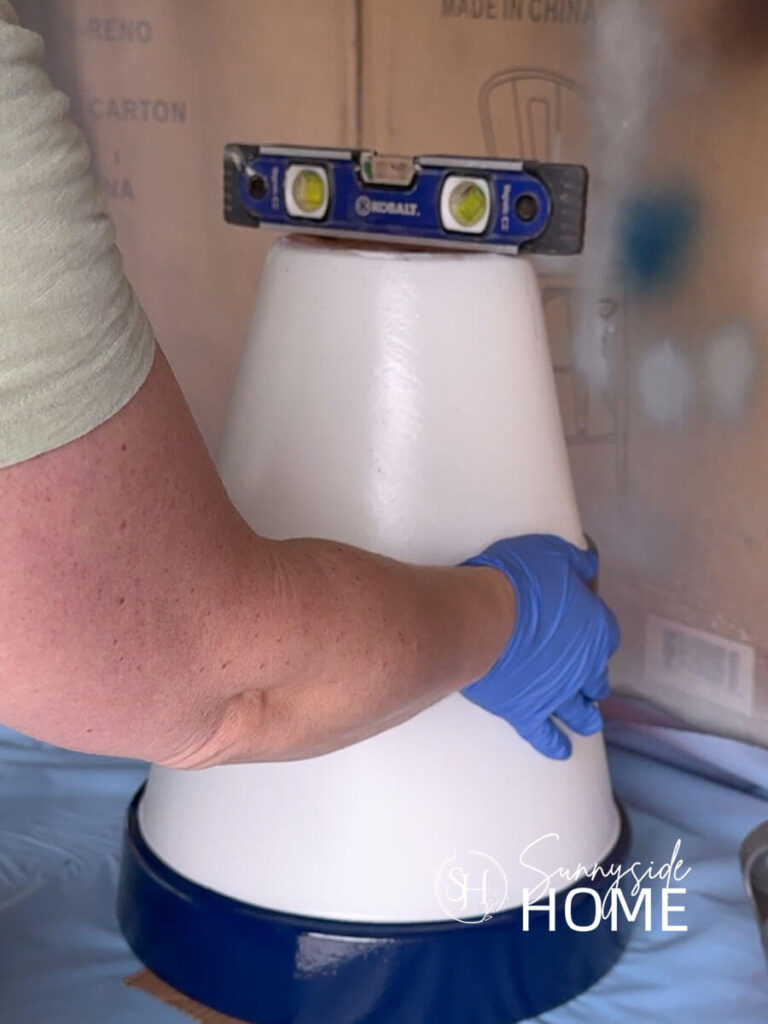
To assemble your clay pot lighthouse, start by placing the 12″ pot upside down on a level surface.
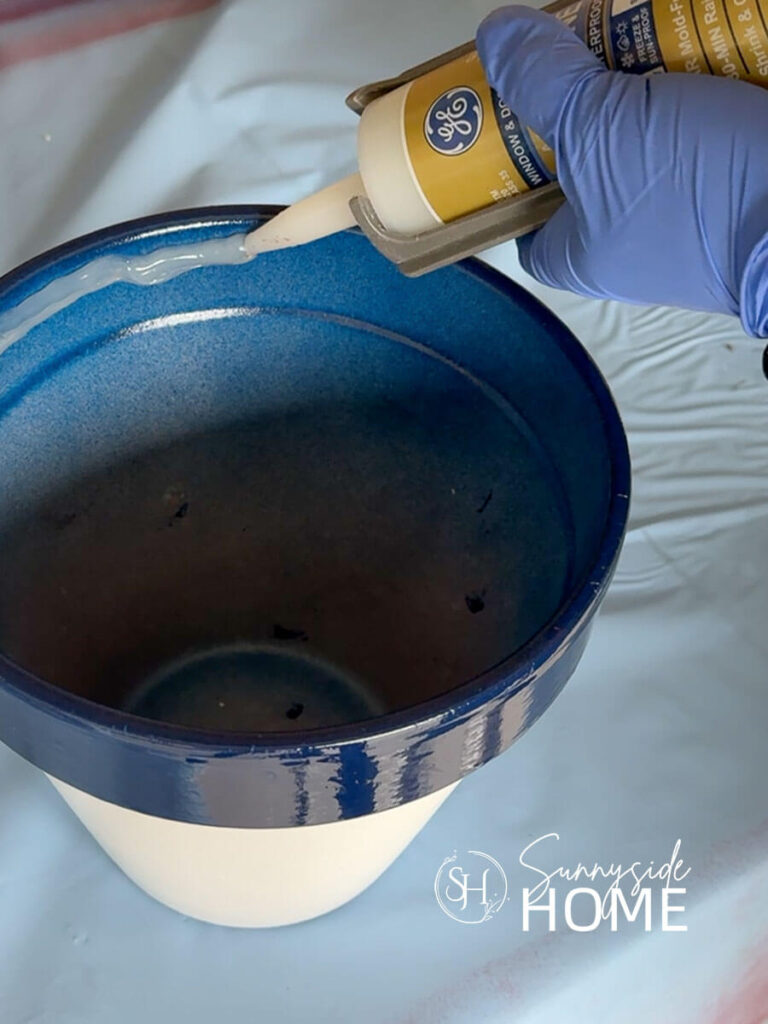
Run a liberal bead of silicone along the inner rim of the 10″ pot, then flip it upside down and set it on top of the 12″ pot.
Place a level on top and adjust as needed until it’s nice and even.
To keep my spacing of the final pot similar to the first 2 pots, I adhered a piece of styrofoam inside the 8″ pot with the silicone so it doesn’t sit too far down on the 10″ pot.
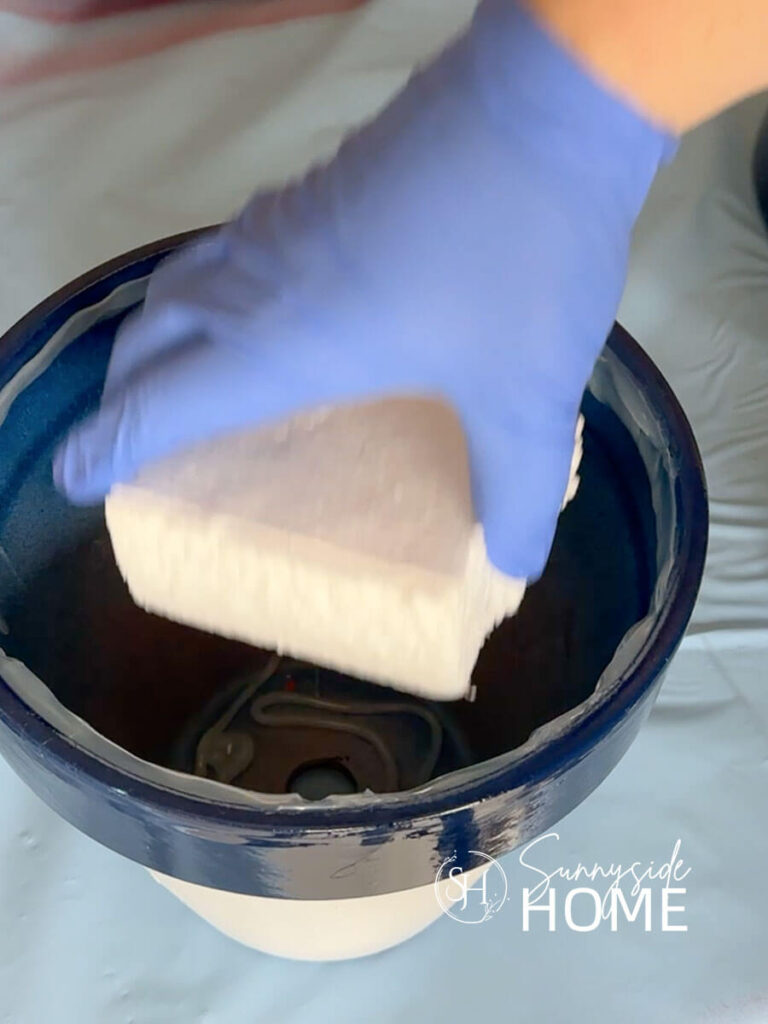
I then placed a liberal amount of silicone on the styrofoam and secured it to the 10″ pot.
Next, drill a hole in the center of your saucer large enough to fit the solar light, then apply a bead of silicone to the top of the 8″ pot and center the saucer on top.
Make sure the drilled hole aligns with the drainage hole.
Allow the silicone to dry completely before moving your lighthouse so everything is fully secured.
To keep it stable outdoors, I spread a layer of pea gravel in my garden bed and nestled the lighthouse on top, adjusting it until it sat perfectly level.
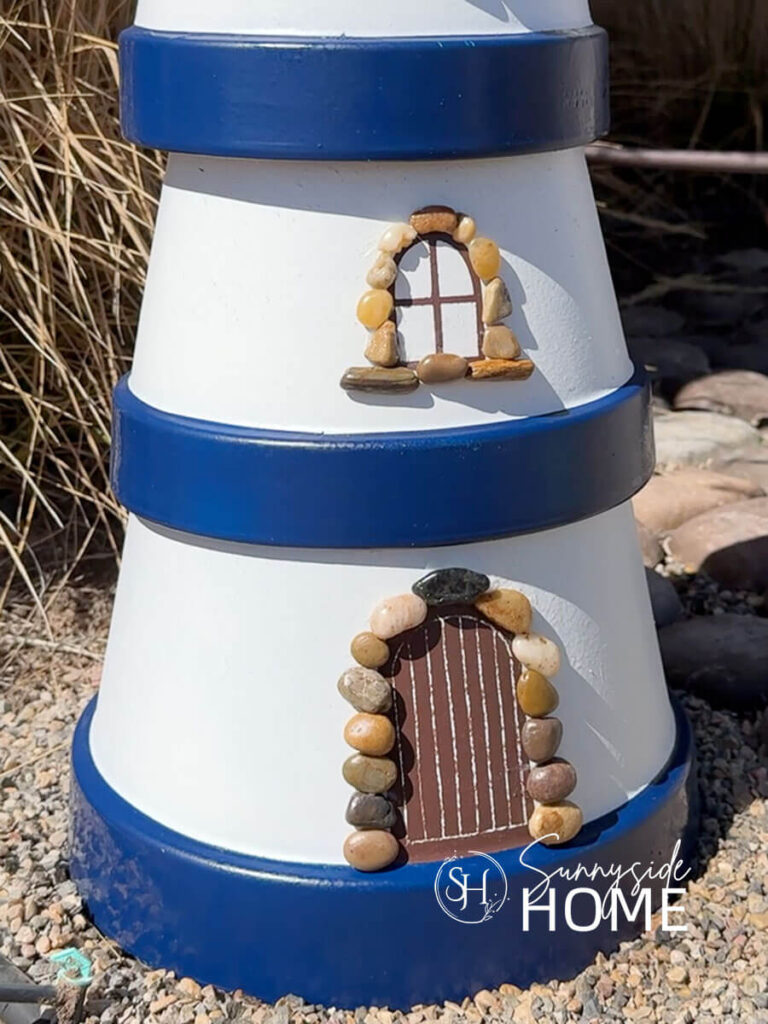
Add the Details
Now it’s time to bring your clay pot lighthouse to life by adding the details.
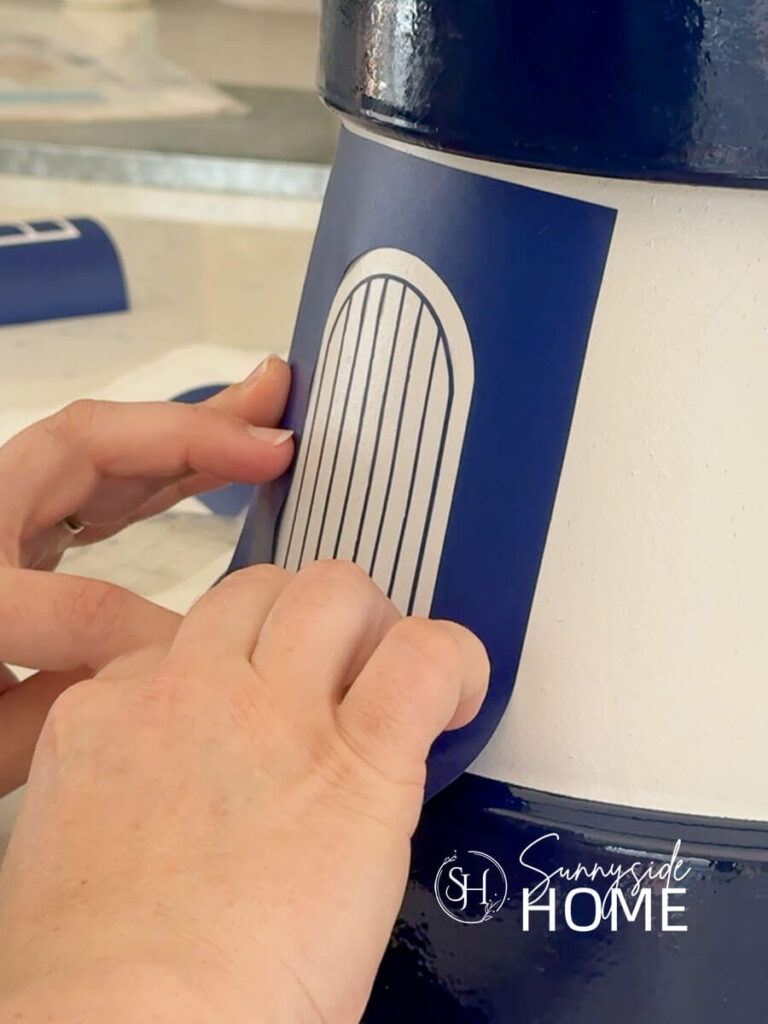
For the windows, doors, and any patterns, I found an arched door and window design in my Silhouette library, sized them to fit my pots, and cut them using removable vinyl.
In the past, I’ve used scrap vinyl as a stencil and had trouble removing it, so I tried removable vinyl this time…
And it didn’t stick quite as well, so I had a little bleed through, but honestly it added character to the door and I love how it turned out.
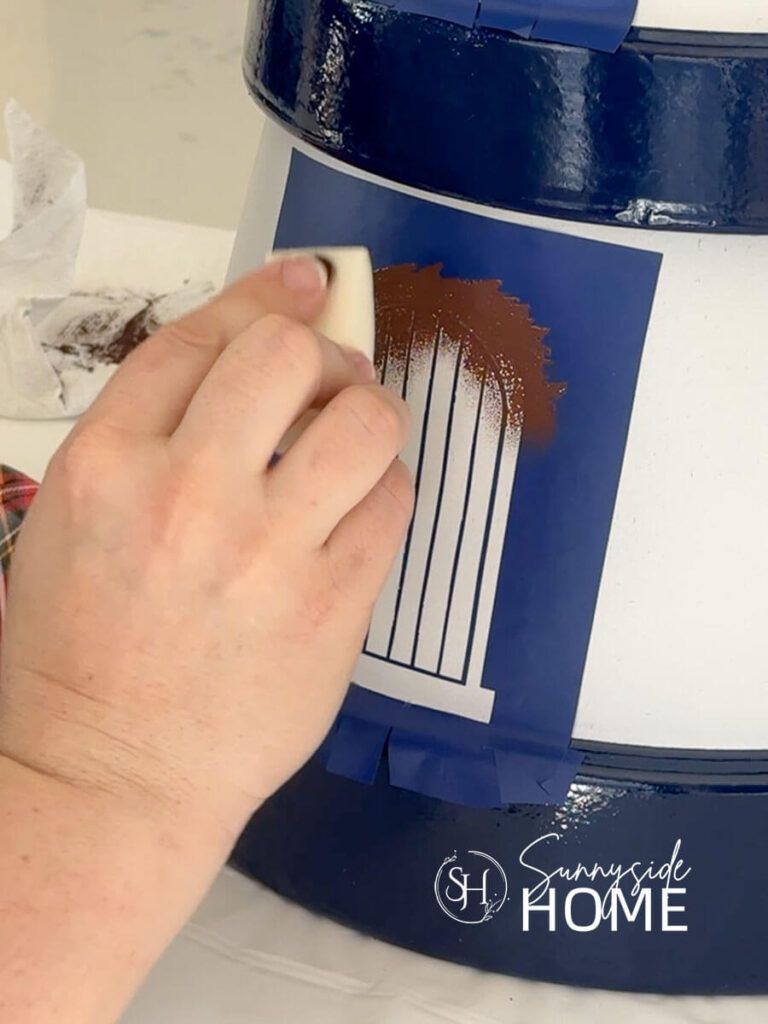
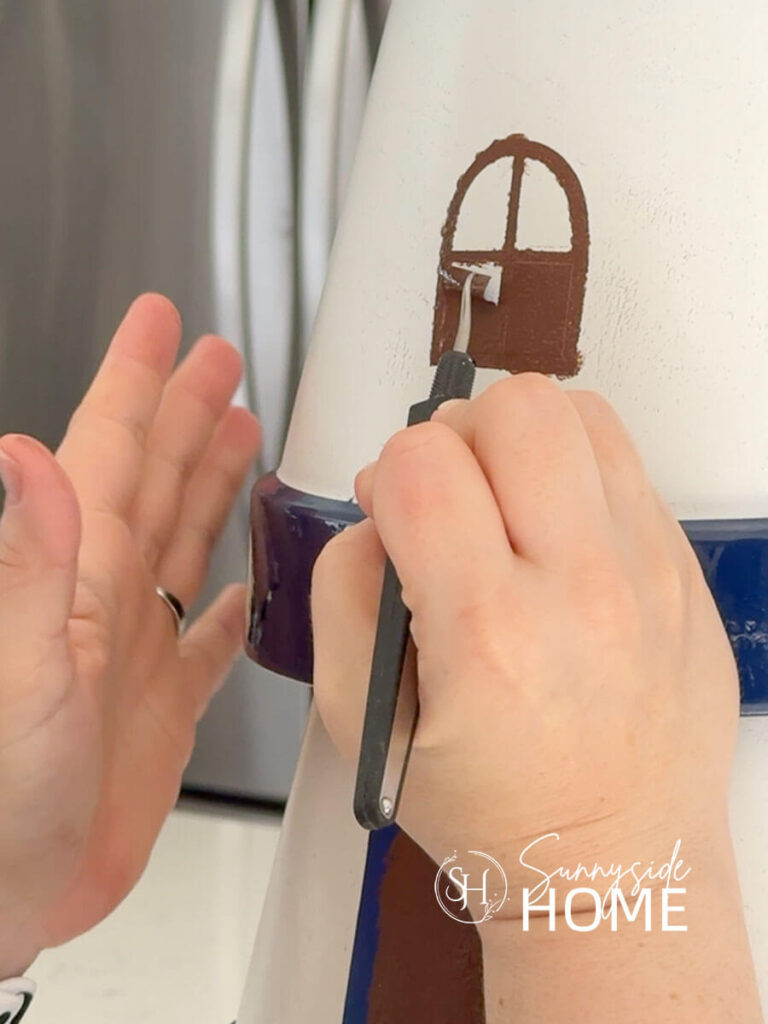
I used a cosmetic sponge to gently dab on the brown paint, then carefully removed the stencil once finished.
If you can’t find a stencil that will work or don’t have access to a digital cutting machine, you can easily free hand this part.
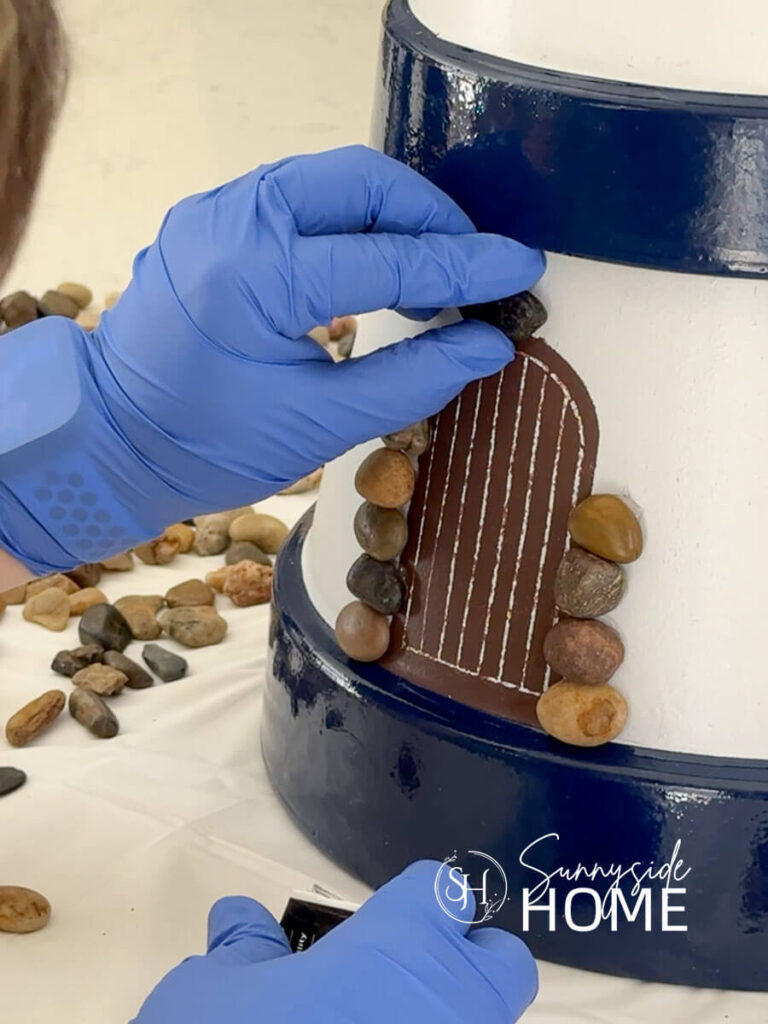
After the paint dried, I used silicone to attach pebbles around the door and windows, choosing more oblong, arched pieces for the top to mimic a cornerstone.
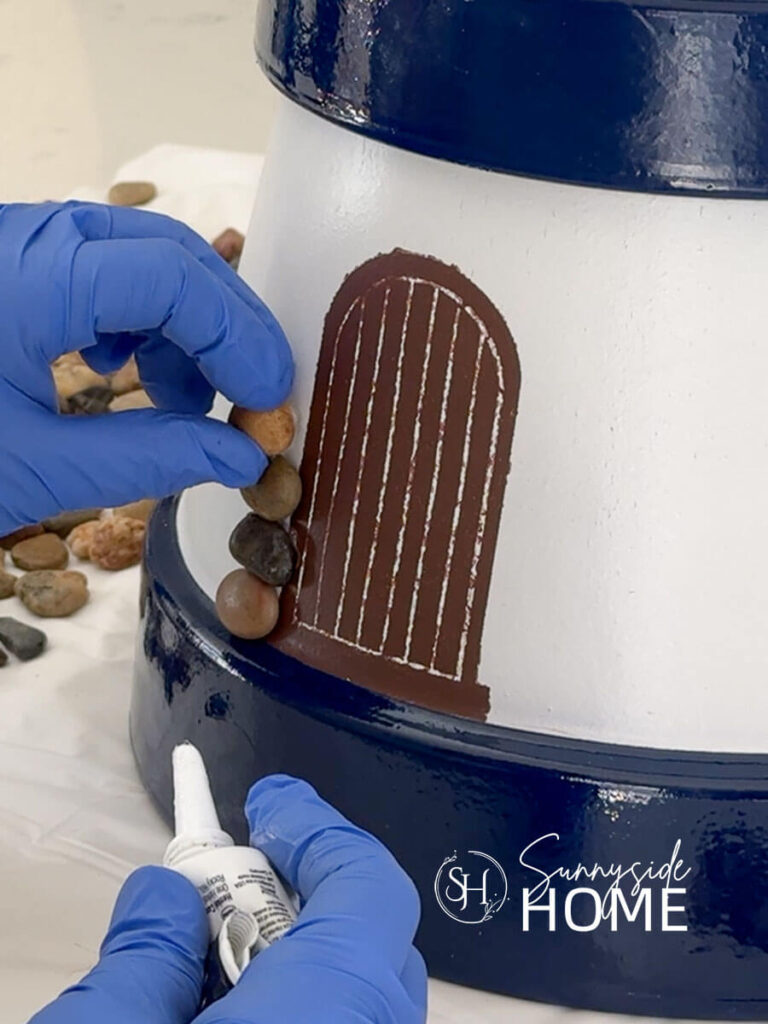
The pebbles not only covered any imperfections, but added so much texture and dimension.
This is the fun, creative part…
Feel free to add your own personal touches to create a one-of-a-kind garden lighthouse that perfectly fits your style.
Let’s stay connected! Follow us on social media!
Add the Solar Light
To finish off your lighthouse, it’s time to add the solar light.
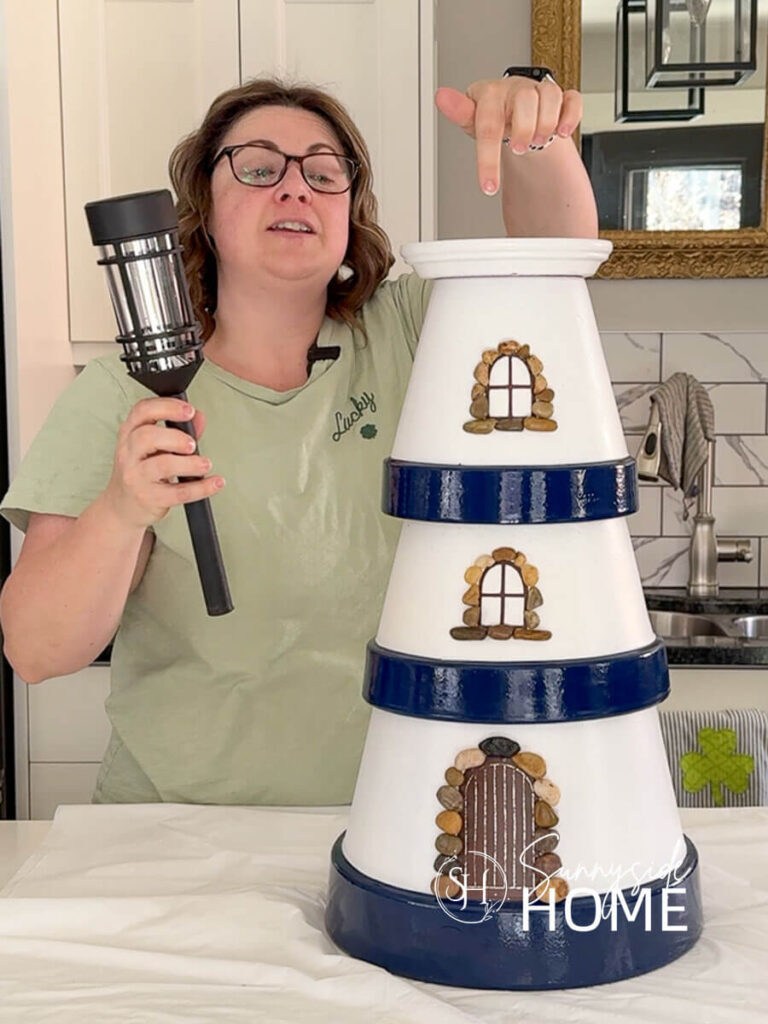
Simply remove the pole portion of the light and place the top into the hole you drilled in the saucer.
I found that mine fit snugly enough that I didn’t need to secure it with silicone, but you can absolutely add some if you’d like extra hold.
Keeping it unattached does make it easy to swap out later if the light ever needs to be replaced.
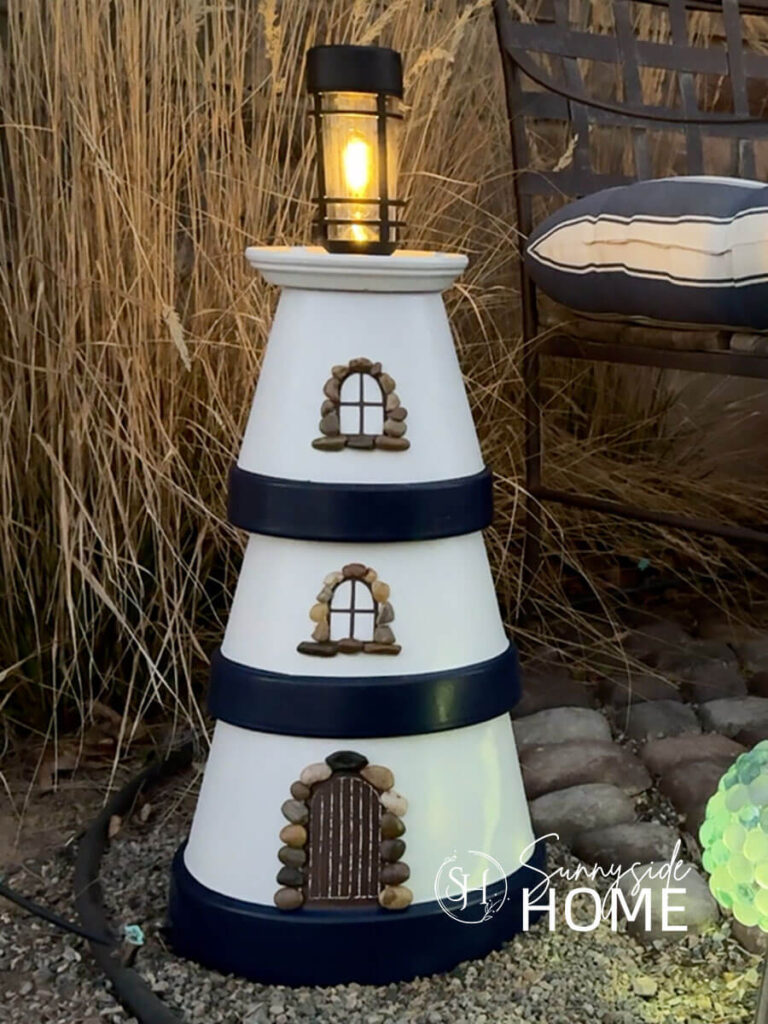
Be sure to place your lighthouse in a spot that gets plenty of sunlight.
Mine gets about 6 hours of direct sun each day, and it glows beautifully all night long, adding the perfect cozy touch to the garden.
Tips & Variations
One of the best things about this project is how easy it is to customize.
Try different color schemes to match your style—classic red and white for a traditional lighthouse look, soft neutrals for a more subtle coastal vibe, or even bold red, white and blue for a patriotic lighthouse.
And don’t be afraid to switch up the materials…
Use different pot sizes, experiment with textured finishes, or swap pebbles for shells or glass stones to create a completely unique garden decor piece that reflects your personality.
Styling Your Lighthouse in the Garden
Styling your lighthouse in the garden is all about finding the perfect spot where it can shine—literally.
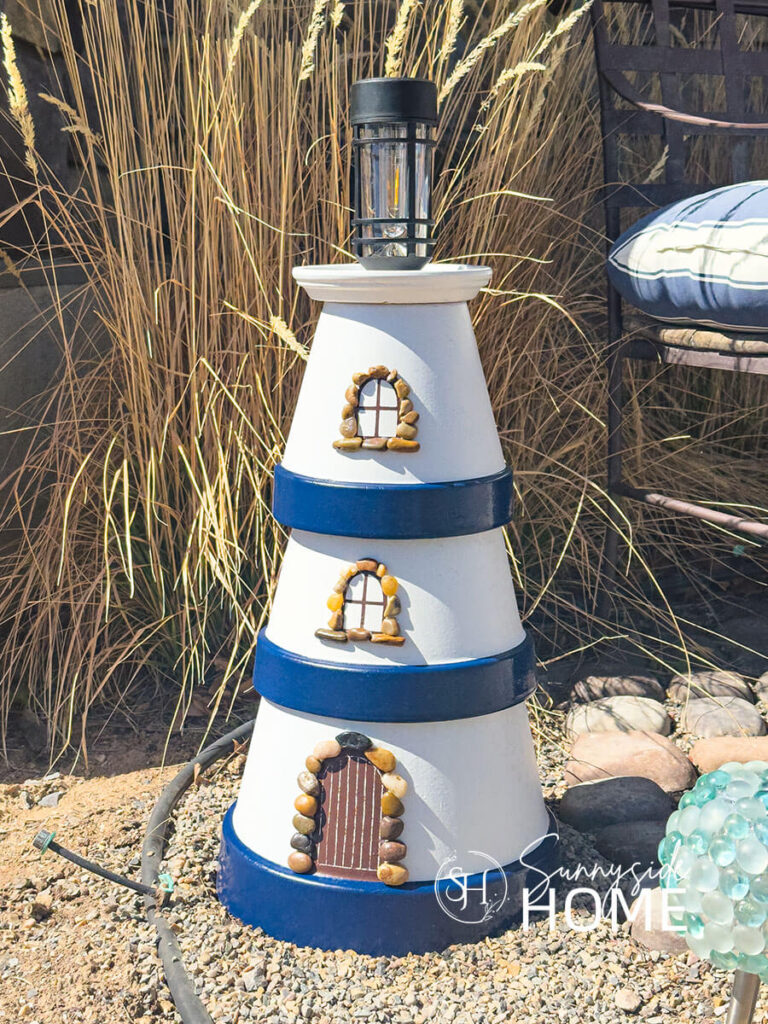
Be sure to place it somewhere that gets plenty of sun so the solar light can charge properly and glow beautifully at night.
I paired mine along my cobblestone path and tucked it in with ornamental grasses, which gives it that soft, coastal garden feel I love.

It would also look just as charming nestled into a flower bed filled with zinnias, petunias, or any bright seasonal blooms that let your lighthouse stand out as a whimsical focal point in your yard.
Shop for Garden Decor

More Garden Decor Ideas
- Enchanting Chair Planter an Easy DIY
- Build a Birdhouse with CharmingThrift Store Finds
- Simple Dollar Store Solar Lights Glow-Up
- Simple Tabletop Fire Bowl DIY in Under 10 Minutes
- Whimsical Garden Teapot Decor
- DIY Wind Chimes Using Thrifted Vintage Finds
- DIY Bird Bath with Recycled Materials
- Simple and Cheap DIY Garden Lighting
- Make a Simple Faux Limestone Garden Fountain
- Easy DIY Bird Bath with Recycled Materials
- Budget-Friendly Vintage Garden Decor with Thrifted Finds
- Creative Planter Container Ideas from Thrifted Finds
FAQs
Can I use different size pots?
Yes! You can absolutely use different size clay pots for this project. Just try to keep them proportioned so they still resemble a traditional lighthouse shape when stacked. You can even make a taller lighthouse with more clay pots. However I would recommend using an odd number of pots.
What kind of paint works best?
Exterior acrylic paint or spray paint with built-in primer works best since it’s designed to hold up outdoors and gives you a smooth, durable finish.
How do I weatherproof it?
Spray paint actually holds up very well outdoors on its own, especially when applied in light, even coats. For extra durability, you can also add an outdoor clear sealer once everything is fully dry. During assembly, be sure to use an outdoor waterproof silicone to secure the pots and details. This helps protect the structure from moisture and keeps everything firmly in place through changing weather.
Final thoughts
Creating this clay pot lighthouse was such a fun and rewarding way to add personality to my backyard.
I love how something so simple can completely transform a space and bring in that cozy coastal charm I was craving.
It’s easy, budget-friendly, and honestly so customizable that no two lighthouses will ever look exactly the same.
Seeing it light up at night makes all the effort worth it, and it’s definitely inspired me to keep dreaming up new ways to turn my outdoor space into my own little backyard escape.
We hope you found some inspiration for your backyard today.
Please share your tips and ideas with us.
We love hearing from you!
If you’re new here, WELCOME! We love having new readers and friends!
You can learn more about us here.
Let’s stay connected! Join our DIY community of doers and you won’t miss the weekly updates and more inspiration for you always on a budget.
Sharing is caring!
Thanks for stopping by Sunnyside Home. Empowering you to create a home you love!
Retailers We Love
- Anthropologie
- Birch Lane
- Crate & Barrel
- Joss and Main
- Lampsplus
- Mark & Graham
- One Kings Lane
- Pottery Barn
- Rejuvenation
- Serena & Lily
- Wayfair
- West Elm
- Williams Sonoma
- World Market
Be sure to follow us on Pinterest for even more home decor and DIY ideas.
To see what we are working on before it’s on our blog, follow us on Instagram.
You will also find our video tutorials on our YouTube channel.
What’s New . . .
- 35 Easy Decorating Ideas for Summer to Welcome the Season

- Fourth of July Decorating Ideas You’ll Love This Summer
- Simple and Creative Planter Container Ideas from Thrifted Finds
- 25 Must See Simple and Creative Reading Nook Ideas