We are ready for winter to be over, how about you? Today it’s another cold snowing day in Utah. While it cold outside, it’s a great time to work on our list of projects. Today we’d like to share how we transformed a pair of Ikea Ingert curtains into custom drapery for the master bedroom. Initially we had made burlap drapery for the master, there are pictures of them all over Pinterest and though it added a great texture element to the bedroom, and the look was fantastic, however burlap sheds and the velvet chairs in the bay window were constantly covered in fibers from the burlap, ugh! The look we were going for was a natural linen. The natural Ingert curtain panels have that great texture and color, but plain beige is just too boring, therefore we wanted to customize them.
Sunny Side Design is a participant in the Amazon Services LLC Associates Program, an affiliate advertising program designed to provide a means for sites to earn advertising fees by advertising and linking to Amazon.com. As an Amazon Associate, this blog earns from qualifying purchases with no additional cost to you. Click here to read our full disclosure policy.


For this project we used Ikea’s Ingert curtain panels ($39.99 for 2 panels). We purchased 2 packages, we would need a total of 4 panels for the bay window, black grosgrain ribbon and to glam it up a bit, we used 3 black bracelets we found at Michael’s.

The Ingert curtain panels have a backing on the upper portion that has a tab for threading the rod through, however we wanted a more classic look, therefore we wanted pleats. Pleats may look intimidating, but they are rather simple to sew. Each pleat is 2 simple straight stitches.

The first step will be ironing the fabric, it needs to be nice and smooth for stitching.

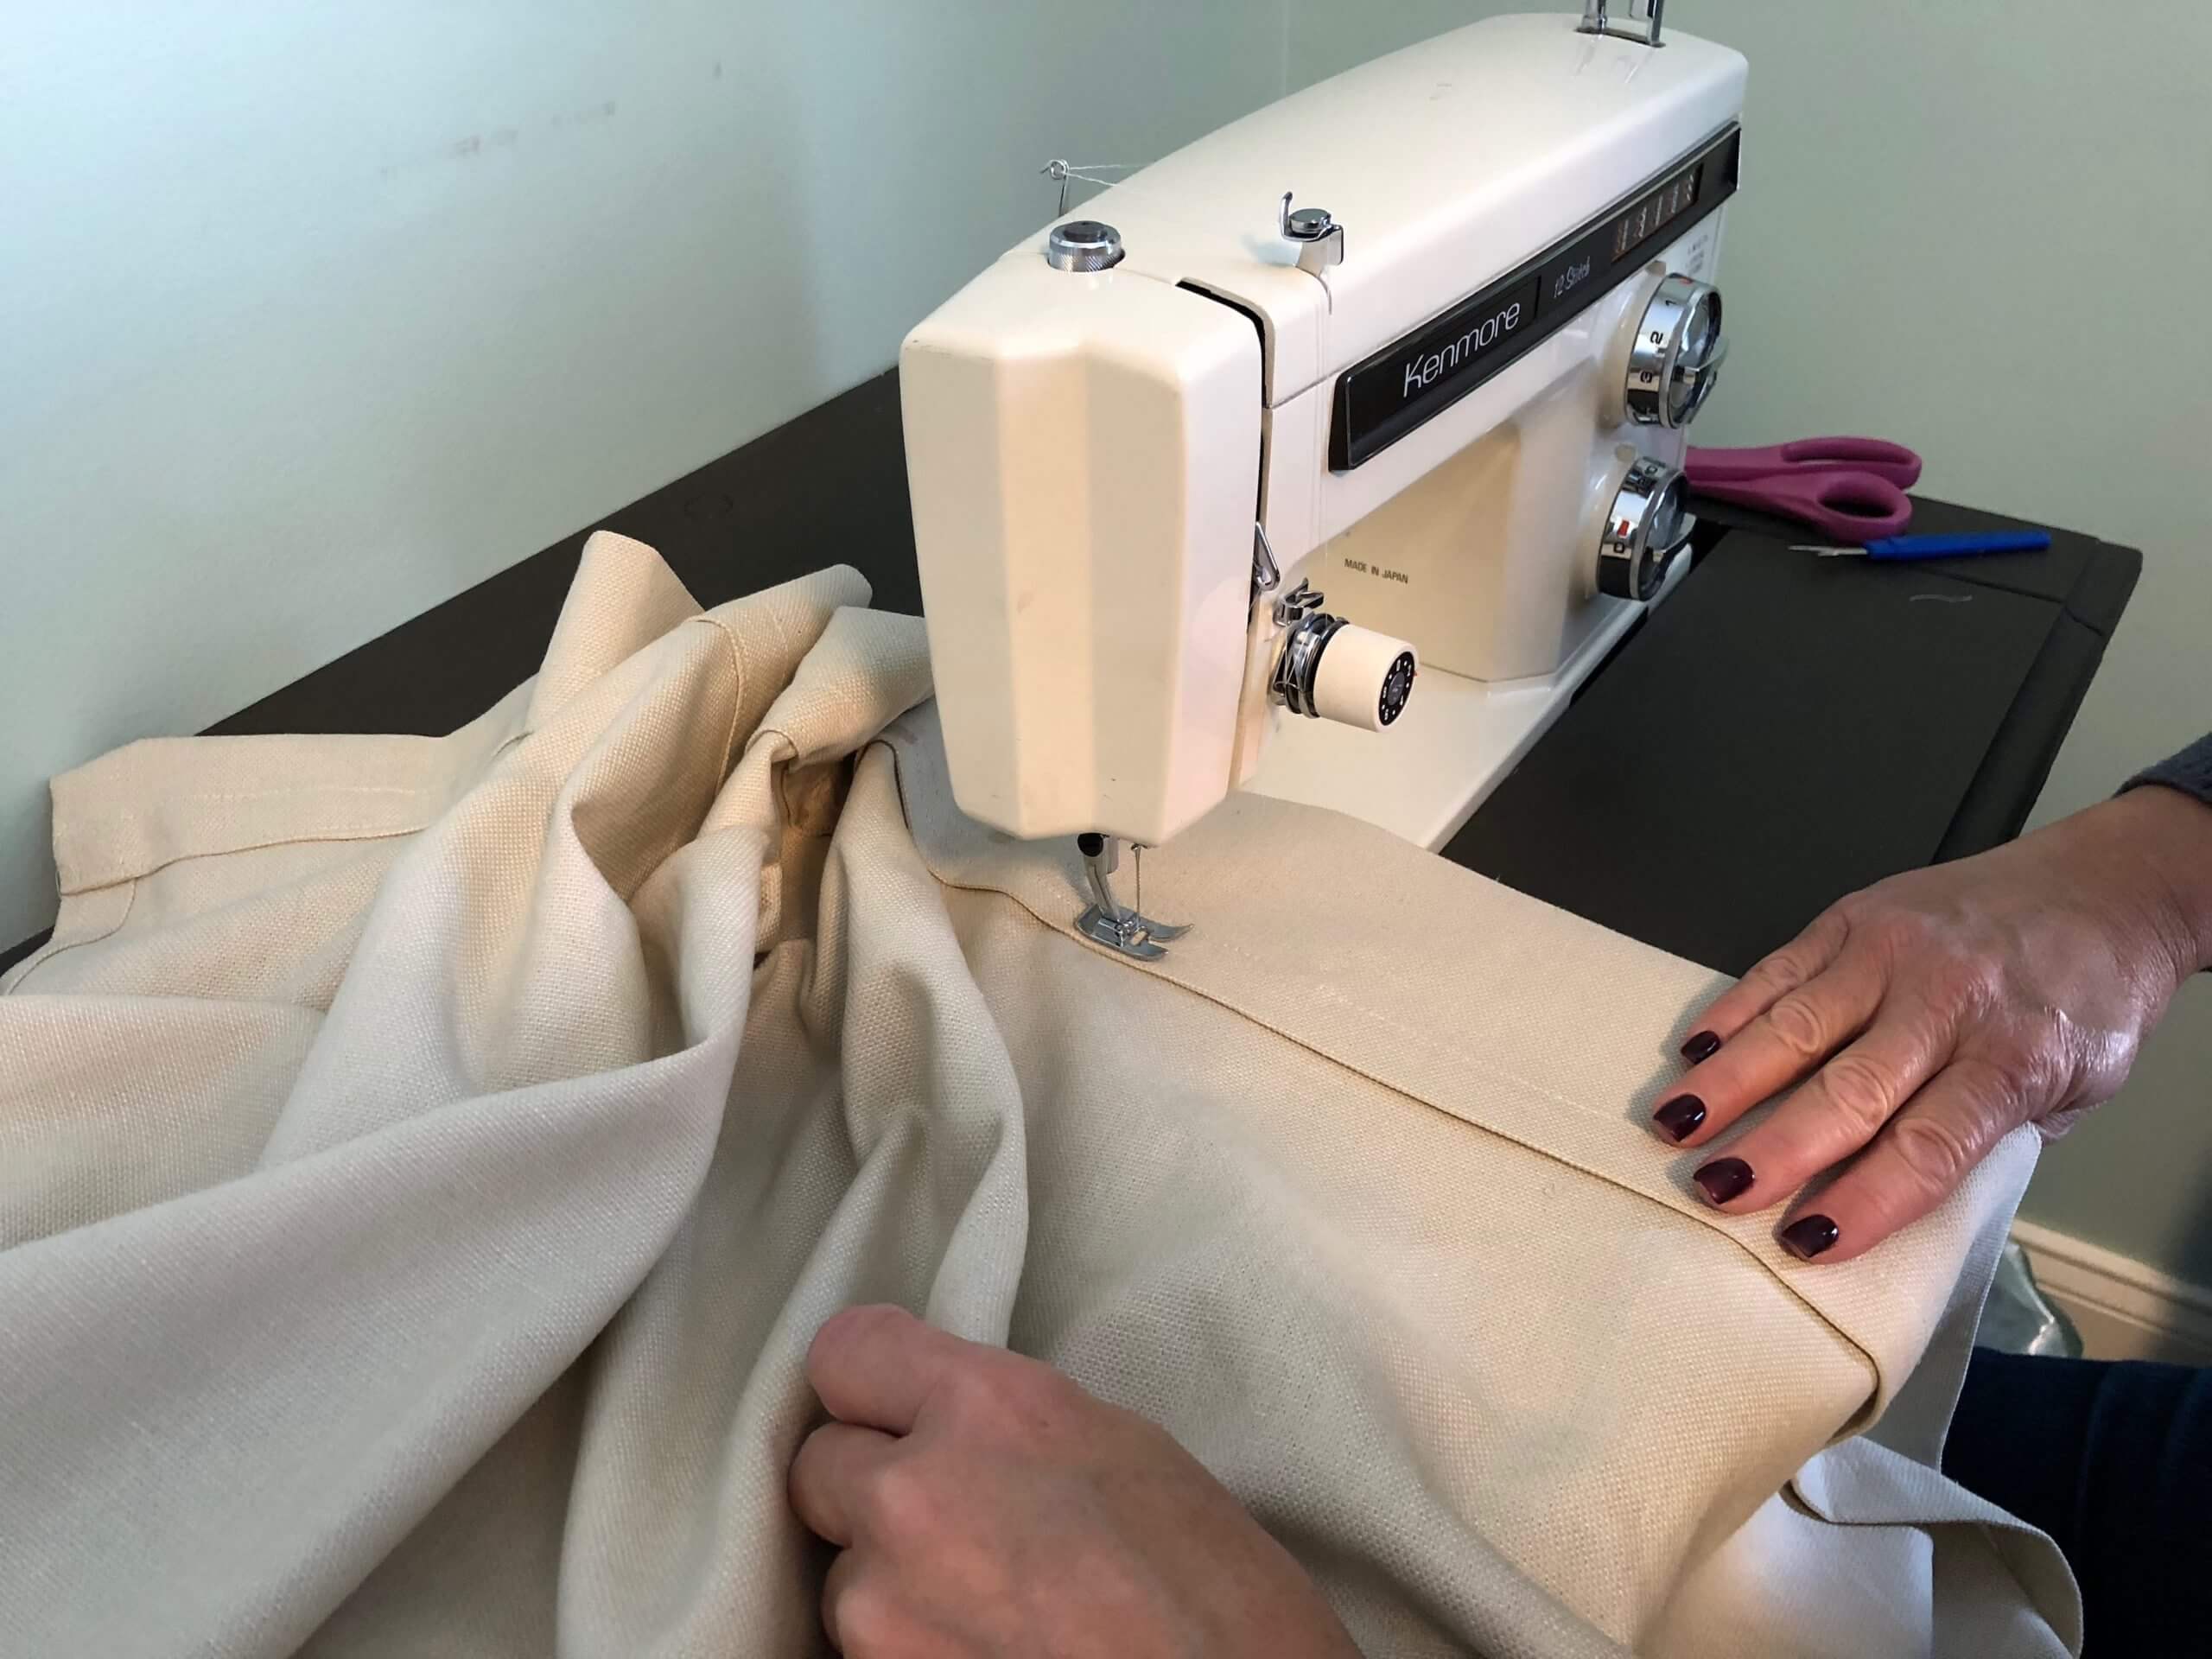
Next, we applied the black grosgrain ribbon along the edge of each panel, we chose to sew it on, but it could be applied with a fabric glue as well.
Are you enjoying this project? Please Pin It, save it for later and share it with a friend.
Sharing is caring!

Now on the with pleats, using pins we marked where each pleat would be. For our panels, each pleat is 4” and each pleat is spaced 5″ apart. This would make 6 evenly spaced pleats on each panel.

Fold the fabric, wrong side together, aligning the 2 pins marking the pleat placement. Stitch from the top of the fabric straight down to the bottom of the header section. (This is where there is a stitching line going across the width of the fabric.)


To form the pleat, push in the center of the area just stitched. (Note: usually drapery pleats have 3 folds, but my sewing machine will not stitch through that much fabric, so I just do 2 folds as pictured.)

Stitch, beginning at the folded areas to the first stitch line.
If you’re new here, welcome! We’re so glad you’re here.
Let us introduce ourselves, we’re Michelle and Steph, a mom and daughter team who love to DIY and decorate our homes.
Not only are we passionate about making our homes warm, comfortable and unique, but it’s our mission to help you create that same feeling in your own home.
You’ll find ideas for repurposing, creating, decorating and making your home truly yours, while always mindful of a tight budget.
Undoubtedly we love finding ways to make your home look high-end on a small budget.
Plus you’ll also find a recipe or two as we share our family favorites with you.
We’d love it if you’d join our community of doers so you won’t miss any inspiration for your home.
We love new friends.

[mailerlite_form form_id=2]

Here is the completed pleat with 2 folds. Repeat the process for each pleat.


The Ingert panels are not hemmed, we have found it easier to hang up each panel on the drapery rod and fold it up to the desired length and pin in place. Then remove them from the drapery rod and press them with the iron.
We double fold the hem, usually a 3 to 4 inch hem, (this depends on how much fabric is remaining on the panel.) This adds a little extra weight at the bottom of each panel and helps them to hang better. Stitch along the hem line. There is also the option of hemming the drapes with a fusible heat tape, then you just need to press them with the iron, no sewing needed.

The final step to embellish these panels with a little glam is with the black bracelets we found at Michael’s. Using needle nose pliers we separated each jewel piece, then broke off the ring from one side. We then stitch each jewel piece to the pleat at the lower stitching line. This was done by hand with just a needle and thread, just like sewing on a button.
Let’s stay connected! Follow us on social media!

Take some strips of paper and wrap around the drapery panels that have been folded at each pleat, secure the paper together. We usually just staple the paper bands together or tape could be used.


We now apply burst of steam along each panel. This will help hold the pleated shape in each panel. Leave the paper strips on each panel for about 24 hours to lock in the shape.

There you have it, ready made panels transformed in to custom drapery! If you have found this tutorial helpful please PIN IT!
For another quick way to update or change the look of curtain panels, check out how we dyed them in the washing machine.
We hope you found some inspiration for your home today.
Please share your tips and ideas with us.
We love hearing from you!
If you’re new here, WELCOME! We love having new readers and friends!
You can learn more about us here.
Let’s stay connected! Join our DIY community of doers and you won’t miss the weekly updates and more inspiration for you always on a budget.
Sharing is caring!

Thanks for stopping by Sunny Side Design. Empowering you to create a home you love!
DISCLAIMER
This blog’s content is for entertainment purposes only and is not professional advice. By reading this blog and attempting to recreate a project, you assume all responsibility for any injuries or damages incurred. Read my full disclaimer here.
PHOTO USE AND CONTENT SHARING
All of the photographs you see here are the property of Sunny Side Design unless otherwise credited.
We love for others to share our work, so please feel free to use one photo with a link back to our website.
Pinning and sharing is always encouraged!
Please do not reproduce other Sunny Side Design content without permission.
Retailers We Love
- Anthropologie
- Birch Lane
- Crate & Barrel
- Joss and Main
- Lampsplus
- Mark & Graham
- One Kings Lane
- Pottery Barn
- Rejuvenation
- Serena & Lily
- Wayfair
- West Elm
- Williams Sonoma
- World Market
Be sure to follow us on Pinterest for even more home decor and DIY ideas.
To see what we are working on before it’s on our blog, follow us on Instagram.
You will also find our video tutorials on our YouTube channel.
- The Best ‘Berry in Love’ Bridal Shower Ideas

- Paint an Old World Texture Finish on a Vase
- Easy Strawberry Chicken Salad with Lime Maple Balsamic Vinaigrette
- How to Fix Chipped Kitchen Cabinets with a Pen


