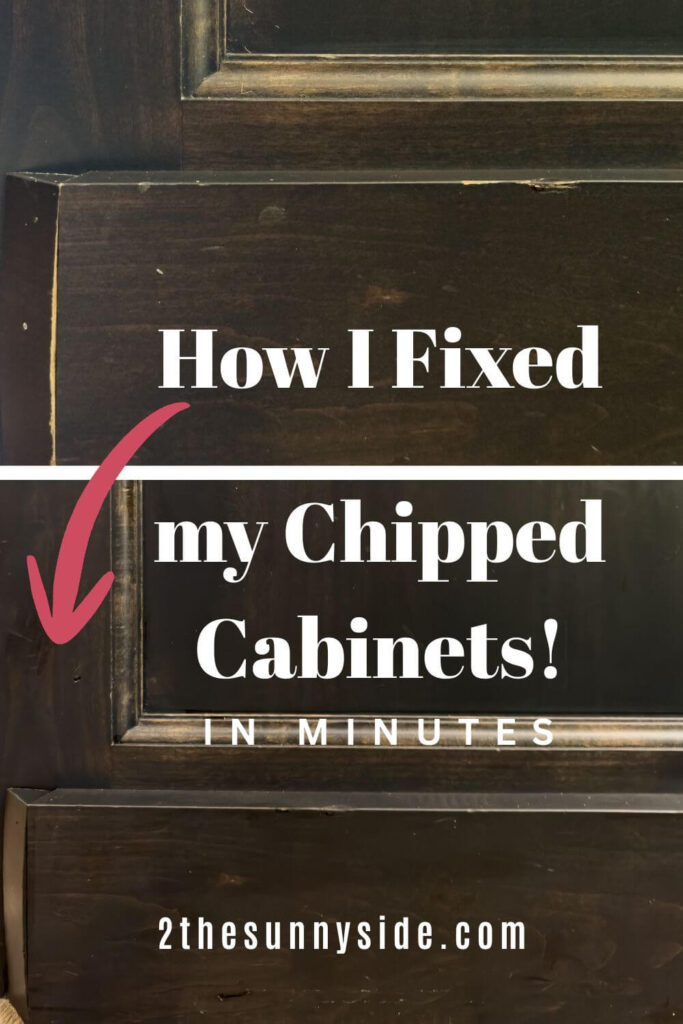
If you’re looking for an easy way to fix chipped kitchen cabinets, you’re going to love this simple trick.
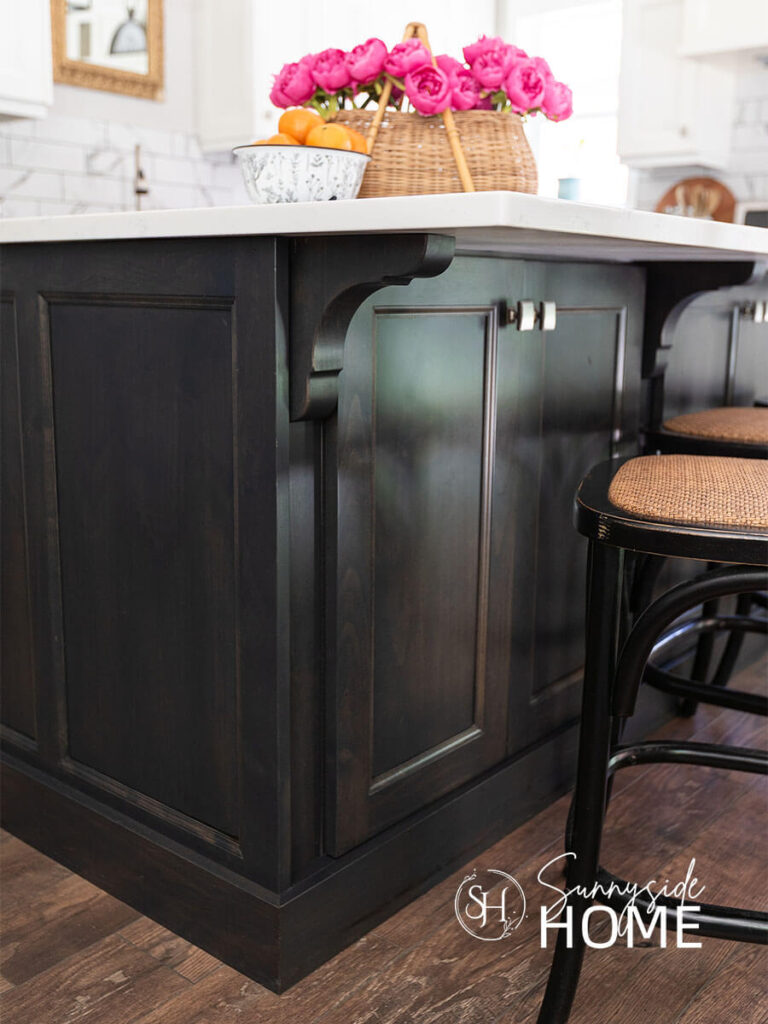
It’s been 11 years since we remodeled our kitchen and installed new cabinets, and lately they’re starting to show their age, especially the island.
I’ve been toying with the idea of painting it black or a dark olive green, but that’s a big project, and honestly, I’m not quite ready to take it on.
Over the past two weeks, I’ve been deep cleaning my house in preparation for a bridal shower we’re hosting for my niece.
As I scrubbed down the kitchen cabinets, I couldn’t ignore all the chips and worn spots on the island any longer.
They were looking pretty rough!
Before committing to a full paint makeover, I decided to try touching them up with a stain pen.
I’ve experimented with different products over the years and never loved the results, but this time I used a different method and wow, what a difference.
The improvement was so remarkable that I’ve decided to keep my cabinets just as they are for now.
If your stained kitchen cabinets are looking a little worn, chipped, or tired, keep scrolling.
I’ll show you exactly what I did to make my cabinets look dramatically better in just a few minutes.
- Supplies You’ll Need
- Worn and Chipped Kitchen Cabinets
- Deep Clean the Cabinets
- Test the Stain Pen First
- Touch Up Chipped Areas with a Stain Pen
- The Big Reveal: Before and After
- Would I Still Paint My Kitchen Island?
- Frequently Asked Questions
- Shop Project Supplies
- More Simple Home Improvement That Make a Big Impact
- Final Thoughts
Sunnyside home is a participant in the Amazon Services LLC Associates Program, an affiliate advertising program designed to provide a means for sites to earn advertising fees by advertising and linking to Amazon.com. As an Amazon Associate, this blog earns from qualifying purchases with no additional cost to you. Click here to read our full disclosure policy.
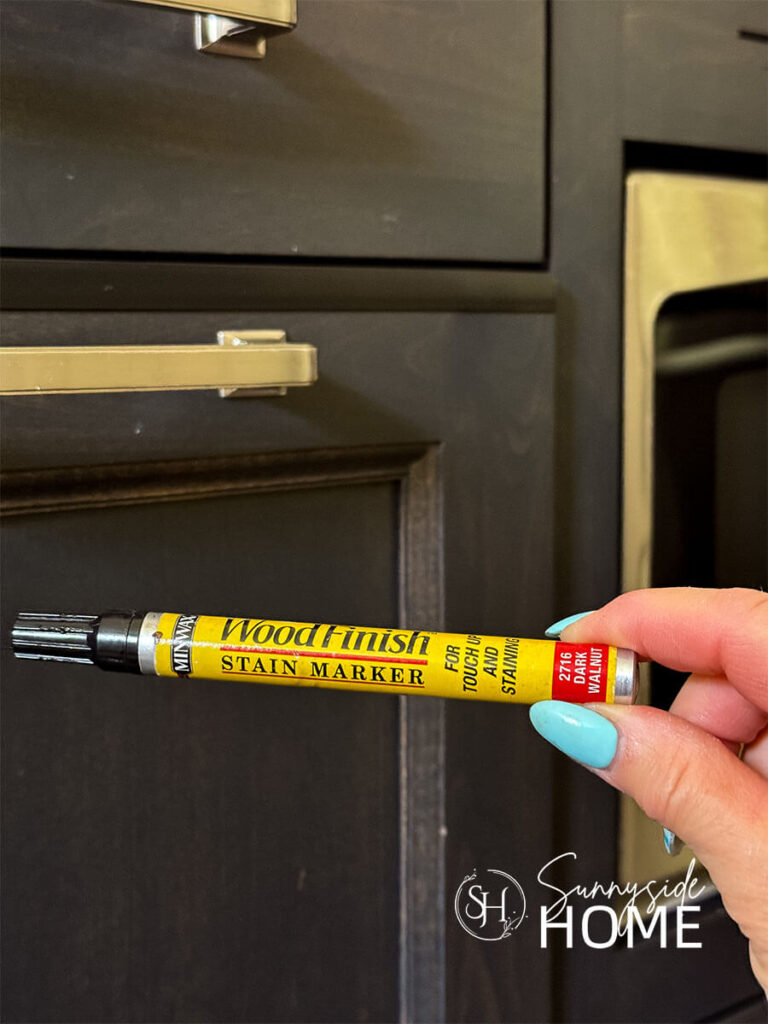
Supplies You’ll Need
One of the best things about this project is that it requires very few supplies and only takes a few minutes to complete.
In fact, you may already have most of these items on hand.
Before you start, gather the following supplies so you’ll have everything you need to give your cabinets a quick and easy refresh.
- degreaser cleaner (Murphy Oil Soap, TSP or Dawn)
- lint free cloth (an old t-shirt works great)
- stain marker pen
Are you enjoying this project? Please Pin It, save it for later and share it with a friend.
Sharing is caring!
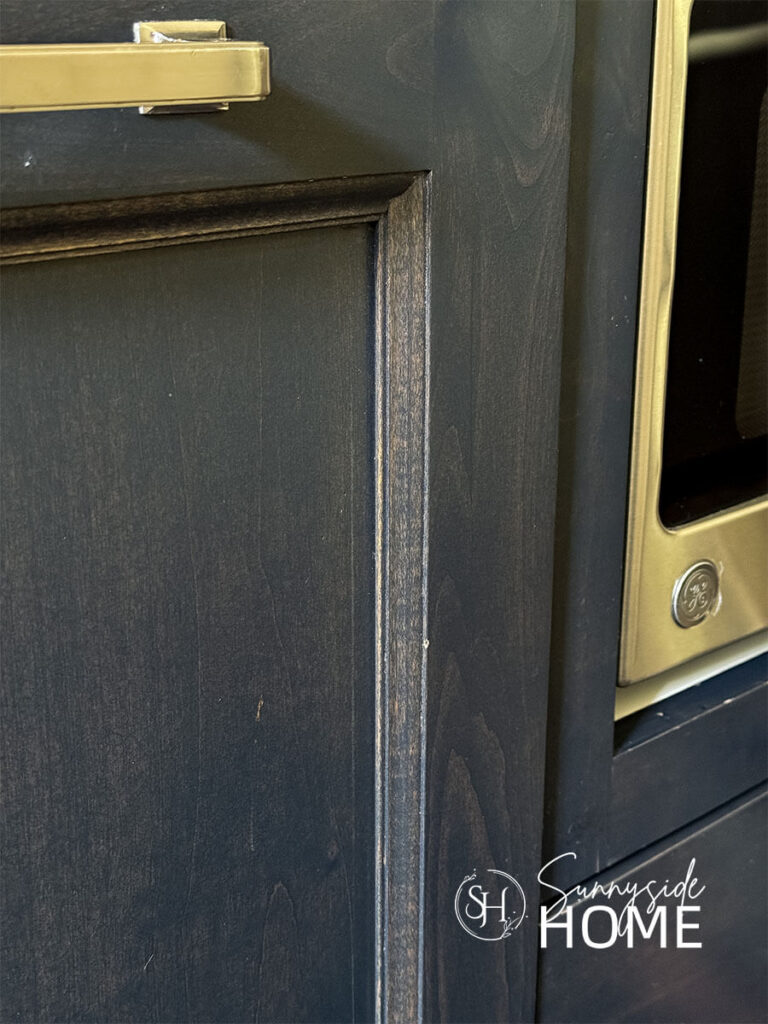
Worn and Chipped Kitchen Cabinets
Okay, this is the embarrassing part.
When I stepped back and really looked at my kitchen island, I couldn’t believe how bad the cabinets had gotten over the years.
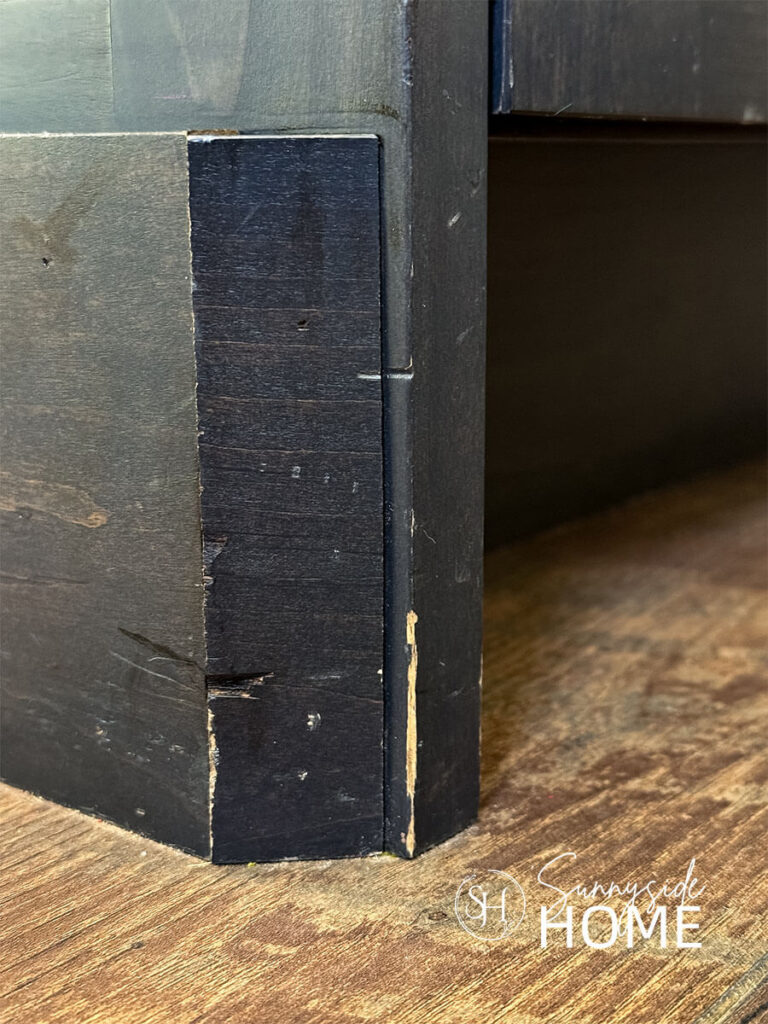
I feel like I’m not that hard on things, but it’s shocking to see how many chips there were on my cabinets especially around the base and barstool area.
It’s funny how you stop noticing these things when you see them every day, but once I started deep cleaning, all those little imperfections seemed to jump right out at me.
If your cabinets have a few battle scars from years of family life, you’re definitely not alone!
Deep Clean the Cabinets
Before you reach for the stain pen, don’t skip this step!
A thorough cleaning is essential if you want your touch-up to blend well and last.
Kitchen cabinets collect a lot of grease, cooking residue, fingerprints, dust, and who-knows-what-else—especially around handles and high-touch areas.
If you apply stain over that buildup, it won’t absorb evenly into the damaged wood and your repair may end up looking blotchy.
I used Murphy Oil Soap and a microfiber cloth to remove all the grime, paying extra attention to the chipped and worn spots.
Once the cabinets were clean, I let them dry completely before moving on to the next step.
Starting with a clean, dry surface made all the difference in the final result.
If you’re new here, welcome! We’re so glad you’re here.
Let us introduce ourselves, we’re Michelle and Steph, a mom and daughter team who love to DIY and decorate our homes.
Not only are we passionate about making our homes warm, comfortable and unique, but it’s our mission to help you create that same feeling in your own home.
You’ll find ideas for repurposing, creating, decorating and making your home truly yours, while always mindful of a tight budget.
Undoubtedly we love finding ways to make your home look high-end on a small budget.
Plus you’ll also find a recipe or two as we share our family favorites with you.
We’d love it if you’d join our community of doers so you won’t miss any inspiration for your home.
We love new friends.
Test the Stain Pen First
Before touching up any visible chips, take a minute to test the stain pen in an inconspicuous spot, such as the inside edge of a cabinet door or a hidden corner.
Even if the stain color looks like a perfect match on the package, wood finishes can vary quite a bit depending on the type of wood, age of the finish, and lighting in your home.
Testing first allows you to see how the stain looks once it absorbs into the wood and gives you a chance to adjust if needed.
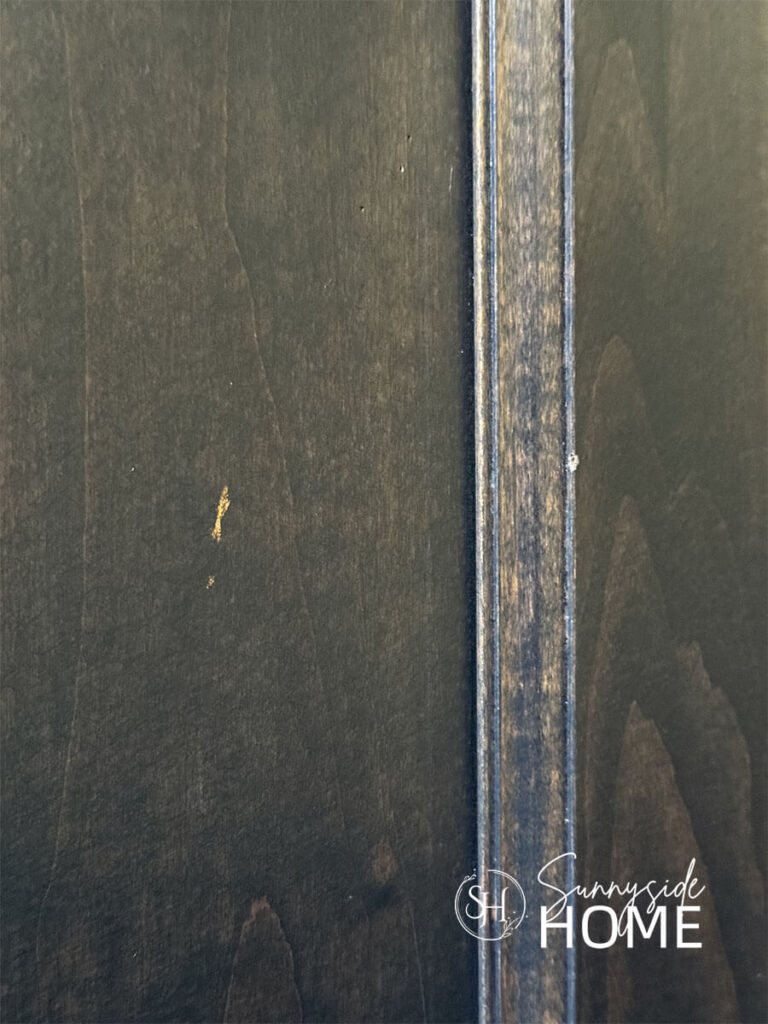
I first tried my ebony stain marker since my cabinets are more of a black stain, however I found that the dark walnut blended in beautifully to my cabinets.
This simple step can save you from color mismatches, dark blotches, and other touch-up mistakes that are difficult to fix later.
Touch Up Chipped Areas with a Stain Pen
Now for the fun part!
Before applying the stain to your cabinets, you’ll need to load the pen tip.
Simply press the marker tip down onto a paper plate or another disposable surface until the stain begins to flow into the tip.
Once it’s loaded, carefully apply the stain directly to the chipped areas and scratches.
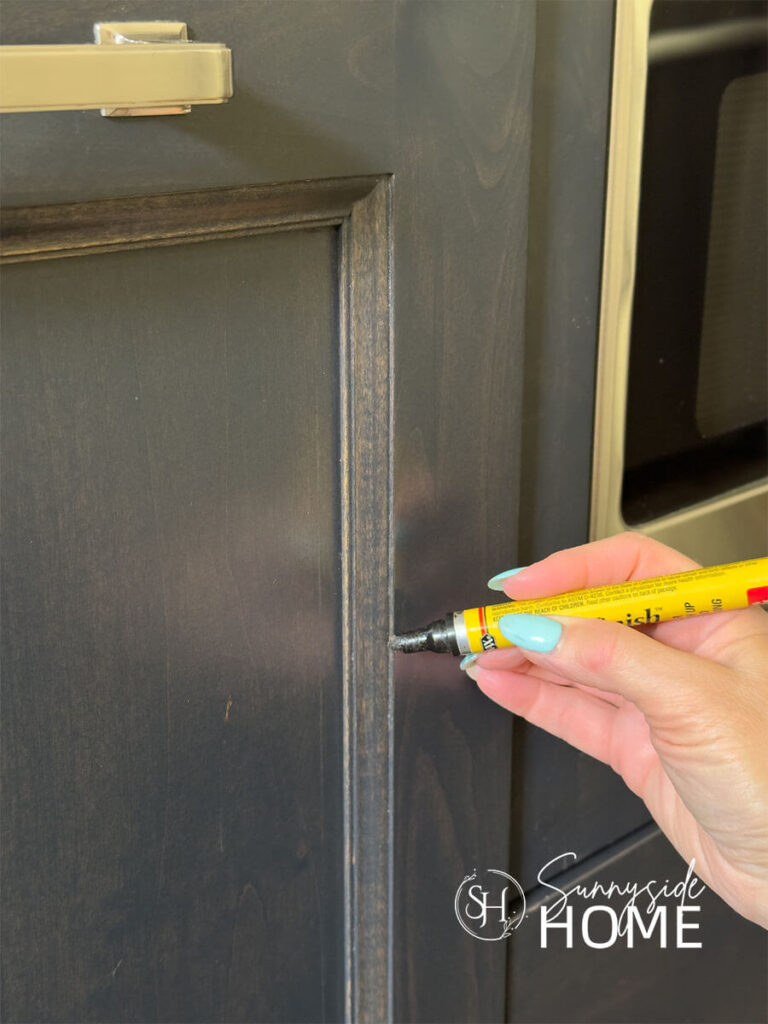
Don’t worry if it looks a little dark at first, that’s part of the process.
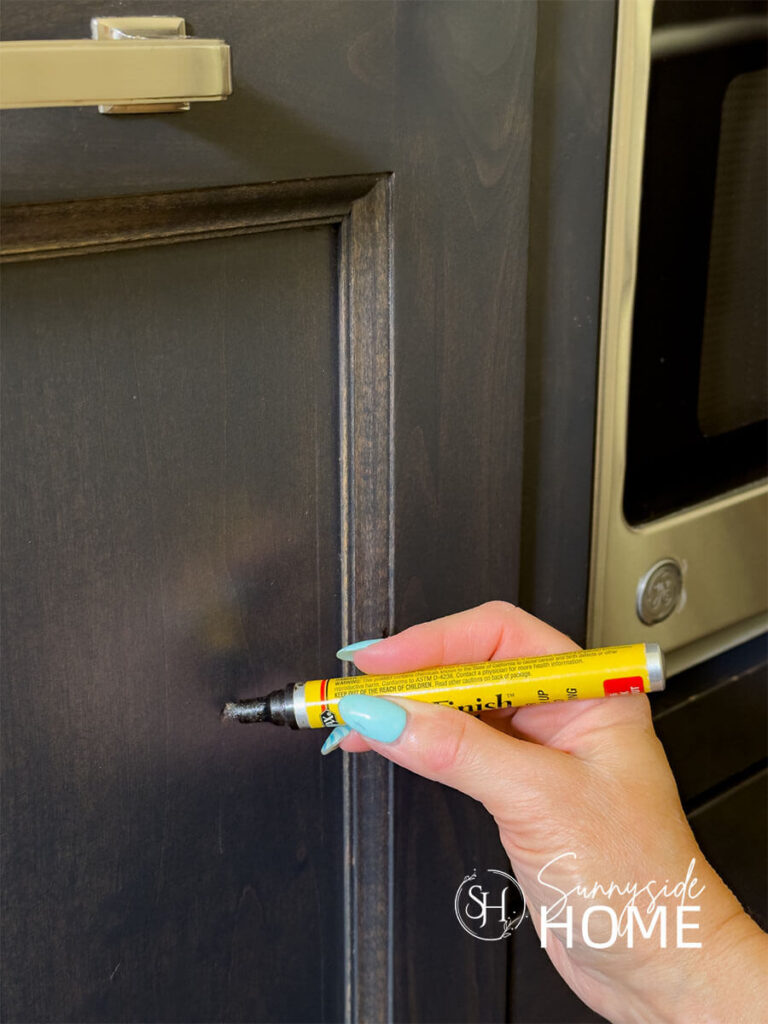
Here’s the trick that made all the difference for me: after applying the stain, let it sit for a few minutes so the exposed wood has time to absorb the color.
Then, using a lint-free cloth, gently wipe over the area to remove any excess stain sitting on the cabinet surface.
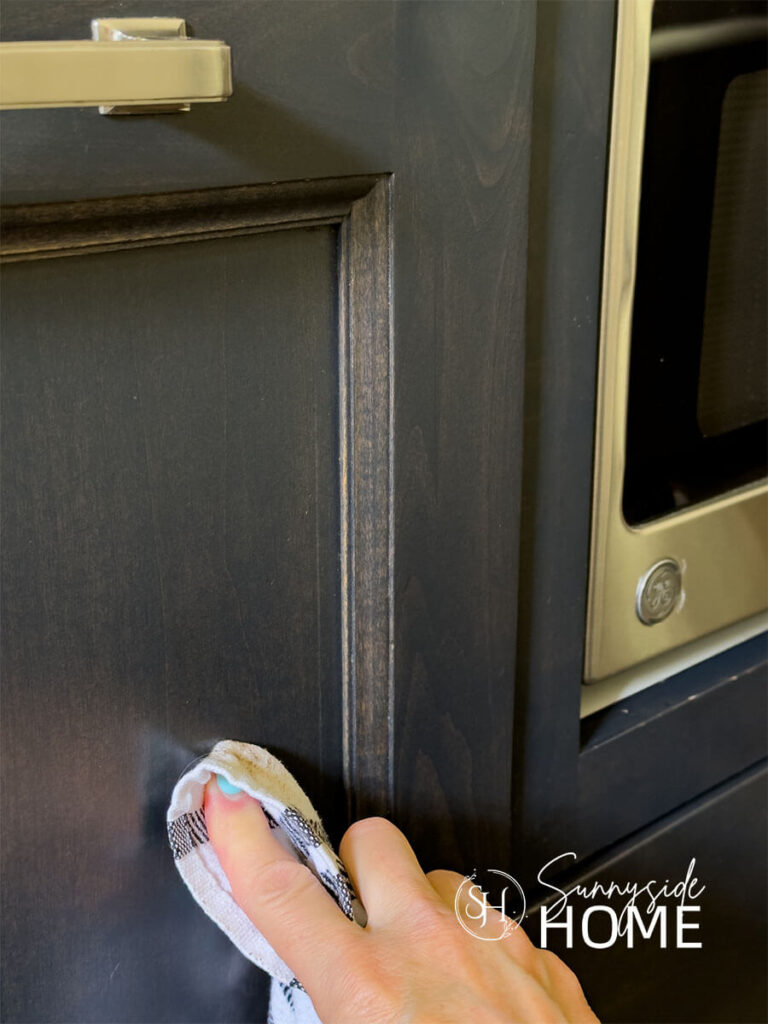
This allows the stain to remain in the chip while blending more naturally with the surrounding finish.
If the chip is still visible after the first application, repeat the process.
It’s much better to build the color gradually than to apply too much stain at once.
In fact, a few of my deeper chips required three coats before they completely disappeared.
Taking your time and layering the stain little by little is the secret to achieving a seamless repair that looks like it was never there in the first place.
Let’s stay connected! Follow us on social media!
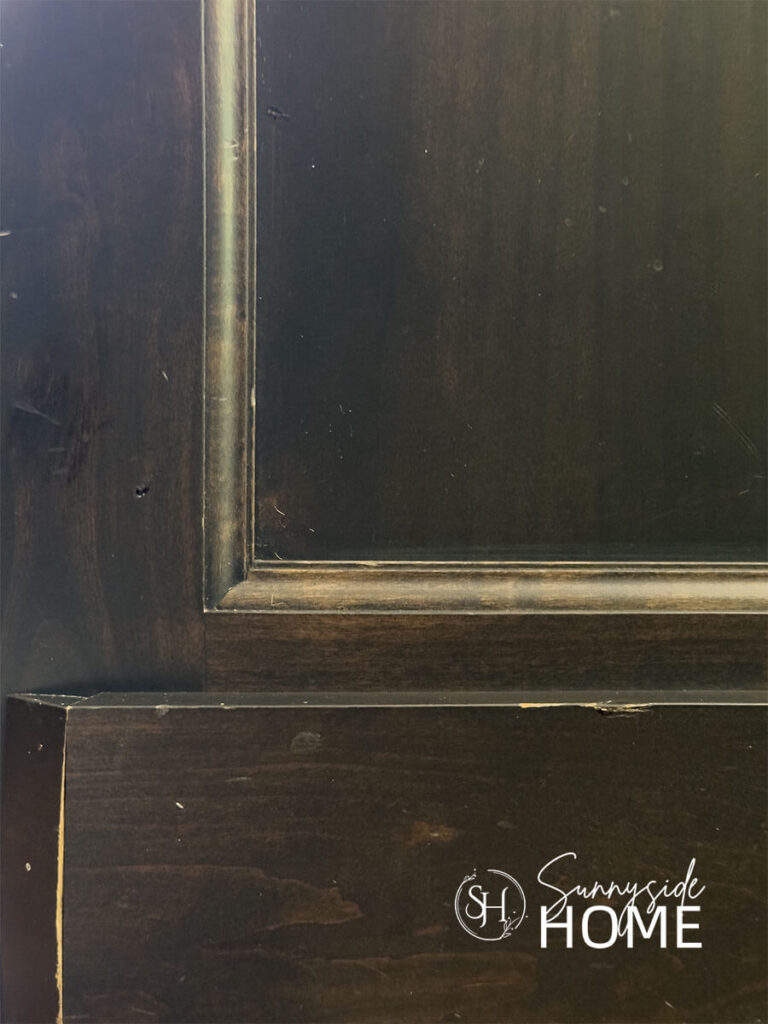
The Big Reveal: Before and After
I knew the stain pen had improved the chips, but I honestly didn’t realize just how much until I placed the before and after photos side by side.

The scratches, and chipped areas that had been catching my eye every day practically disappeared.
Instead of looking tired and neglected, the cabinets looked refreshed, well-maintained, and years younger.
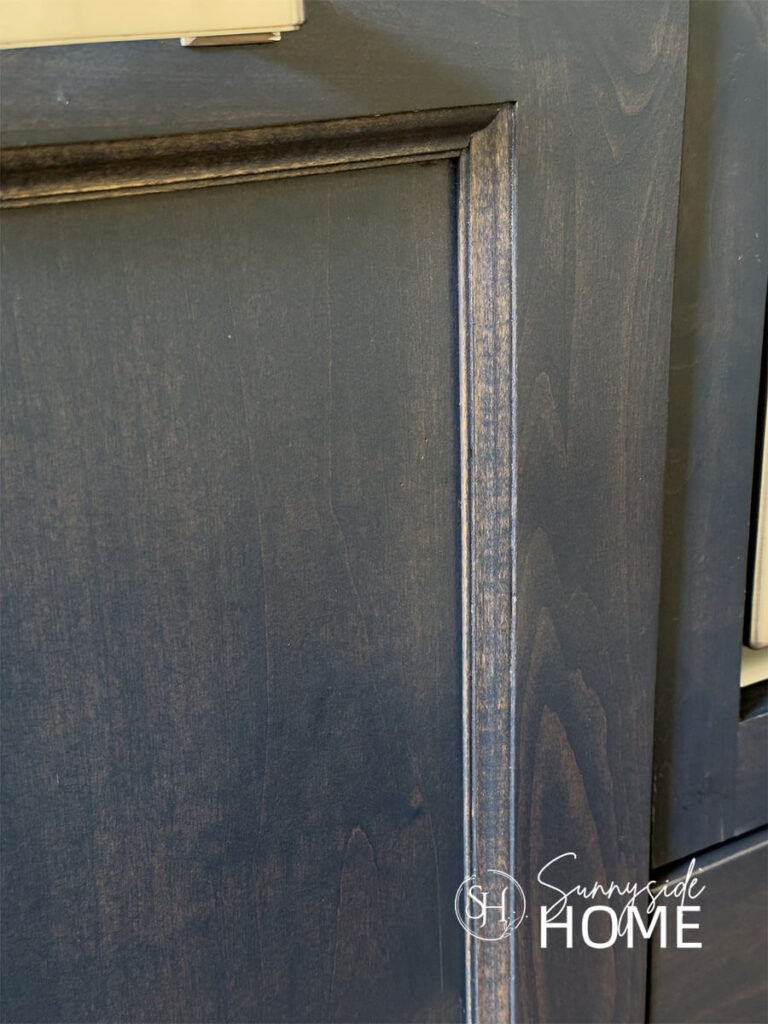
What surprised me most was how such a simple and inexpensive fix could make such a dramatic impact.
From a normal viewing distance, it’s hard to tell where many of the chips were even located.
The overall appearance of the kitchen feels cleaner and more polished, and the cabinets no longer distract from the rest of the space.
Considering I was seriously thinking about repainting my island, this quick touch-up bought me a lot more time and saved me from taking on a much bigger project.
Would I Still Paint My Kitchen Island?
Before tackling this project, I was pretty convinced that painting my kitchen island black or a deep olive green was going to be my next DIY project.
The chips, scratches, and worn spots had me focusing on everything that looked old and tired.
But after cleaning the cabinets and touching up the damaged areas with a stain pen, my perspective completely changed.
Seeing the cabinets refreshed and restored reminded me how much I still love the warmth of the original wood finish.
Once the chips were no longer drawing attention, the entire kitchen felt updated without changing a single thing about the design.
For now, the urge to paint has definitely faded.
Could I still paint the island someday? Absolutely!
But thanks to this simple touch-up, that project has officially been moved to the “maybe later” list.

Sometimes a quick repair is all it takes to fall in love with your space again—and save yourself from a much bigger project in the process.
Frequently Asked Questions
- Can a Stain Pen Repair Chipped Kitchen Cabinets? Yes! A stain pen can be an easy and affordable way to disguise chips, scratches, and worn spots on stained wood cabinets. While it won’t rebuild missing wood or repair deep damage, it does a great job restoring color to exposed areas so the imperfections are much less noticeable. For minor wear and tear, the improvement can be surprisingly dramatic.
- What Is the Best Stain Pen for Cabinet Touch-Ups? The best stain pen is one that closely matches the color of your existing cabinets. Most home improvement stores carry stain pens in a variety of wood tones, from light oak to dark walnut. If you’re unsure which shade to choose, test the pen in an inconspicuous area first. A close color match is much more important than the specific brand.
- Does This Work on Wood Furniture Too? Absolutely! This same technique can be used on many types of stained wood furniture. If the furniture has small scratches, chips, or worn areas where the stain has faded, a stain pen can help restore the color and make the damage far less visible.
- Can I Use This Method on Painted Cabinets? Not exactly. Stain pens are designed for stained wood finishes and won’t properly match painted surfaces. If your cabinets are painted, you’ll get much better results using matching touch-up paint or a paint pen designed for cabinet repairs. The process is similar, but the products are different.
- How Long Do Cabinet Touch-Ups Last? When applied to a clean surface and allowed to dry properly, stain pen touch-ups can last for years. High-traffic areas around handles and drawer pulls may eventually show wear again, but the good news is that touch-ups are quick and easy to reapply. I love that this is a simple maintenance task that can keep cabinets looking fresh without a full refinishing project.
Shop Project Supplies

More Simple Home Improvement That Make a Big Impact
- Build Simple Basement Storage Shelves That Last
- Makeover Kitchen Island with Shiplap and Trim
- Easy Modern Box Moulding You Can Do—No Power Tools Required
- Add Character with an Easy Shiplap Bathroom Ceiling
- Build an Easy and Affordable DIY Closet Organizer
- Easy DIY Board and Batten Wall with a Twist
- Install Swivel Bifold Barn Doors for Less Than $100
- How to Easily Conceal and Install LED Strip Lights
- Build Melamine Shelves in a Closet
- Paint Perfect Stripes on a Textured Wall
- How to Easily Install a Laminate Floor Over Concrete
- Cloffice: How to Make an Office in a Closet
- How to Make a Broom Closet in a Laundry Room
- Make a Simple Laundry Room Fold Table
- How To Make an Affordable Barn Door for the Bathroom
- DIY a Shiplap Wall the Easy Way!
- Beautiful Beadboard Paneling That’s Surprisingly Easy
- Install an Inexpensive Peel and Stick Backsplash
- Make a Simple Mudroom Bench
- How to Paint a Front Door
- Easy Tile Floor Makeover Without Stenciling Or Paint
Final Thoughts
If there’s one thing I took away from this project, it’s that you don’t always need a full remodel to make a big impact.
This really is a quick and inexpensive way to fix chipped kitchen cabinets, especially when the damage is mostly surface-level wear and tear.
I was genuinely surprised by how much better everything looked after just a simple touch-up.
The best part is that this method isn’t just for kitchen cabinets, it also works on stained cabinets, furniture, trim, and pretty much any woodwork that’s seen better days.
If you’ve been living with little chips and worn spots, I’d encourage you to try tackling those small repairs first before jumping into a major makeover.
Sometimes a few minutes of touch-up work is all it takes to fall back in love with your space again and put off a much bigger project for another day.
Please share your tips and ideas with us.
We love hearing from you!
If you’re new here, WELCOME! We love having new readers and friends!
You can learn more about us here.
Let’s stay connected! Join our DIY community of doers and you won’t miss the weekly updates and more inspiration for you always on a budget.
Sharing is caring!
Thanks for stopping by Sunnyside Home. Empowering you to create a home you love!
Retailers We Love
- Anthropologie
- Birch Lane
- Crate & Barrel
- Joss and Main
- Lampsplus
- Mark & Graham
- One Kings Lane
- Pottery Barn
- Rejuvenation
- Serena & Lily
- Wayfair
- West Elm
- Williams Sonoma
- World Market
Be sure to follow us on Pinterest for even more home decor and DIY ideas.
To see what we are working on before it’s on our blog, follow us on Instagram.
You will also find our video tutorials on our YouTube channel.
What’s New . . .
- How to Fix Chipped Kitchen Cabinets with a Pen

- Easy 4th of July Door Decor You Can Make in Minutes
- 35 Easy Decorating Ideas for Summer to Welcome the Season
- Fourth of July Decorating Ideas You’ll Love This Summer


