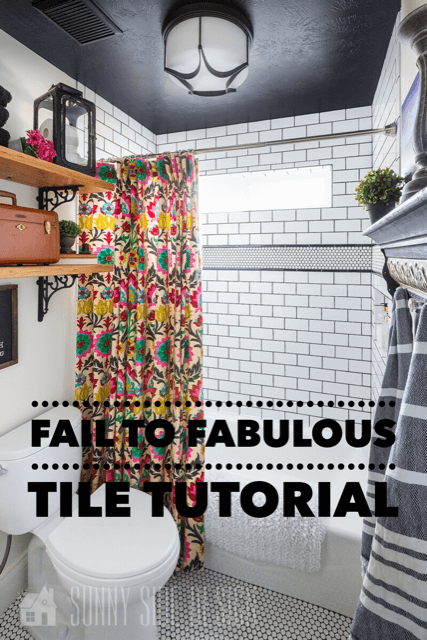
Let’s be honest here, projects do not always go as I have it pictured in my mind. In this tutorial we will see the agony of defeat and then the elation of success.
Sunny Side Design is a participant in the Amazon Services LLC Associates Program, an affiliate advertising program designed to provide a means for sites to earn advertising fees by advertising and linking to Amazon.com. As an Amazon Associate, this blog earns from qualifying purchases with no additional cost to you. Click here to read our full disclosure policy.

To start with, I didn’t want to spend a lot of money on this bathroom, but I knew the pink and green tile had to go. So I came up with this brilliant idea (or so I thought) to carefully remove the 2 rows of pink and green.

So with my trusty multi-tool equipped with a grout removal blade I proceeded to carefully remove all the grout around the 2 rows of tile. I then tapped each tile with a hammer to loosen them for removal.

That portion of my idea was successful, what remained was this wire mesh that some sort of cement base that was about 1/2″ thick. This was removed with a hammer and chisel until only the mesh remained.
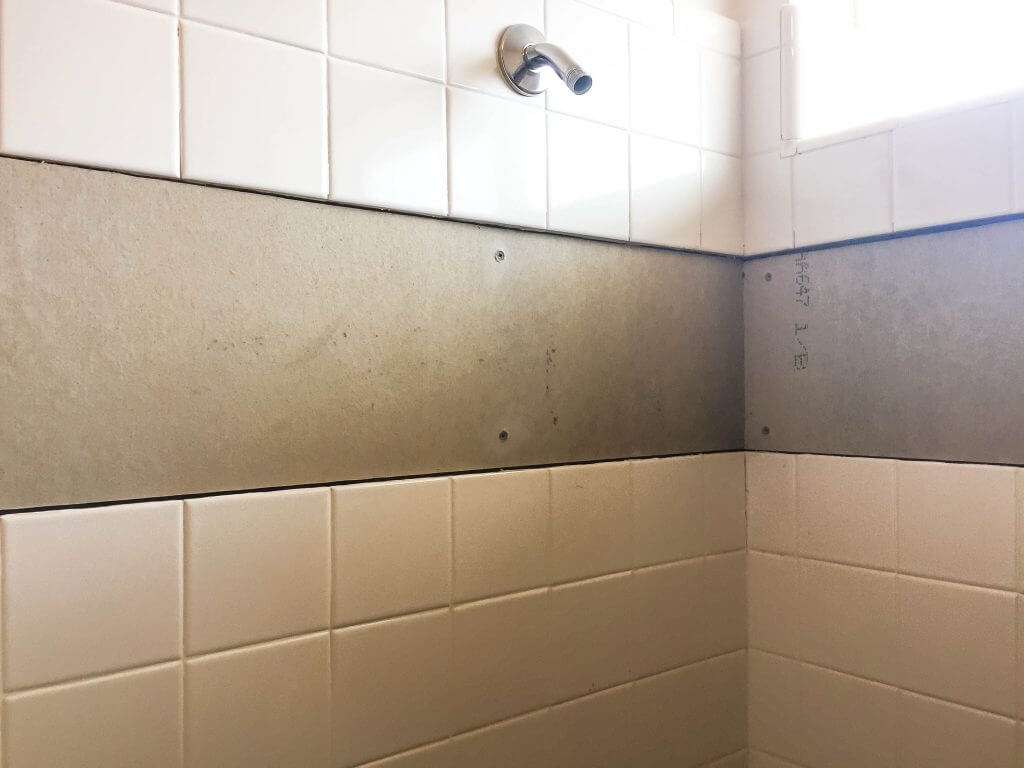
Next we attached 1/2″ thick tile backer board to the mesh that was on top of the dry wall. So far so good…
Are you enjoying this project? Please Pin It, save it for later and share it with a friend.
Sharing is caring!

This was exciting, we were ready to adhere the tile. Using a notched trowel the tile adhesive was spread over the backer board the the glass mosaic penny tile was pressed into position.
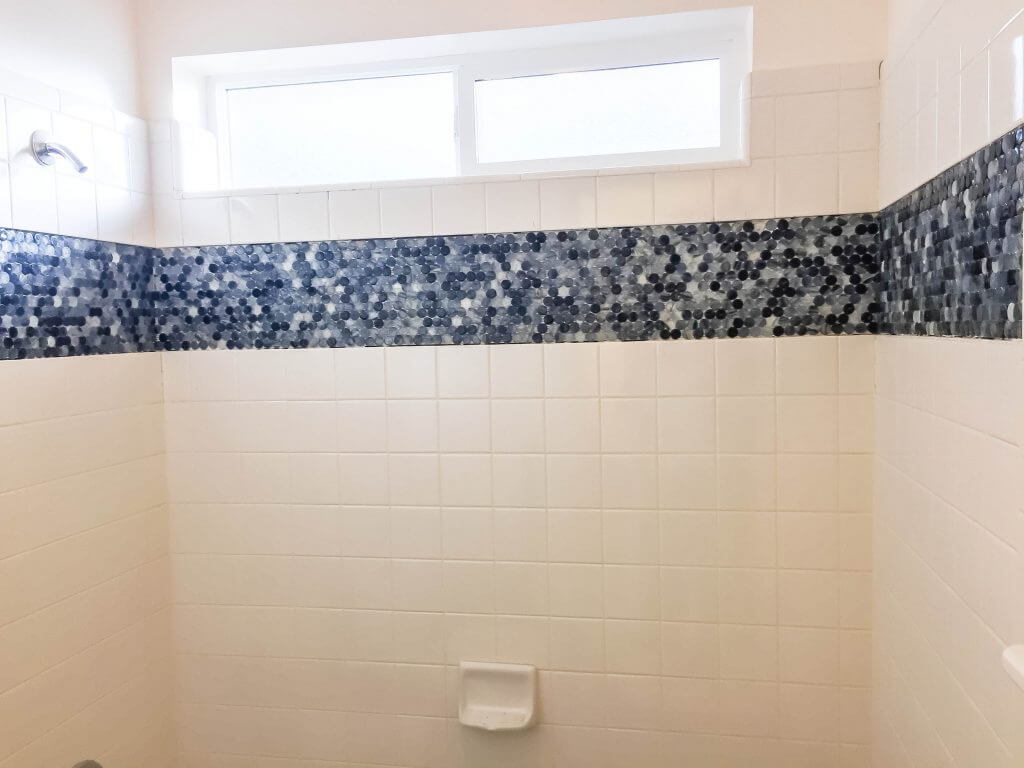
So far so good, then this is where my idea took a turn for the worse. I decided that to make the shower more up to date I would remove the grout between all the 4 X 4 tiles and grout the entire shower with a charcoal grout. Once again using my trusty multi-tool I began to remove all the grout …. I soon learned that this was not such a great idea, not only was it very time consuming but it filled the room with dust. I could only bear to work on it for an hour at a time. I don’t remember exactly how long it took, but it seemed like 2 months.
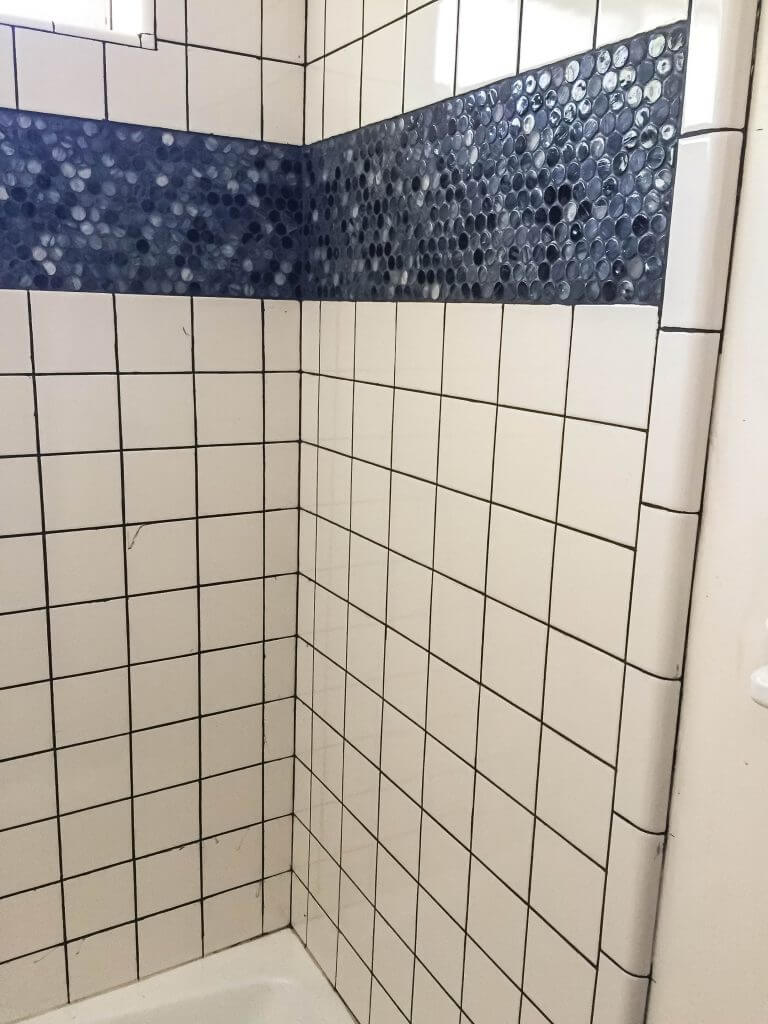
Finally we grouted it, and it looked horrible. In the process of removing the grout I had chipped some of the tiles and at times the multi-tool would slip and scratch the tiles and once it was grouted it showed every flaw. I was not a happy camper. This fail set me back about $75 (the tile I choose was on clearance.) But now what? The only remedy I could think of was start over … We removed the tile and drywall down to the studs and began again. I made sure this time we made a niche for the all the bathroom products, put up the water-resistant dry wall and then began to tile …
If you’re new here, welcome! We’re so glad you’re here.
Let us introduce ourselves, we’re Michelle and Steph, a mom and daughter team who love to DIY and decorate our homes.
Not only are we passionate about making our homes warm, comfortable and unique, but it’s our mission to help you create that same feeling in your own home.
You’ll find ideas for repurposing, creating, decorating and making your home truly yours, while always mindful of a tight budget.
Undoubtedly we love finding ways to make your home look high-end on a small budget.
Plus you’ll also find a recipe or two as we share our family favorites with you.
We’d love it if you’d join our community of doers so you won’t miss any inspiration for your home.
We love new friends.

We did need to make one small adjustment as we tiled. The edge of the bathtub, where it would meet the tile had a lip on it that would prevent the tile from sitting flush on it. Luckily I was able to find a base tile that’s intended to be like a baseboard type tile where the wall tile meets the floor. It worked perfectly over the lip of the tub and we just cut it on an angle at the corners. We used 1/8″ spacers for all the tiles, I really wanted the charcoal grout line to stand out.

We used a rounded over tile for the edge of the shower niche and around the window seal area. In the corners of the niche we used pennies as tile spacers.
If you’d like to learn how to build a simple and affordable shower niche frame, click here.

A diamond bit hole saw was used to cut the tiles for the water pipes and control valve.
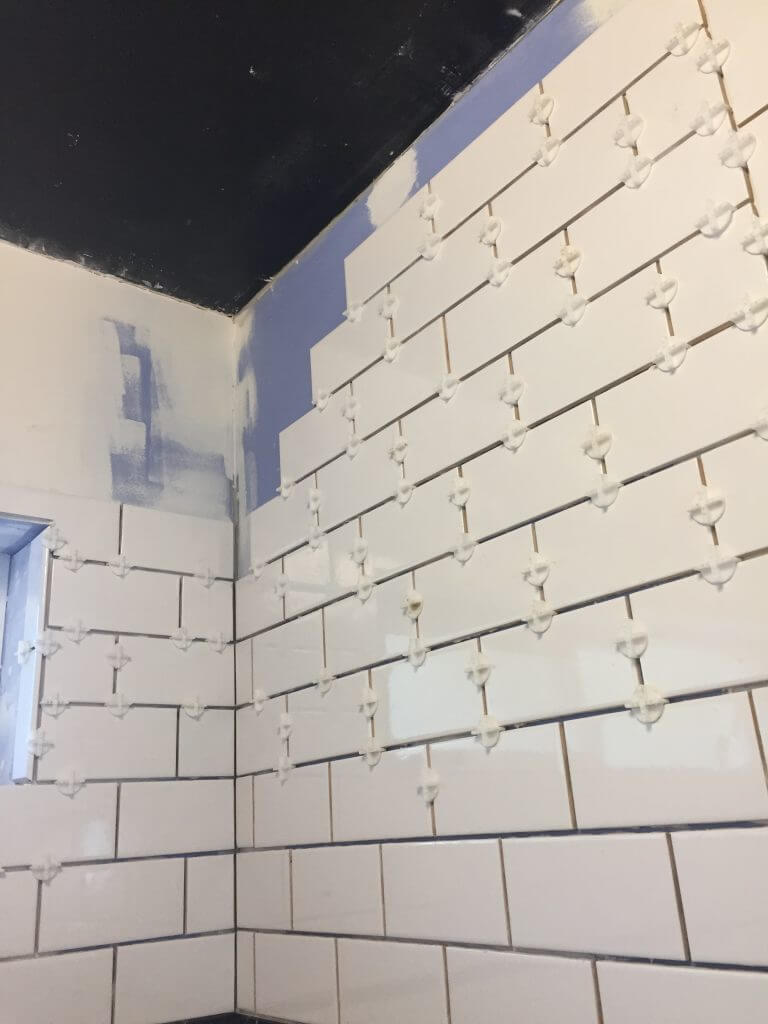
It took us about a week to complete all the tiling. We are not professionals for sure, but over all I am very please for the way it turned out
Let’s stay connected! Follow us on social media!


Now for the grout … (this makes me smile) … This is definitely a 2 person job (at least for amateurs.) The grout is spread on with a rubber grout float, pressing the grout into space between the tiles. Then pull the float across the tiles going on a diagonal to remove and excess grout. Follow the directions on the packaging, I believe ours said to remove excess grout after about 20-30 minutes with a sponge. This is where its handy to have 2 people, one to apply the grout and one to remove the excess, this we were able to do in an evening. The following day using a clean cloth we buffed off the remaining haze. After the tile had cured for a few days a sealer was applied.
More Tiling Tips for Beginners
- How to Tile a Shower Wall: Tips for Beginners
- 8 Tips for Beginners: Install a Simple Tile Backsplash
- Installing Tile: Practical Tips for Beginners You Need to See
- How To Install a Hexagon Bathroom Floor Tile a Beginner’s Guide
- How To Install a Tile Shower Like a Pro For Beginners
- How To Grout Tile Stress Free | What You Need To Know
- Easy Tile Floor Makeover Without Stenciling Or Paint
- Simple Inexpensive Self Adhesive Floor Tiles One Year Later

Yippy skippy, it’s finally finished and I LOVE the way it all turned out! If you would like to check out the full bathroom reno click here.
We hope you found some inspiration for your home today.
Please share your tips and ideas with us.
We love hearing from you!
If you’re new here, WELCOME! We love having new readers and friends!
You can learn more about us here.
Let’s stay connected! Join our DIY community of doers and you won’t miss the weekly updates and more inspiration for you always on a budget.
Sharing is caring!
Thanks for stopping by Sunny Side Design. Empowering you to create a home you love!
DISCLAIMER
This blog’s content is for entertainment purposes only and is not professional advice. By reading this blog and attempting to recreate a project, you assume all responsibility for any injuries or damages incurred. Read my full disclaimer here.
PHOTO USE AND CONTENT SHARING
All of the photographs you see here are the property of Sunny Side Design unless otherwise credited.
We love for others to share our work, so please feel free to use one photo with a link back to our website.
Pinning and sharing is always encouraged!
Please do not reproduce other Sunny Side Design content without permission.
Retailers We Love
- Anthropologie
- Birch Lane
- Crate & Barrel
- Joss and Main
- Lampsplus
- Mark & Graham
- One Kings Lane
- Pottery Barn
- Rejuvenation
- Serena & Lily
- Wayfair
- West Elm
- Williams Sonoma
- World Market
Be sure to follow us on Pinterest for even more home decor and DIY ideas.
To see what we are working on before it’s on our blog, follow us on Instagram.
You will also find our video tutorials on our YouTube channel.
- Simple Pumpkin Solar Lights in Under 5 Minutes

- Best Ever Protein Zucchini Muffins That Taste Incredible
- Easy DIY Halloween Ghosts with Vintage Doilies
- 10 Simple Fall Decor Trends to Try in Your Home This Year