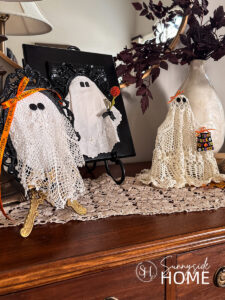
Ready for a quick and inexpensive Halloween DIY? Turn thrifted vintage doilies into the cutest little Halloween ghosts!
I don’t know about you, but we’re getting excited to decorate for Halloween!
Each year, we love making a few Halloween crafts to freshen up our Halloween decor, and this week’s DIY might just be one of our favorites.
These adorable Halloween ghosts are inexpensive to make using thrift store finds…
or you may already have the supplies lying around your home like we did!
They’re quick and easy to make, too.
And for a little mother-daughter fun, my mom and I each made our own variation of these doily Halloween ghosts.
Now we can’t decide which one we like best!
Let us know which one is your favorite!
Sunnyside home is a participant in the Amazon Services LLC Associates Program, an affiliate advertising program designed to provide a means for sites to earn advertising fees by advertising and linking to Amazon.com. As an Amazon Associate, this blog earns from qualifying purchases with no additional cost to you. Click here to read our full disclosure policy.
DIY Halloween Ghosts: Two Ways to Make Them
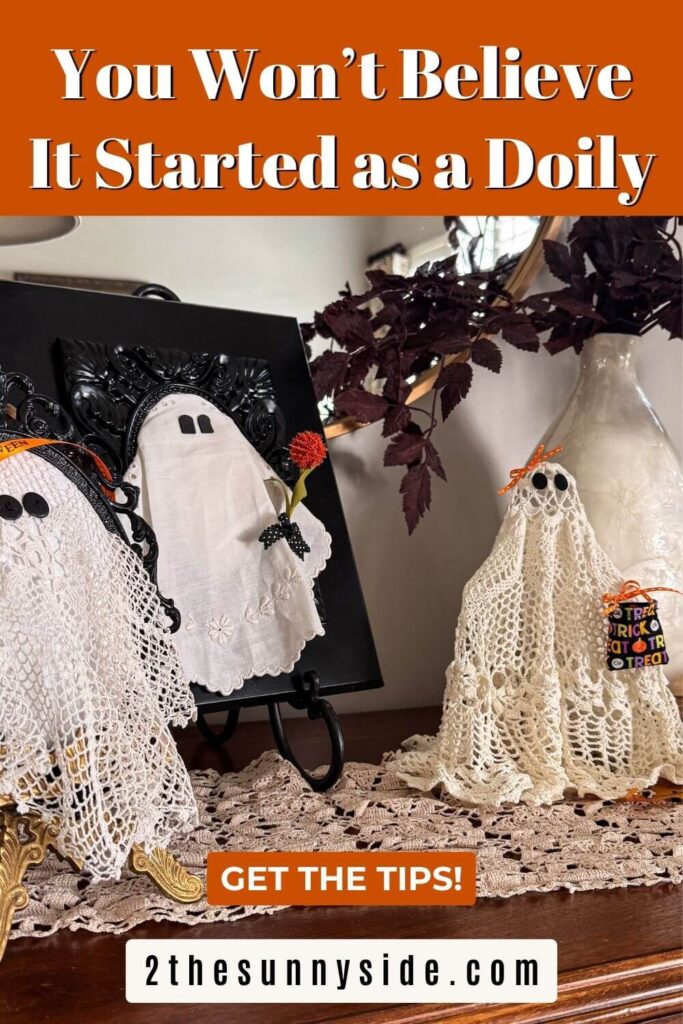
We’re sharing two different ways to turn vintage doilies into the cutest Halloween ghosts, a charming framed ghost and a whimsical freestanding ghost figure.
Both are inexpensive and easy to make, which makes it SO hard to choose our favorite!
Which one will you make?
Are you enjoying this project? Please Pin It, save it for later and share it with a friend.
Sharing is caring!
Variation 1: Framed Halloween Ghost
This framed Halloween ghost is such a fun way to turn a vintage doily into charming Halloween decor.
Hang it as part of a gallery wall, or place it on an easel on a bookshelf or entry table to give your guests a welcome this Halloween.
Supplies Needed
For this framed Halloween ghost, you’ll need just a few simple supplies:
- vintage doily (don’t worry if it’s not in the best condition, that adds to the charm)
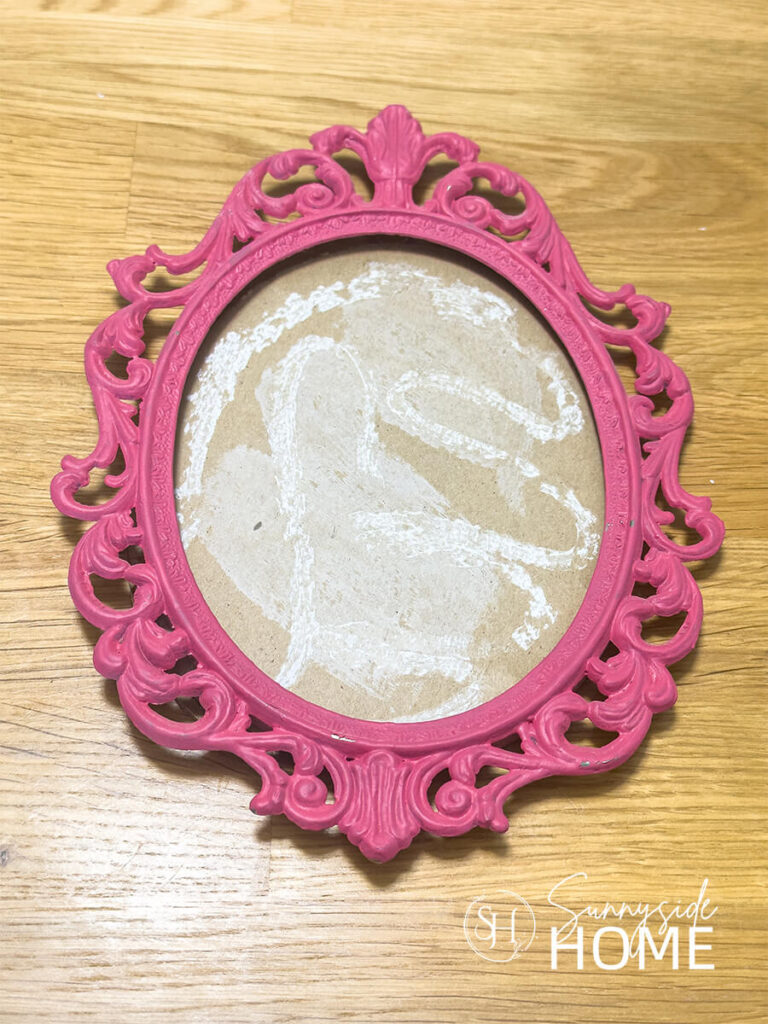
- oval picture frame or a frame with an oval opening,
- small scrap of batting
- white fabric scrap
- glue
- buttons, felt, or fabric for eyes
- embellishments such as ribbon, or anything else that gives your ghost a little personality.
Prepare the Frame Backing
Start by removing the backing from your frame.
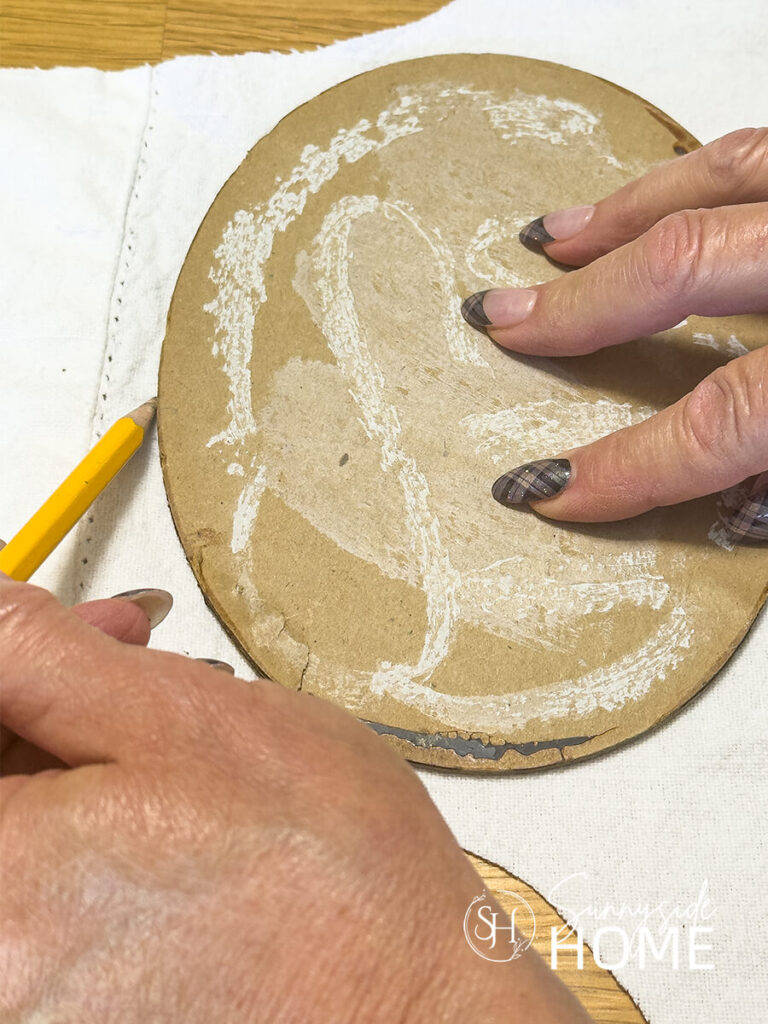
We’re going to give the backing a little padding and cover it with fabric to create a soft backdrop for the ghost.
First, trace the frame backing onto a scrap of white fabric, then cut it out about 1/8″ larger than your tracing.
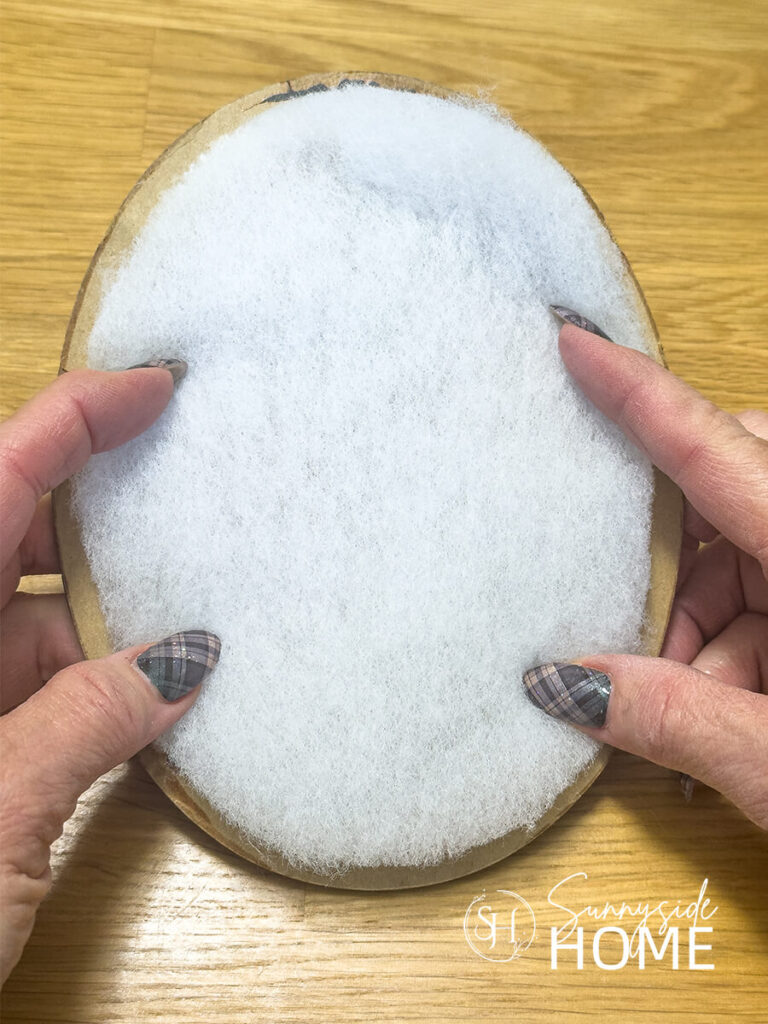
Next, trace the frame backing onto a piece of batting and cut it about 1/8″ smaller than the actual frame backing.
If you don’t love the color of your frame, now is also a good time to give it a couple of light coats of spray paint.
We painted ours black.
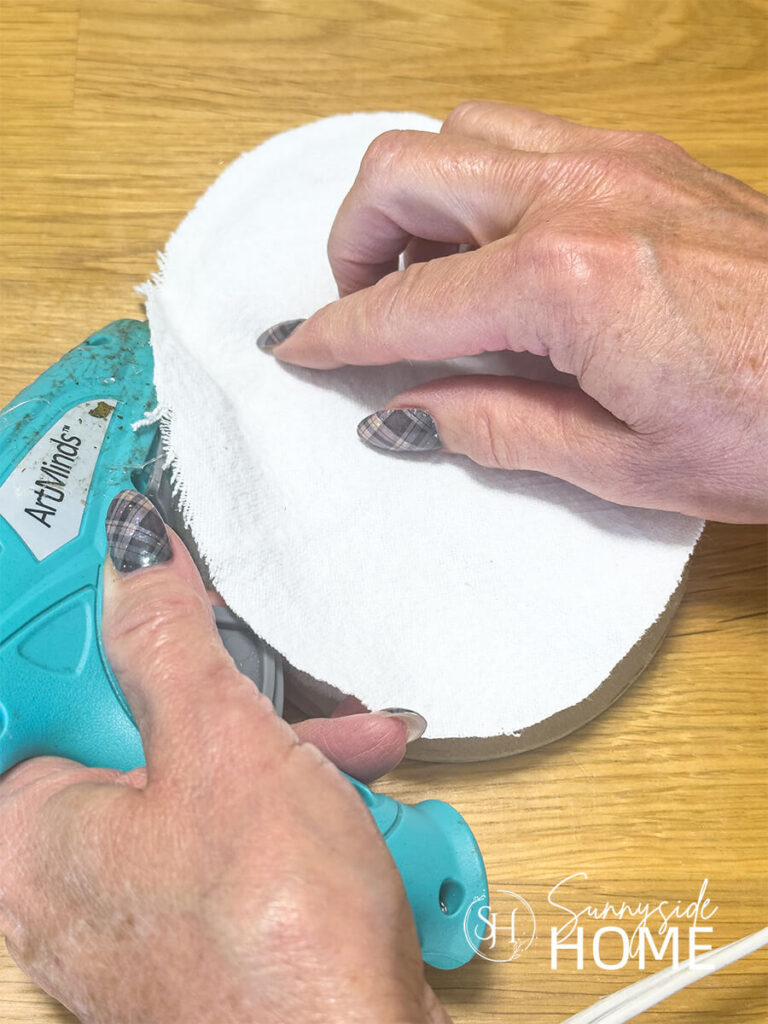
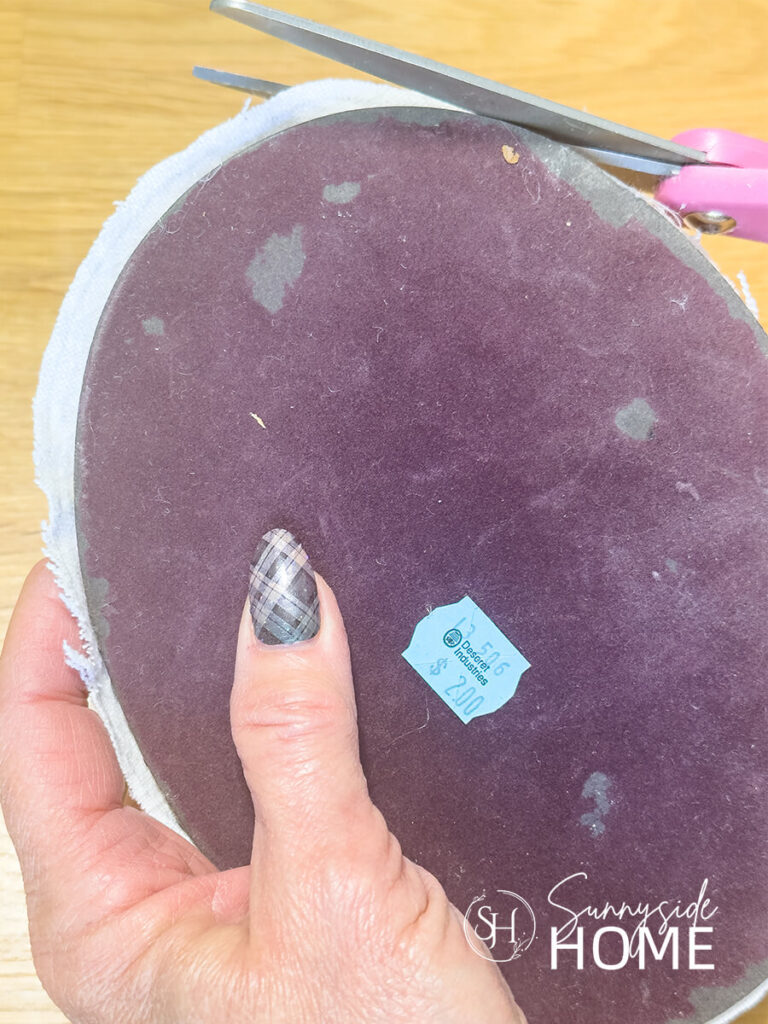
To assemble the backing, center the oval piece of batting on the frame backing, then place the fabric oval over the top.
Using hot glue, attach the fabric all the way around the edge of the frame backing.
Trim away any excess fabric that overlaps the frame with scissors.
Add the Doily
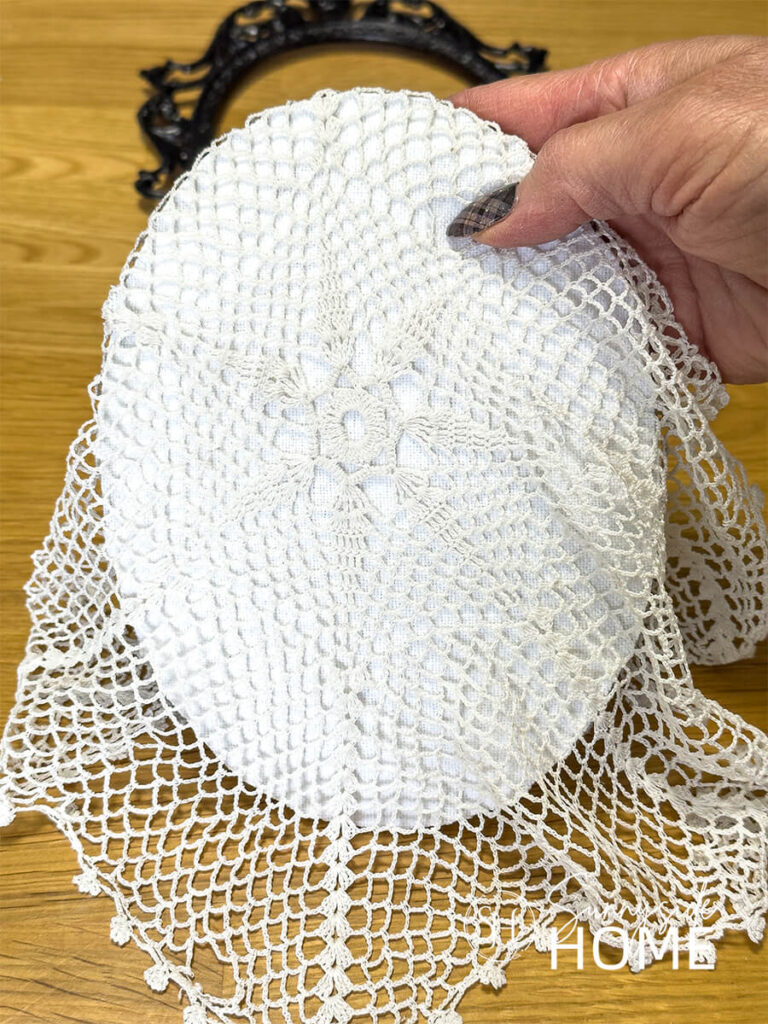
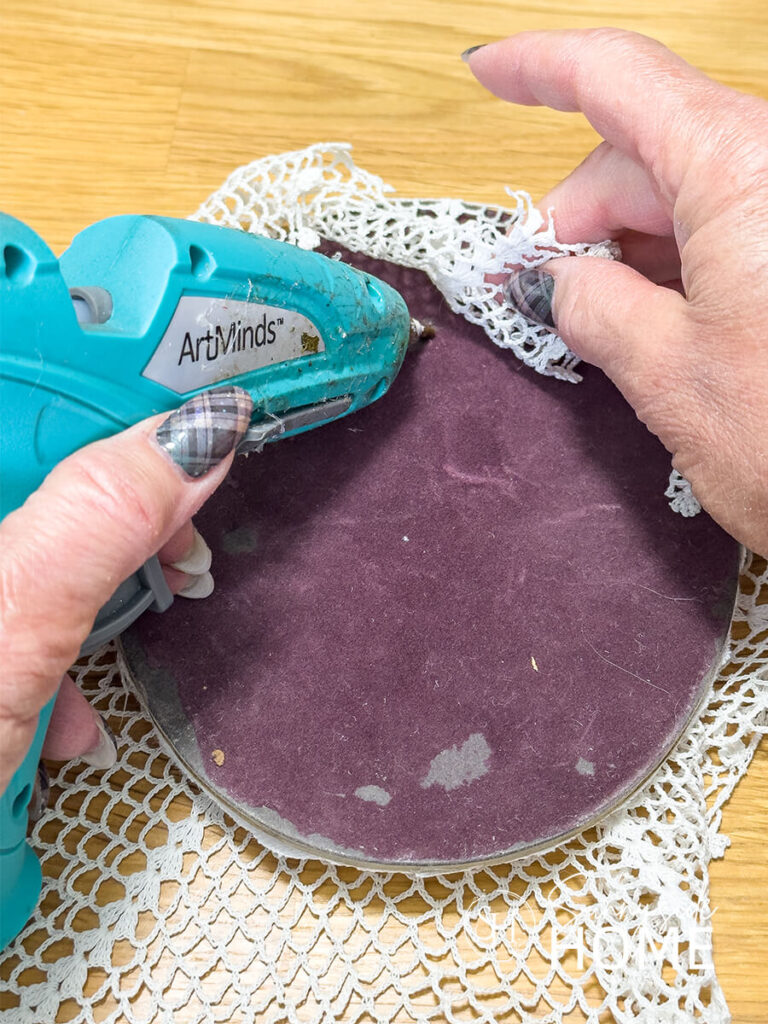
Place the vintage doily over the padded frame backing and play around with the placement until you like how far you want the ghost to hang below the frame.
Once you have it positioned, flip the backing over and secure the doily to the back with hot glue.
Only attach it about 1/4 of the way down from the top of the backing.
This leaves the rest of the doily loose so you can shape it into your ghost.
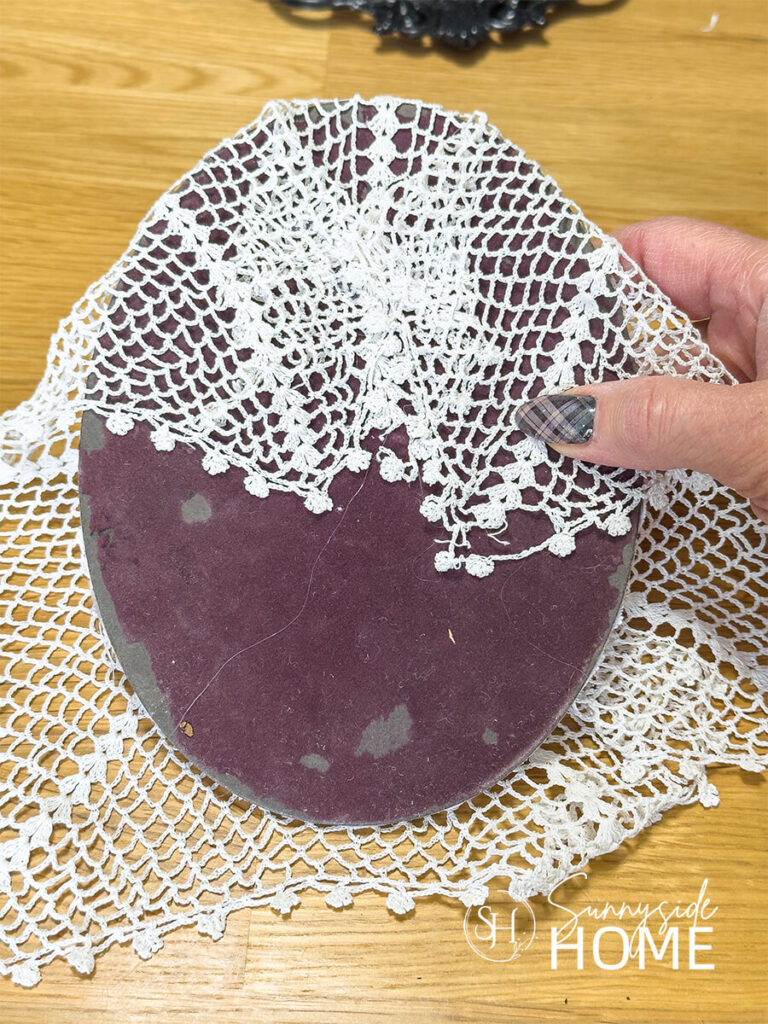
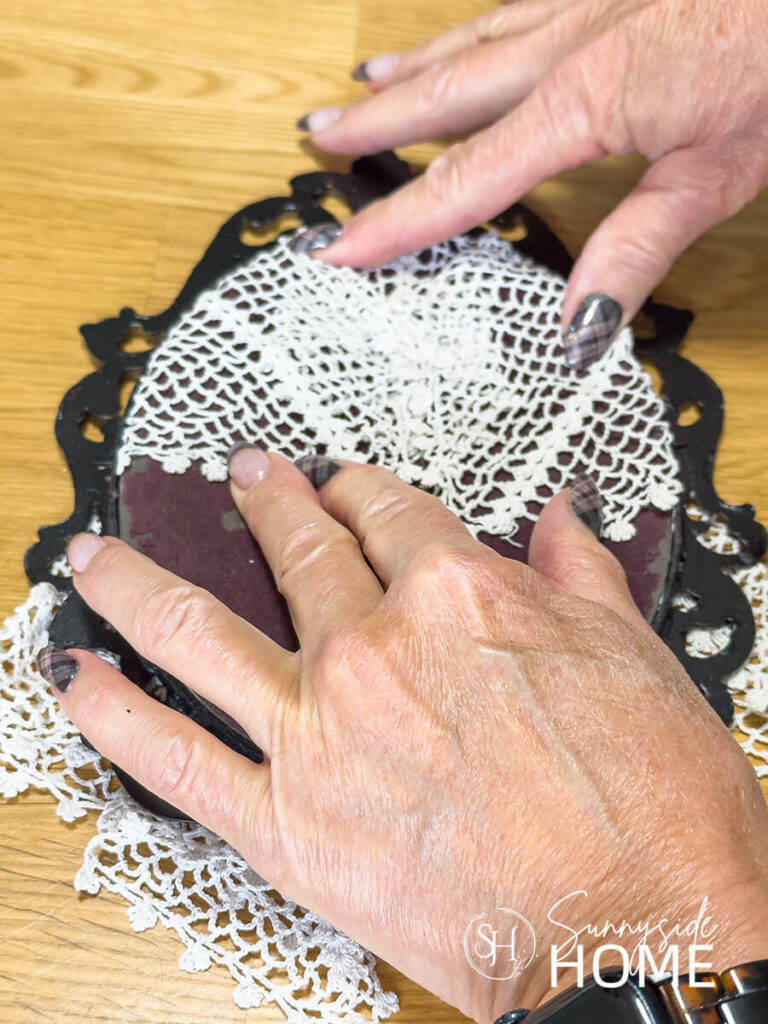
Next, pull the loose end of the doily through the frame so it hangs over the lower portion of the front.
Gently press the backing into the frame to secure everything in place.
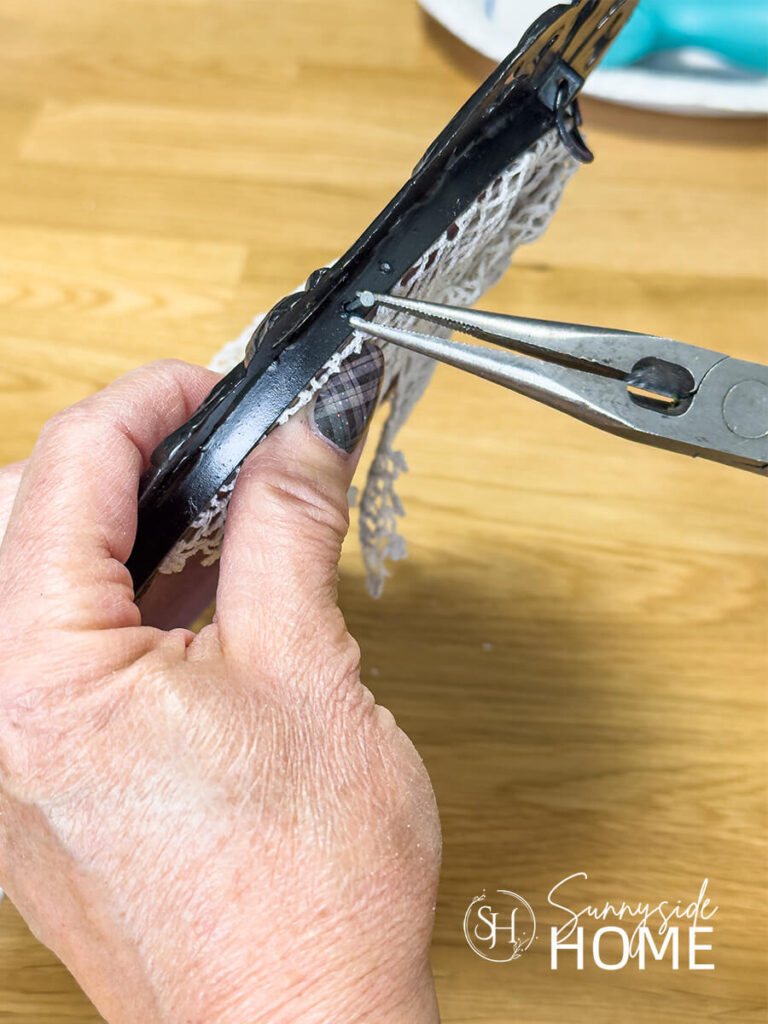
One of our frames uses small nails along the sides to hold the backing in place, while the other has small photo turns that rotate over the backing to secure it.
Embellish the DIY Halloween Ghost
Now for the fun part—giving your ghost some personality!
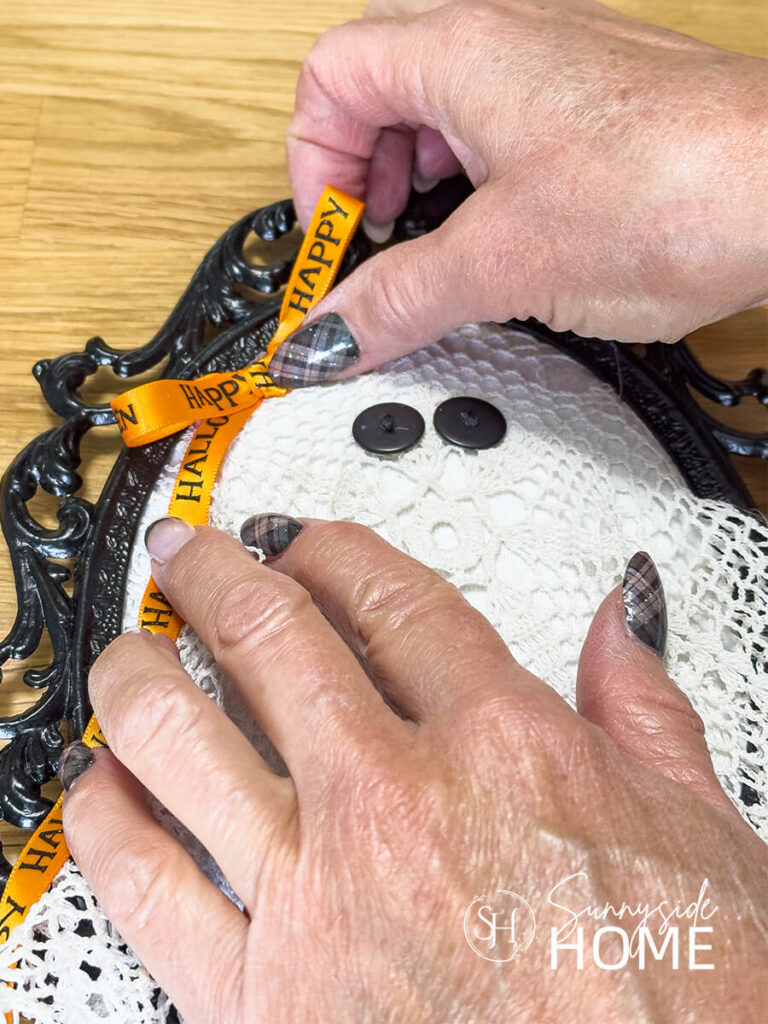
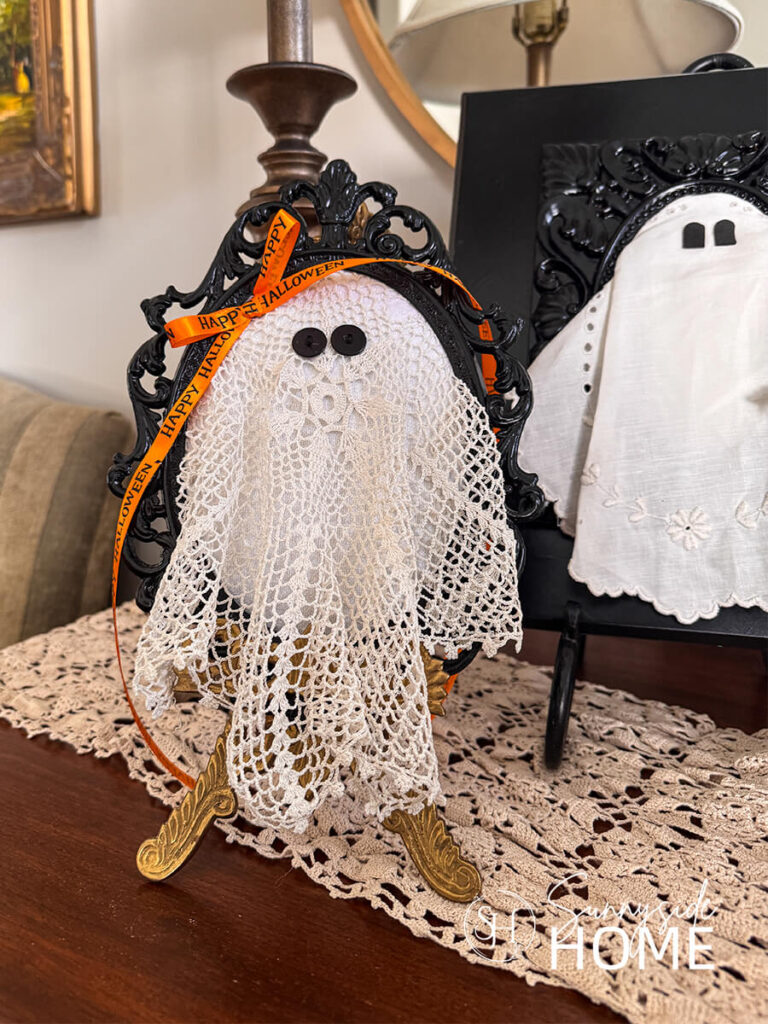
Start by adding the eyes.
For one of our framed Halloween ghosts, we used black buttons, and for the other we cut the eyes from black craft foam and attached them with glue.
Black felt would work great, too.
Then embellish your ghost however you like with a fun Halloween ribbon tied into a bow, small flowers, or any other little touches that make your ghost uniquely yours!
If you’re new here, welcome! We’re so glad you’re here.
Let us introduce ourselves, we’re Michelle and Steph, a mom and daughter team who love to DIY and decorate our homes.
Not only are we passionate about making our homes warm, comfortable and unique, but it’s our mission to help you create that same feeling in your own home.
You’ll find ideas for repurposing, creating, decorating and making your home truly yours, while always mindful of a tight budget.
Undoubtedly we love finding ways to make your home look high-end on a small budget.
Plus you’ll also find a recipe or two as we share our family favorites with you.
We’d love it if you’d join our community of doers so you won’t miss any inspiration for your home.
We love new friends.
Variation 2: Doily Halloween Ghost Figure
Our second variation is a sweet freestanding Halloween ghost figure that you can display just about anywhere!
Place it on a mantel, shelf, or table, or tuck it into a Halloween vignette for a little spooky charm.
And the best part?
You can make your ghost any size you like depending on the size of your vintage doilies.
Supplies Needed
For the freestanding ghost figure, you’ll need:
- vintage doily
- liquid fabric starch
- felt, buttons, or another material for the eyes
- any embellishments you’d like to add.
You’ll also need a few items to create a simple form to drape your doily over.
For the head, use something round such as a Styrofoam ball, a balloon, or even a piece of crumpled aluminum foil.
You’ll also need a bottle or similar object to give your ghost some height.
Plus aluminum foil to shape the arms and plastic wrap to cover the form.
Create a Form for the Ghost
To create our ghost form, we placed a ball on top of a bottle, then rolled strips of aluminum foil and shaped them into arms around the neck of the bottle.
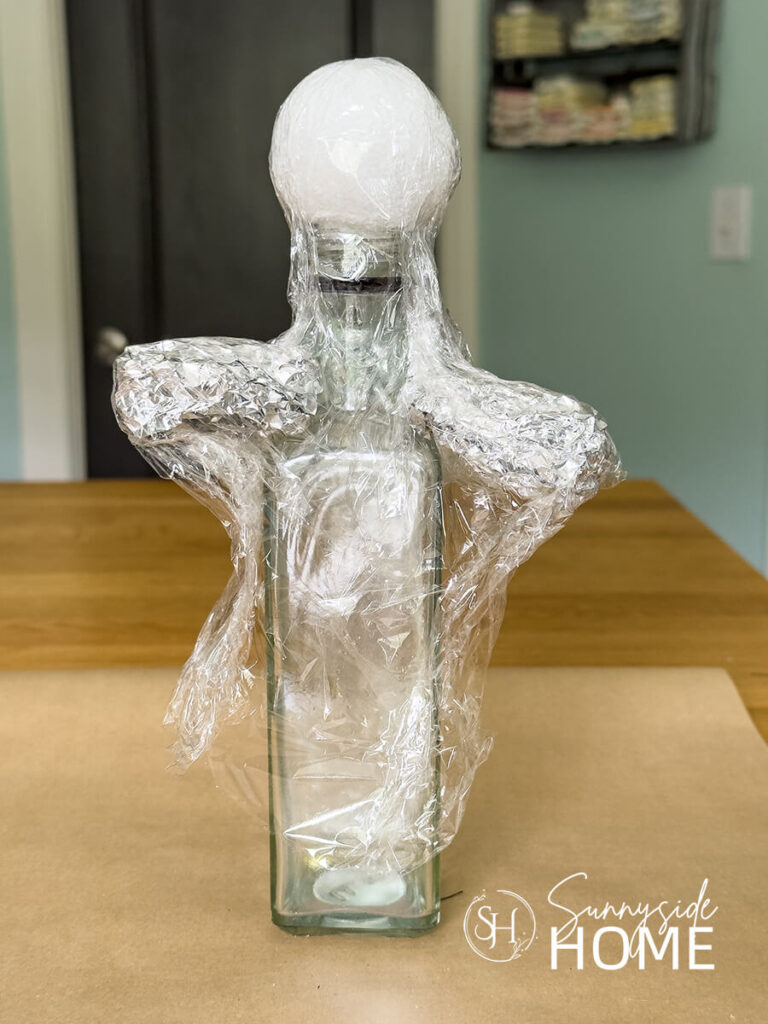
Finally, cover the entire form with plastic wrap.
This creates a smooth surface that will make it easy to remove your finished doily ghost once it has dried.
Place your ghost form on a piece of parchment paper or wax paper to protect your work surface.
Let’s stay connected! Follow us on social media!
Prepare the Doily
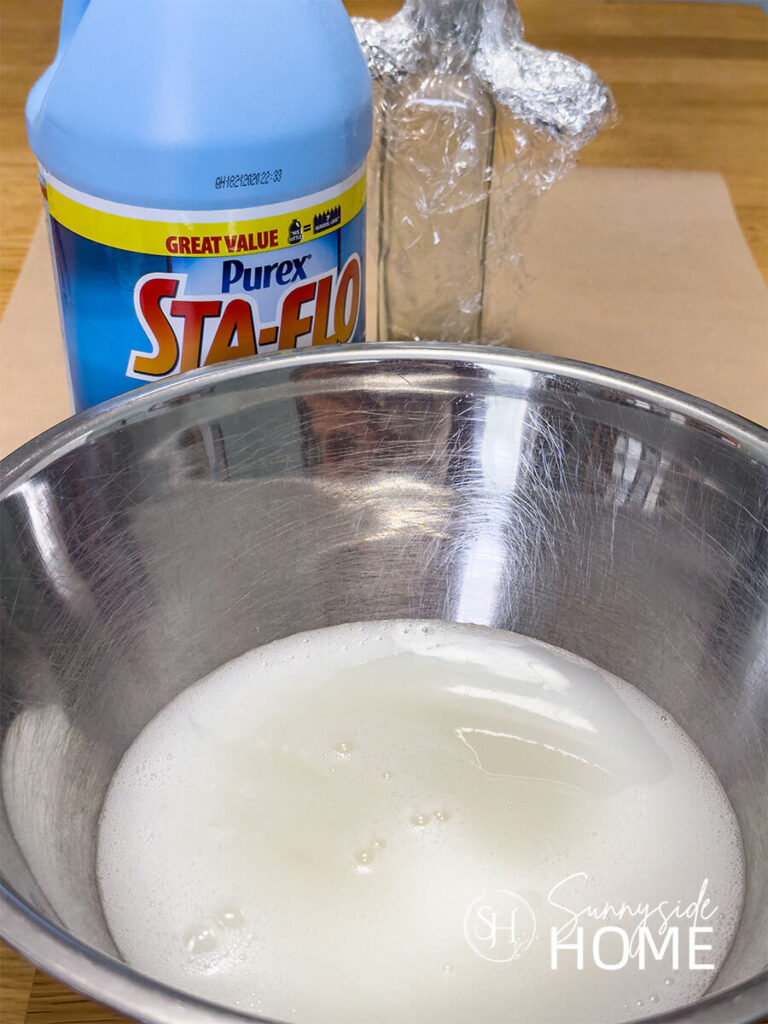
Pour enough liquid fabric starch into a large bowl to completely cover your doily.
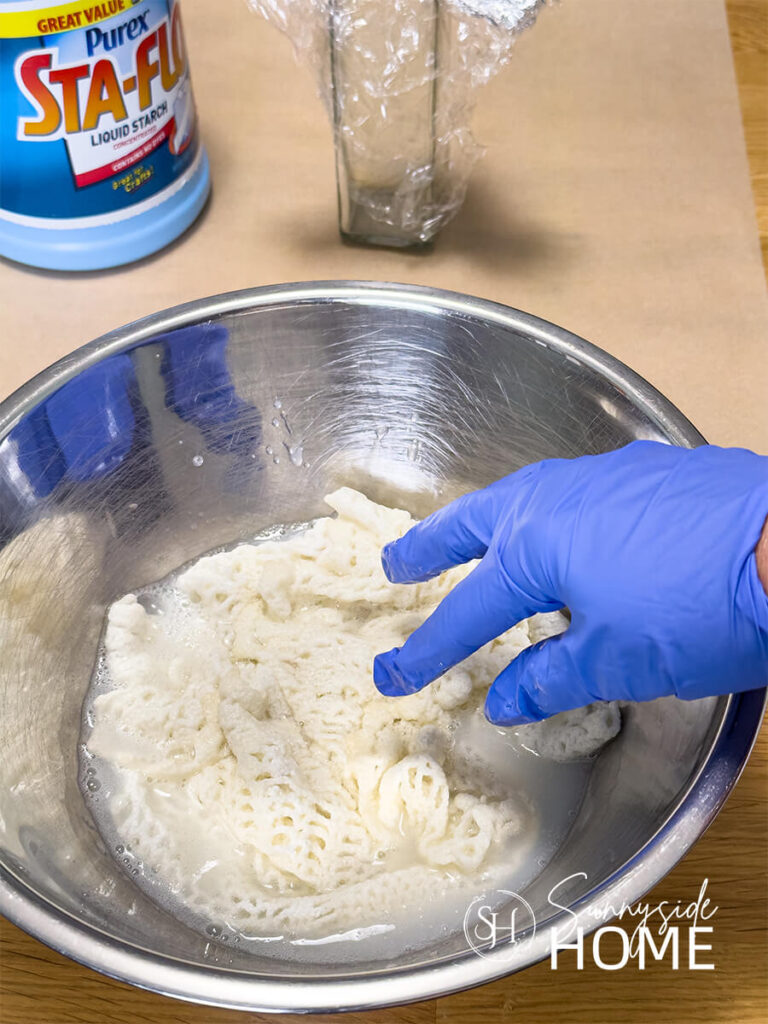
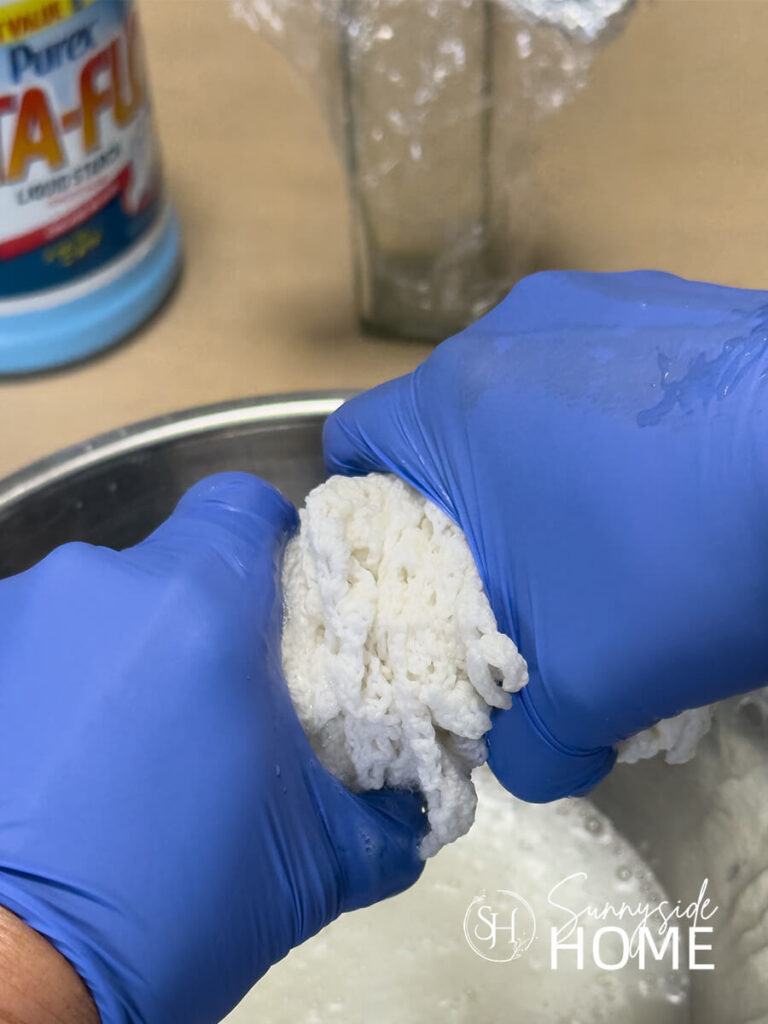
Submerge the doily in the starch, making sure it is thoroughly saturated.
Remove it from the bowl and gently squeeze out as much excess starch as you can.
Shape the Halloween Ghost
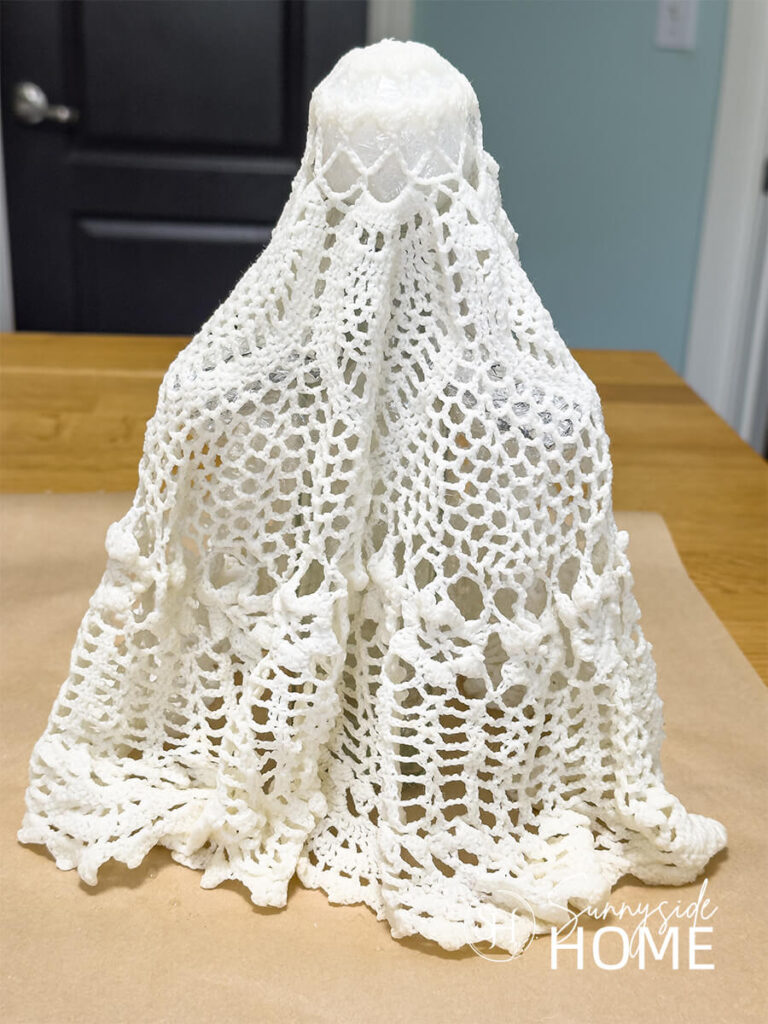
Drape the doily over your ghost form and shape it however you like, arranging the folds and arms to give your ghost some personality.
Pour any unused liquid fabric starch back into the container.
Let the doily ghost dry completely—mine took about 24 hours to dry.
Once it’s completely hardened, gently remove the ghost from the form.
Embellish the Halloween Ghost Figure
Now it’s time to give your Halloween doily ghost a little personality!
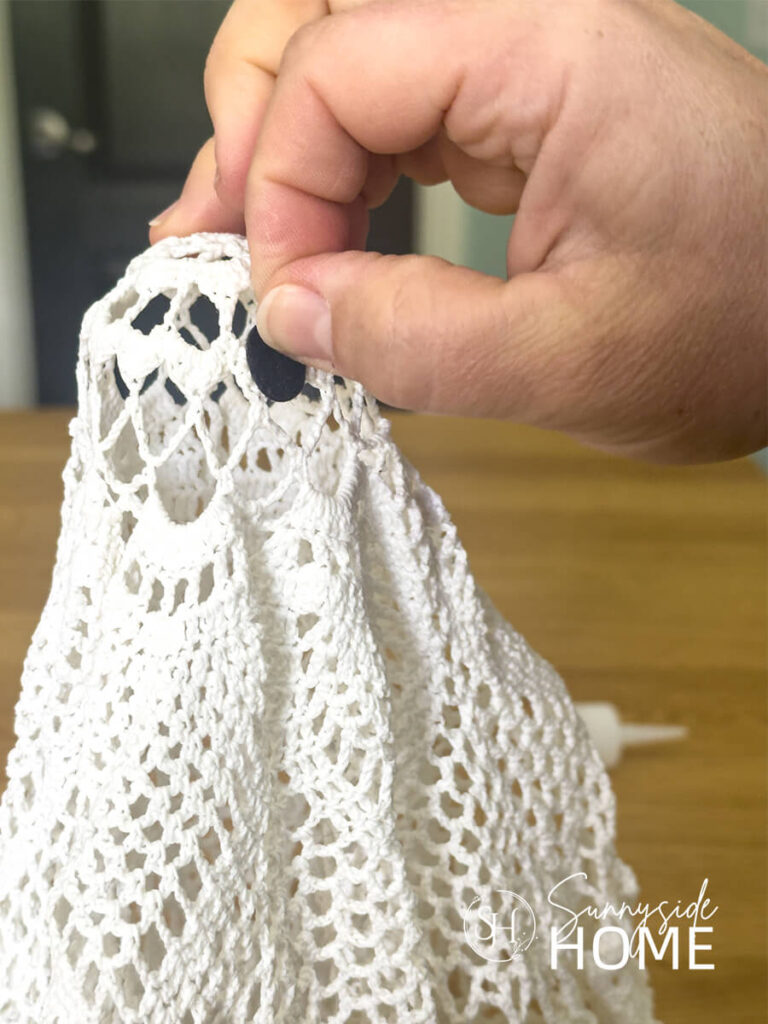
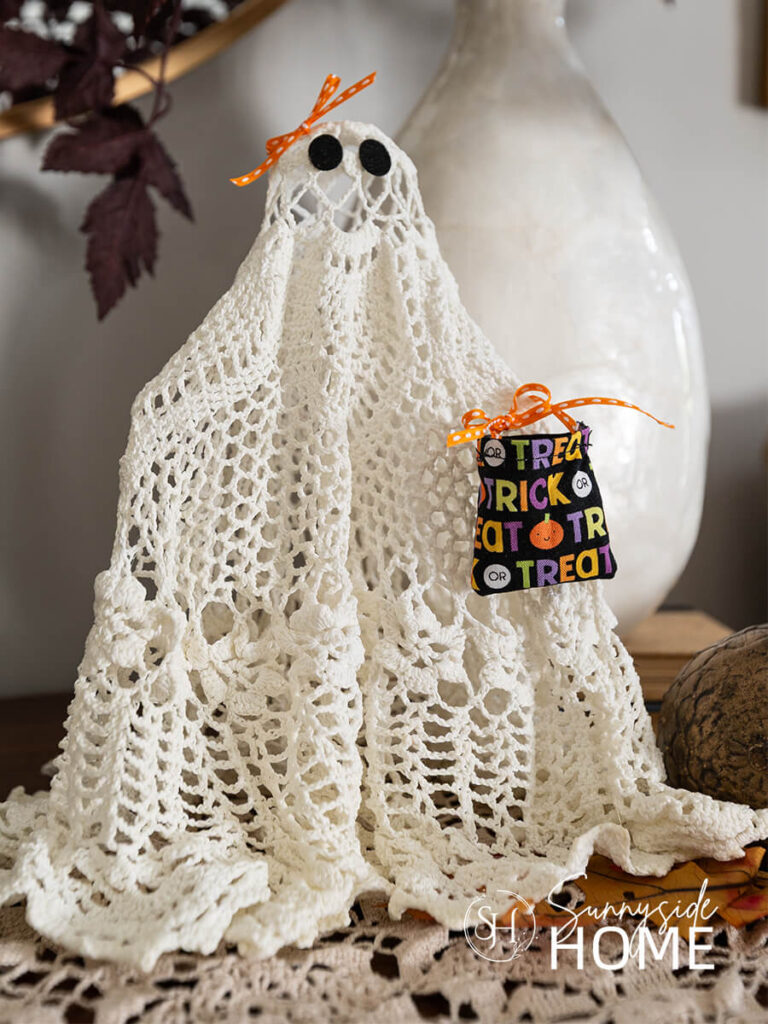
Start by cutting out and gluing on the eyes, then let your creativity go wild with the embellishments.
I decided to make my ghost a tiny trick-or-treat bag using some scraps of Halloween fabric.
I cut two squares of fabric, created a rolled hem along the top of each piece, then stitched the squares together on three sides.
Finally, I added a ribbon handle and tied it to the doily ghost.
There are so many fun ways to personalize your little ghost—so be creative and make it your own!
And please share how you embellish your ghost.
We’d love to know!
Style Your Halloween Ghost Decor
Now that your ghosts are finished, it’s time to find them a spot to show off their Halloween charm!
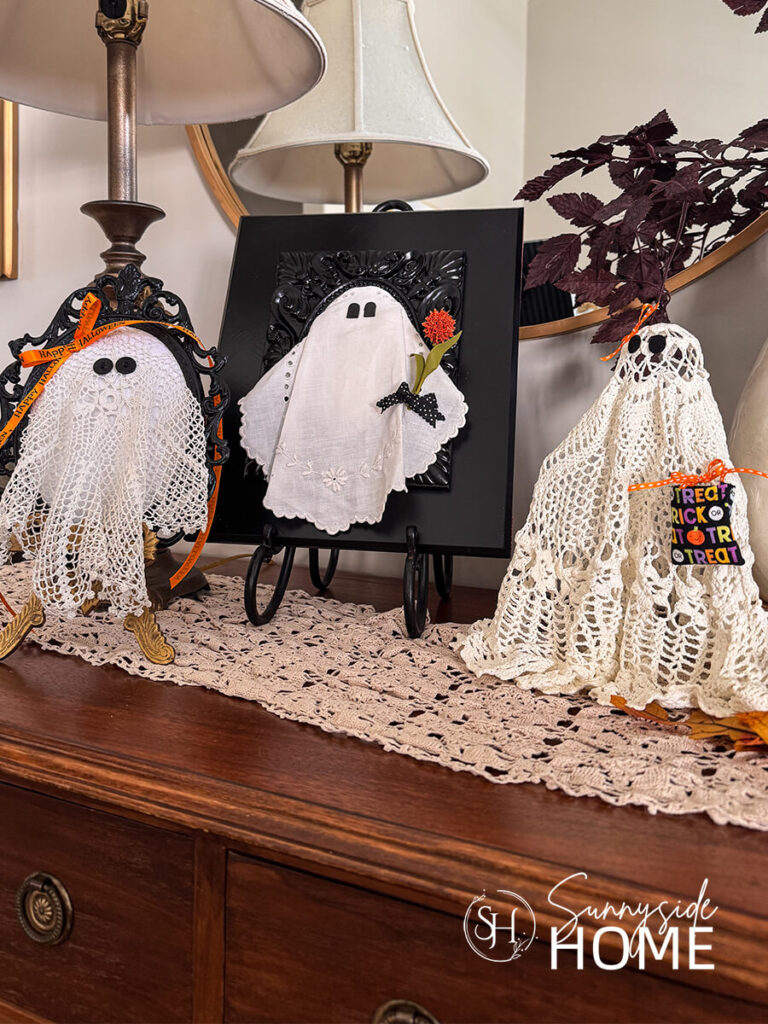
The framed doily ghosts are perfect for hanging on a gallery wall or leaning on an easel on a bookshelf, mantel, or entry table.
Our freestanding Halloween ghost figure can be tucked into a mantel display, placed on a shelf or tabletop, or nestled into a Halloween vignette with pumpkins, flowers, and other seasonal decor.
We especially love displaying the two variations together, the mix of framed and freestanding ghosts makes a fun little Halloween collection!
Tips for Making Doily Halloween Ghosts
Making these doily Halloween ghosts is easy, and a few little tips can make the process even more fun.
Look for vintage doilies at thrift stores, yard sales, or even in your own linen closet.
You don’t need a perfect one, and the unique shapes and imperfections add character.
Experiment with different sizes and patterns to create ghosts with their own personalities.
For the freestanding ghost, be sure to saturate the doily well with fabric starch and allow plenty of time for it to dry completely before removing it from the form.
And most importantly, don’t be afraid to get creative with the embellishments!
A few simple details can turn an ordinary doily into a ghost with lots of personality.
Why We Love These DIY Halloween Ghosts
There’s so much to love about these DIY Halloween ghosts!
They’re inexpensive, quick and easy to make, and they’re a fun way to give vintage doilies a whole new purpose.
We also love that Mom and I each made our own variation, using the same simple idea but creating two completely different ghosts.
Whether you make the framed version, the freestanding figure, or both, these little ghosts add the sweetest touch of vintage charm to your Halloween decor.
And really, how can you resist a ghost this cute?
Shop Cute Halloween Ghosts

More Easy DIY Halloween Decor
- Make a Tabletop Witch Broom
- How To Make Bust Skull Decor for Halloween
- Spooky Halloween Skeleton Silhouettes
- Cheap and Easy Batty Halloween Wreath
- Halloween Skull Napkin Rings
- Easy DIY Denim Pumpkin Decor for Fall
Final Thoughts
We hope these little doily ghosts have inspired you to look at your thrifted treasures in a whole new way!
We love that something as simple as a vintage doily can become such fun Halloween decor with just a few supplies and a little creativity.
Whether you make the framed ghost, the freestanding ghost figure, or both, we’d love to see how you make them your own.
And don’t forget to check your own cupboards, craft supplies, and linen closet before heading to the store…
you may already have everything you need to create a little Halloween magic!
Please share your tips and ideas with us.
We love hearing from you!
If you’re new here, WELCOME! We love having new readers and friends!
You can learn more about us here.
Let’s stay connected! Join our DIY community of doers and you won’t miss the weekly updates and more inspiration for you always on a budget.
Sharing is caring!
Thanks for stopping by Sunnyside Home. Empowering you to create a home you love!

Retailers We Love
- Anthropologie
- Birch Lane
- Crate & Barrel
- Joss and Main
- Lampsplus
- Mark & Graham
- One Kings Lane
- Pottery Barn
- Rejuvenation
- Serena & Lily
- Wayfair
- West Elm
- Williams Sonoma
- World Market
Be sure to follow us on Pinterest for even more home decor and DIY ideas.
To see what we are working on before it’s on our blog, follow us on Instagram.
You will also find our video tutorials on our YouTube channel.
What’s New . . .
- Easy DIY Halloween Ghosts with Vintage Doilies

- 10 Simple Fall Decor Trends to Try in Your Home This Year
- Easy Chinoiserie Decoupage Pumpkins with Napkins
- How to Make a Simple Pampas Grass Wreath for Fall