You know we like to go ALL OUT for Halloween around here. Today’s Halloween DIY idea is no different. Join us as we share how you can create these Dollar Tree DIY Napkin Rings for just $2!
Sunny Side Design is a participant in the Amazon Services LLC Associates Program, an affiliate advertising program designed to provide a means for sites to earn advertising fees by advertising and linking to Amazon.com. As an Amazon Associate, this blog earns from qualifying purchases with no additional cost to you. Click here to read our full disclosure policy.
Dollar Tree Skull Inspiration

We found these mini skull buckets from the Dollar Tree. Each pack has 4 buckets. We purchased 2 packs for a total of 8.
Are you enjoying this project? Please Pin It, save it for later and share it with a friend.
Sharing is caring!
Skull Bucket to Napkin Ring


The top of the bucket has a decent sized hole while the bottom is closed.
Using a 3/4″ wood bit, drill holes in the bottom of each bucket.


Next, remove the handle by pulling each end out of the bucket.
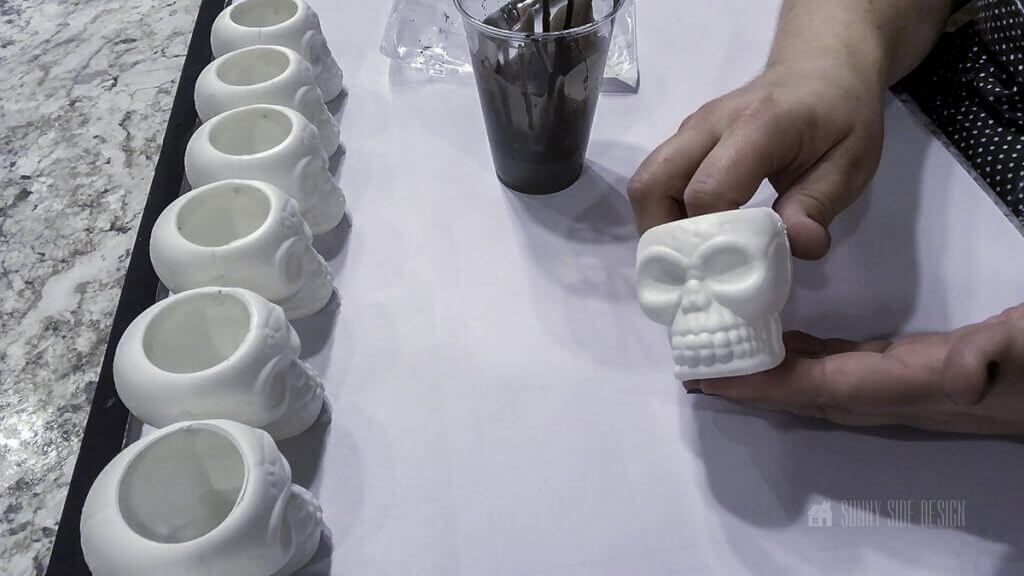
Then apply 2 coats of white chalk paint to each skull. Allow to dry completely.
The chalk paint will give a nice base layer for these napkin rings.
(You can use chalk spray paint as well, just be sure to use chalk paint as it will adhere to plastic.)
Here’s a sneak peek of the importance of the next step, distressing the napkin rings.
If you’re new here, welcome! We’re so glad you’re here.
Let us introduce ourselves, we’re Michelle and Steph, a mom and daughter team who love to DIY and decorate our homes.
Not only are we passionate about making our homes warm, comfortable and unique, but it’s our mission to help you create that same feeling in your own home.
You’ll find ideas for repurposing, creating, decorating and making your home truly yours, while always mindful of a tight budget.
Undoubtedly we love finding ways to make your home look high-end on a small budget.
Plus you’ll also find a recipe or two as we share our family favorites with you.
We’d love it if you’d join our community of doers so you won’t miss any inspiration for your home.
We love new friends.

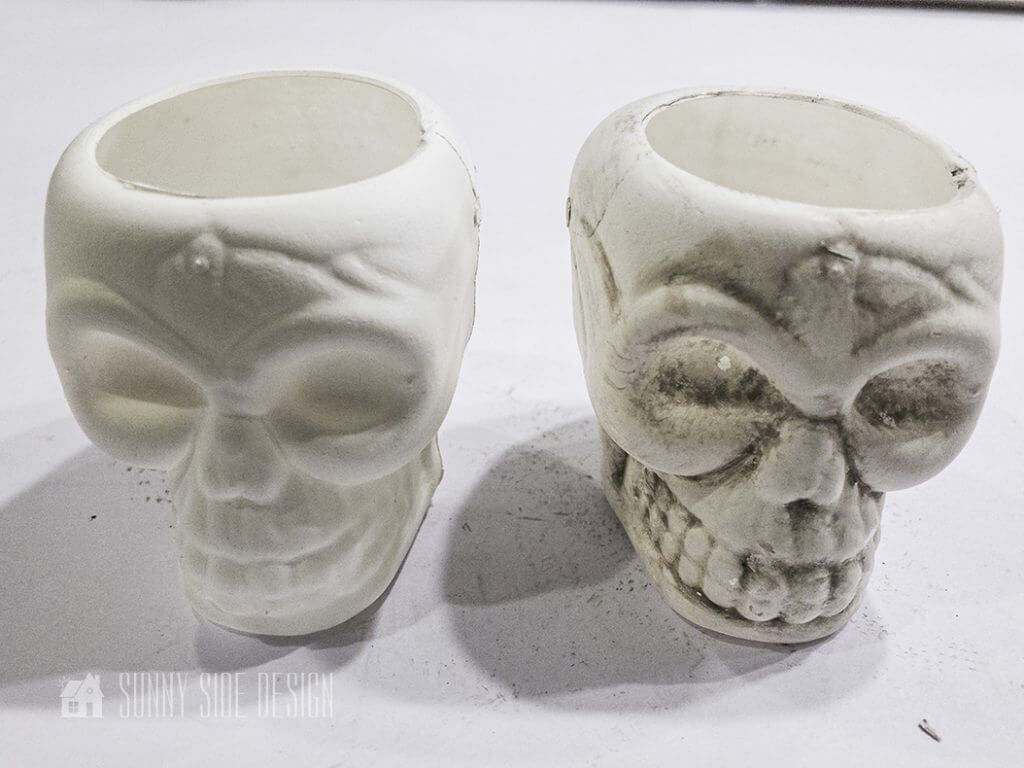
Distressing Skull Napkin Ring
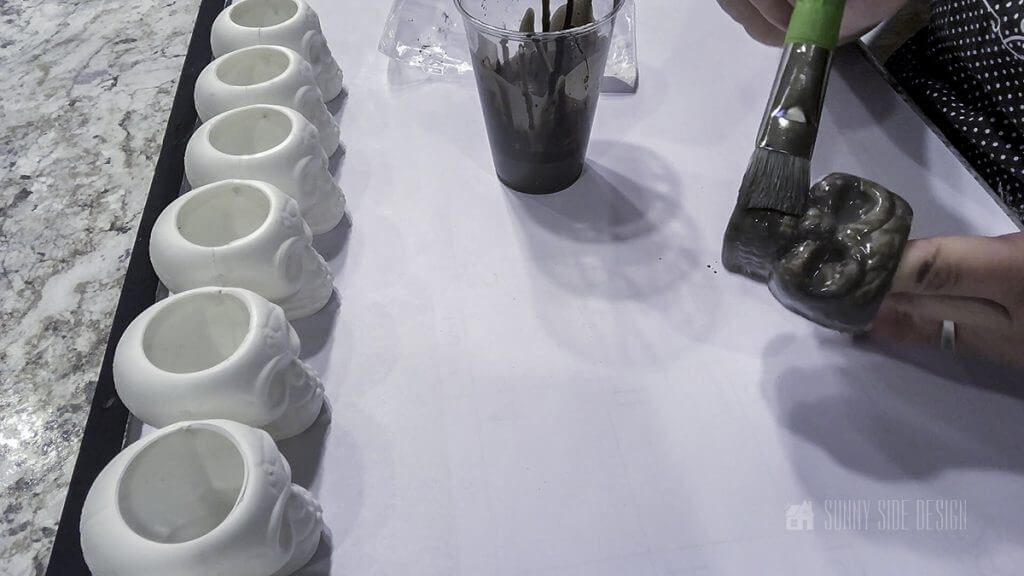
To distress the skull napkin rings, mix a small amount of dark grey paint with quite a bit of water to thin the paint.
The paint will be pretty runny, this is just how you’ll want it.
Apply this dark layer of paint to the entire skull.

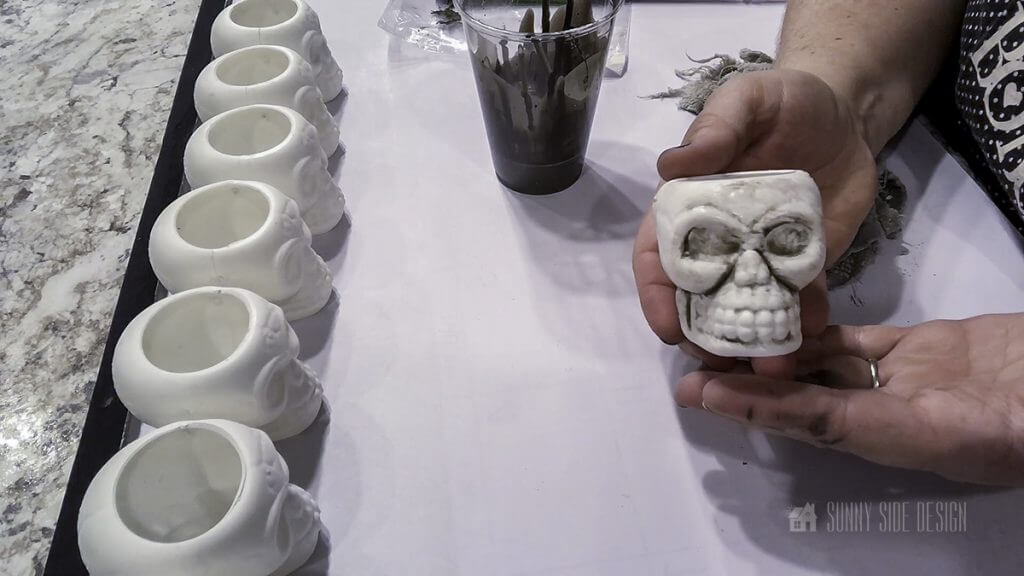
Then using a wet washcloth, wipe away the excess paint.
The dark paint will remain in all of the deep grooves and detailed areas of the skulls.
The grooves in some areas of the skulls weren’t as deep as the others. In these areas, I added a little more dark grey paint and dabbed off the excess with the wet washcloth.
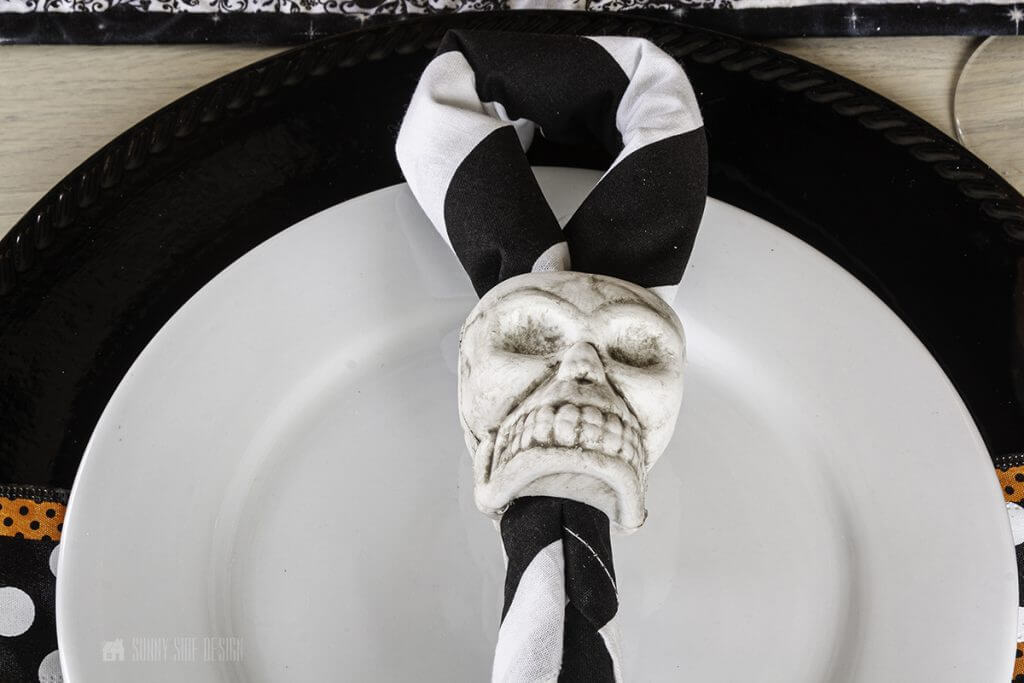
Distress the skulls to your hearts content to create the appearance of these eerie and aged skulls.
Let’s stay connected! Follow us on social media!
For more DIY Halloween decor check out these ideas:
- Easy Spider and Web Halloween Outdoor Decorations
- How To Make Spooky Halloween Skeleton Silhouettes
- Easy Halloween Bat Wreath
- DIY Halloween Skull Napkin Rings
- Easy Halloween Pillow Covers
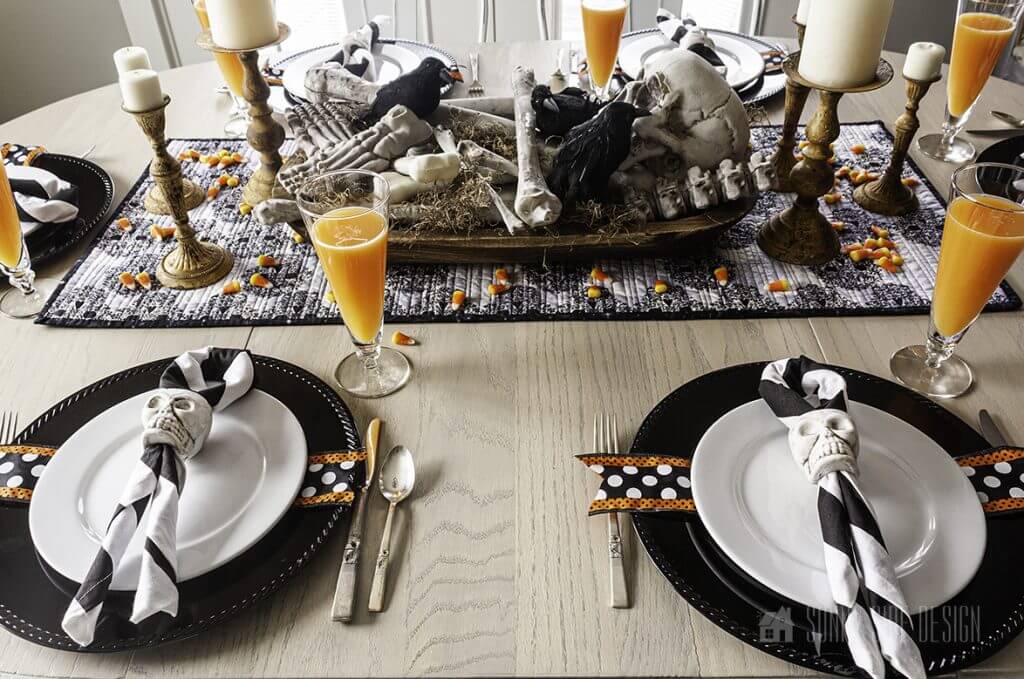
Styled DIY Dollar Tree Napkin Rings

What do you think?
They are pretty simple and easy to make. And at only $2 for 8 napkin rings, you can’t beat that!

This is also easy enough that you can get the kids involved. They’re sure to excitedly let your dinner guests know they helped make these awesome napkin rings!
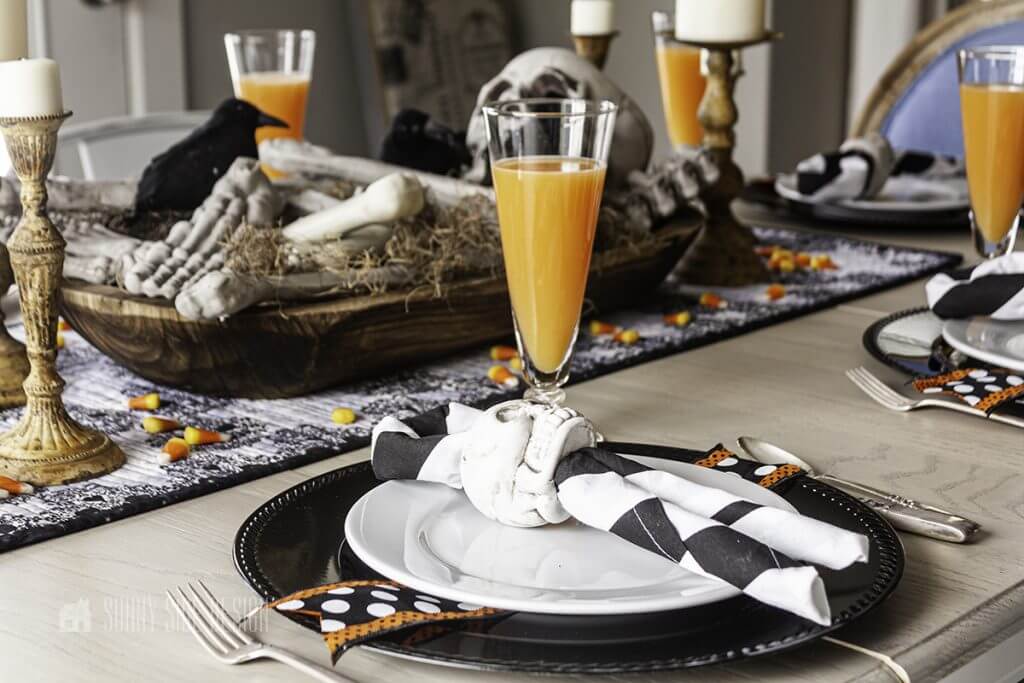
These DIY Dollar Tree Halloween Napkin Rings add just the right touch to this festive table setting.
To take a closer look at the skeleton centerpiece, you can see how we styled it in our Halloween Decorating Ideas With Skeletons.
Will you be creating these Dollar Tree Skull Napkin Rings for your next gathering?
Let us know how they turn out, we love hearing from you!
We hope you found some inspiration for your home today.
Please share your tips and ideas with us.
We love hearing from you!
If you’re new here, WELCOME! We love having new readers and friends!
You can learn more about us here.
Let’s stay connected! Join our DIY community of doers and you won’t miss the weekly updates and more inspiration for you always on a budget.
Sharing is caring!

Thanks for stopping by Sunny Side Design. Empowering you to create a home you love!
DISCLAIMER
This blog’s content is for entertainment purposes only and is not professional advice. By reading this blog and attempting to recreate a project, you assume all responsibility for any injuries or damages incurred. Read my full disclaimer here.
PHOTO USE AND CONTENT SHARING
All of the photographs you see here are the property of Sunny Side Design unless otherwise credited.
We love for others to share our work, so please feel free to use one photo with a link back to our website.
Pinning and sharing is always encouraged!
Please do not reproduce other Sunny Side Design content without permission.
Retailers We Love
- Anthropologie
- Birch Lane
- Crate & Barrel
- Joss and Main
- Lampsplus
- Mark & Graham
- One Kings Lane
- Pottery Barn
- Rejuvenation
- Serena & Lily
- Wayfair
- West Elm
- Williams Sonoma
- World Market
Be sure to follow us on Pinterest for even more home decor and DIY ideas.
To see what we are working on before it’s on our blog, follow us on Instagram.
You will also find our video tutorials on our YouTube channel.
- Easy One Pot Beef and Cabbage Soup with a Kick

- Simple Valentine Heart Decor Using Vintage Linens & Lace
- How to Store and Organize Christmas Decorations
- Easy Last Minute Neighbor Christmas Gifts with PrintableTag