Learn how to turn inexpensive plastic pumpkin buckets into fun pumpkin solar lights quickly and no power tools are required!
Steph and I have been having so much fun taking inexpensive plastic pumpkin trick-or-treat buckets and giving them a creative twist for fall and Halloween.
We’ve tried a few different ideas, but I think we may have come up with our easiest project yet!
These pumpkin solar lights are a fun way to add a little Halloween glow to your outdoor space, and they’re perfect for lighting the path to your front door on Halloween night.
Best of all, you can make one in less than 5 minutes—without a single power tool! Score!
Keep scrolling to see how easy these are to make, you’re going to want to try this one!
Sunnyside home is a participant in the Amazon Services LLC Associates Program, an affiliate advertising program designed to provide a means for sites to earn advertising fees by advertising and linking to Amazon.com. As an Amazon Associate, this blog earns from qualifying purchases with no additional cost to you. Click here to read our full disclosure policy.
Supplies Needed
For this project, you only need a couple of inexpensive supplies!
- Plastic pumpkin trick-or-treat bucket
- Solar light
- Sharp utility knife or craft knife
- Optional: measuring tape or marker
We found our plastic pumpkin buckets at Walmart for less than $2 each.
Ours are the 8-inch buckets, but you can also use a smaller 4–5-inch bucket and simply pair it with a smaller solar light.
You can really use almost any size solar light you like.
I chose a light that’s about 6 inches wide across the top because I wanted it to sit on top of the pumpkin like a little hat.
But if you prefer, you can use a smaller solar light and place it right inside the bucket instead.
You’ll just want to make sure the solar panel can get enough sunlight.
Are you enjoying this project? Please Pin It, save it for later and share it with a friend.
Sharing is caring!
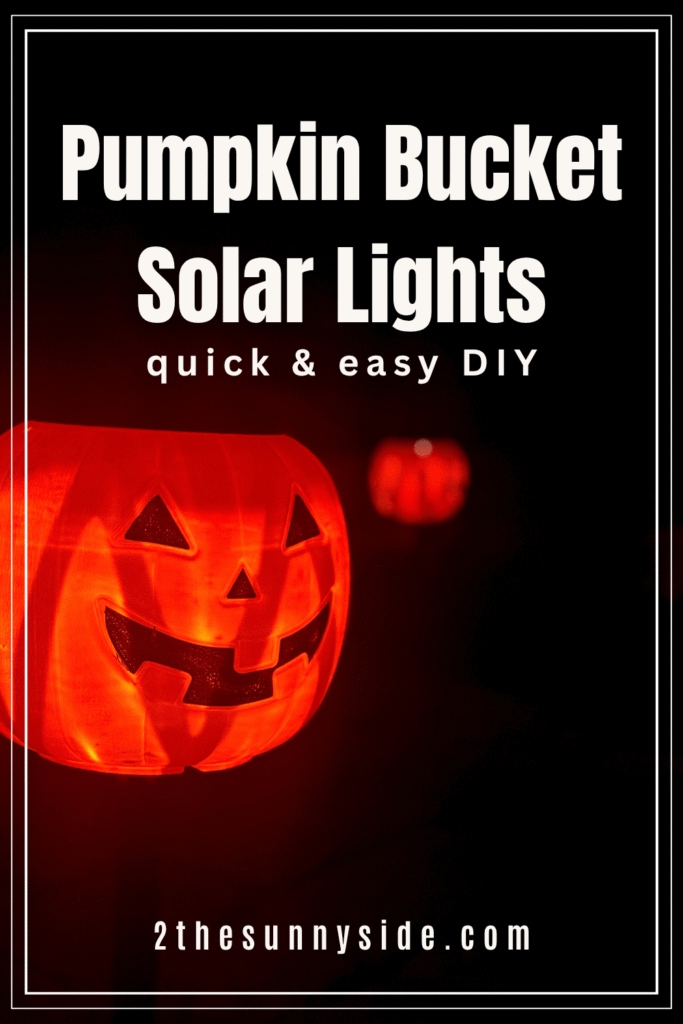
What Kind of Solar Lights Can I Use in Plastic Pumpkins?
The great thing about this project is that you have plenty of options when it comes to the solar light!
You can use just about any size or style, depending on the size of your plastic pumpkin and the look you want.
A smaller solar light can fit right inside the bucket, while a larger light can sit on top like a little hat.
Just make sure the solar panel is positioned where it can get plenty of sunlight during the day so your pumpkin will glow when the sun goes down.
I chose a pretty and durable solar light that I can use in my yard year-round, even after Halloween is over.
It’s a win-win for me!
If you’re new here, welcome! We’re so glad you’re here.
Let us introduce ourselves, we’re Michelle and Steph, a mom and daughter team who love to DIY and decorate our homes.
Not only are we passionate about making our homes warm, comfortable and unique, but it’s our mission to help you create that same feeling in your own home.
You’ll find ideas for repurposing, creating, decorating and making your home truly yours, while always mindful of a tight budget.
Undoubtedly we love finding ways to make your home look high-end on a small budget.
Plus you’ll also find a recipe or two as we share our family favorites with you.
We’d love it if you’d join our community of doers so you won’t miss any inspiration for your home.
We love new friends.
How to Make Pumpkin Solar Lights
Start by removing the handle from your plastic pumpkin bucket.
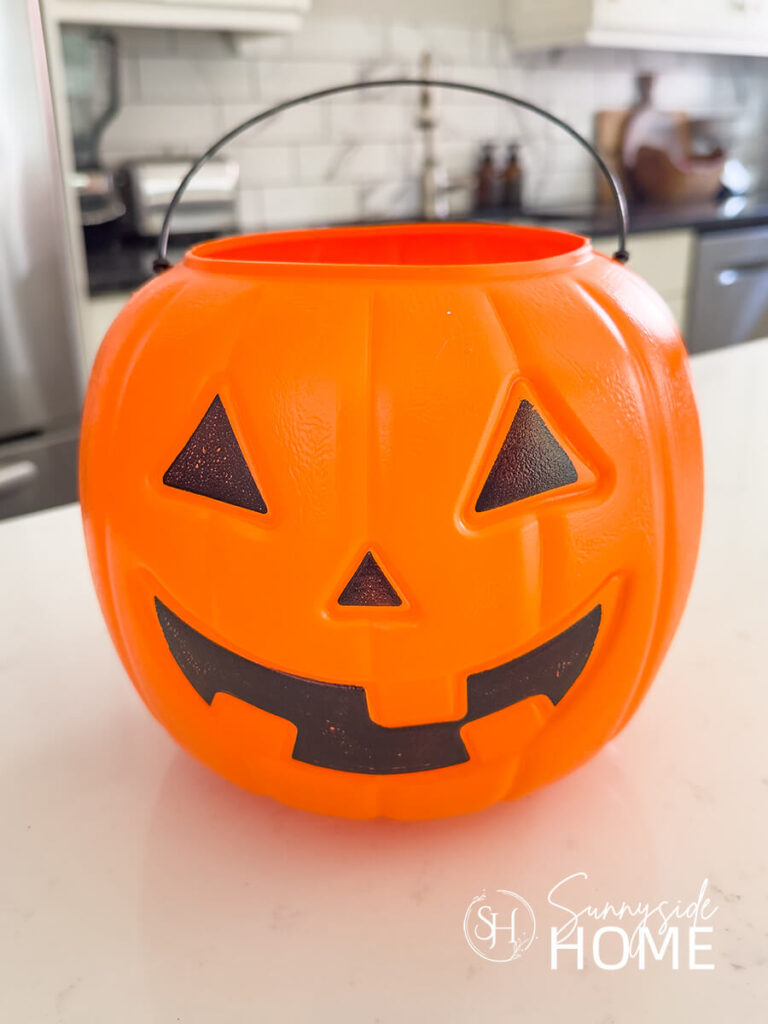
Then turn the pumpkin upside down and find the center of the bottom.
You can measure across the bucket from two directions and mark the center, or you can do what I did and simply eyeball it.
I made five of these, and they all turned out great!
Cut the Opening
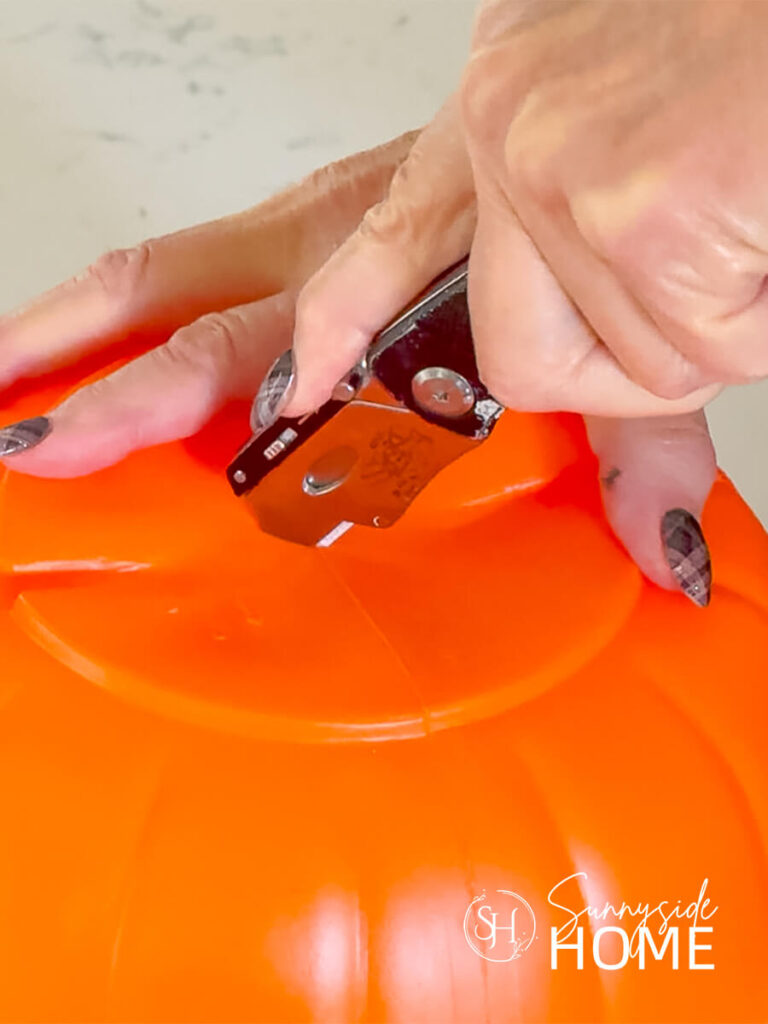
Using a sharp utility knife, carefully score an X in the center of the bottom of the pumpkin.
Make each cut about the same width as the pipe on your solar light.
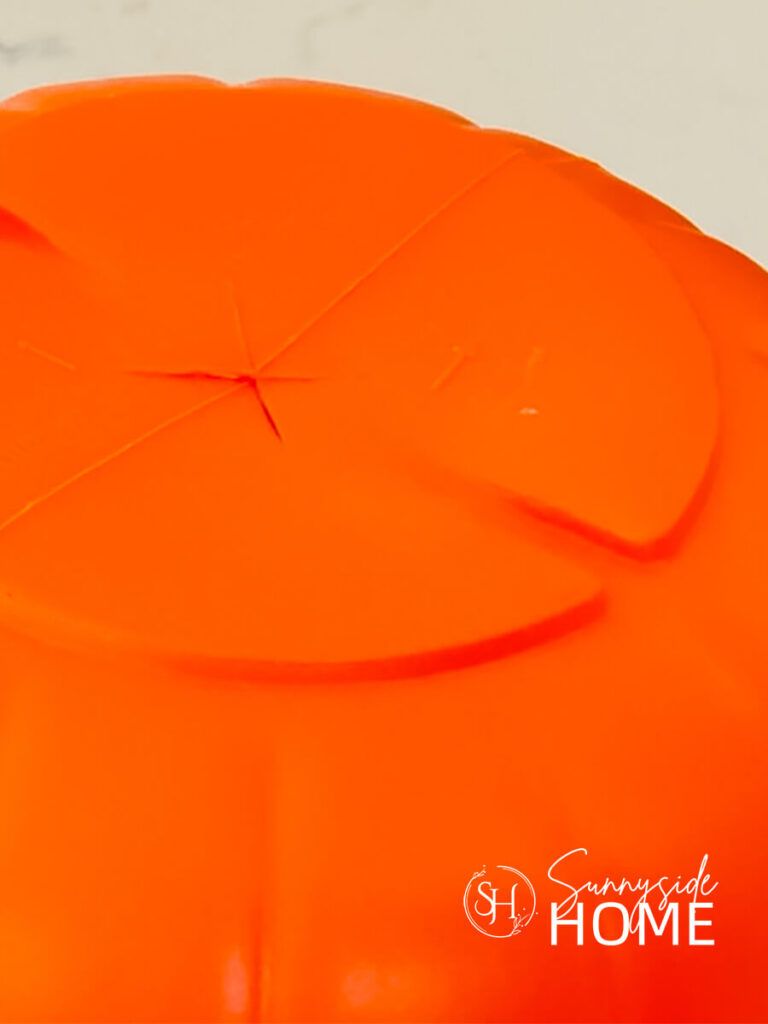
My pipe is about 1 inch in diameter, so my X was about 1 inch in length.
You want the opening to be snug around the pipe rather than too large.
Be careful when using a utility knife, and always cut away from yourself while keeping your fingers clear of the blade.
Tip: I found it easier to not have my slits on the bucket seam.
Add the Solar Light
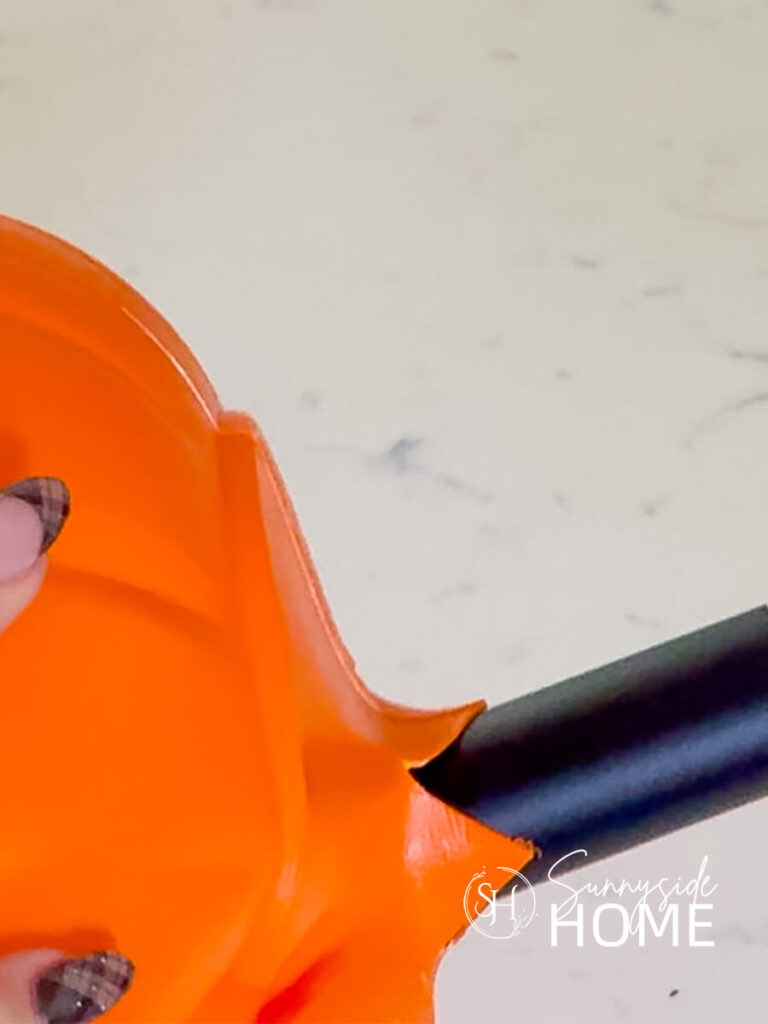
From inside the pumpkin, push the pipe of your solar light through the X you just made.
If it’s too tight, simply make your X a little larger until the pipe slides through.
Once the pipe is in place, attach the solar light to the top.
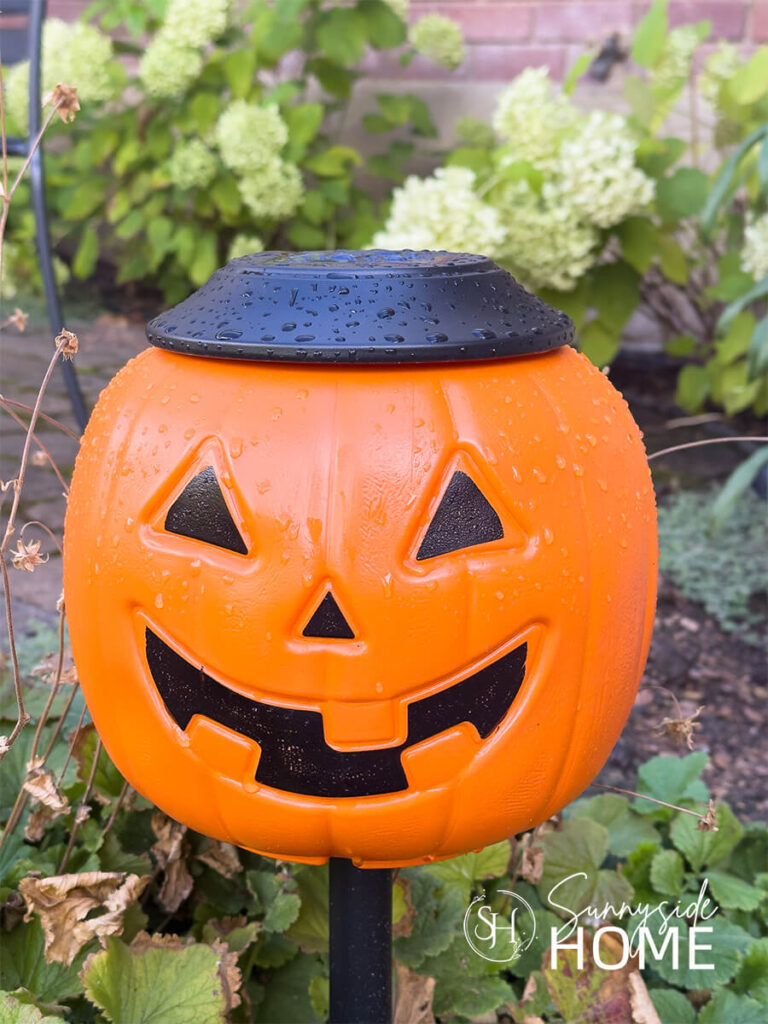
Finally, place the stake portion of the solar light wherever you want it in your yard and insert the pumpkin’s light pipe onto the stake.
That’s it!
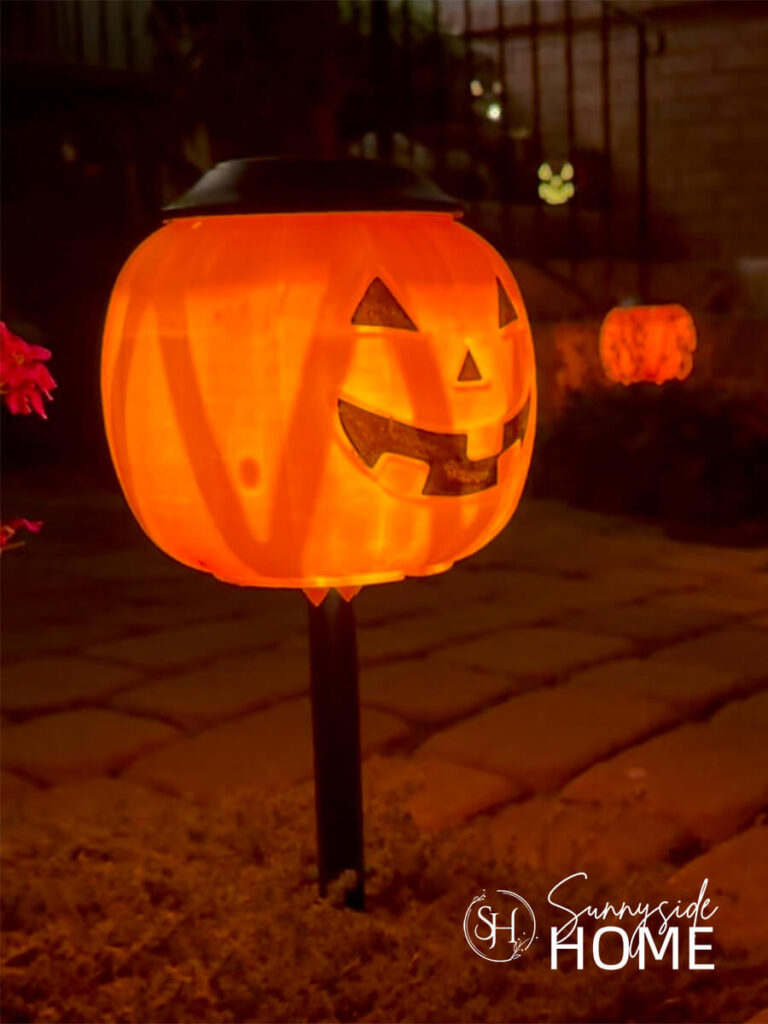
You now have a fun, glowing pumpkin solar light—and the whole thing takes just a few minutes to make.
Let’s stay connected! Follow us on social media!
Where to Place Your Pumpkin Solar Lights
Now comes the fun part, deciding where to put your pumpkin solar lights!
They’re perfect for lining a walkway or leading guests up to your front door, but don’t stop there.
Try tucking them into garden beds, placing them around your porch or patio, or lining them along outdoor steps.
I love that they add a little Halloween fun during the day, then light up after dark to create a warm, welcoming path for trick-or-treaters.
And since they’re solar powered, you can put them just about anywhere they’ll get plenty of sunshine during the day!
A Few Tips for the Best Glow
For the best glow, give your solar panels as much sunlight as possible during the day.
Mine are on the north side of my house, so they get some sunshine, but not quite enough to keep them glowing for a full 8 hours.
Once my flowers die back in a few weeks, I’ll move them to a spot where they’ll get a little more sun.
It’s just something to keep in mind when you’re choosing the perfect spot for your pumpkin solar lights!
Frequently Asked Questions
Do the solar lights need direct sunlight? They don’t necessarily need direct sunlight all day, but the more sunshine your solar panel gets, the longer and brighter your pumpkin solar lights will glow at night. Direct sunlight gives the fastest charge and maximum energy, and generally, 6–8 hours of direct sun can provide enough power for a light to glow for many hours after dark. But don’t worry if you don’t have a spot with full sun! Overcast skies, cloudy days, and even bright shade can still provide enough light to charge the battery, although it may not hold a charge for as long.
Can these pumpkin solar lights stay outside? Yes! That’s one of the things I love about these pumpkin solar lights. Since they’re made with outdoor solar lights and inexpensive plastic pumpkin buckets, they’re designed to be enjoyed outside. Just keep in mind that the durability will depend on the particular solar light you choose and the weather where you live. I’d also check the light’s weather-resistance rating before leaving it outside for an extended period, especially during heavy rain, snow, or freezing temperatures.
Can I use any plastic pumpkin bucket? For the most part, yes! You can use just about any plastic pumpkin bucket for this DIY. Just choose a size that works with the solar light you have. Smaller pumpkins pair well with smaller solar lights, while larger buckets work well with larger solar lights. The plastic doesn’t need to be fancy—inexpensive trick-or-treat buckets work perfectly, which is one of the reasons I love this project so much!
Shop Our Favorite Outdoor Halloween Decor

More Halloween Decor DIY’s
- Easy Halloween Ghosts with Vintage Doilies
- How to Make a Table Top Witch Broom
- Easy Spider and Web Halloween Outdoor Decorations
- How To Make Bust Skull Decor for Halloween
- Spooky Halloween Skeleton Silhouettes
- Cheap and Easy Halloween Bat Wreath
- Fun and Easy Halloween Pillow Decor
Ready to Make Your Own?
I have to say, these pumpkin solar lights might be one of my favorite Halloween DIYs yet!
I love that such an inexpensive little plastic pumpkin can be transformed into something that adds a little magic to the yard after dark.
And because the solar light is something I can continue using in my yard year-round, it feels like an even better find.
If you have a few plastic pumpkin buckets sitting around or spot some inexpensive ones while you’re out shopping, grab them!
In less than 5 minutes, you can turn them into fun glowing decorations without any power tools or complicated steps.
Give this easy DIY a try, then come back and tell us where you placed your pumpkin solar lights!
Please share your tips and ideas with us.
We love hearing from you!
If you’re new here, WELCOME! We love having new readers and friends!
You can learn more about us here.
Let’s stay connected! Join our DIY community of doers and you won’t miss the weekly updates and more inspiration for you always on a budget.
Sharing is caring!
Thanks for stopping by Sunnyside Home. Empowering you to create a home you love!

Retailers We Love
- Anthropologie
- Birch Lane
- Crate & Barrel
- Joss and Main
- Lampsplus
- Mark & Graham
- One Kings Lane
- Pottery Barn
- Rejuvenation
- Serena & Lily
- Wayfair
- West Elm
- Williams Sonoma
- World Market
Be sure to follow us on Pinterest for even more home decor and DIY ideas.
To see what we are working on before it’s on our blog, follow us on Instagram.
You will also find our video tutorials on our YouTube channel.
What’s New . . .
- Simple Pumpkin Solar Lights in Under 5 Minutes

- Best Ever Protein Zucchini Muffins That Taste Incredible
- Easy DIY Halloween Ghosts with Vintage Doilies
- 10 Simple Fall Decor Trends to Try in Your Home This Year