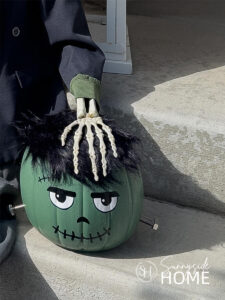
Turn a $2 pumpkin bucket into adorable Frankenstein Halloween decor with this easy, budget-friendly DIY!
Can you guess what my favorite Halloween decoration on the porch started out as?
Hint: it only cost $2!
I’m going with a bit of an old-fashioned monster theme for my Halloween decor this year, and this Frankenstein might just be the cutest thing I’ve made yet.
With a simple pumpkin bucket, a little paint, and some creativity, this ordinary Halloween find got a seriously adorable monster makeover.
Come see how I made him and give this easy DIY a try.
You might just need a little Frankenstein of your own!
Sunnyside home is a participant in the Amazon Services LLC Associates Program, an affiliate advertising program designed to provide a means for sites to earn advertising fees by advertising and linking to Amazon.com. As an Amazon Associate, this blog earns from qualifying purchases with no additional cost to you. Click here to read our full disclosure policy.
Supplies Needed
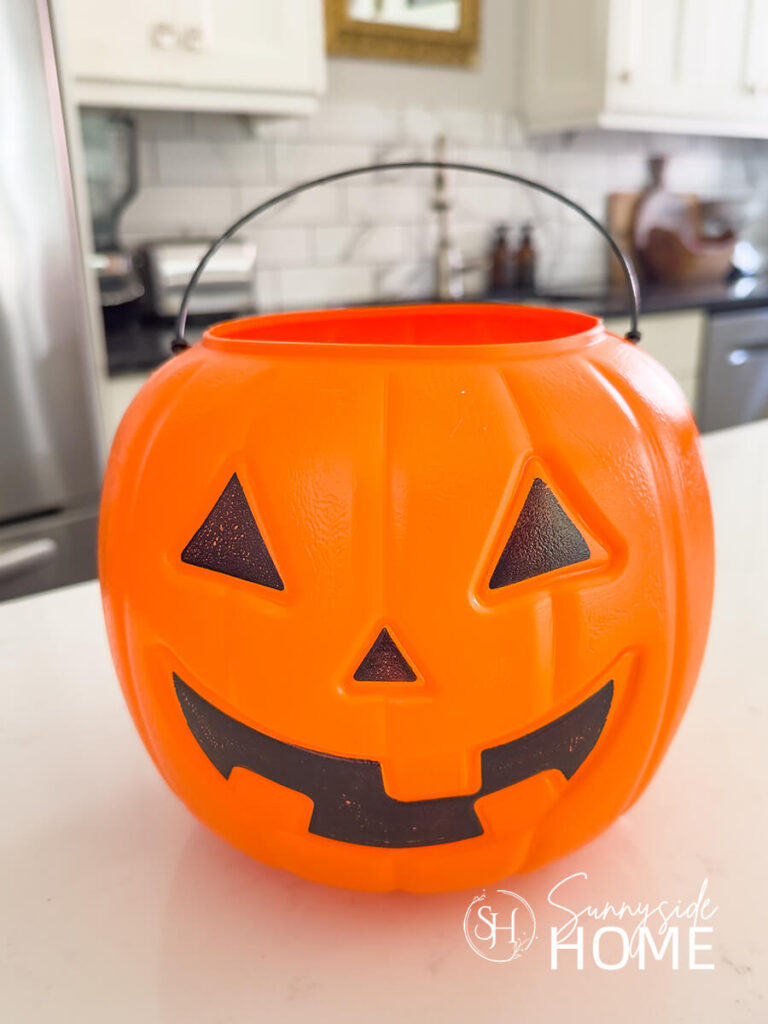
Before we turn this little $2 pumpkin bucket into Frankenstein, let’s gather a few simple supplies.
You probably have most of them on hand already, which makes this DIY even more fun and inexpensive!
Here’s everything you’ll need to bring your little monster to life:
- pumpkin bucket
- primer
- green paint
- black & white vinyl
- optional: black and white paint
- bolt and nuts
- black faux fur
Are you enjoying this project? Please Pin It, save it for later and share it with a friend.
Sharing is caring!

Paint the Bucket
First, lightly scuff-sand your pumpkin bucket to give the plastic a little extra “tooth” for the primer and paint to stick to.
Once you’ve finished sanding, wipe the bucket down thoroughly to remove any dust.
Next, apply a coat of primer and let it dry according to the manufacturer’s directions.
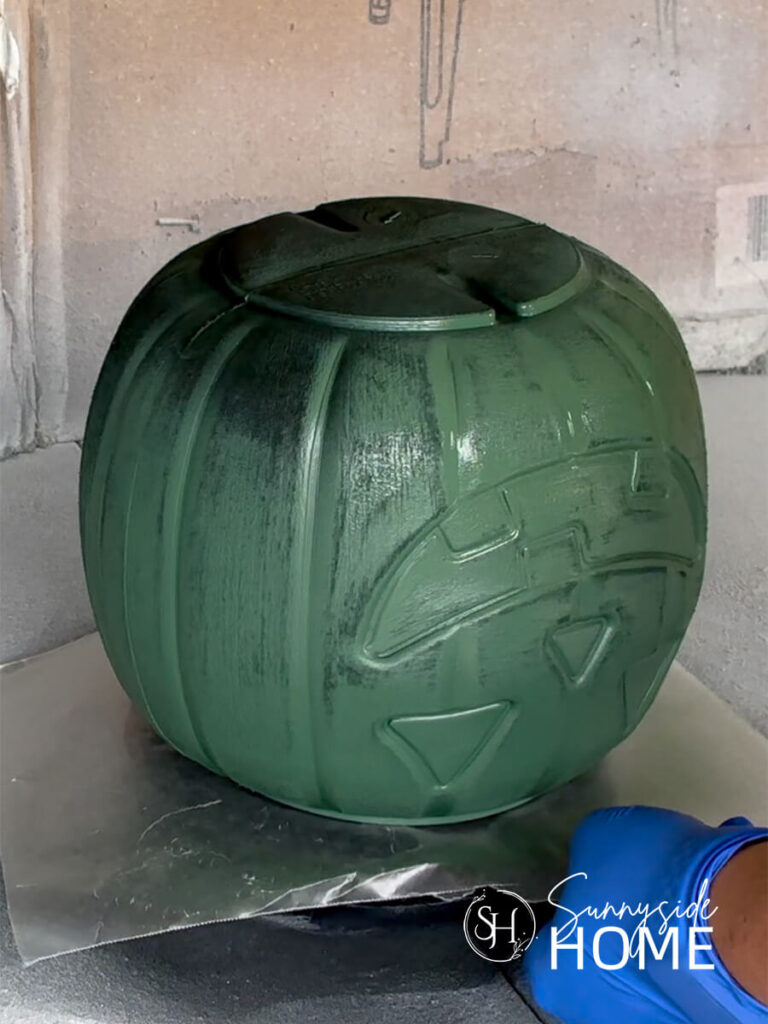
Once the primer is ready, apply two light coats of green paint, allowing each coat to dry between applications.
I like to do this part in the garage, placing the bucket on a little turntable with a spray shield—it makes painting and cleanup so much quicker!
Finally, let the paint dry and fully cure before moving on to all the fun Frankenstein details.
If you’re new here, welcome! We’re so glad you’re here.
Let us introduce ourselves, we’re Michelle and Steph, a mom and daughter team who love to DIY and decorate our homes.
Not only are we passionate about making our homes warm, comfortable and unique, but it’s our mission to help you create that same feeling in your own home.
You’ll find ideas for repurposing, creating, decorating and making your home truly yours, while always mindful of a tight budget.
Undoubtedly we love finding ways to make your home look high-end on a small budget.
Plus you’ll also find a recipe or two as we share our family favorites with you.
We’d love it if you’d join our community of doers so you won’t miss any inspiration for your home.
We love new friends.
Create the Face
Now for the fun part, bringing Frankenstein to life!
I decided to make the face super easy by using my vinyl cutter.
So, I found a cute SVG cut file I liked on Etsy and used my digital cutting machine to cut out all the pieces.
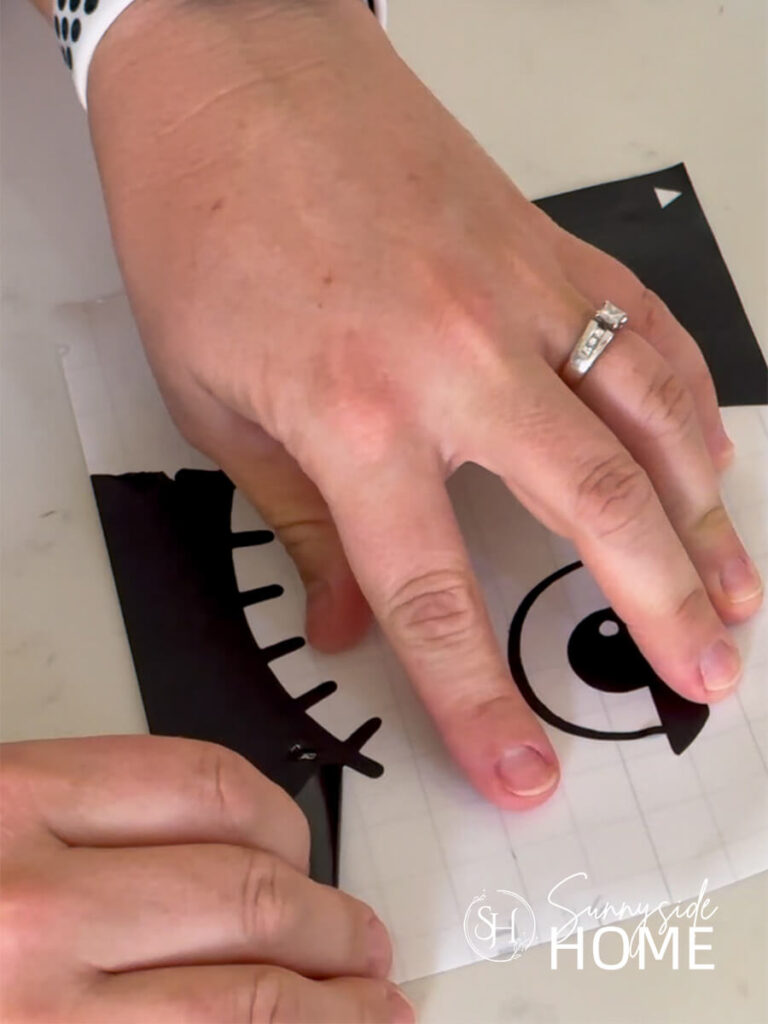
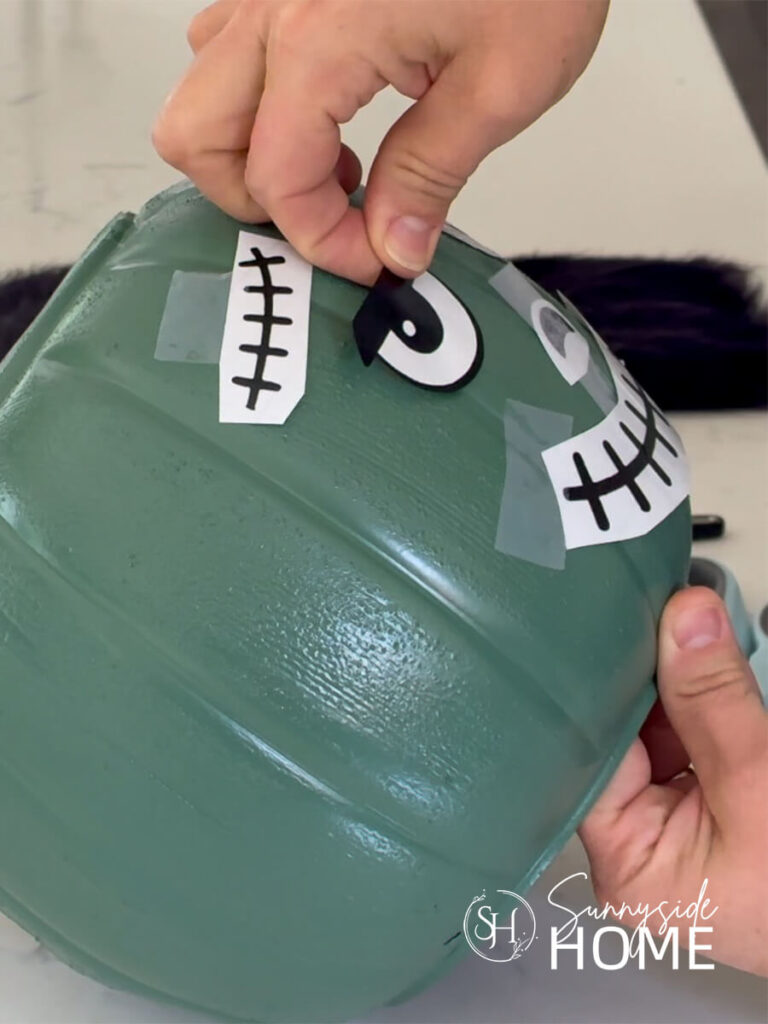
Once everything was cut, I played around with the placement until I liked how his face looked.
I decided not to use transfer paper and simply applied each piece like a sticker, I was afraid I might pull off my green paint.
Then I used my transfer tool to rub over each piece, making sure the vinyl was well adhered to the bucket.
If you’d like to get a little more creative, you can always paint Frankenstein’s face instead.
Simply sketch the facial details onto your painted bucket and then fill them in with craft paint.
If you choose this method, I recommend applying a matte sealer once everything is completely dry to help protect your cute Frankenstein Halloween decor from the elements.
Add the Finishing Touches
First, every Frankenstein needs his signature bolts!
For mine, I used a wood drill bit that was slightly smaller than the diameter of my bolt.
Drill a hole on each side toward the lower portion of Frankenstein’s head.
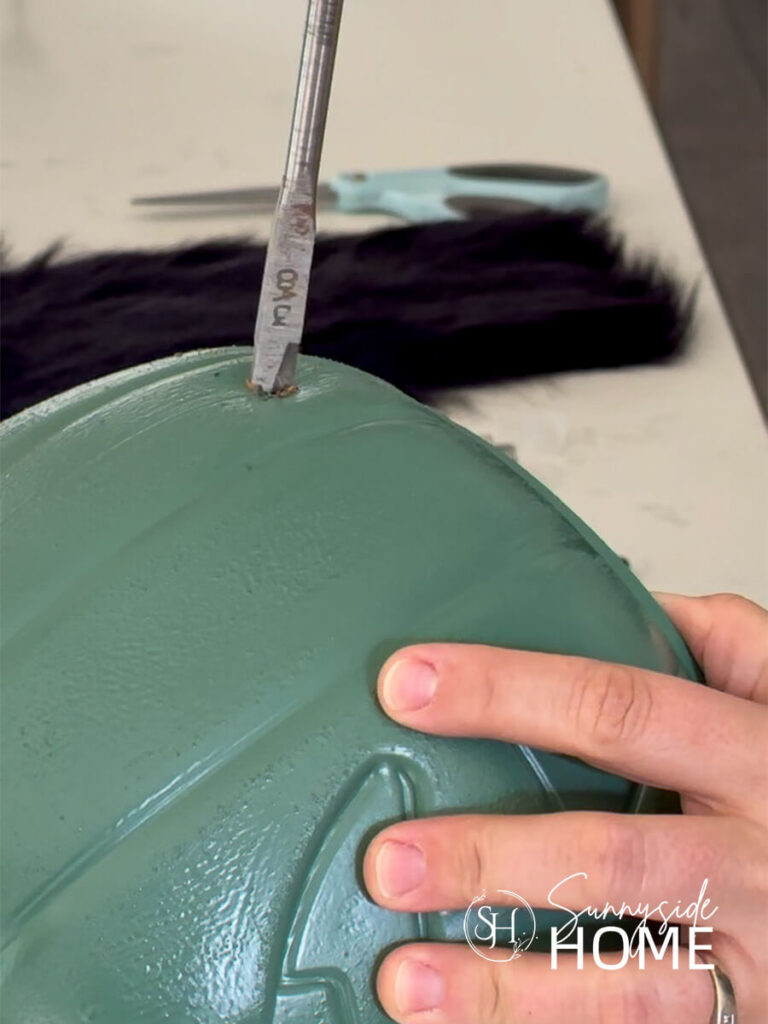
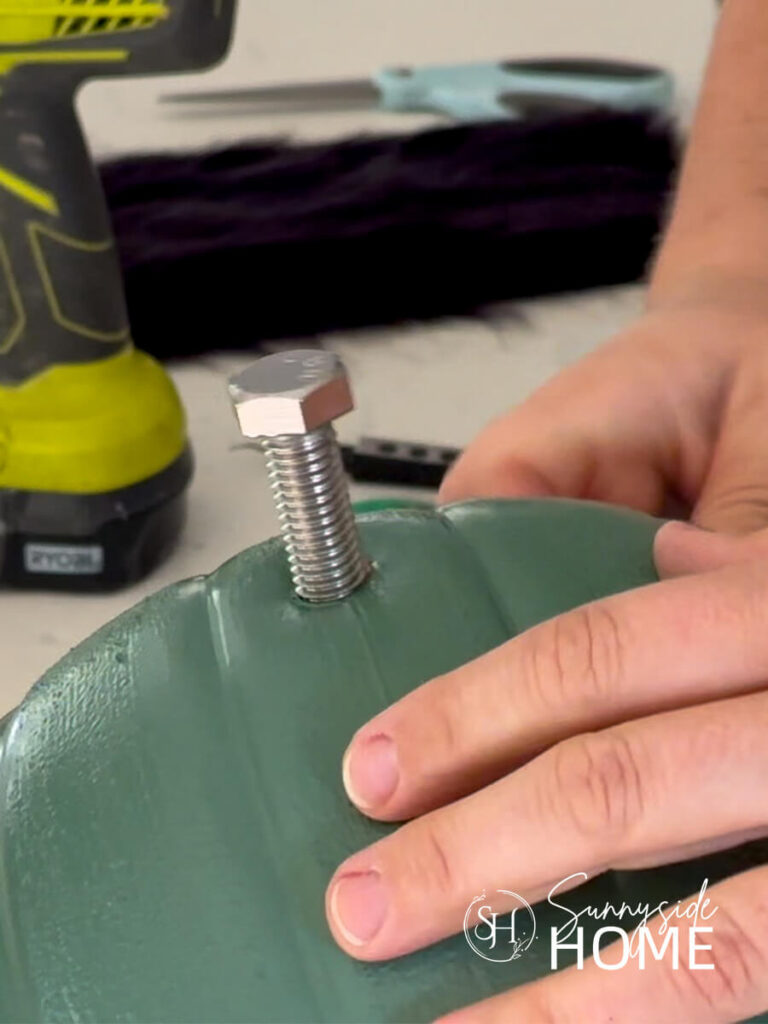
Then thread a bolt through each hole and secure it from the inside of the bucket with a nut.
Next, your Frankenstein needs a head of hair!
On the backside of your faux fur, sketch out the hair shape you’d like for your Frankie.
I went with more of an oval shape.
Using a utility or craft knife, carefully cut through the fur backing.
Try to avoid cutting the fur itself, or the edges can end up looking choppy.
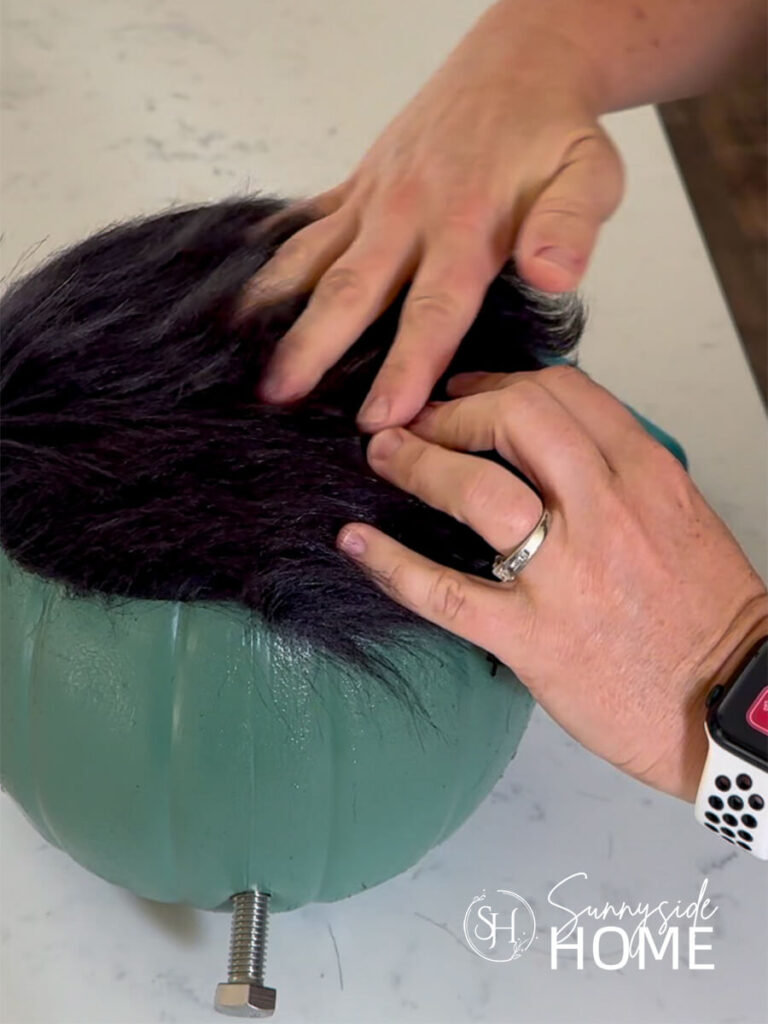
Finally, use hot glue to adhere the fur to the top of his head, and just like that, your little monster has some serious hair!
Let’s stay connected! Follow us on social media!
Style and Enjoy
For me, the front porch is the perfect place to enjoy my cute Frankenstein Halloween decor!
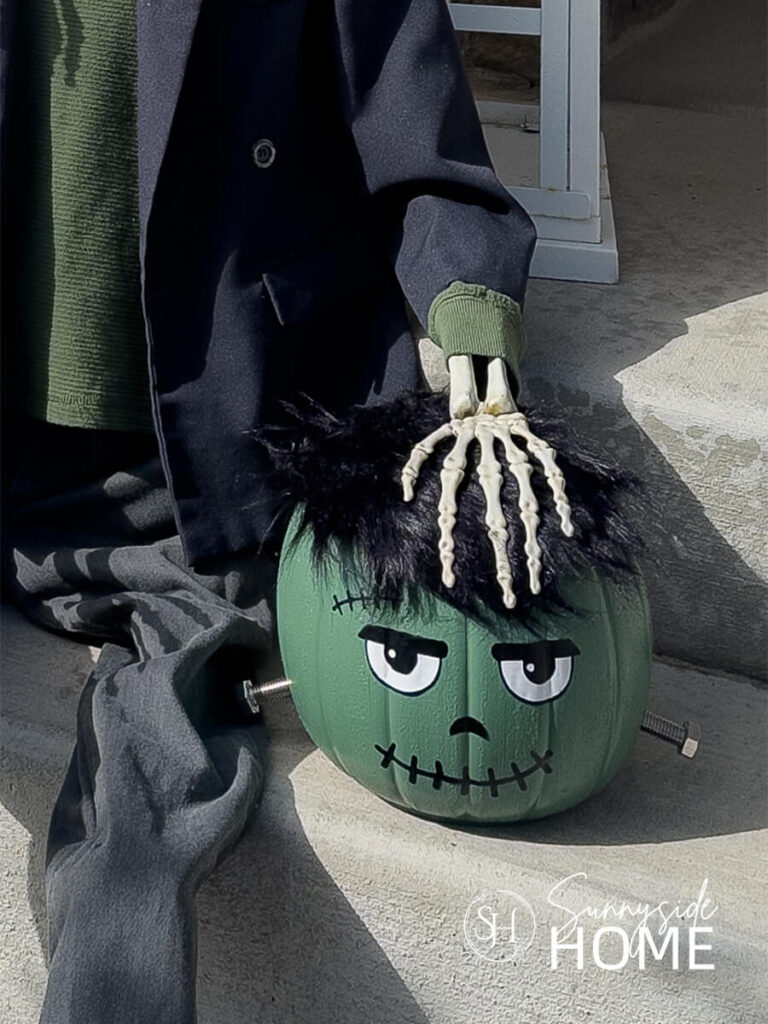
I tucked Frankie right onto the steps with my skeletons, all dressed up and ready for a little Halloween fun.
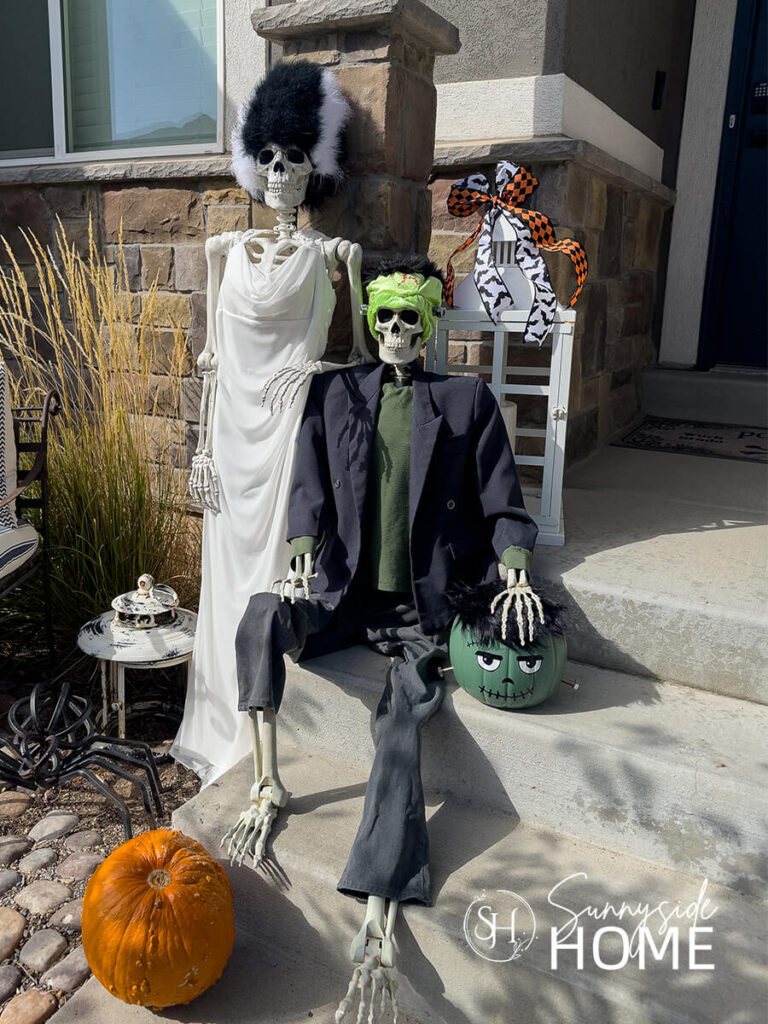
He definitely adds some personality to the porch and I love that he started out as a simple $2 pumpkin bucket!
For more Halloween Decor ideas using pumpkin buckets, head over to our YouTube channel.
Where will you style your Frankie?
Tips for Making Your Frankenstein
FAQ
What kind of paint works on a plastic pumpkin bucket? Spray paint formulated for plastic is usually the easiest option. Look for paint specifically labeled for plastic or multi-surface use. I’d also recommend using a primer first labeled for plastic too.
Can I put my Frankenstein pumpkin bucket outside? Yes! You can display your Frankenstein pumpkin bucket outside. But a little extra protection will help it hold up to the elements, such as a covered porch or a clear protective spray.
How do I keep the paint from peeling? Prepare your surface with a scuff sanding and use paint and primer formulated for plastics. If Frankie will live outdoors, finish with a clear matte sealer suitable for outdoor use.
Shop

More DIY Halloween Decor Ideas
- Simple Pumpkin Solar Lights
- Easy DIY Halloween Ghosts with Vintage Doilies
- How to Make a Tabletop Witch Broom
- Easy Spider and Web Halloween Outdoor Decorations
- How To Make Bust Skull Decor for Halloween
- Spooky Halloween Skeleton Silhouettes
- Cheap and Easy Bat Halloween Wreath
- Halloween Skull Napkin Rings
Final Thoughts
I have to say, I’m pretty smitten with how this little $2 pumpkin bucket turned out!
He went from a simple Halloween find to the cutest little Frankenstein on my front porch, and I love the personality he adds to my old-fashioned monster theme.
I hope this inspires you to grab a pumpkin bucket and create your own little monster!
And if you do, I’d love to see him, share a photo and tell me where you’re going to style your Frankie.
I think it would be so much fun to see all the different personalities you give your little monsters!
We hope you found some inspiration for your home this Halloween.
Please share your tips and ideas with us.
We love hearing from you!
If you’re new here, WELCOME! We love having new readers and friends!
You can learn more about us here.
Let’s stay connected! Join our DIY community of doers and you won’t miss the weekly updates and more inspiration for you always on a budget.
Sharing is caring!
Thanks for stopping by Sunnyside Home. Empowering you to create a home you love!

Retailers We Love
- Anthropologie
- Birch Lane
- Crate & Barrel
- Joss and Main
- Lampsplus
- Mark & Graham
- One Kings Lane
- Pottery Barn
- Rejuvenation
- Serena & Lily
- Wayfair
- West Elm
- Williams Sonoma
- World Market
Be sure to follow us on Pinterest for even more home decor and DIY ideas.
To see what we are working on before it’s on our blog, follow us on Instagram.
You will also find our video tutorials on our YouTube channel.
What’s New . . .
- Easy DIY Frankenstein Halloween Decor

- Simple Pumpkin Solar Lights in Under 5 Minutes
- Best Ever Protein Zucchini Muffins That Taste Incredible
- Easy DIY Halloween Ghosts with Vintage Doilies