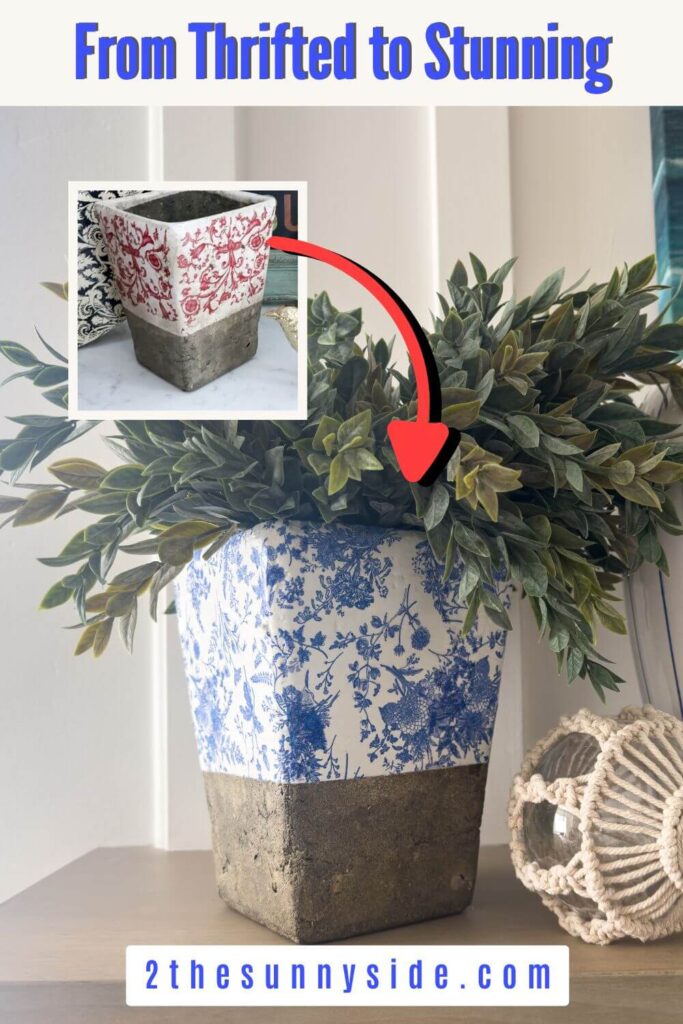
This easy, no-cost DIY shows how an old Tuscan-style vase was transformed into a blue and white Chinoiserie-inspired piece using just two napkins. Perfect for blue and white lovers, this decoupage project proves thrifted decor can get a high-end, coastal update.
A couple of weeks ago, I mentioned that I’ve been purging old home decor that’s been living way too long in storage totes—and this project came straight out of that cleanup.
I uncovered this vase from my old Tuscan-decor days (hello, early 2000s 🙋♀️) that’s been packed away for over 10 years and was this close to being donated.
But my mom, as usual, saw potential.
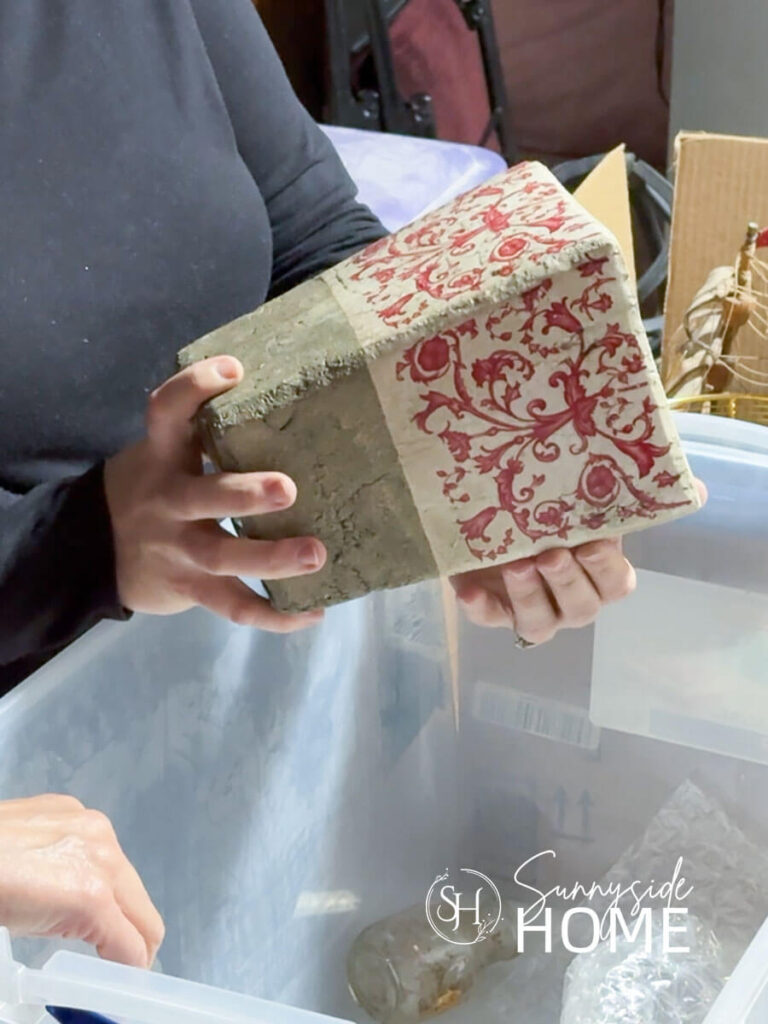
She suggested reimagining it into something that actually fits my current style.
Lately, I’ve been leaning hard into a grandma coastal vibe—classic, cozy, and a little traditional.
After turning a plastic pumpkin into a Chinoiserie-style beauty with napkins last fall, I had two blue and white napkins left and thought…why not try it on this vase?
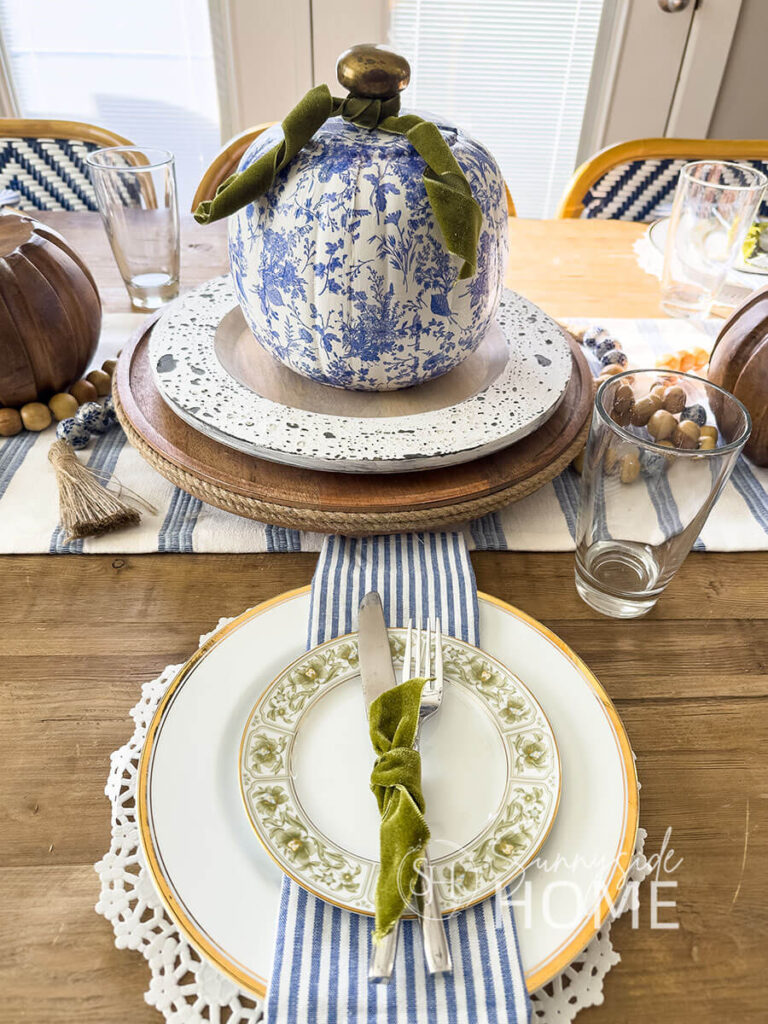
This ended up being a no-cost DIY, and I’m obsessed with how it turned out. If you’re a fellow blue and white lover, this one’s for you.
Can you see a project like this in your home? 💙🤍
Sunnyside home is a participant in the Amazon Services LLC Associates Program, an affiliate advertising program designed to provide a means for sites to earn advertising fees by advertising and linking to Amazon.com. As an Amazon Associate, this blog earns from qualifying purchases with no additional cost to you. Click here to read our full disclosure policy.
Why You’ll Love This Project
Blue and white decoupage works so beautifully in coastal and classic homes because it feels timeless, calm, and collected—never trendy or overdone.
The crisp contrast adds just enough pattern while still acting like a neutral, making it easy to mix with coastal textures, traditional pieces, and even thrifted finds.
This project is perfect for beginners because it’s forgiving, low-risk, and budget-friendly, especially if you’re updating something you already own.
If you love thrift flips, simple DIY wins, or stretching your decor budget without sacrificing style, this is an easy project you can absolutely pull off. 💙🤍
Are you enjoying this project? Please Pin It, save it for later and share it with a friend.
Sharing is caring!
Supplies You’ll Need
- Vase (thrifted or old decor)
- Blue and white paper napkins
- Mod Podge
- Foam brush or soft paintbrush
- Scissors
What is Decoupage?
If you’ve ever wondered what decoupage actually is, you’re not alone.
Decoupage is the art of decorating a surface by applying paper—like napkins, tissue paper, or cut-out designs—using a glue or sealer such as Mod Podge, then finishing it with additional protective coats.
The word comes from the French term découper, which means “to cut up, cut out, carve, or slice.”
While it may sound fancy, it’s a surprisingly simple technique that can transform everyday objects into custom, high-end-looking decor with just a little patience and creativity.
If you’re new here, welcome! We’re so glad you’re here.
Let us introduce ourselves, we’re Michelle and Steph, a mom and daughter team who love to DIY and decorate our homes.
Not only are we passionate about making our homes warm, comfortable and unique, but it’s our mission to help you create that same feeling in your own home.
You’ll find ideas for repurposing, creating, decorating and making your home truly yours, while always mindful of a tight budget.
Undoubtedly we love finding ways to make your home look high-end on a small budget.
Plus you’ll also find a recipe or two as we share our family favorites with you.
We’d love it if you’d join our community of doers so you won’t miss any inspiration for your home.
We love new friends.
Prep the Vase for Decoupage
Before you start decoupaging, a little prep goes a long way.
Begin by cleaning your vase to remove any dust, dirt, or residue so the napkins and Mod Podge can properly adhere.
I like to use a solution of Dawn or Dawn Powerwash to clean my projects.
When it comes to sanding, this really depends on the look you’re going for.
My vase was made of cement and had a naturally rustic texture that I wanted to keep, so I chose not to sand it.
However, if your vase has imperfections you don’t want showing through, lightly sanding the surface will help create a smoother finish.
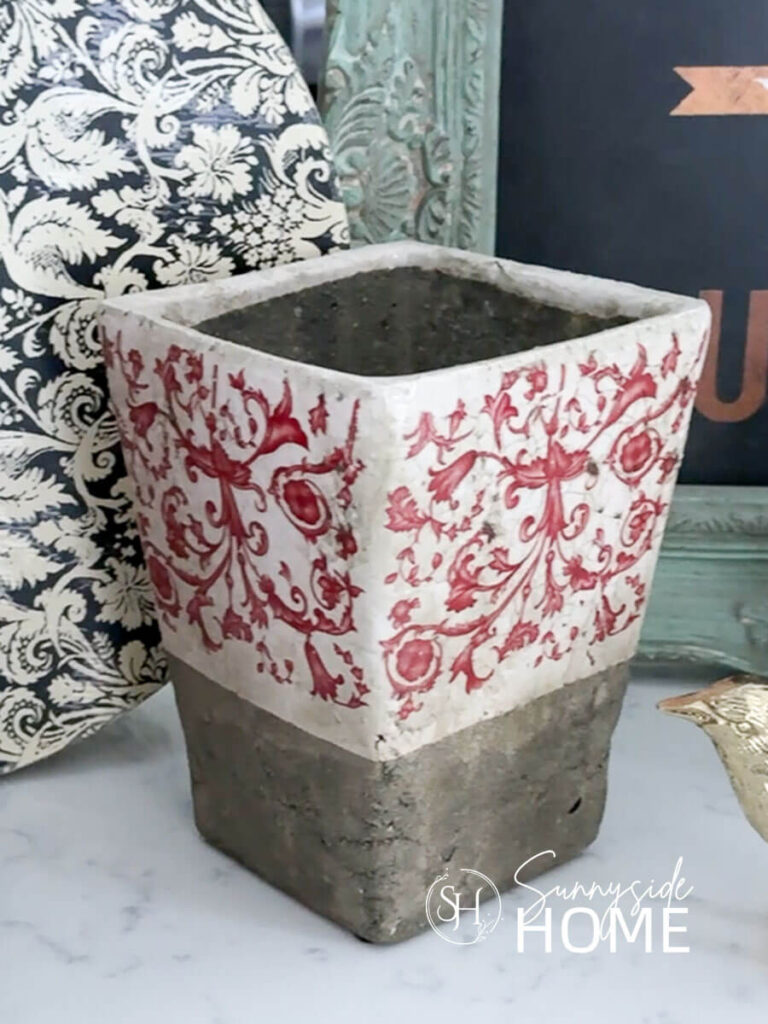
A base coat of paint is optional, but in my case, it was necessary—the vase had a bold red and white damask pattern that needed to be covered.
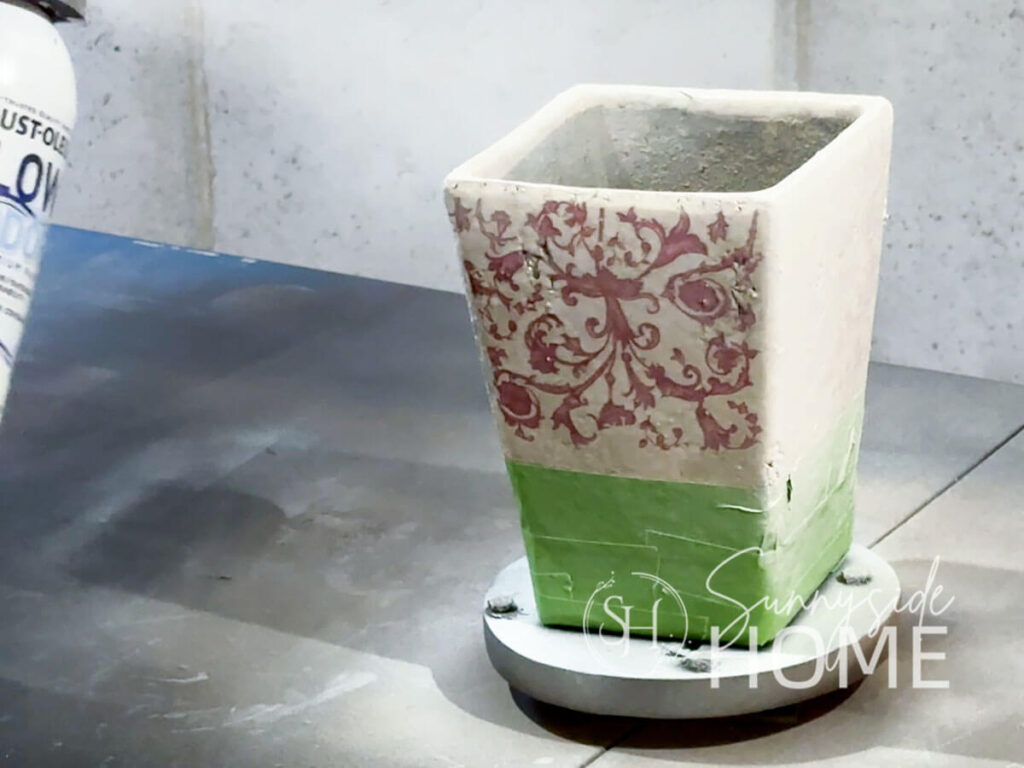
I taped off the natural cement bottom and applied two light coats of an all-in-one paint and primer.
If your vase is already a solid color you like, you can skip painting, just keep in mind that napkins are slightly transparent.
Any color underneath will show through, so be sure it’s something you want in your final result.
Finally, make sure everything is completely dry before moving on to the decoupage step—patience here makes all the difference.
Let’s stay connected! Follow us on social media!
Prep the Napkins
Prepping your napkins is one of the most important steps for a smooth, professional-looking decoupage.
Start by choosing napkin patterns that will give you the best results—blue and white designs with repeating motifs or soft transitions work especially well.
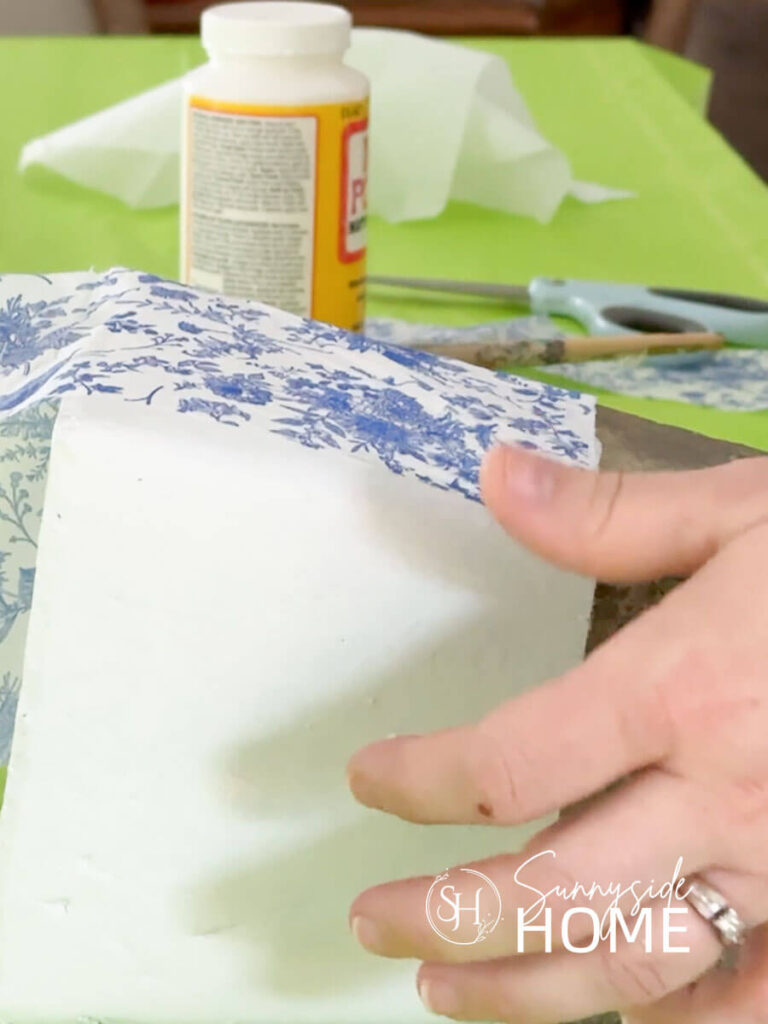
I only had two napkins to work with, so I wrapped each napkin loosely around the vase to check placement, then trimmed about two inches off the length while leaving an extra inch at the top.
That extra allowance made it easy to wrap the napkin over the rim and slightly into the inside of the vase for a finished look.
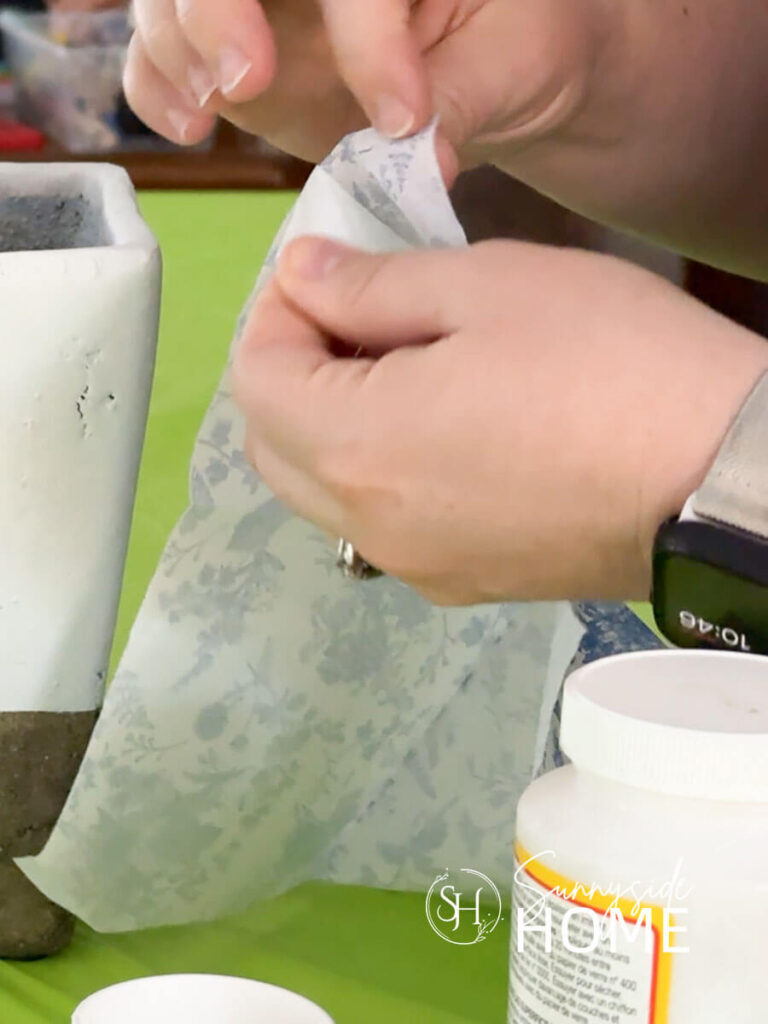
Next, carefully separate the layers of the paper napkin and use only the top printed ply—most napkins have two or even three layers, and the extras will cause wrinkles if left on.
When it comes to cutting versus tearing, cutting gives you cleaner edges, while tearing creates softer, more blended edges that disappear better once sealed.
Before adding any glue, plan your placement so patterns flow naturally.
You can also cut out individual motifs from the napkin and apply them one at a time, which is a great option for more controlled or decorative designs.
How to Decoupage the Vase
Now it’s time for the fun part—decoupaging the vase.
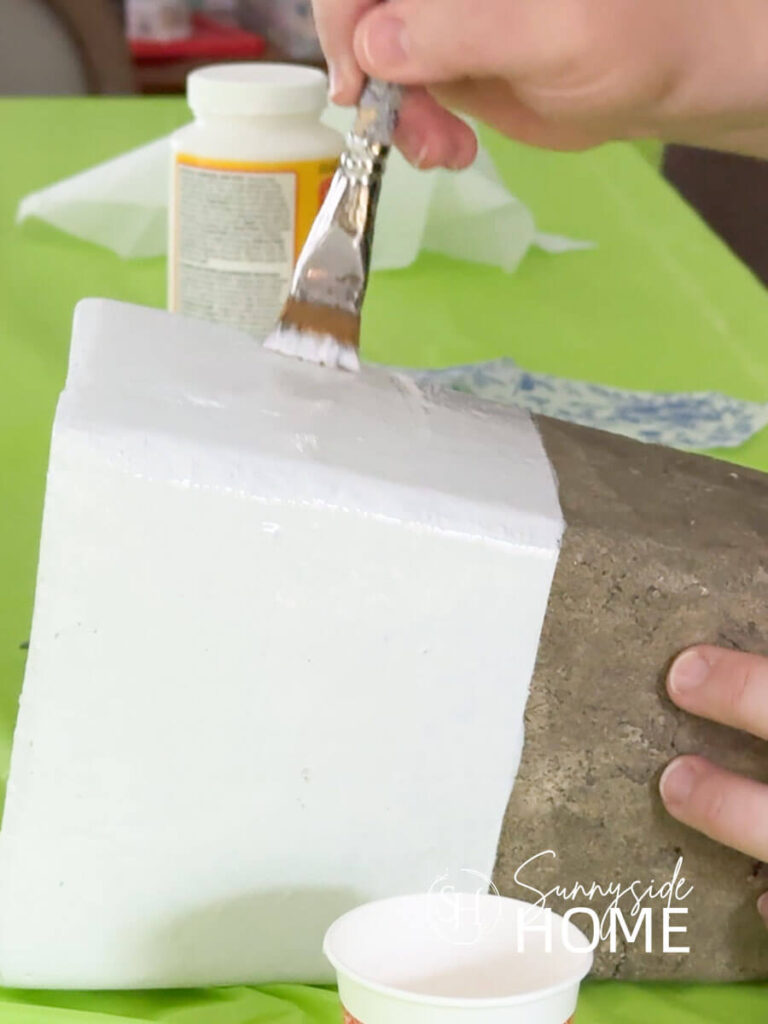
Start by applying a thin, even layer of Mod Podge directly to the vase.
Since my vase has four flat sides, I laid it on its side and worked on one section at a time, which made it much easier to align the pattern and keep everything straight.
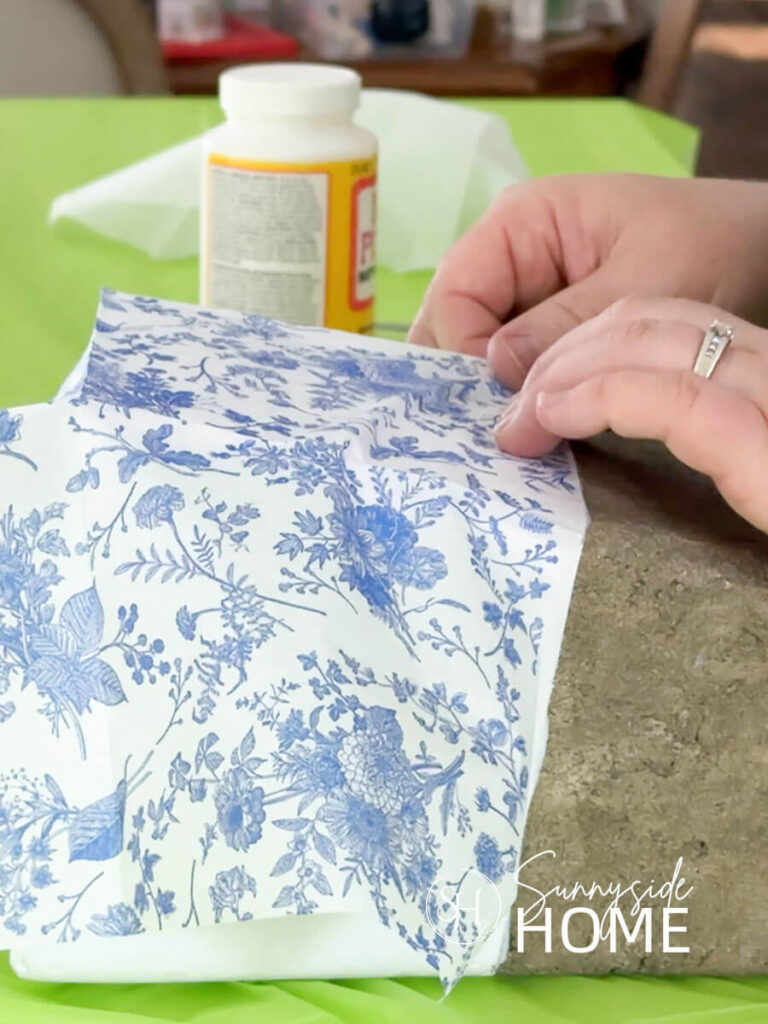
Carefully place the napkin onto the adhesive surface, starting in the center and gently working outward to avoid wrinkles.
Use a soft brush or your fingers to smooth the napkin, working slowly and lightly—paper napkins are delicate.
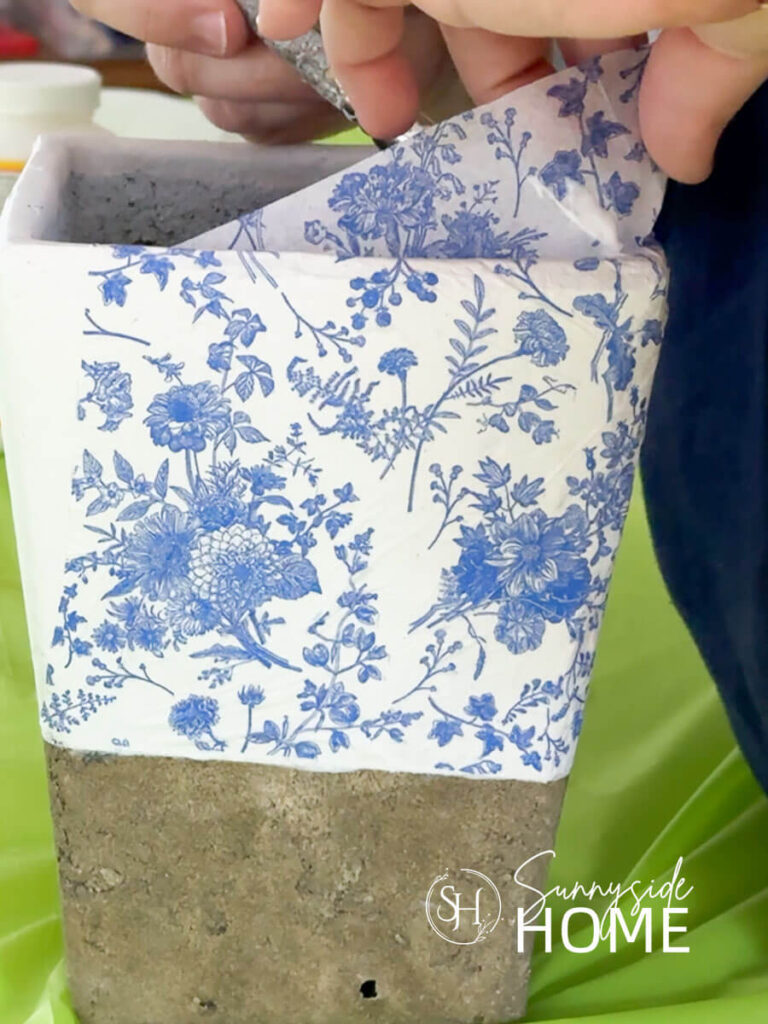
If wrinkles or small tears happen (and they probably will), don’t panic.
You can gently lift the napkin while the glue is still wet or patch small areas with extra napkin pieces once everything dries.
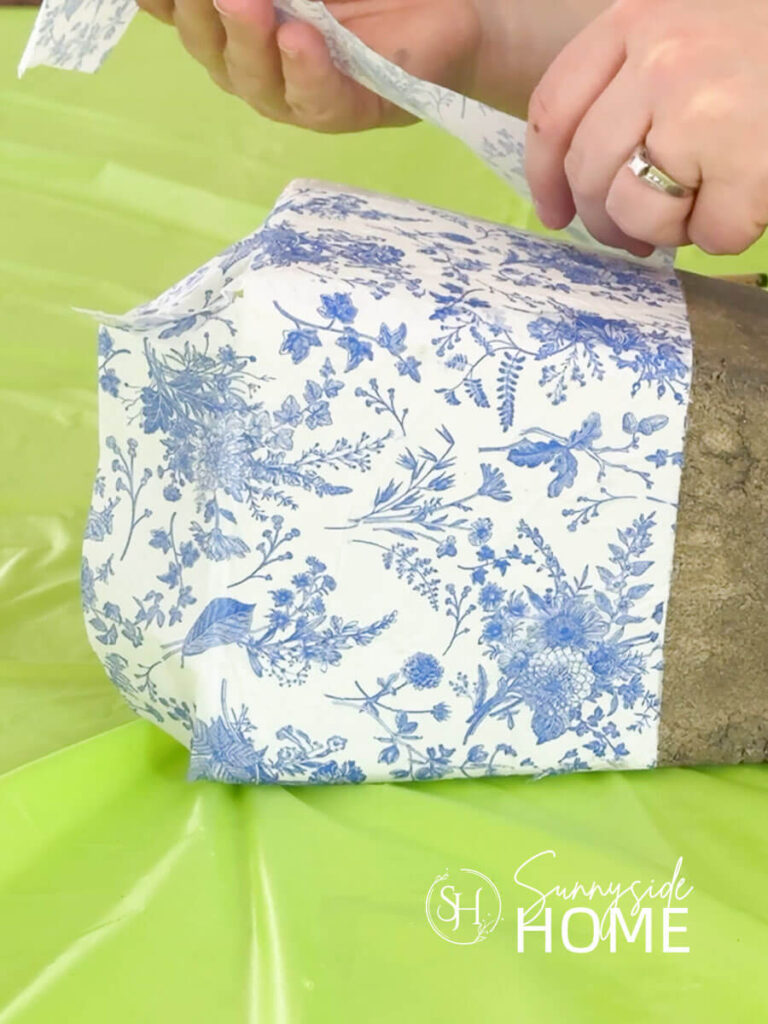
Working in small sections helps keep the napkin from shifting or tearing, especially on larger vases.
Be sure to let each section dry fully before rotating or adding another layer of Mod Podge, as patience here leads to a much cleaner, more polished finish.
Seal and Finish
The final step is sealing and finishing your vase, and this is where everything really comes together.
Once the napkins are completely dry, apply a top coat of Mod Podge to seal the surface and protect your design.
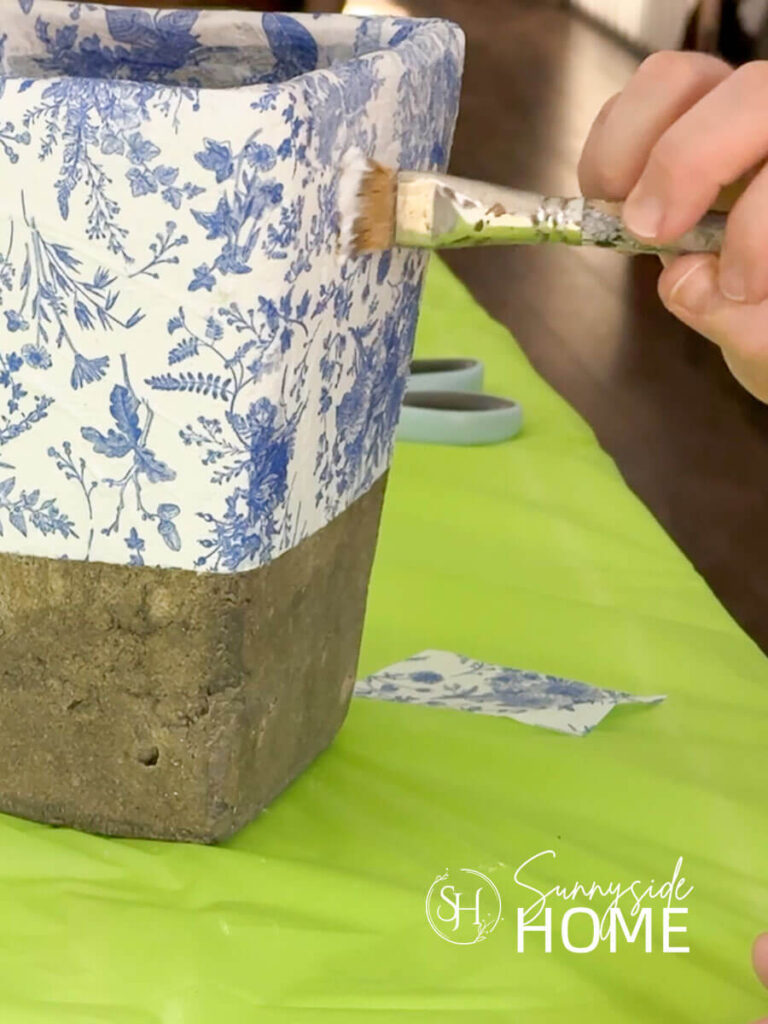
Use light, even strokes and try not to overwork the brush to avoid pulling up the napkin.
When choosing a finish, think about the look you want to achieve.
Because my vase has a naturally rustic cement texture, I opted for a matte Mod Podge to keep that soft, aged feel.
If you’re going for a more traditional, shiny ceramic or Chinoiserie-style look, a gloss Mod Podge will give you that smooth, high-end finish.
Satin falls somewhere in between and is a great option if you want a subtle sheen.
Let the final coat dry completely before styling in your home.
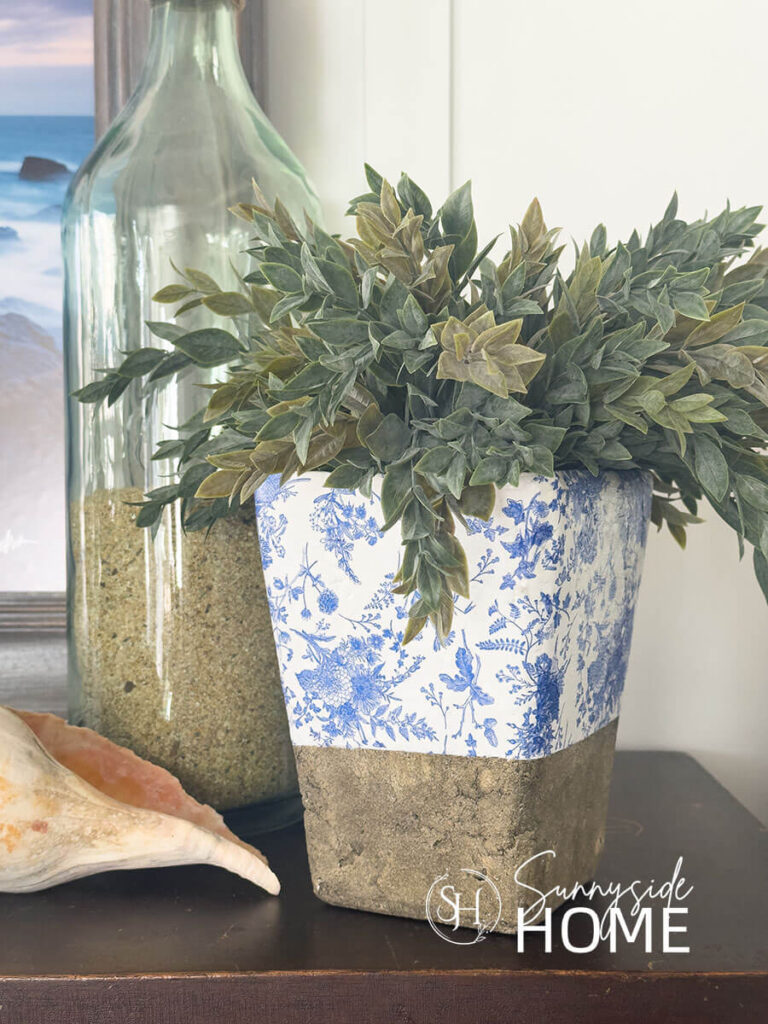
Let’s take a look at the before and after of this vase.
Can you believe the transformation?!
Style and Enjoy
Once your vase is fully dry, it’s time to style it and enjoy the transformation.

Blue and white decoupage vases are incredibly versatile and work beautifully styled on shelves, mantels, coffee tables, or even as a centerpiece on a dining or entry table.
They pair especially well with coastal decor, layered into a grandma coastal space with natural textures, or mixed with traditional pieces for a Chinoiserie-inspired look.
Try styling it with simple greenery, dried stems, or even letting it stand alone as a statement piece.
This is one of those projects where the before-and-after really shines—what was once outdated and tucked away is now a fresh, high-end accent you’ll actually want to display.
Shop Chinoiserie Vases

More DIY Home Decor Projects You’ll Love
- Paint a Ceramic Pitcher Inspired by Pottery Barn
- Paint an Old World Texture Finish on a Vase
- How to Paint a Faux Antique Brass Finish
- Make a Topiary Tree That Looks Real
- Easy Fiber Wall Art a West Elm Dupe
- Simple and Stylish Cane Tray
- Easy Pedestal Serving Tray from Thrift Store Finds
- Pottery Barn Color Block Vase Dupe
- Simple DIY Pedestal Bowl with Thrift Store Finds
- How to Paint a Vase with an Aged Look
- Simple Painted Lamp Base
- How to Make a Beautiful Faux Tree That Looks Real
- Easy Lamp Makeover with Spray Paint and White Wax
- Easily Add Beauty to Your Home with a DIY Flower Arrangement
- How to Make a Simple Wooden Plant Pot
- Decorating a Pillow with Paint
- Easy Coffee Filter Flowers with Bling
- How To Resize A Canvas
- Easy Embellished Lampshades
Final Thoughts
If you’ve never tried decoupage before, this is such a great project to start with.
It’s simple, forgiving, and a fun way to breathe new life into old decor you might otherwise donate or toss.
With just a couple of napkins and some Mod Podge, you can transform something dated into a piece that feels custom and high-end—without spending much at all.
If you love updating your home on a budget, this is an easy win.
Is this a project you’d like to try in your own home?
Let me know in the comments, and if you give it a go, please share your results—we’d love to see what you create! 💙✨
We love hearing from you!
If you’re new here, WELCOME! We love having new readers and friends!
You can learn more about us here.
Let’s stay connected! Join our DIY community of doers and you won’t miss the weekly updates and more inspiration for you always on a budget.
Sharing is caring!
Thanks for stopping by Sunnyside Home. Empowering you to create a home you love!

Retailers We Love
- Anthropologie
- Birch Lane
- Crate & Barrel
- Joss and Main
- Lampsplus
- Mark & Graham
- One Kings Lane
- Pottery Barn
- Rejuvenation
- Serena & Lily
- Wayfair
- West Elm
- Williams Sonoma
- World Market
Be sure to follow us on Pinterest for even more home decor and DIY ideas.
To see what we are working on before it’s on our blog, follow us on Instagram.
You will also find our video tutorials on our YouTube channel.
What’s New . . .
- Paint an Old World Texture Finish on a Vase

- Easy Strawberry Chicken Salad with Lime Maple Balsamic Vinaigrette
- How to Fix Chipped Kitchen Cabinets with a Pen
- Easy 4th of July Door Decor You Can Make in Minutes