Toilet Paper Roll Craft | 5 Minute Fall Pumpkin
We’ve all seen them, countless ways to reuse and make crafts with empty toilet paper rolls.
But have you ever seen a craft made from a full roll of toilet paper?
In March of 2020 it was nearly impossible to find toilet paper in any local or online stores.
Now that supplies have been replenished, we’ll not only show you how to create this darling fall pumpkin from a full toilet paper roll, but we’ll show you how to conceal your toilet paper and secretly build up your stash. 😆
Sunny Side Design is a participant in the Amazon Services LLC Associates Program, an affiliate advertising program designed to provide a means for sites to earn advertising fees by advertising and linking to Amazon.com. As an Amazon Associate, this blog earns from qualifying purchases with no additional cost to you. Click here to read our full disclosure policy.
How To Create Toilet Paper Roll Craft | Fall Pumpkin
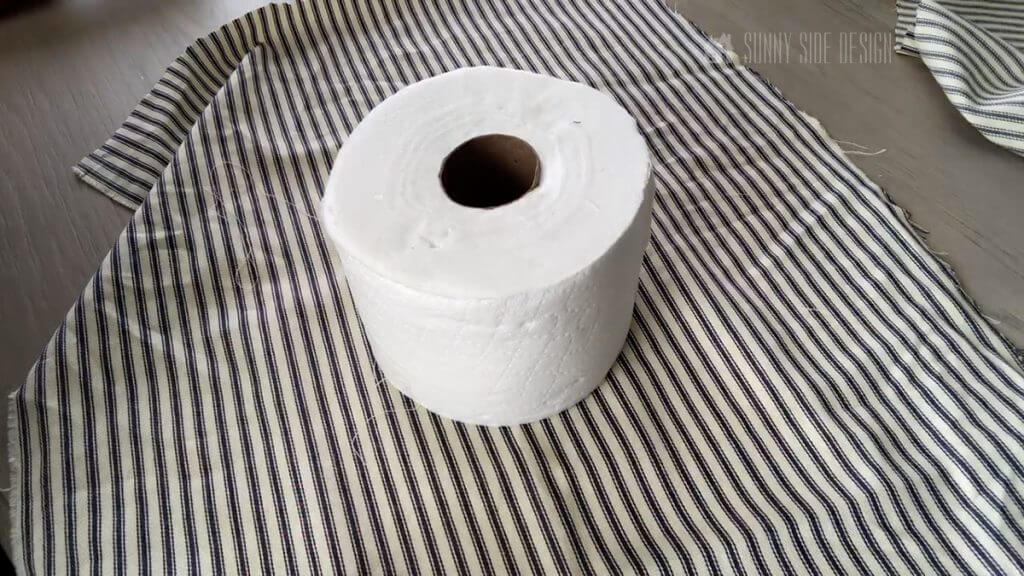
First, begin with a roll of toilet paper, and a piece of fabric cut into a square. The fabric should be long enough to cover all sides of the toilet paper roll.
For another quick and easy idea, try this fall craft using acorn caps and felted wool balls.! This navy and white ticking fabric is leftover from Ellie’s upcycled daybed.)

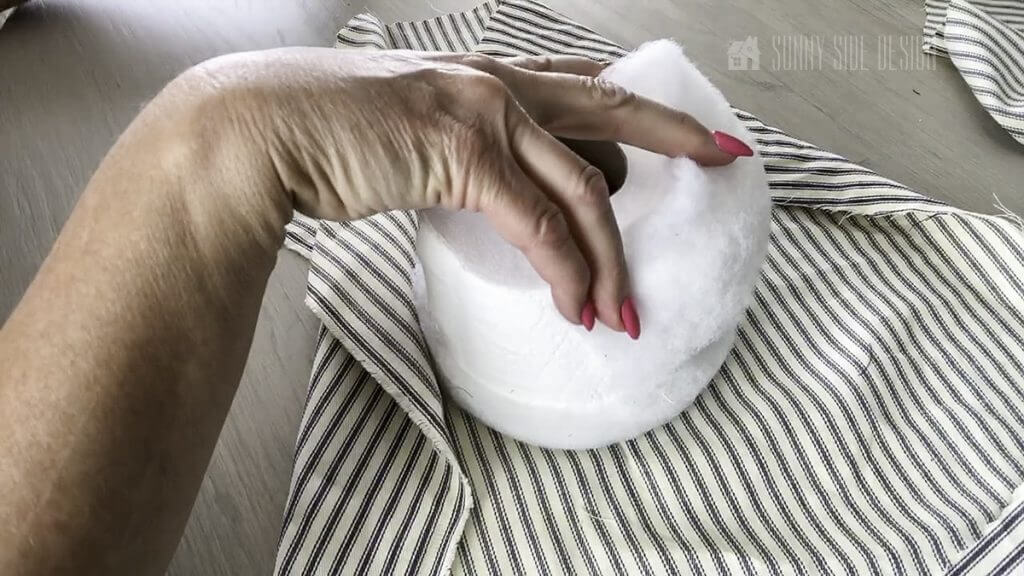
Next, add a small piece of thin batting around the entire roll of toilet paper. This will give the pumpkin a bit more of a rounded look.

Take one side of the fabric and wrap it over one side of the toilet paper roll, and tuck remaining fabric in the middle of the roll.

Repeat this on the opposite side of the toilet paper roll, and again on the other two remaining sides.
As you go around the toilet paper roll, you’ll be flattening the fabric creating small pleats.
Are you enjoying this project? Please Pin It, save it for later and share it with a friend.
Sharing is caring!
Embellish Fall Pumpkin Craft


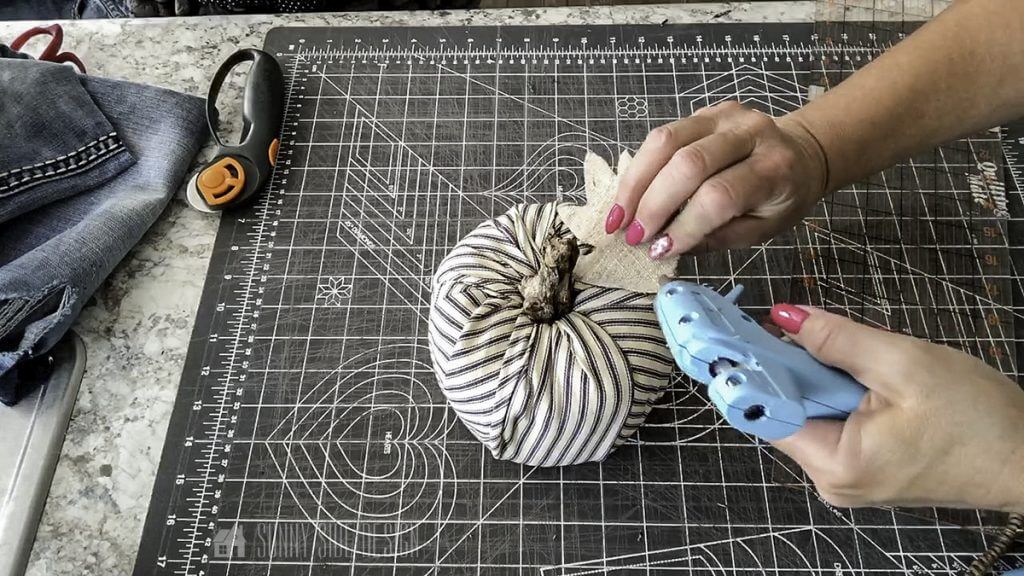
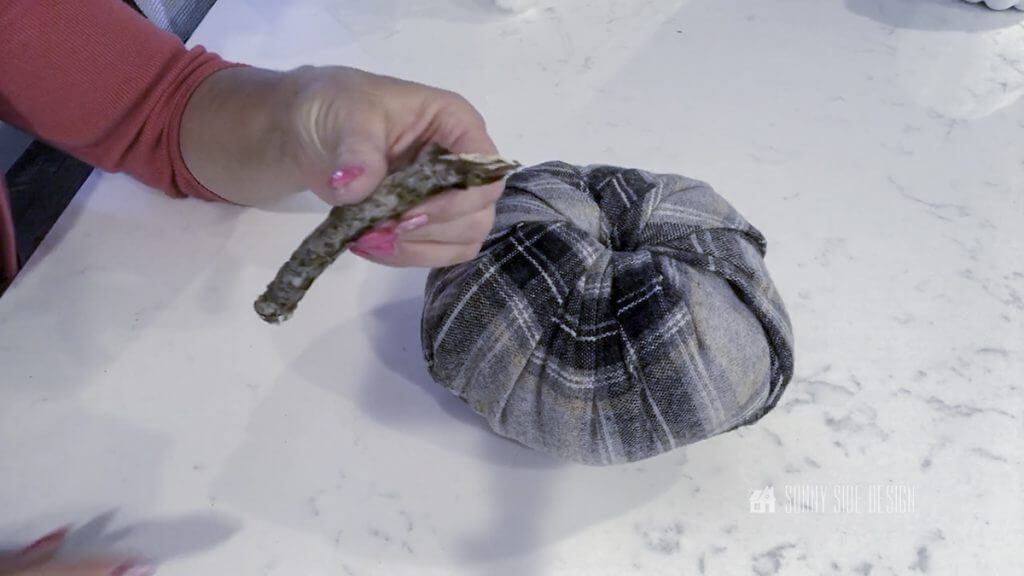
To embellish this darling fall pumpkin decor, add a broken tree branch or twig into the center of the toilet paper roll.
Additionally you may add a leaf cut from scraps of fabric and a curly piece of jute.

That’s it!
It’s simple, quick and darling, not to mention you likely have all the supplies around your home anyway!
Looking for more inexpensive fall decor ideas, then check out 5 Simple Pumpkin DIY Ideas That Look High-End.
If you’re new here, welcome! We’re so glad you’re here.
Let us introduce ourselves, we’re Michelle and Steph, a mom and daughter team who love to DIY and decorate our homes.
Not only are we passionate about making our homes warm, comfortable and unique, but it’s our mission to help you create that same feeling in your own home.
You’ll find ideas for repurposing, creating, decorating and making your home truly yours, while always mindful of a tight budget.
Undoubtedly we love finding ways to make your home look high-end on a small budget.
Plus you’ll also find a recipe or two as we share our family favorites with you.
We’d love it if you’d join our community of doers so you won’t miss any inspiration for your home.
We love new friends.

[mailerlite_form form_id=2]
Variation of Toilet Paper Roll Craft | Fall Pumpkin


Creating these darling fall pumpkins from a toilet paper roll is so fast and easy you may find yourself wanting to make several.
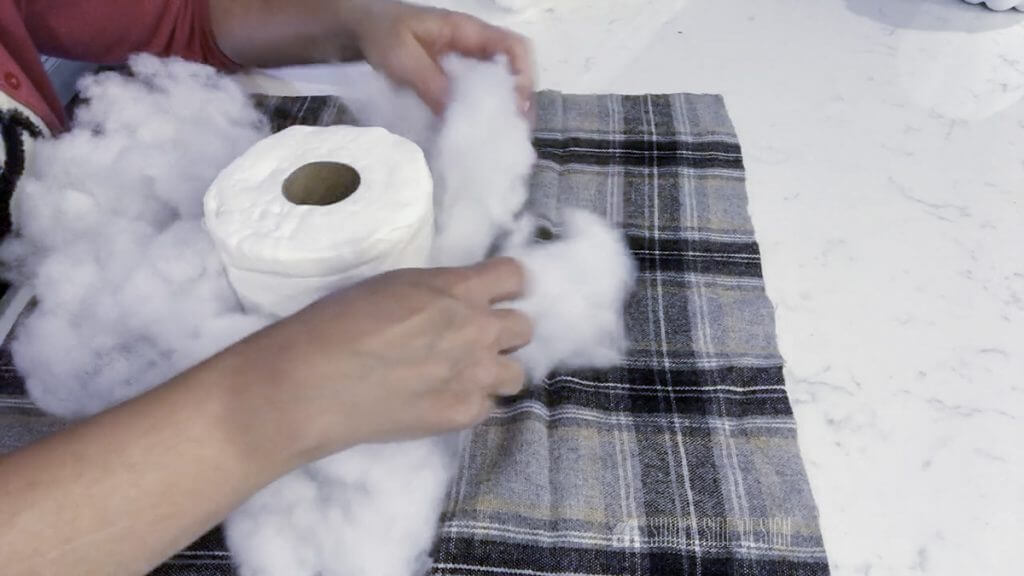
A variation to this toilet paper craft is to add a small amount of batting around the entire roll before wrapping the fabric around.


This will give the appearance of an even more rounded pumpkin.

Add any additional embellishments to finish it off.
*If you don’t have any batting on hand, try unwrapping a little bit of the toilet paper and loosely wrapping it back around the roll. This too can create softer edges around the pumpkin.
Let’s stay connected! Follow us on social media!
So what do you think?
This is really an easy fall craft. I bet once you make one, you’ll want to make more.
I’m loving the way they look with my FREE fall printable.
Did you get your FREE fall printable yet?
More Fall Decor Ideas
- 5 Simple Pumpkin DIY Ideas That Look High-End
- Easy DIY Denim Pumpkin Decor
- Fall Craft Finger Knit Pumpkins
- 5 Minute Pumpkin
- Pumpkin Craft Ideas To Decorate for Fall
- Reversible Fall Pillow
- Easy Acorn Craft with Real Caps and Wool Balls
- Simple Acorn Crafts Ideas for Fall
We hope you found some inspiration for your home today.
Please share your tips and ideas with us.
We love hearing from you!
If you’re new here, WELCOME! We love having new readers and friends!
You can learn more about us here.
Let’s stay connected! Join our DIY community of doers and you won’t miss the weekly updates and more inspiration for you always on a budget.
Sharing is caring!

Thanks for stopping by Sunny Side Design. Empowering you to create a home you love!
DISCLAIMER
This blog’s content is for entertainment purposes only and is not professional advice. By reading this blog and attempting to recreate a project, you assume all responsibility for any injuries or damages incurred. Read my full disclaimer here.
PHOTO USE AND CONTENT SHARING
All of the photographs you see here are the property of Sunny Side Design unless otherwise credited.
We love for others to share our work, so please feel free to use one photo with a link back to our website.
Pinning and sharing is always encouraged!
Please do not reproduce other Sunny Side Design content without permission.
Retailers We Love
- Anthropologie
- Birch Lane
- Crate & Barrel
- Joss and Main
- Lampsplus
- Mark & Graham
- One Kings Lane
- Pottery Barn
- Rejuvenation
- Serena & Lily
- Wayfair
- West Elm
- Williams Sonoma
- World Market
Be sure to follow us on Pinterest for even more home decor and DIY ideas.
To see what we are working on before it’s on our blog, follow us on Instagram.
You will also find our video tutorials on our YouTube channel.
- Paint an Old World Texture Finish on a Vase

- Easy Strawberry Chicken Salad with Lime Maple Balsamic Vinaigrette
- How to Fix Chipped Kitchen Cabinets with a Pen
- Easy 4th of July Door Decor You Can Make in Minutes


