Transform your traditional nightstand into an upcycled modern floating nightstand with this simple DIY project.
Are you looking to refresh the look of your bedroom?
This easy makeover will give your space an instant update.
With minimal supplies, you can transform a traditional nightstand into a sleek and stylish floating nightstand that adds a modern vibe to any decor.
Plus, the open shelf and drawer give you easy access to under-bed storage.
Which is just what we need in Aiden’s bedroom, since his bed has storage drawers.
So let’s get started on this fun and easy DIY project.
Welcome to Week 7 of the ORC
Welcome to Week 7 of the One Room Challenge!
This is our final project in the challenge and next week we will be adding all of the fun decor pieces that will make Aiden’s room come to life.
So make sure you stop back next week for the BIG reveal!
As a reminder you can easily navigate through each week of this room makeover, by clicking on the links below.
Week 1 | Week 2 | Week 3 | Week 4 | Week 5 | Week 6 | Week 7 you are here! | Week 8
If you’re new here, we’re Michelle and Steph, a mom and daughter team.
WELCOME! You can learn more about us here.
Be sure to join our DIY community of doers so you won’t miss any of our DIY projects and ideas for your home.
In addition, you’ll want to follow us on Instagram for behind the scenes progress and updates!
And don’t forget on the One Room Challenge website, you’ll find lots of ideas for updating any space in your home.

Nightstand Before Makeover
It has been our goal for this project to stay under $500 for this Star Wars bedroom makeover.
And so as we looked for nightstand options, my mom suggested that we shop her basement.
She has quite a collection of furniture she no longer uses as well as gifted furniture pieces and is always looking for ways to clear it out.
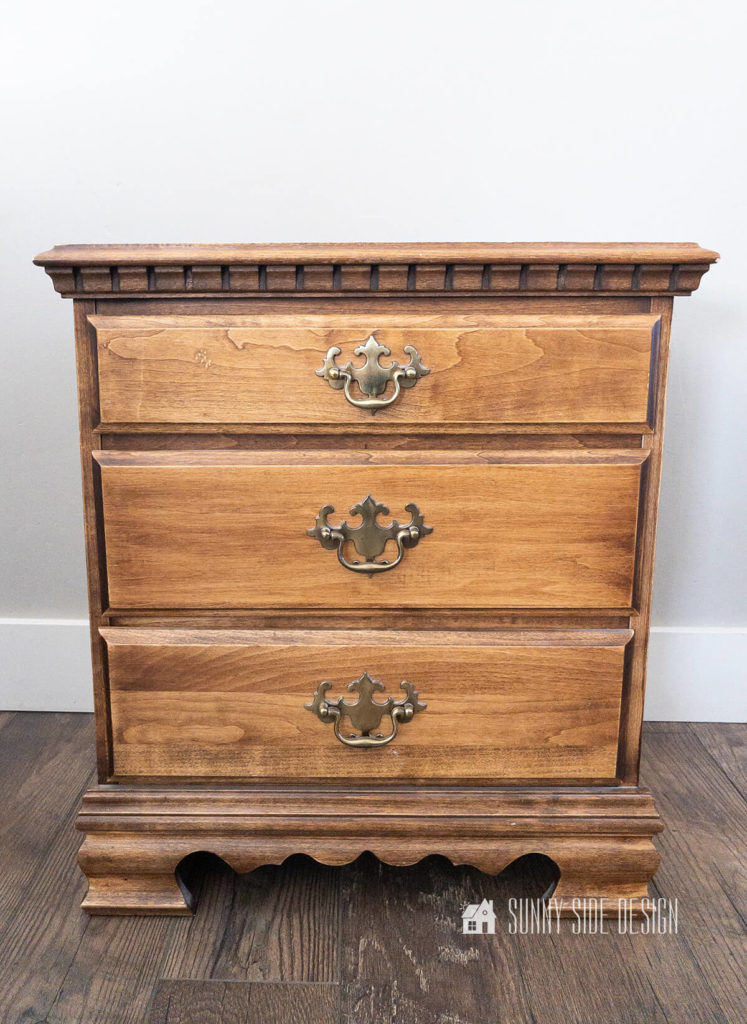
Lucky for me, she has an old traditional nightstand she bought when she was first married.
It’s a solid wood piece, just the right size and she hung onto it knowing that it could be re-imagined into something amazing!
As you can see this nightstand has very traditional lines and feels a bit dated, but with a little imagination and work it will be perfect for Aiden’s bedroom.
Are you enjoying this post?! Please pin it, save it for later and share it with a friend.
Sharing is caring!
Disclosure: This post contains affiliate links or referral links for your convenience. It is a way for this site to earn advertising commissions by advertising or linking to specific products and/or services. Click here to read my full disclosure policy.
Supplies and Tools Needed
Here’s a list of the tools and supplies we used to upcycle a traditional piece into a modern floating nightstand.
- table saw or circular saw
- drill
- orbital sander
- Kreg pocket hole jig
- 3/4″ screen moulding
- Bondo
- primer
- black spray paint
- modern drawer pull

Dismantle Nightstand
To get this makeover started you’ll first want do remove any traditional moulding pieces.
This is pretty easy to do with a putty knife, chisel and hammer.
Not only did we remove the moulding but we also took the top off the old nightstand.
Our top was attached with a couple of screws to cleats that were inside the nightstand.
Shorten Nightstand
Next up, we need to shorten the nightstand.
We will remove about 5 ” from the bottom of the nightstand and the section that was for the top drawer.
This will leave us two sections for our floating nightstand, one will be an open shelf, the other a drawer.

To shorten the original nightstand we set up the fence to cut off the sides of the nightstand, aligning with the edge of the crossbar piece.
We also cut off 5 inches from the bottom of the nightstand, aligning the back with the bottom crossbar piece.
Now we are left with a wood base that’s about 12″ tall.
Assemble Floating Nightstand
Now we’re ready to put this baby back together!
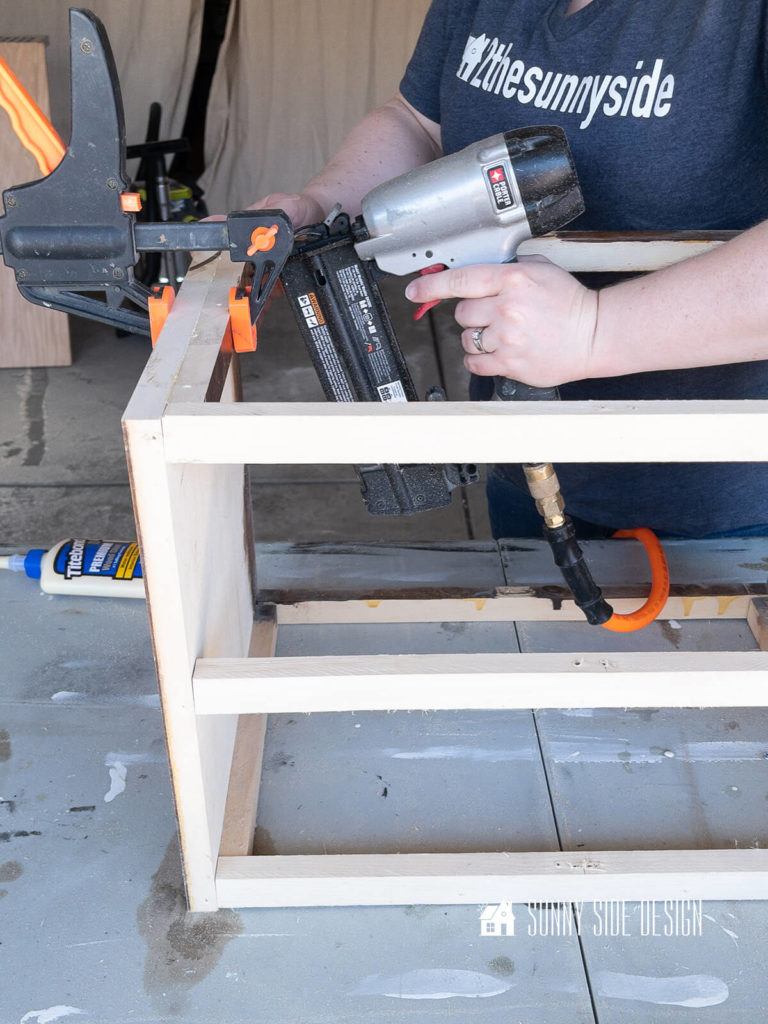
First we need to attach cleats to each side of the nightstand, so we can reattached the top.
When we dismantled the nightstand, the original cleats became damaged, so with the scrap wood from cutting down the sides, we cut two cleats the depth of the nightstand.
Then we attached them to each side with wood glue and brads, flush with the top of the side wood.
Create Open Shelf
Next we need to make a shelf where the drawer used to be.
To create the shelf, we measured the dimension of the area and cut a piece of scrap oak to fit.
We then made pocket holes in the sides of the oak board and then made it flush with the front and back cross brace.

Finally we secured it to the sides of the nightstand with wood glue and screws.
To keep the shelf in place and flush with the braces, we placed a couple of clamps to hold it while we inserted the screws.

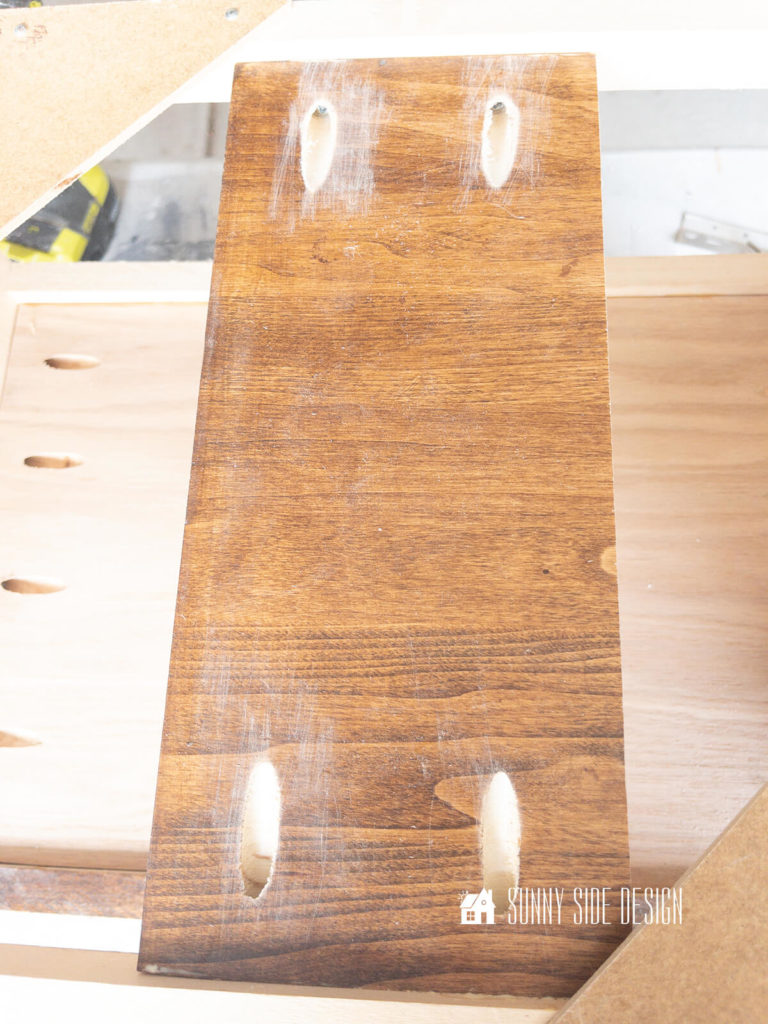
We also needed to cover the opening in the back of the open shelf area.
Again we took a piece of scrap wood and made pocket holes in it with our Kreg jig.
Then we brushed wood glue around the perimeter of the wood and attached it to the back of the floating nightstand with screws.

[mailerlite_form form_id=2]
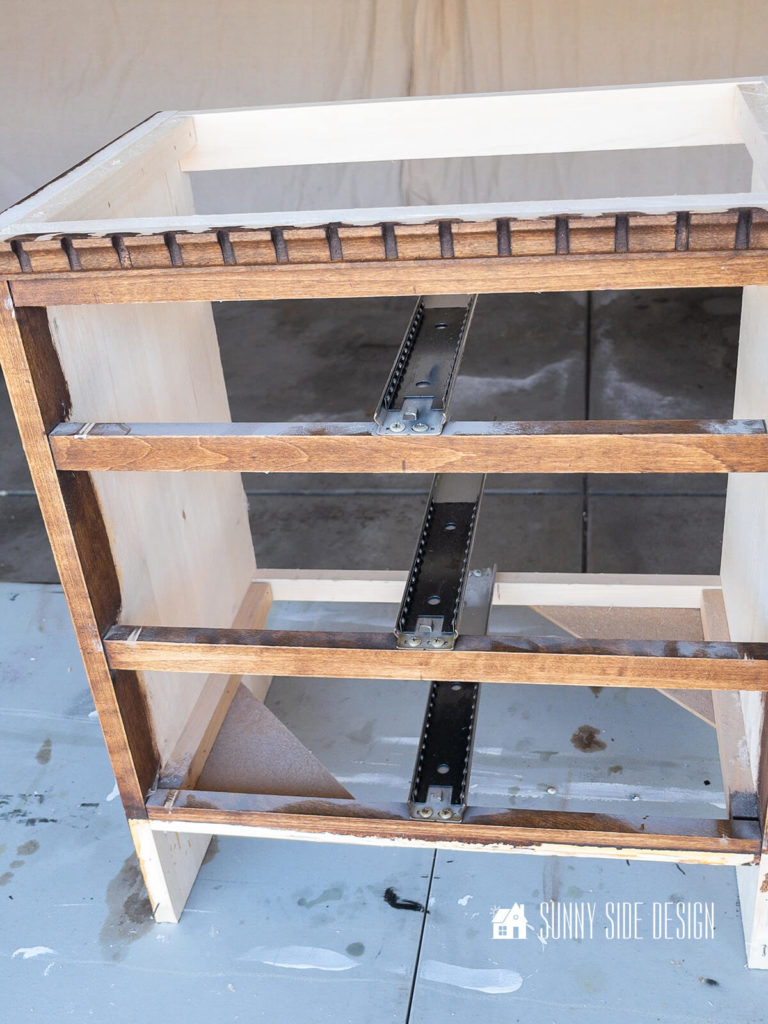
On the bottom of the nightstand we reattached the two corner braces that were originally on the nightstand.
And finally to reconstruct the shell of the floating nightstand we added a brace on the bottom to mount the drawer slide to.
Again we used the Kreg pocket hole jig and then secured the wood to the front and back brace with wood glue and screws.
We needed to add this brace because I wanted the drawer to be flush with the nightstand shell and so we needed to shorten the drawer slide.
Attach Floating Nightstand Top
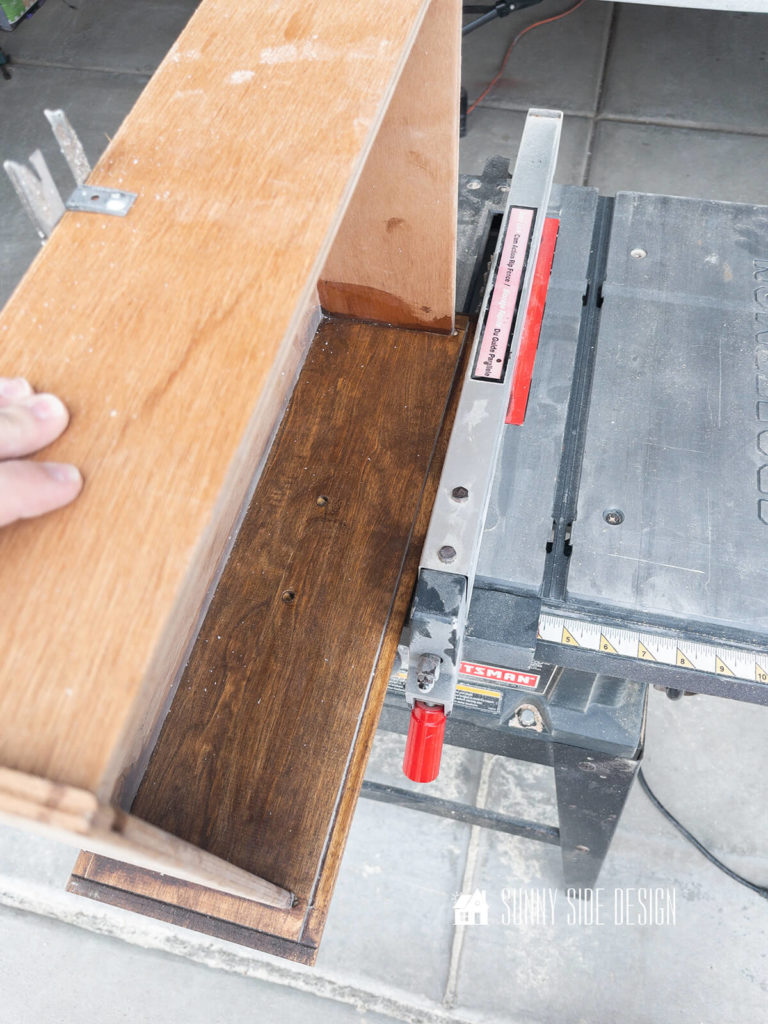
To modernize the look of this very traditional nightstand we decided to cut off the routed edge of the top.

To remove the routed edge, we set up the fence on the table saw and trimmed down three sides of the top.

Then we reattached the top of the nightstand with screws through the two side cleats.
Modify NIghstand drawer
To create a more modern look with the floating nightstand, I want the drawer to be inset.
So we set up the fence on the table saw and removed the routed edge on all four sides.

Then we filled in the holes for the original hardware with Bondo, once hardened we sanded it smooth.
Next I want to create a modern design on the front of the drawer with 3/4″ pine screen moulding.
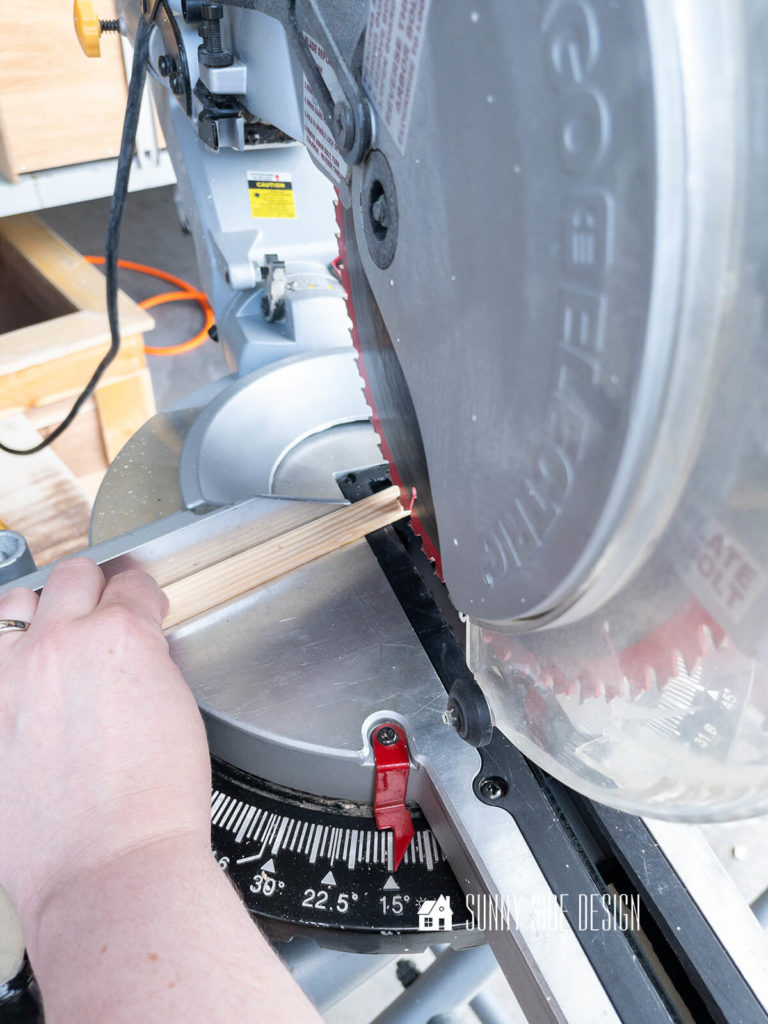
We set the miter saw for a 15° angle and cut 6 pieces with a right angle and 6 with a left angle.
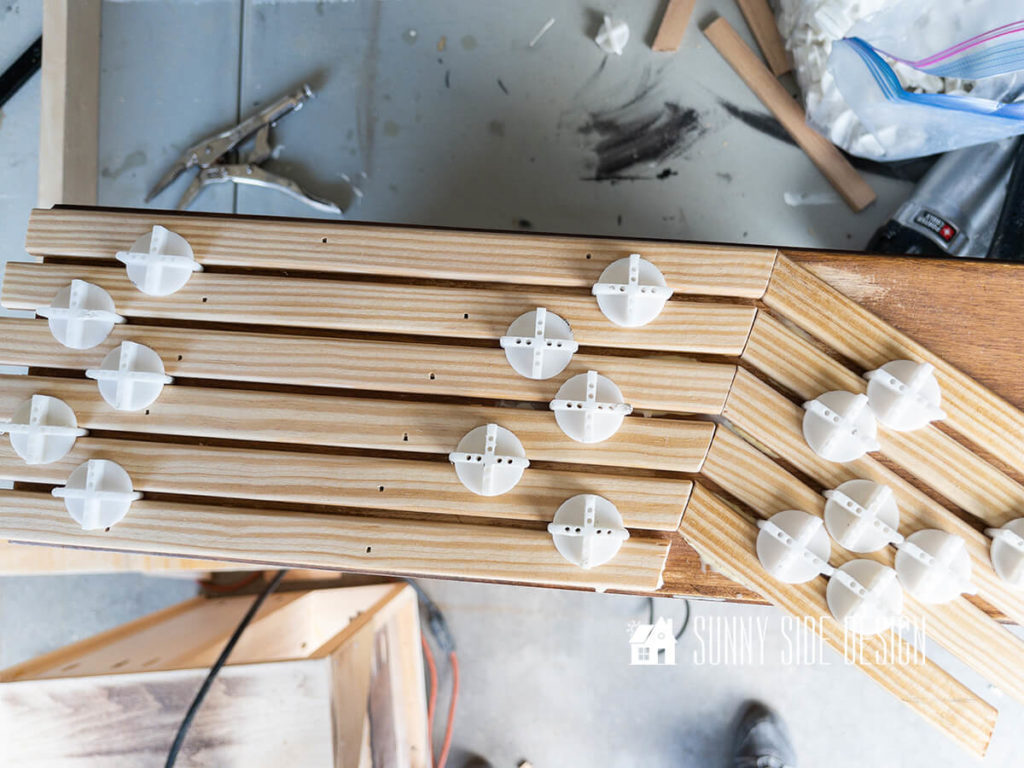
Then we did a dry fit and used 1/8″ title spacers between each of the boards.

Once happy with the design, apply wood glue and secure with a few brads.

Then use the table saw to cut off the excess moulding.

Finally fill in with wood filler, let dry and sand smooth.
Let’s stay connected! Follow us on social media!
Paint Floating Nightstand
We are thrilled with the way this little floating nightstand turned out!
It’s the perfect size for Aiden’s bedroom and he will still able to access the drawers under his bed.
At this time, sand and prime the nightstand for paint.
Because of the tight quarters of the open shelf in our nightstand, we opted for spray paint to finish this nightstand.
We first applied a coat of primer, let dry and then a light sanding.
Then applied 2 coats of satin black spray paint.
Once dry, I also applied 2 coats of an oil-based topcoat.
I applied the topcoat with the same technique used on the desk and shelves.
My kids are so hard on everything, and I really want this to last for years to come.
Floating Nightstand Reveal
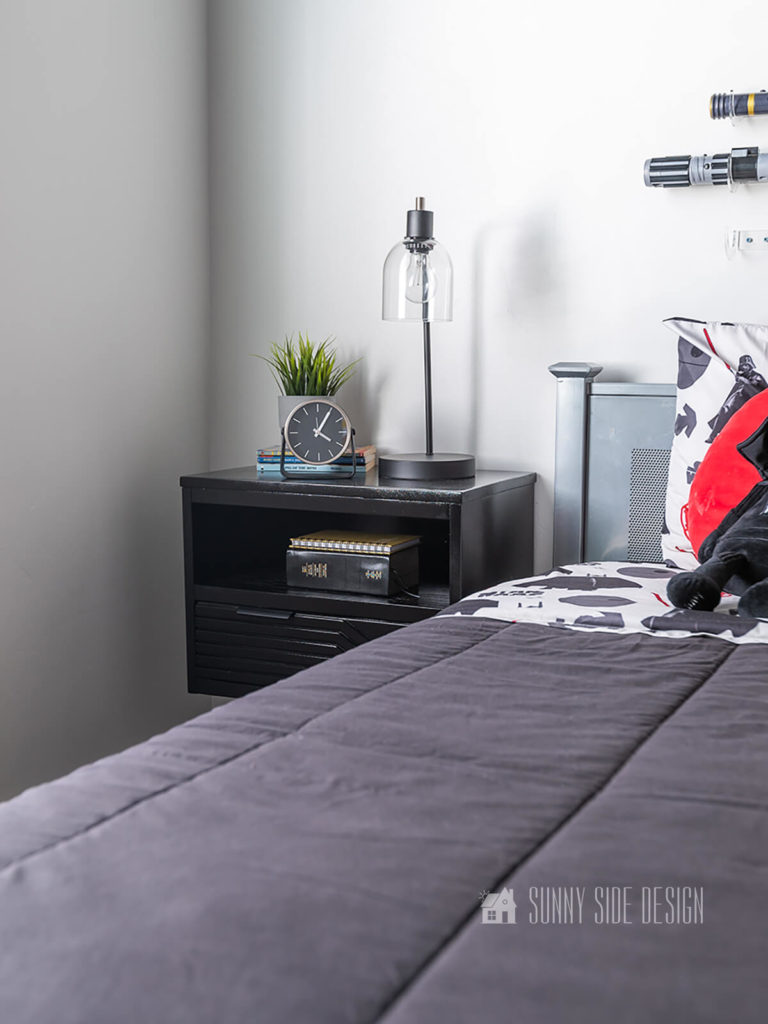
I love this little floating nightstand and it’s perfect for this space!
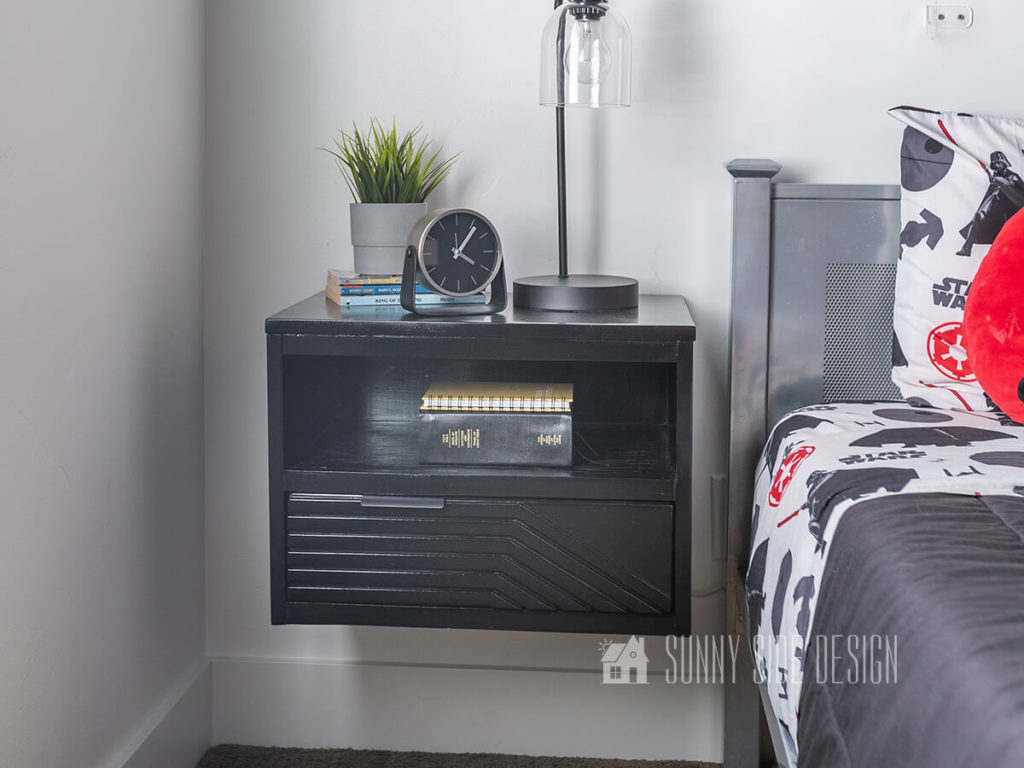
This project may look intimidating, but taking it step by step and with the help of a few tools, you too can DIY your own floating nightstand from an old piece.

Not only do I love the modern lines and feel of this nightstand now, but it allows us to add another bank of drawers under Aiden’s bed, for much needed storage in this small bedroom.
Shop Floating Nightstands
Thanks for spending some time with us today, we hope you found some inspiration!
Is this a project you’d like to try to make from an old nightstand?
Please pin this post, save it for later and share it with a friend!
Sharing is caring!
Do you have any ideas or suggestions that would make this project better?
Drop us a comment, we love to hear from you.
For more furniture flips check out these posts:
- Lateral File to Tool Chest Dresser
- $5 Hutch Top Repurposed to an Attractive French Inspired Cabinet
- Beautiful Wood Dining Table
- Refinish Furniture with a Raw Wood Look
- Paint Furniture with Pro Results
- DIY Round Coffee Table
- Chalk Painted China Cabinet
- Simple Upcycled DIY Sofa Table
- Painting Furniture with a Wagner Paint Sprayer
- Painting Furniture: Different Types of Paint and Proven Results
- Chalk Paint Coffee Table
- Desk Makeover with a Modern Vibe
- Easy and Inexpensive DIY Side Table with Thrifted Finds
If you’re new here, WELCOME! We love having new readers and friends!
You can learn more about us here.
Let’s stay connected! Join our DIY community of doers and you won’t miss any inspiration for your home.
Please PIN and save for later, and share with your friends! Sharing helps grow our following!

Thanks for stopping by Sunnyside Home
Empowering you to create a home you love!
Retailers We Love
- Anthropologie
- Birch Lane
- Crate & Barrel
- Joss and Main
- Lampsplus
- Mark & Graham
- One Kings Lane
- Pottery Barn
- Rejuvenation
- Serena & Lily
- Wayfair
- West Elm
- Williams Sonoma
- World Market
Be sure to follow us on Pinterest for even more home decor and DIY ideas.
To see what we are working on before it’s on our blog, follow us on Instagram.
You will also find our video tutorials on our YouTube channel.
- Easy 4th of July Door Decor You Can Make in Minutes

- 35 Easy Decorating Ideas for Summer to Welcome the Season
- Fourth of July Decorating Ideas You’ll Love This Summer
- Simple and Creative Planter Container Ideas from Thrifted Finds


Such a great idea. I love it. The wood strip detail is amazing. Aiden’s room is looking great. I bet he loves it.
Thank you Renae. Aiden is thrilled with his room. We took video of him the other day as we started to hand the decor on the wall and he was speachless. It’s been a fun one. Have a wonderful day my friend.